Jessica, I would find it interesting if you could post some of your work using the curved pieces. I would think others here would like to see it also.Originally Posted by Jessica de Boer

Thanks, Jim


 Contributor
Jessica, I would find it interesting if you could post some of your work using the curved pieces. I would think others here would like to see it also.
Thanks, Jim
 [OP]
Contributor
[OP]
Contributor
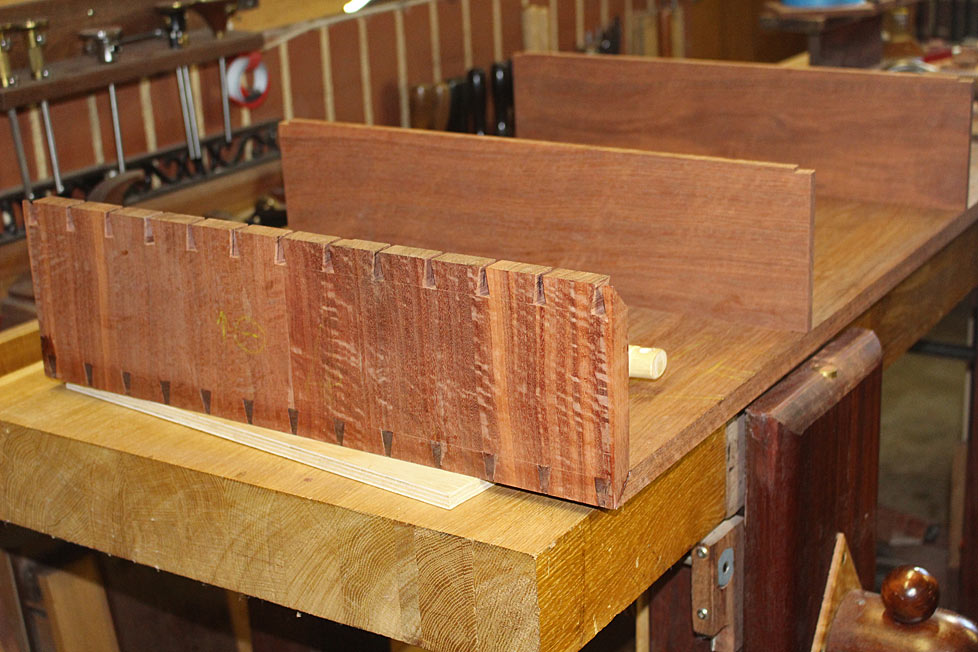
I assembled the carcase today. This began with glueing the one end and, while that dried, fitting the sides of the drawer box ...
Someone predicted that this glue up would be interesting. Was it ever.
I had this plan to glue the ends, attach the drawer box, and then simply drop the top side into place. What could be easier?
Except ... I realised as I positioned the drawer box dividers in their stopped dados - and was just about to glue in the other end - that the ends were tails and the top section had pins ... and they needed to be slid in horizontally, not vertically! The order of assembly should have been: fit drawer box to open base, add top section, now add one end and then the other.
I removed the drawer box parts, and attached the top panel to the already glued end. Lifting the top at an angle, the drawer box dividers were wiggled in. And then I discovered that they were 10mm too high!
Oh hell (or some other descriptive) .. I propped up the top panel, quickly calculated how much needed to be removed on the table saw, did both dividers, rebated the ends again ...
... it fits ... (phew)
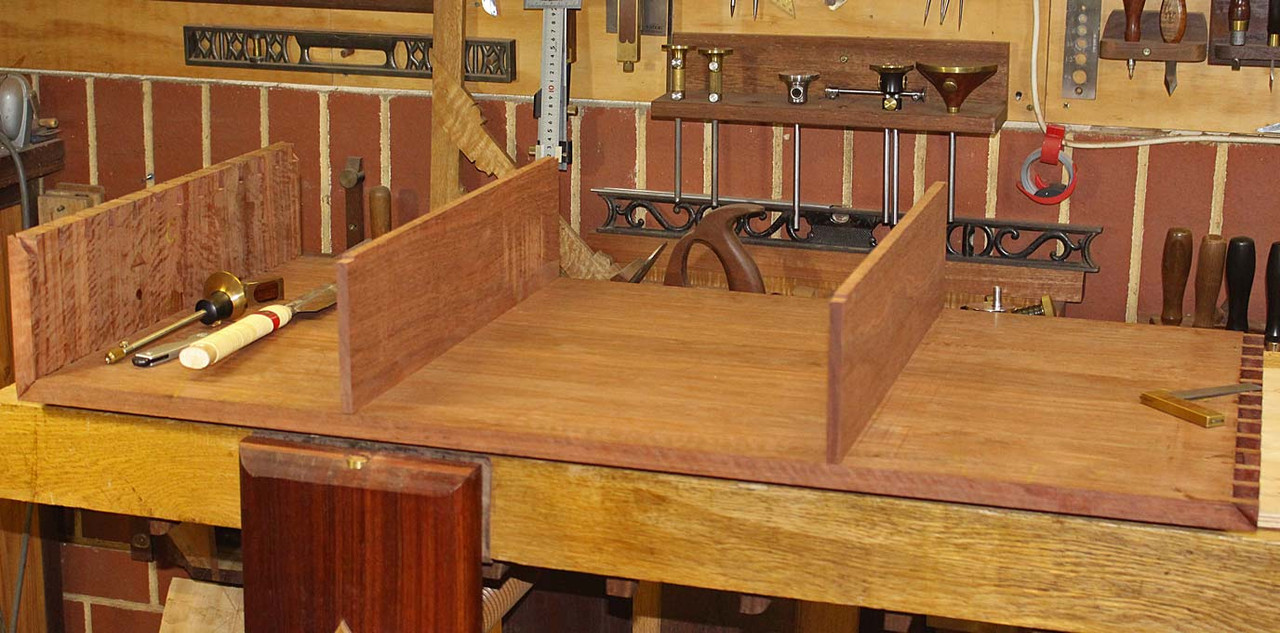
.. up ended the monster (which weighed a bloody ton, but I was now a demon possessed of desperation strength!), glued in the last side, and squared the carcase ....
And everything is square ...
I'll clean it up tomorrow, and then start on rounding the ends.
Regards from Perth
Derek
Guest
Two things.
That’s just the kind of thing I do on just about every project. I hate to admit it but I feel much better know knowing I’m not alone even to the likes of a talented craftsman such as yourself.
Second is everything really square. Or is that square confidently hidden around the corner
I’m kidding Derek, it looks really really good. I’m jealous you always seem to finish projects in rather timely fashion.
Happy new year and be well.
[OP]
Contributor
Thanks Patrick ... and a happy new year to you as well!
Regards from Perth
Derek
Contributor
Now that is a great glue up story. I’m glad it’s yours. Nice looking case Derek. Should make someone very pleased.
Jim
 Contributor
Good thing you recognized the issue before gluing on the second side. Nice work!
Member
This is shaping up to be really lovely.
Very interesting thread, starting with the design goals and challenges and now into the construction. At one point I was in the camp of thinking exposed dovetails might not be true to the clean modern look of the inspiration photo, but now I'm starting to think this will look better. Of course it's all subjective, but sometimes I think we live in a build to suit world where things are made to explicit specifications. There's something beautiful about a piece that becomes a product of the artist/craftsman's vision and evolves in its own way with some element of surprise for the recipient.
Not that Derek asked for finish suggestions, but I might propose a finish that does not amplify the dovetails, in other words keep them subtle so they don't scream from across the room. Let the viewer discover them as they get closer to the piece. Maybe a seal coat of shellac so the end grain in the pins does not darken as much as it would with an oil finish? Of course from there you could top coat with anything.
Thank you for taking the time to post and share this journey, look forward to seeing how it evolves.
Edwin
[OP]
Contributor
Actually Pat ....
Yes, I omitted that part. Not deliberately, just forgot. Thank you Titebond hide glue ... reversable (and renewable) and cleaned up in warm water.
Regards from Perth
Derek
 Contributor
Most furniture is finished in a plastic type finish so that the wood is not easily damaged when water is left to sit on it. Because of this people are less familiar with the effect of a wet glass on wood left for a few hours.
Your family may may be aware but they have friends and best not to strain their relations with a light finish that is easily damaged.
I’ve been trying zero VOC wax based finishes but for now I’m using wipe on poly fit table tops. I turned my nose up at it forever but after refinishing a few table tops I’ve thought better of it.
Bumbling forward into the unknown.
[OP]
Contributor
Brian, for table tops such as these, which will take some abuse, one either uses an easily repairable finish, such as shellac - and be prepared to do so, perhaps often - or finish in something durable. I've become a fan of water-based poly (which I used on my kitchen). I wipe/rub it on, and the result is a clear, matt, and non-yellowing finish that dries fast, has no lingering smell, and simply lets the wood through.
Regards from Perth
Derek
Last edited by Derek Cohen; 01-01-2019 at 9:23 AM.
 Contributor
I ended up using Osmo Top Oil on a butcher block style island countertop for our kitchen. It is a large island top, 3'x7' and gets used constantly. I used the Top Oil only because I read that it was safer for food prep areas but we honestly don't prep food right on the counter top so the Polyx Oil version would have been fine. I am actually blown away by the durability of this finish which is something I wasn't expecting. I was expecting to have to touch it up from time to time as I had zero experience with Osmo of any kind. After having this counter in use for over a year now I am a believer in Osmo and completely understand the following behind it. The countertop is maple and cherry therefore I didn't want any sort of yellowing to the maple. The maple shows absolutely no yellowing at all. After all the research on how to apply this stuff I kind of ignored the instructions on the final coat and laid it on a little heavy with a nice brush. This turned out to be a great decision and is what I credit the durability of this top to.
Having said all of this I highly recommend Osmo finishes for a durable table top finish that doesn't plasticize like polyurethane finishes. I am in the process of building a round breakfast/dining table and plan to use the same finish on this top as I am that happy with the results.
Contributor
I was under the impression from the other posts that you were in search of a finish, but sounds like you've already come to a similar conclusion to my own.
Anywho, I have plenty of experience with shellac and table tops enough to not use it for table tops outside of my own home. Same for light oil varnishes, which need to build to offer protection.
I have just started to try out a hardwax oil finish from Germany but have yet to develop any experience with how it survives in the wild.
Bumbling forward into the unknown.
[OP]
Contributor
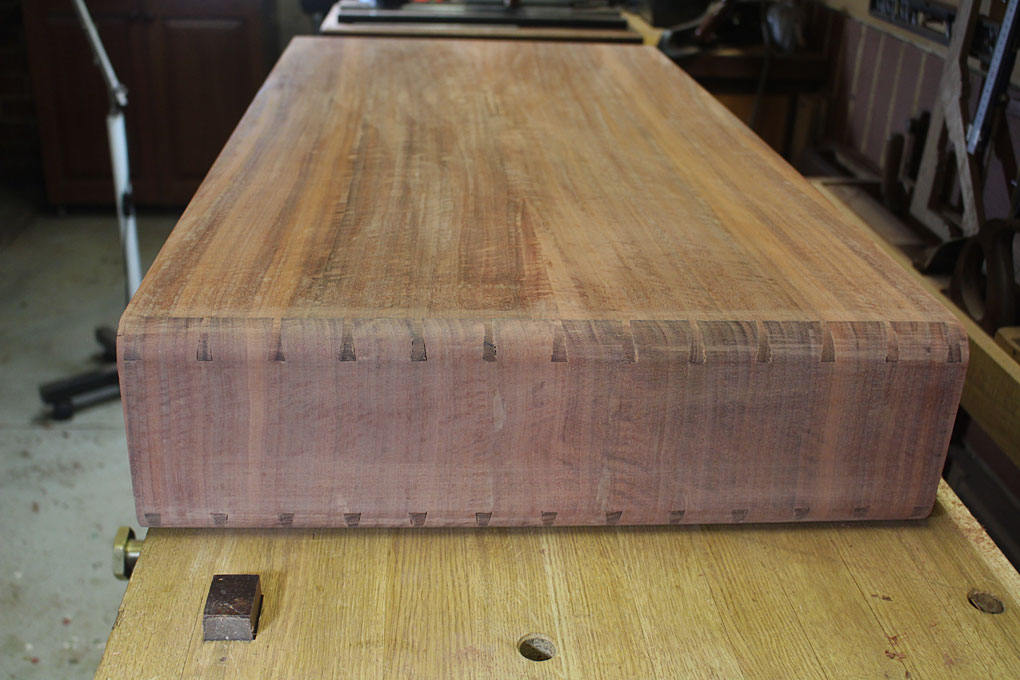
When we left off, it was with the carcase together ...
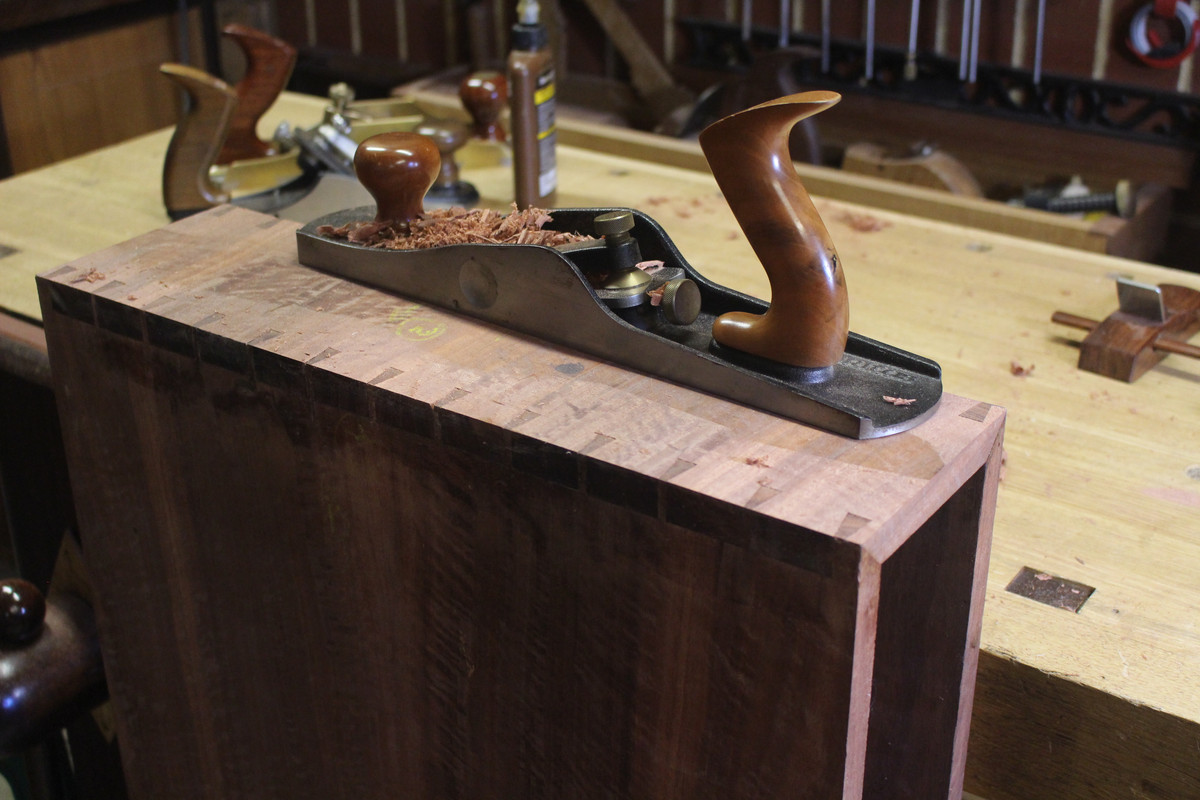
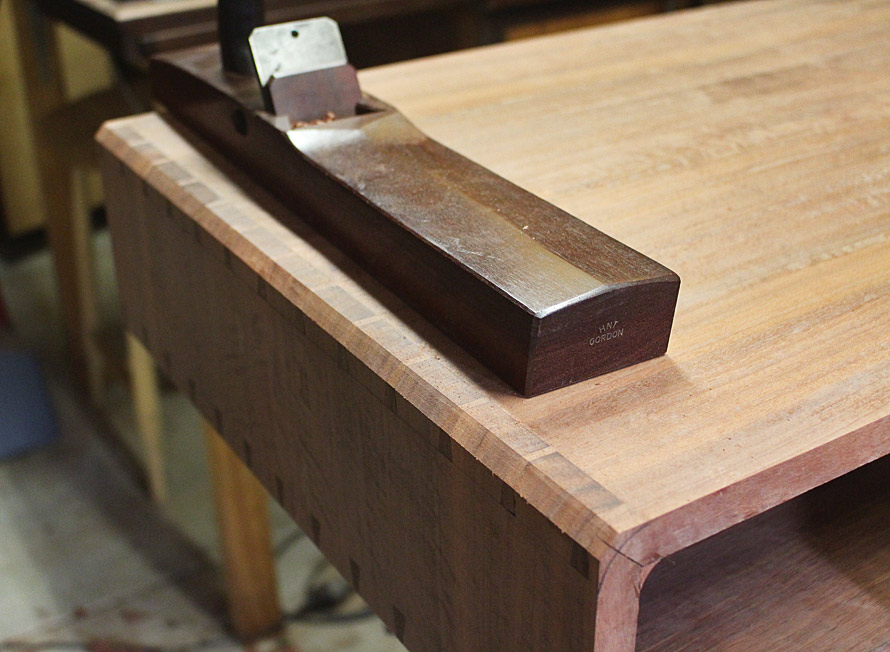
Step 1: clean up the carcase
Low angle plane for the end grain and cross grain ends ..
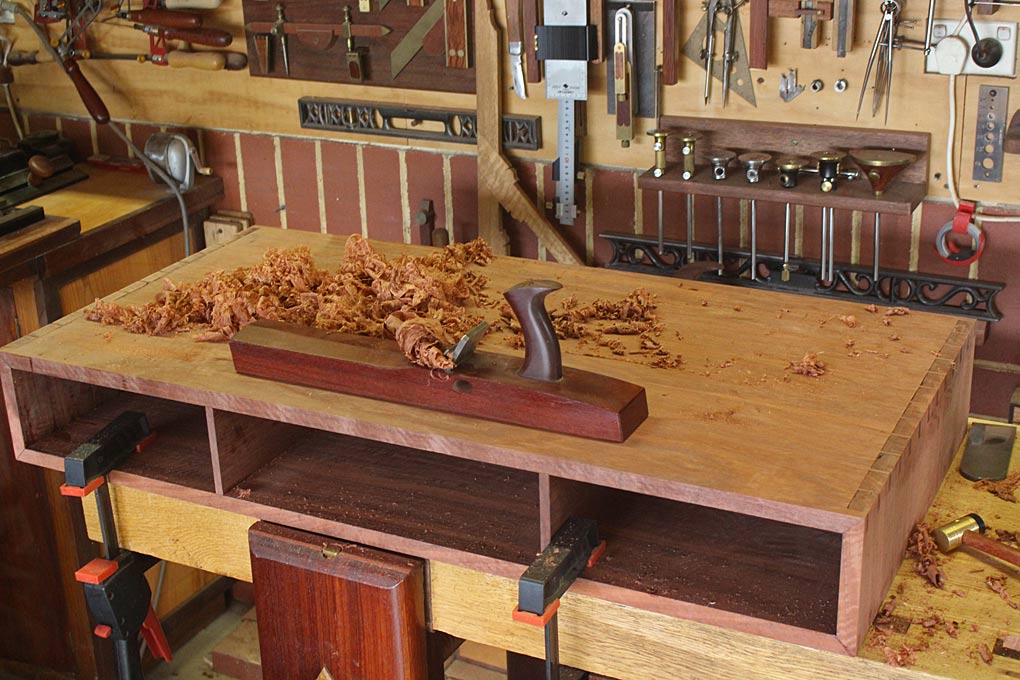
Then the face grain top and bottom ..
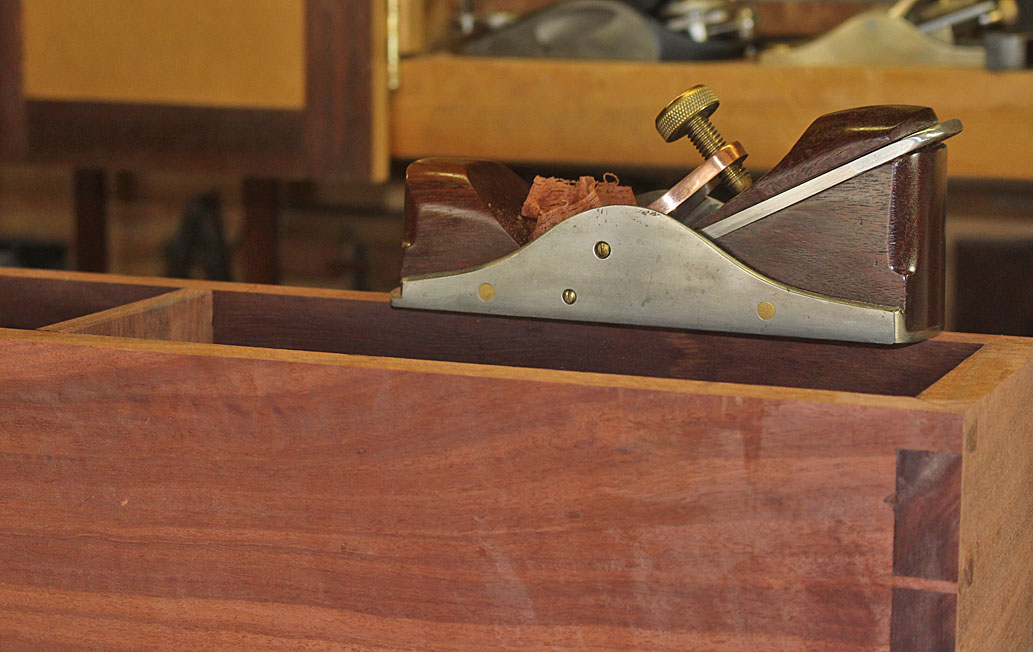
And I had a chance to use a small BU infill smoother I made several years ago on the edges. Perfect for one-handed smoothing ...
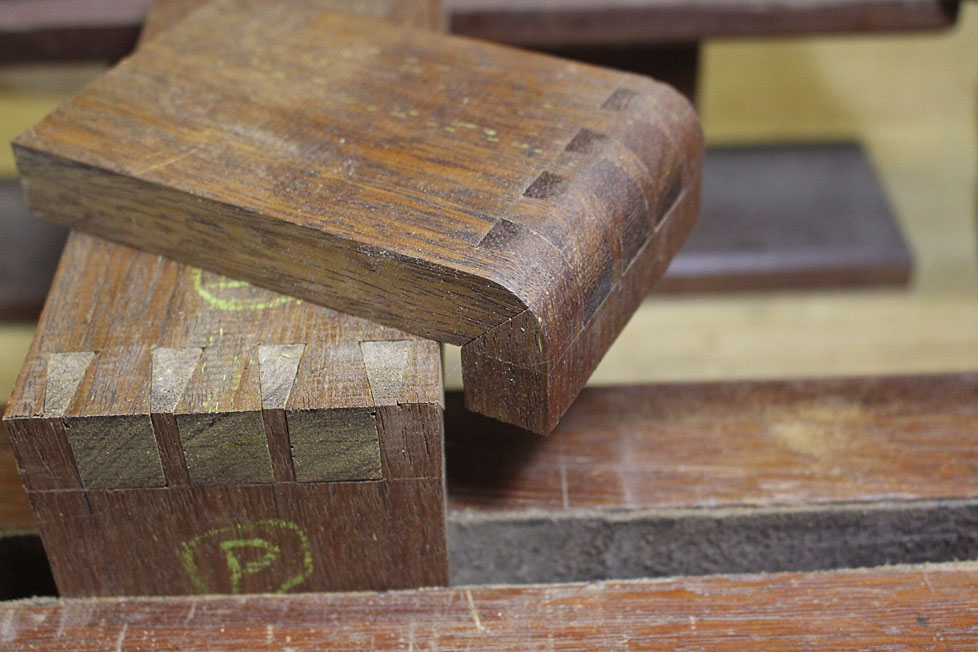
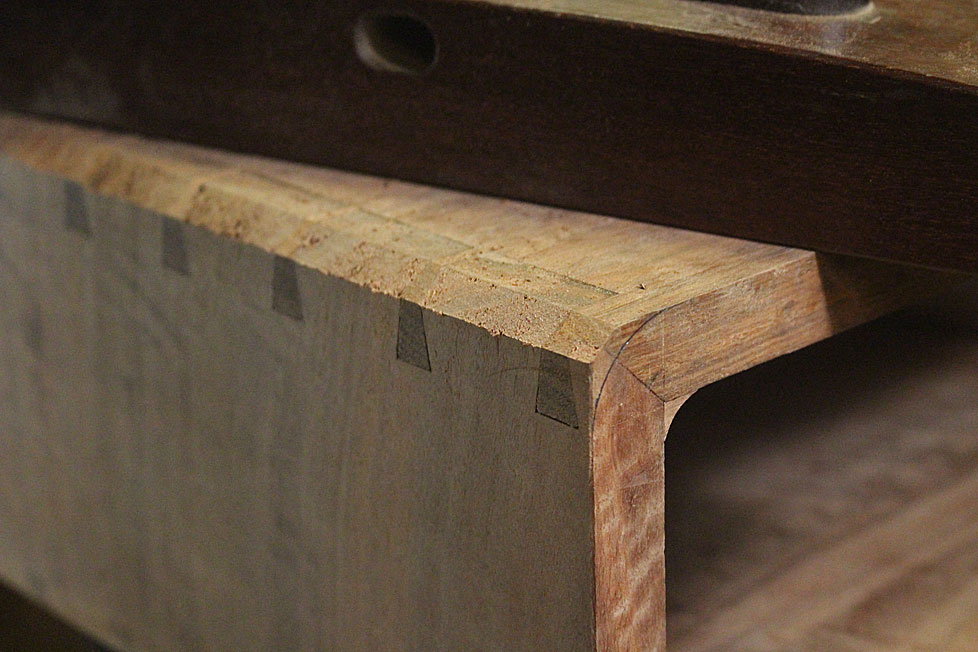
Step 2: Time to round the ends.
In the test piece, it looked like this ..
This lacked the inside hollowed filet. The build today starts with the making of the filet.
The first decision was that this had to be made of end grain. If it was made of side grain, the sides of the filet would be end grain, which would clash - darken - with the side grain of the carcase when a finish is applied. Fortunately, I had this one last offcut. Just enough ...
The filet is triangular with a hollow on the outside. I first tried shaping this with a hollow plane on a sticking board, having sliced off a triangular section on the table saw. It was impossible to do. No way to hold the wood and plane it. I tried a number of variations. I won't go there. They were all impossible. You do it, you're a better man - or woman - than me. You're probably better anyway
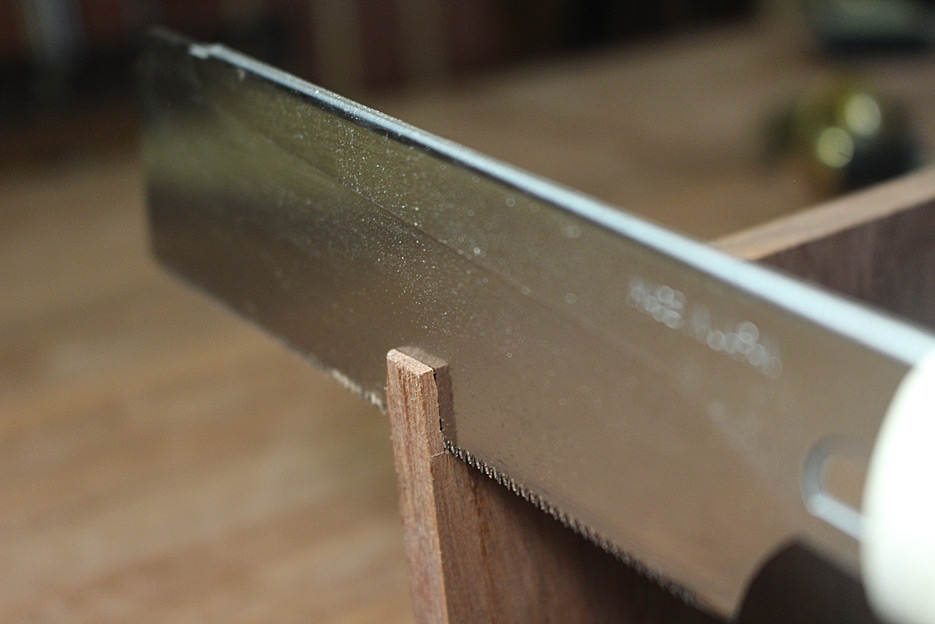
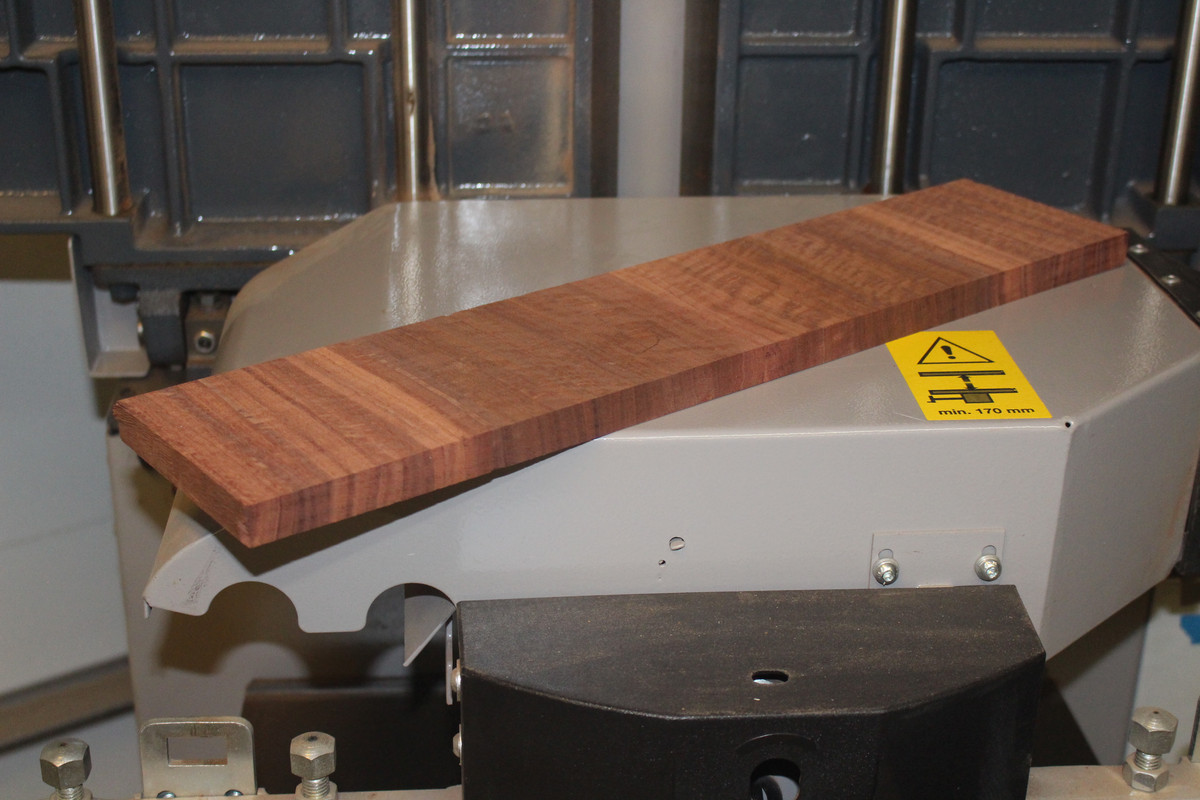
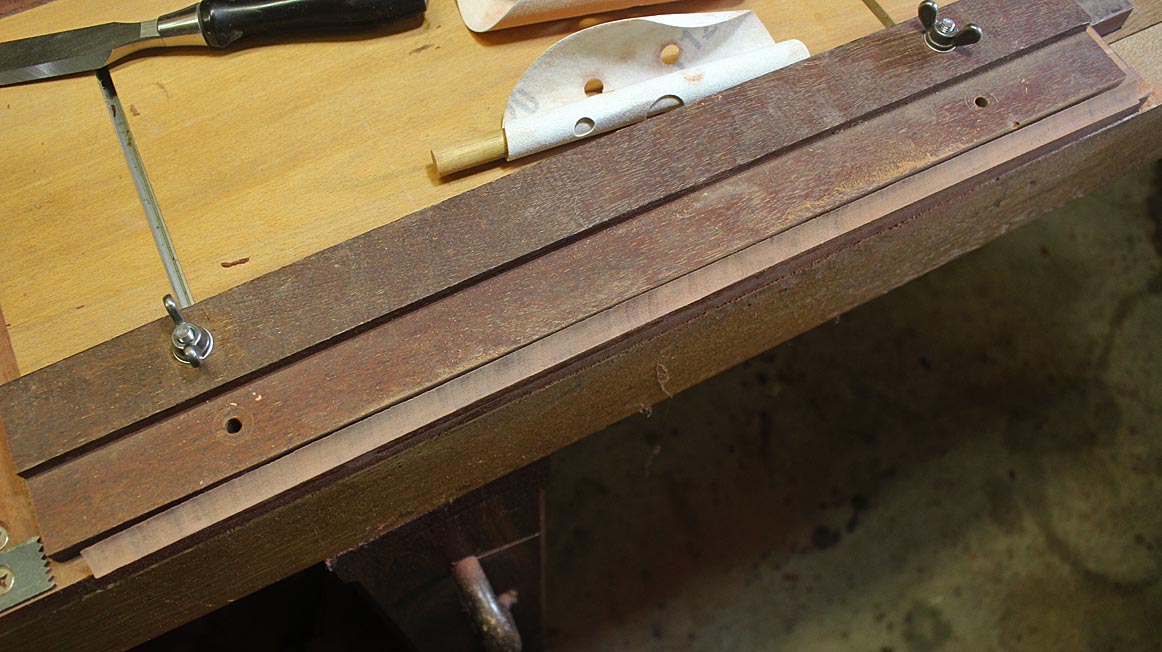
Finally I came up with this. Start with ripping a 45 degree bevel on the table saw (slider here, with board held in a Fritz and Franz jig) ...
The router table is set up with a round nose bit ...
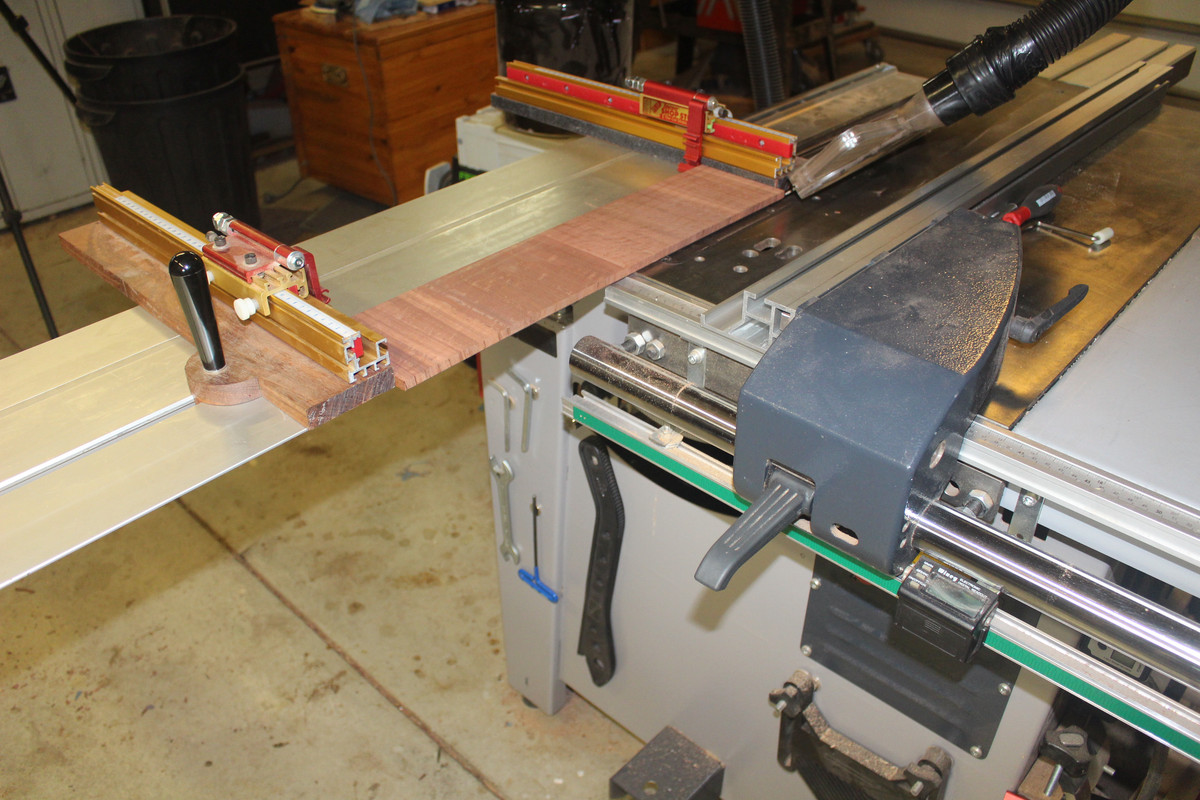
The mitre can be run past this and the bit will shape a round hollow ..
[img]https://i.postimg.cc/fynGngm7/4.jpg[/img
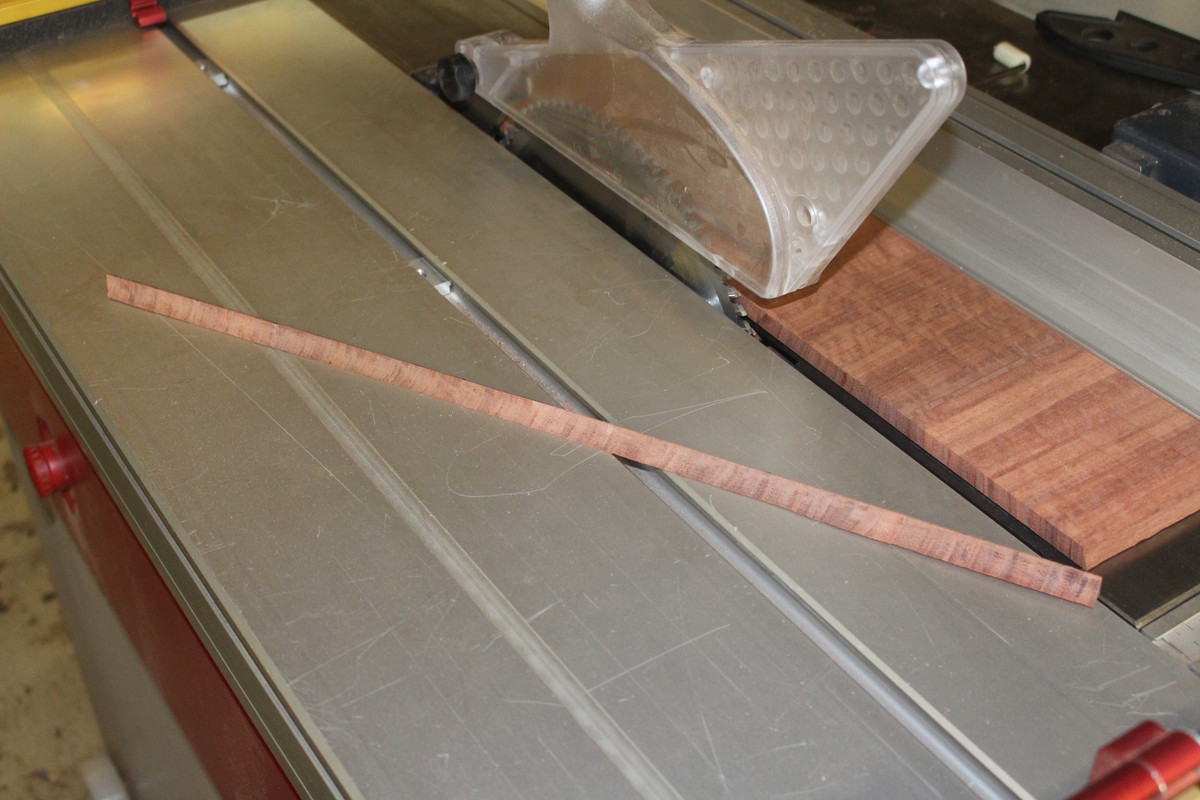
Now saw this off on the table saw ...
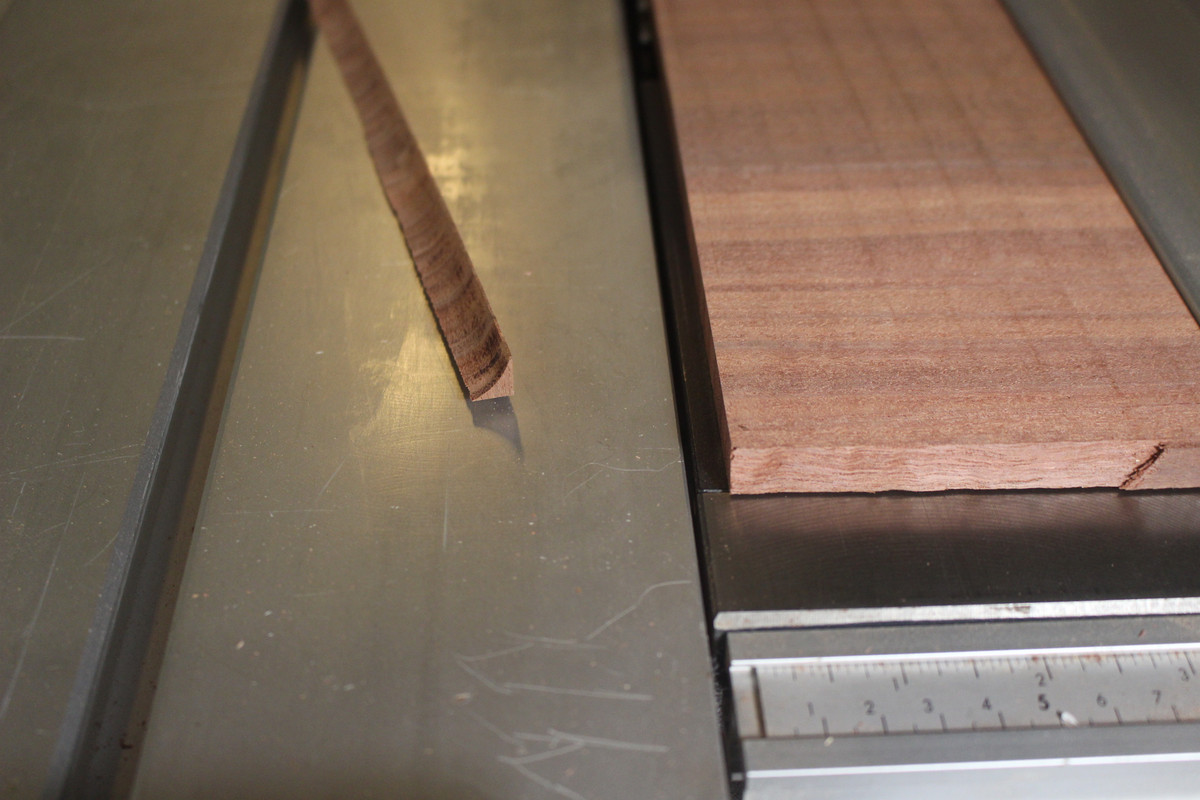
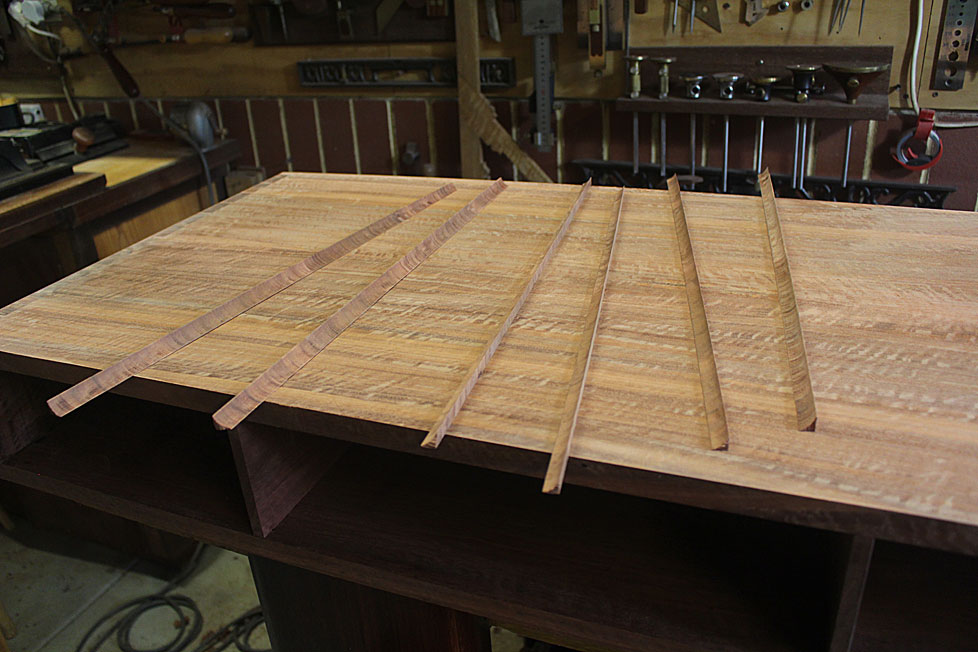
I made a bunch of them (as they are a little fragile) ...
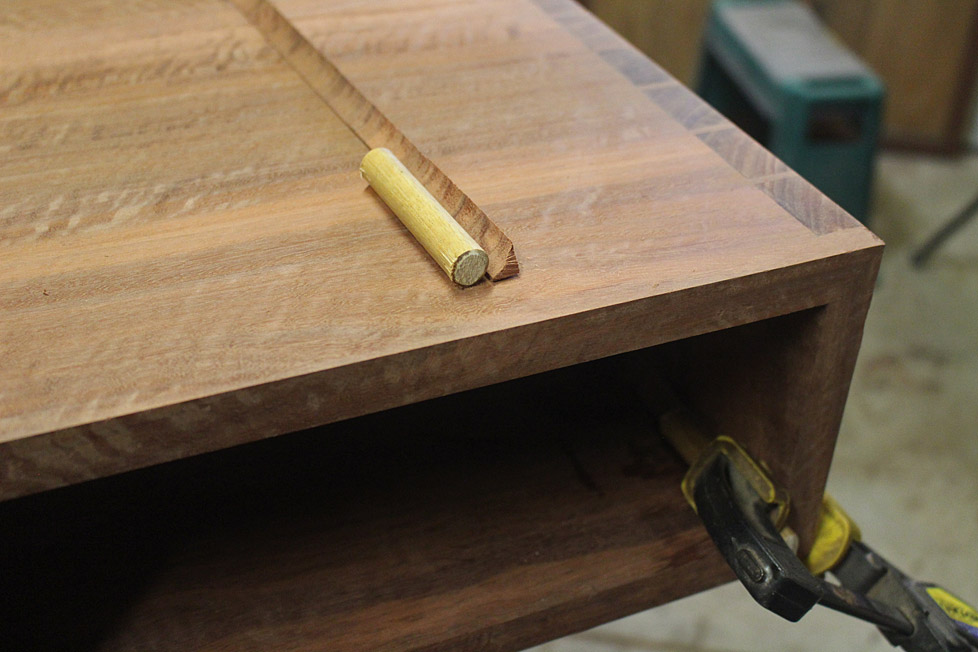
Before glueing them in, each was sanded - 80/120/240 grit on a dowel, with the filet held on the sticking board ..
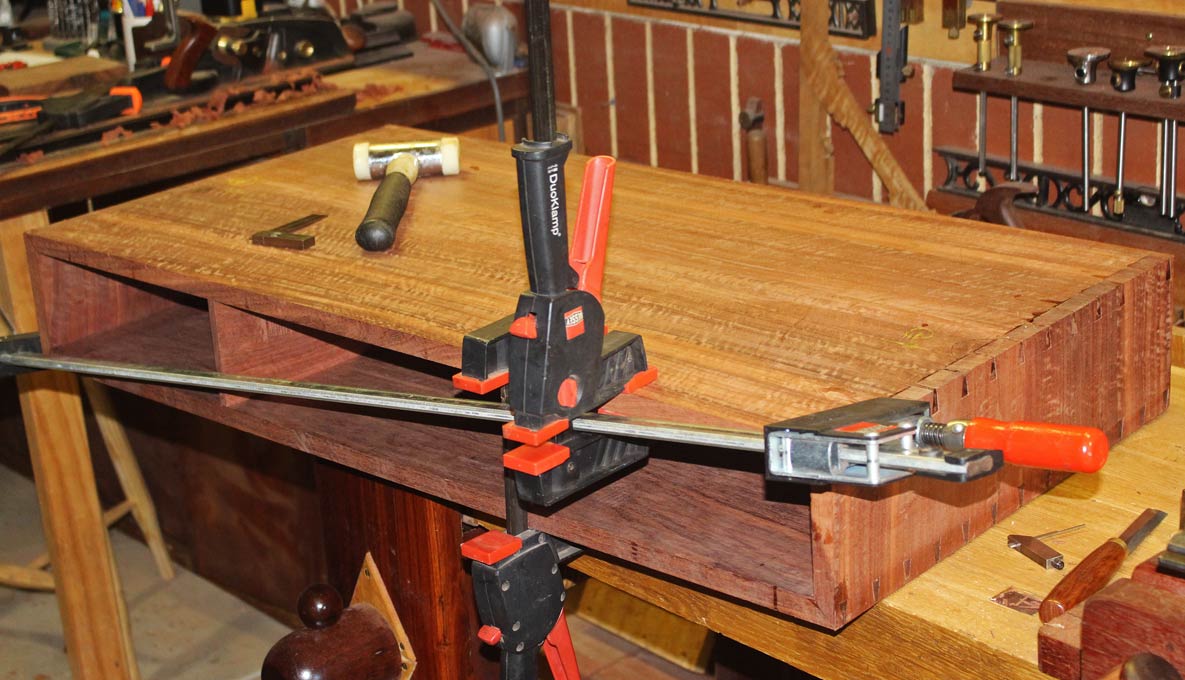
The filets were then glued in (Titebond hide glue for everything). A dowel was used to place pressure evenly on the corners ...
[OP]
Contributor
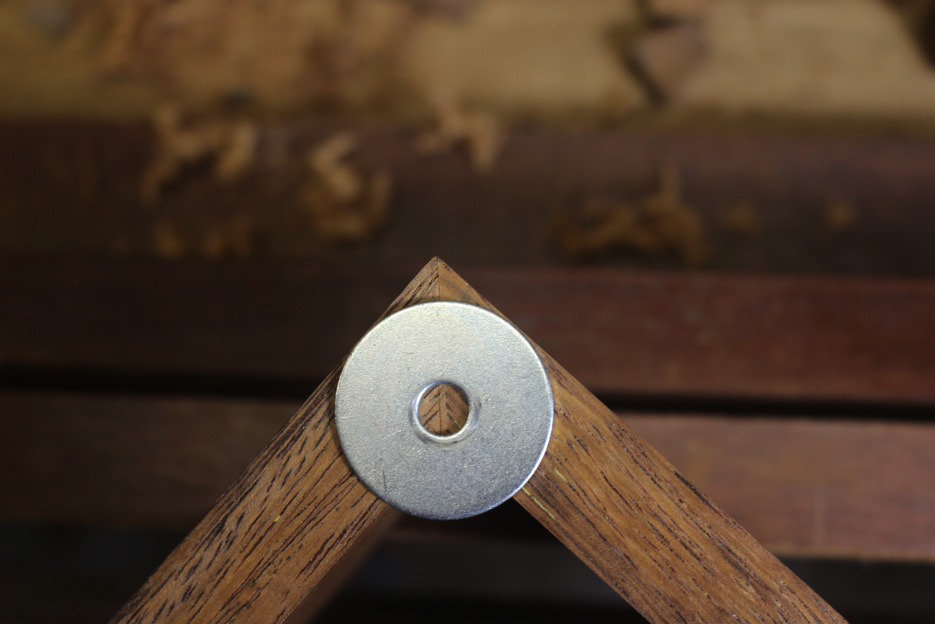
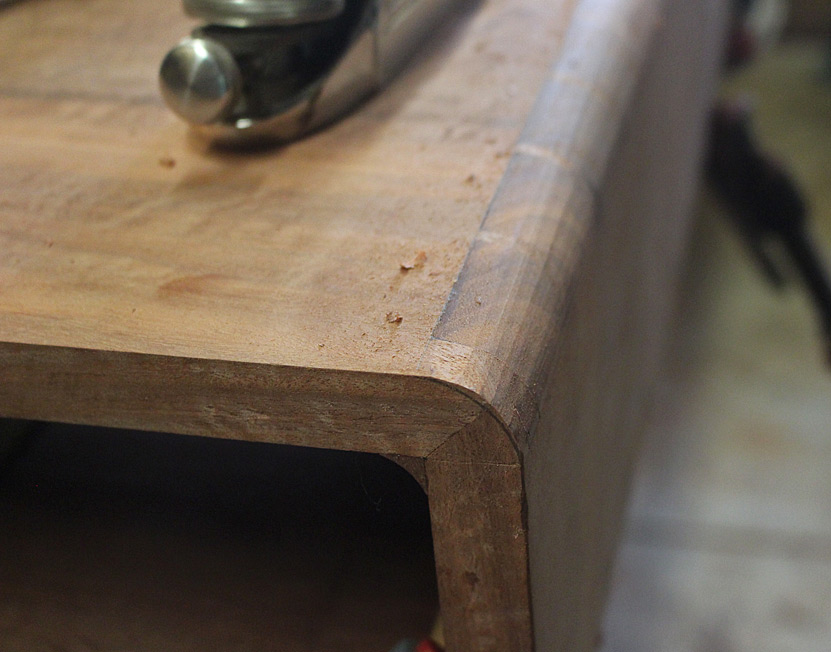
Step 3: shape the ends
I used a larger washer than this one this time to mark out the curve (as the radius needed to be reduced) ...
Then began planing ...
Refined with a block plane ...
... and finished with sandpaper.
That's it for today. Next I begin the tapered and splayed legs.
Regards from Perth
Derek
Guest
Holly hell Derek!
What a pos.....
Me likey very much!
 Posting Permissions

 Reply With Quote