Well I guess it not quite a Phoenix, but the bench build was in threat when I left off at the last report.
I had reached this point ... the top was looking good, and I was ready to assemble the base.
And then Perry, my ex-friend, discovered that I had inserted the dog strip back-to-front! Bugger. Looking through old photos I realised that the dry run had them the correct way, and I had marked them for the glue-up ... and then misread my markings. Bugger again.
A repair was complicated by the fact that the dogs angled 2 degrees ... now in the opposite direction!
Many on the forums recommended that the best way to deal with this was either to fill in the dogs and drill them for dowels, or to try and insert a shim and re-chisel the dog angle. It struck me that few were willing to start again - to cut out the dog hole strip and re-make it. Modifications as repairs are rarely satisfying. It is far better to have the Real Thing, even if this means pushing the envelope to do so.
Reshaping the dogholes is not practical. It is not just that they slope at 2 degees on both sides of the shaft, but that the head of the dog faces the wrong direction. Even if you turn this around, the support for the dog hole head is now absent. I don't want patches.
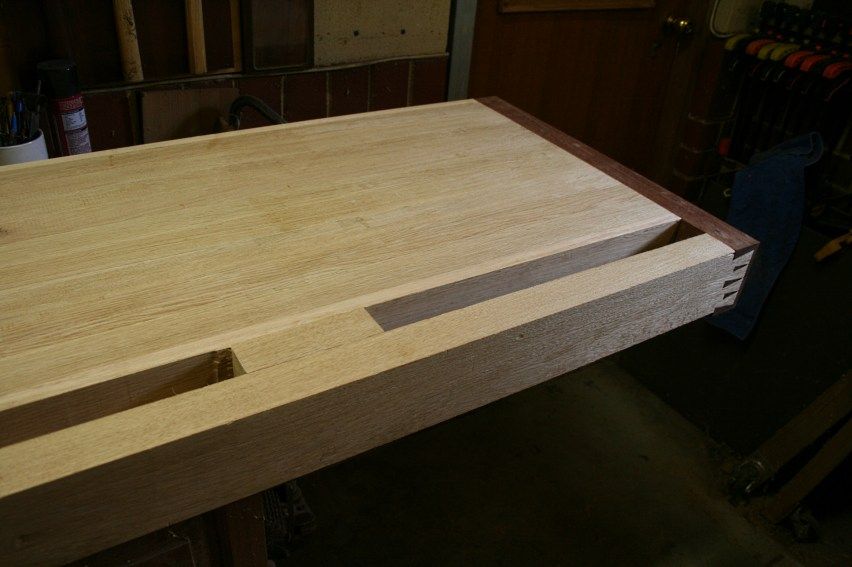
The plan was to remove only the dog hole strip as far as the last dog hole. There is no need to touch the side board or the area for the tail vise, and the latter includes leaving the dovetail well alone.
I must say a big Thank You to Perry who came over this weekend to help. I really could not have done this without him. The bench was rotated several times. Most importantly, Perry made sure I did not get anything back-to-front!
The main working tool here was a powered router. A series of guides were built to use with a bearing bit. The sides were deepened in a progressive manner, working to a few mm of the final dimension for the dog hole strip.
Top ..
Bottom ..
... keeping well away from the tail vise area ..
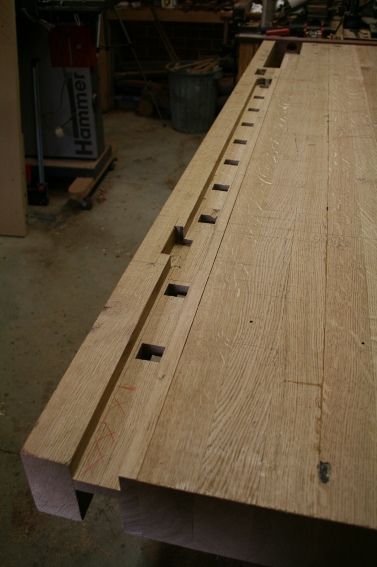
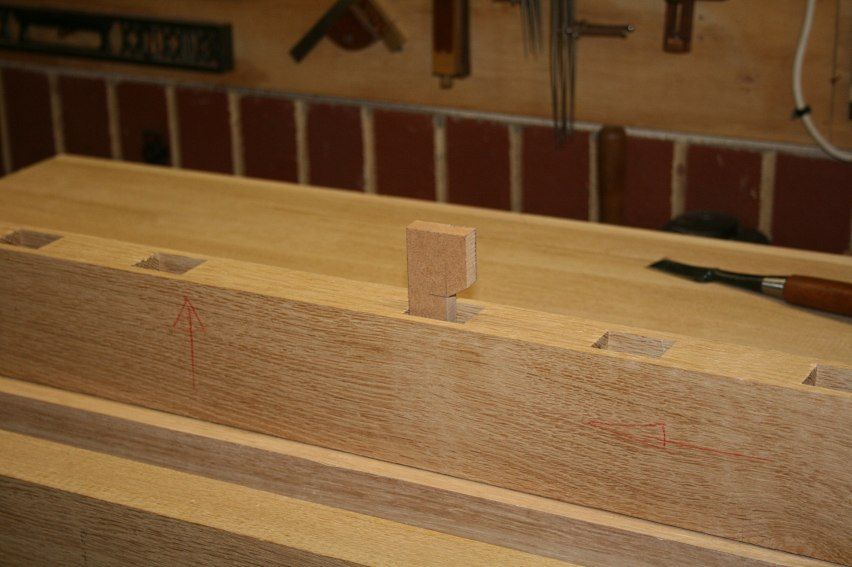
I had managed to beg another 4"x2" board in European Oak, and this was turned into a new dog strip with dogs 3" apart. This was an upgrade on the previous dog hole strip, where I joined pieces together having run out of this wood. It had look OK, but there were joins if one looked carefully. Now the strip was one continuous piece.
Checking that the strip ran in the correct direction!!!
A temporary planing stop while I fine tuned the insert ...
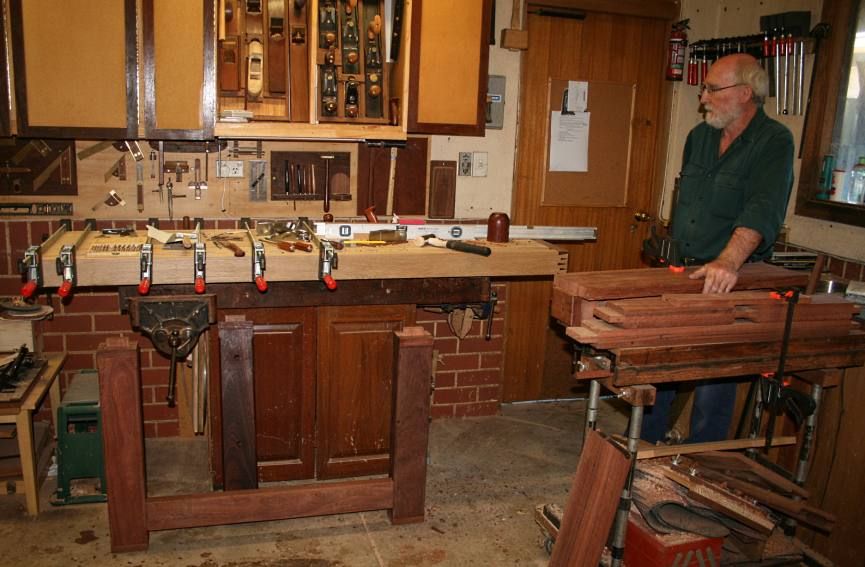
Here we are, glued up, the strip a little proud of the bench ... Perry looking on. Thanks again Perry.
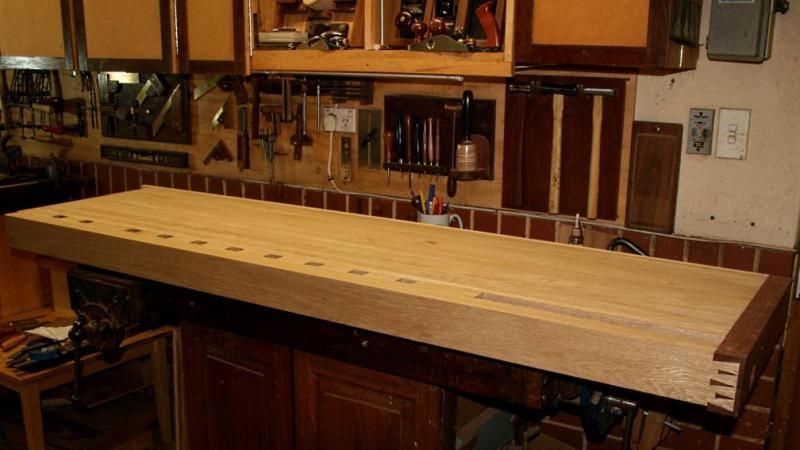
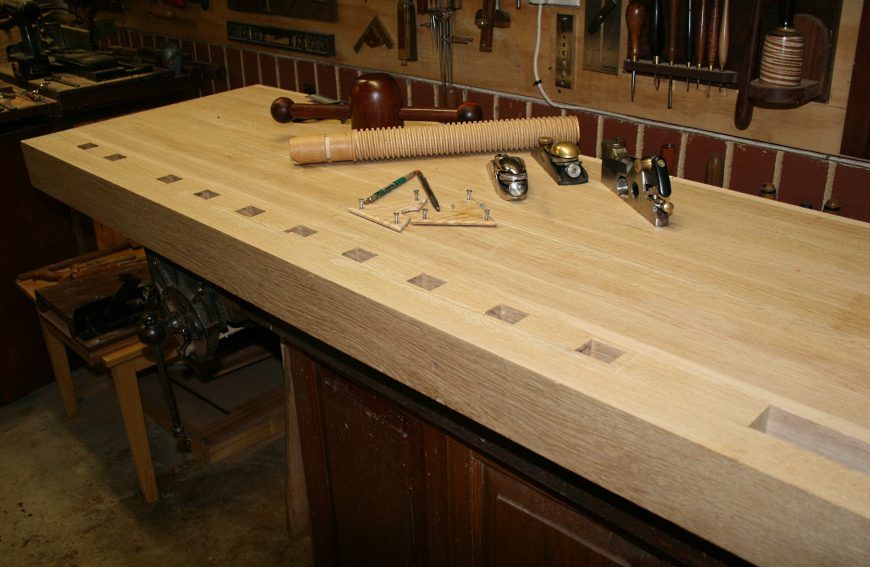
That was Sunday night. I finished work today and had a few hours free. The first thing I did was plane the raised strip flush with the bench ...
Even with a close inspection it was not possible to see that there had been a repair.
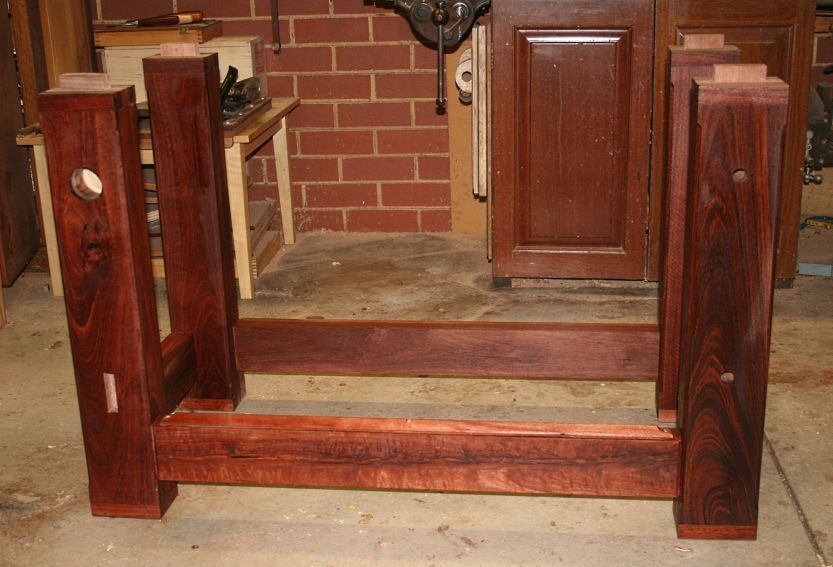
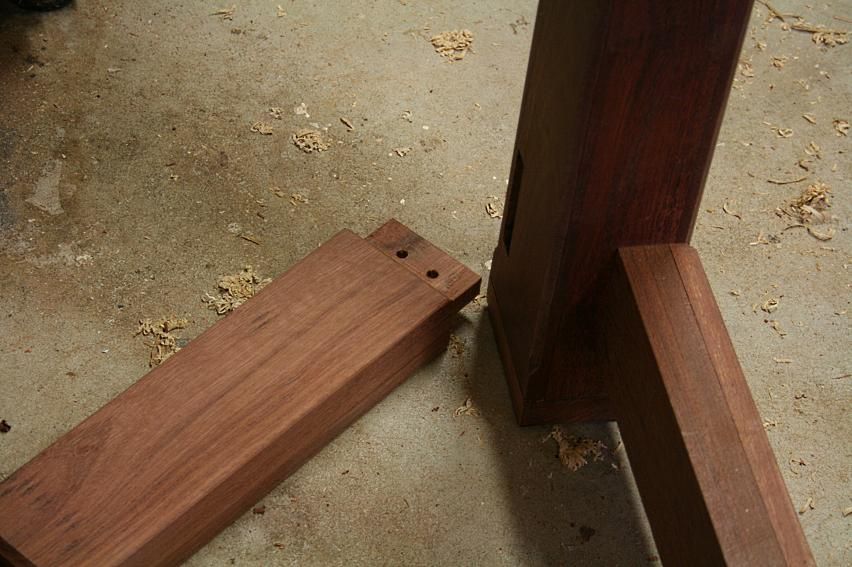
I am delighted with the way it turned out. On a high I decided to nail together the base.
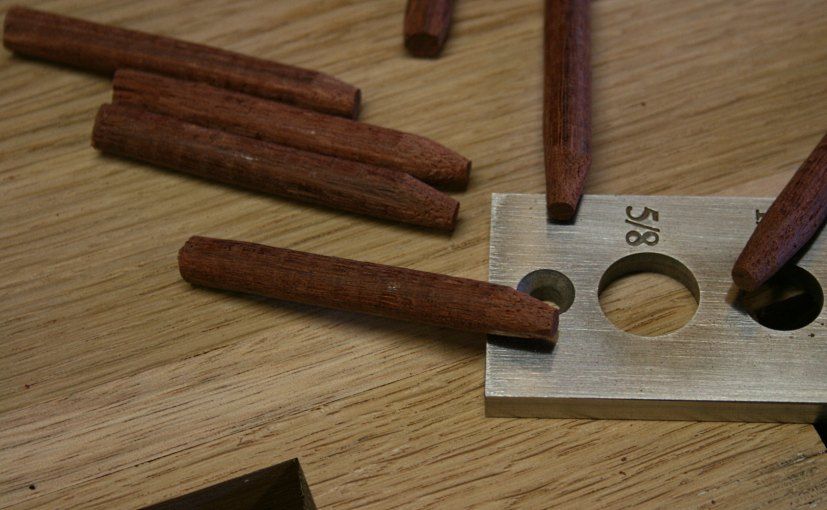
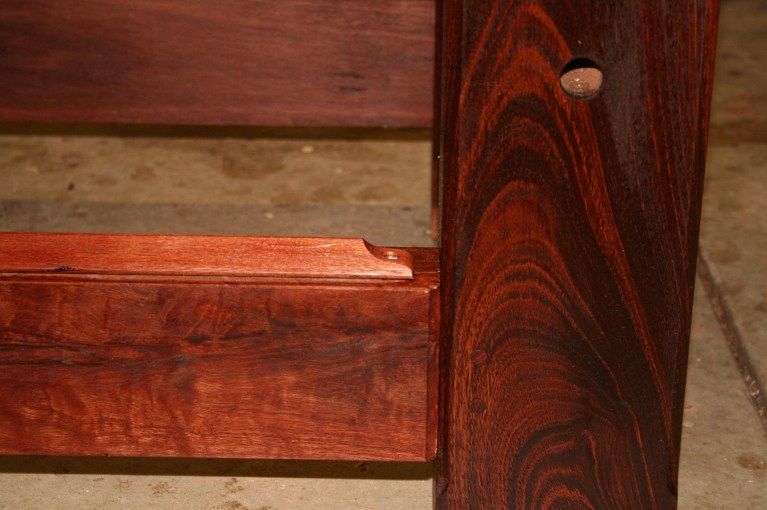
While preparing to draw-bore the stretchers into the legs ...


 Reply With Quote