Keep the posts coming John, I enjoy watching your experience as you start and learn the art of CNC.


 Contributor
Keep the posts coming John, I enjoy watching your experience as you start and learn the art of CNC.
Contributor
This is a simple vacuum clamp, first one that came to hand Just a block with a hole in the edge lined with vacuum hose connecting with a hole through the face and some closed cell foam tape. Usually the tape is thicker and let into a groove half its thickness. This particular fixture has a hole through both faces so it sucks down to a bench top. My spoilboard is too porous for that, so the fixtures used on the cnc are screwed down. They can be indexed to the spoilboard with dowel pins.
DSC_0789[1].jpg
 Moderator
John, keep on "doing things"...as you learn things via the tutorials, gradually increase the complexity of what you draw, toolpath and cut. Stuff will gel as will the necessary habits to stay consistent which reduces errors. It's really good to be "anal" about some things!
--
The most expensive tool is the one you buy "cheaply" and often...
[OP]
Contributor
Thanks Kevin. I made a small vacuum test fixture a week or so ago as I was waiting on the delivery of my machine, not a lot different than what you showed. Glad to see I was on the right path. I like the dowel locating holes idea. That will both locate and anchor it to the spoilboard.Originally Posted by Kevin Jenness

John
Contributor
I should mention one other work holding technique you may already be aware of. Attach blue tape to the spoilboard and bottom of the workpiece, then apply CA glue to one surface, accelerator to the other, and press together. I have used different types of double-stick tape but this is much easier to remove from the work and will stand up to moderate cutting forces.
I have found that, as with turning, holding the work is a considerable part of the battle. Vacuum is particularly good as it tends to hold parts down flat everywher, not just at the perimeter as with clamps.
Jim mentioned consistency of habits. You may want to develop a checklist to help avoid errors - there are so many ways to screw up. A list might include setup parameters including z clearance. correct tool, rpms, feed rate, feed direction, origin location, depth of cut, tool zeroed to the spoilboard, work clamped in the correct location, dust collection turned on... you will find out what to include as you make mistakes. In WIN CNC I can open up the g code in edit mode and review that the bit is being sent to the proper coordinates- sometimes I will do an "air cut" or test on scrap.
[OP]
Contributor
I've been relying on a mental checklist so far, which probably means I'm doomed to hose up soon. I did have a near disaster related to clamping a little while ago when the dust boot impacted one of my clamps on the outside of a cut. I hit the E Stop before any real damage was done, just lost one of the clearance disks around the router bit. An air cut would have identified the issue.
I do know about the tape/super glue/tape method. It likely would have worked well today. I ended up screwing the piece directly to the spoilboard - well outside of the cut area.
Is WIN CNC a paid for piece of software?
Anyone using a brad nailer that shoots plastic nails? That looks like a fast and convenient way to hold things down.
John
Moderator
WinCNC is a paid CNC controller software and is quite robust...but I don't see that mentioned as the controller for OneFinity on their website. They appear to provide a BuildRobotics Open-Source CNC controller. My Camaster machine uses WinCNC.
----
A lot of folks use composite brads for hold-down, particularly with sheet goods, when they don't have a vacuum table. I've been considering getting that for my setup...I most often use screws.
--
The most expensive tool is the one you buy "cheaply" and often...
Member
Best of luck learning & producing ! Is the frame they sell with these unnecessary with mounting surface like you have ? Is the frame useful for a more mobile setup ?
[OP]
Contributor
Thanks Dave. Yes, the frame is unnecessary if you mount it to a table. They even say you can set the whole thing on your dining room table and mill inlays into it. The frame is needed for a mobile set up, unless maybe you build a rigid metal frame. It's also supposed to allow quick change of the spoil board elements, hence the name QCF (Quick Change Frame). Not sure I see that as too important, however.
John
 Contributor
I have the Infinity QCW (Quick Change Wasteboard) frame on my CNC. It is a pretty solid frame of aluminum extrusions.
It doesn't actually bolt to a table, it does bolt to their rolling frame.
I checked it for flatness, co-planer across the diagonals and it seemed good.
I trimmed my Z in left/right, front back directions, using a piece of 1/4" glass leveled. I then surfaced my 48"x32" spoilboard as it required two passes at .005" to get it completely flat.
Here's a picture of it before I installed the spoilboard panels.
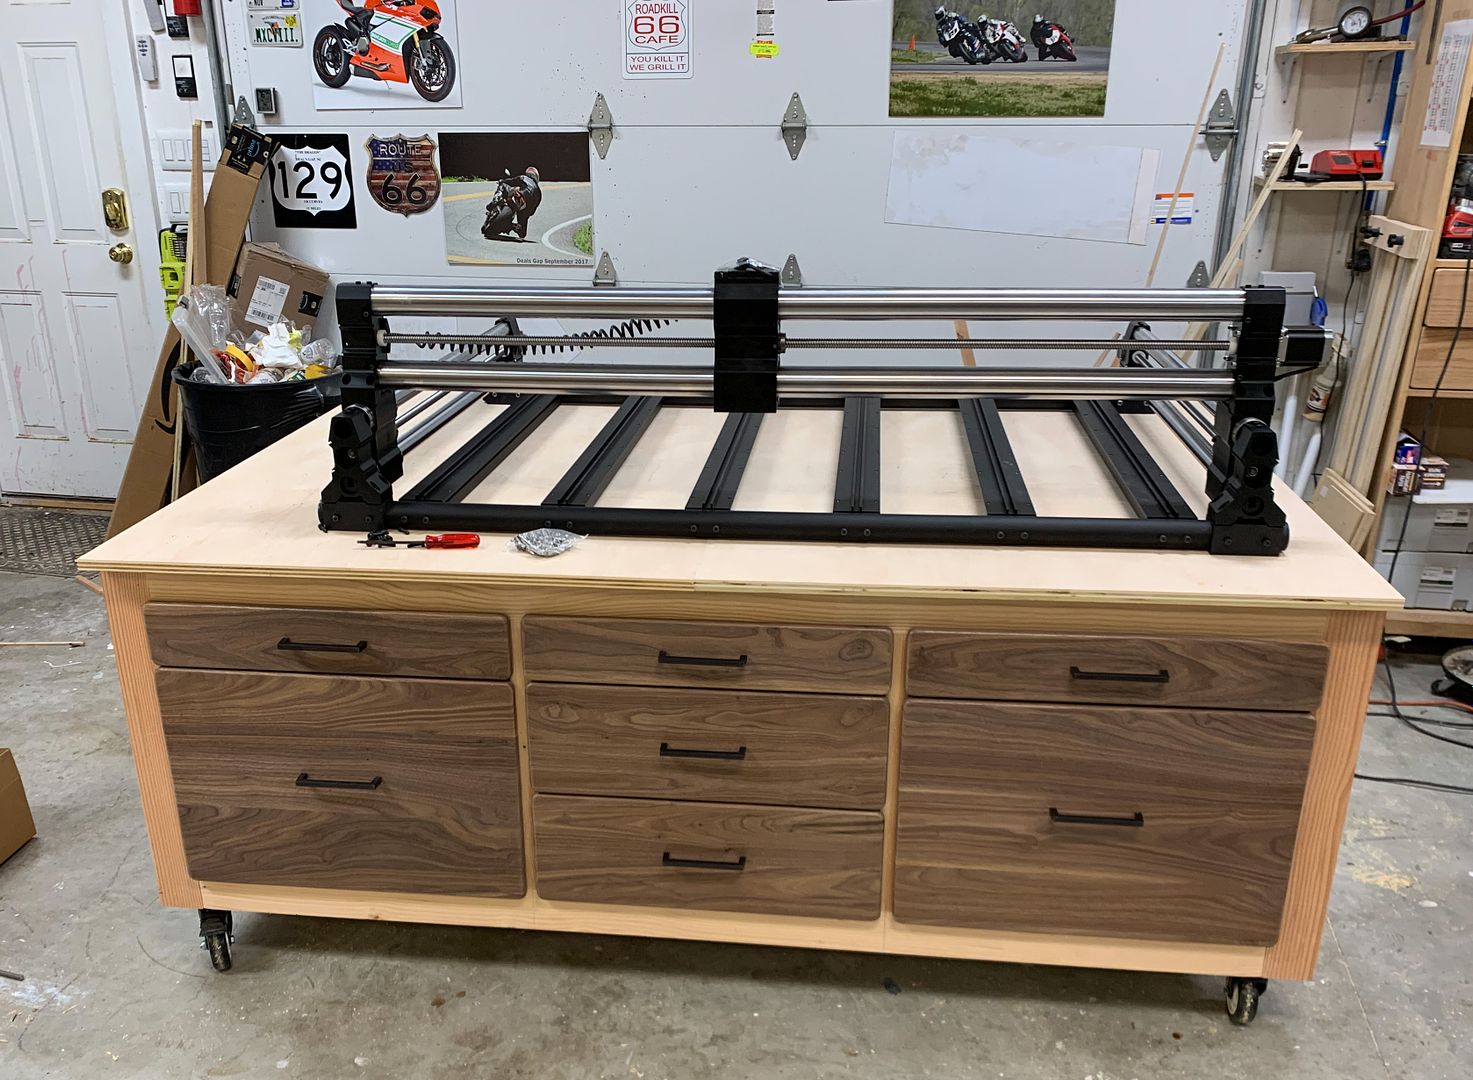
[OP]
Contributor
Great looking setup you have Chris. I had to take about 0.030" off my spoilboard to get it flat everywhere so clearly you built your table flatter or the QCW helped out a lot.
John
Contributor
Most likely the QCW, I had to shim a gap between the table and one foot of the QWC.
Contributor
Yes, I'm pleased with the way it turned out. Cut two sets of clamps on it yesterday.
Doing a little cell phone charger base today, test cut on some scarp plywood, which I screwed up. Will do a couple of finished items in Walnut tomorrow.
Member
These days, unless you pay for F360, you'll find the CAM portion has quite a few limitations. The more advanced toolpath options are disabled and you can't include tool-changes in a single file. So for a lot of things, V-Carve works out the same and it does have a more simple interface. But if you ever decide to get into 3d machining in a big way, you'll be upgrading to Aspire and probably F360 or one of its competitors. I'm still dabbling but I have a full version of F360 courtesy of work.
Last edited by Rob Young; 02-28-2022 at 10:06 AM. Reason: can't type
Don't sweat the petty things and don't pet the sweaty things.
 Contributor
Ordered in May, machine came in September, qcw came in December, assembled by Christmas. Finally ran my first Saturday. I dont have a current picture, but I added Ivac gate anrerouted the gate to be located at the top of that 6" riser. Gate wired to a rib that energizes when I turn power strip on, along with watercooling monitor and onefinity.
The cut didnt come out great. I think I could have gone a bit snugger on the hold downs. Also I painted board white and layed down Oramask. Instead of going right to black I should have seeled the oramask with the same white. then painted the black
20211213_053410.jpg20220226_130710.jpg
 Posting Permissions

 Reply With Quote