
Originally Posted by
Frederick Skelly

Which plan did you use John? Would you mind sharing? It would be a fun afternoon project.
Thanks.
Fred
I followed the design I saw on a YouTube video; sorry, can't remember for sure which it was. But it's so simple these photos should be sufficient. Here are the parts:
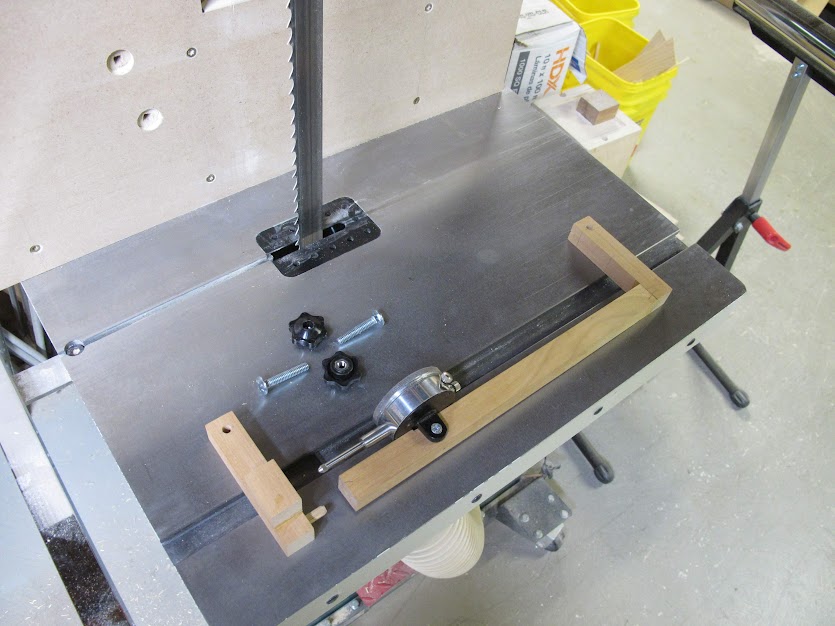
The upper two pieces of wood are doweled and glued together. The dowel in the lower piece slides into an oversized hole in the bottom of the vertical piece of wood that holds the dial gage. Here is the meter mounted on a blade.

The gage length (the length of the spine) on my meter is 12". The Young's Modulus of steel is approximately 30 x 10^6 psi. Therefore, for every 0.001" the dial gage moves the tension changes by 2500 psi. So if you want to put 25 ksi on a blade, like my Woodmaster CT, you need to increase tension until the dial gage changes by 0.010". For a meter with a different gage length use the following formula:
Dial gage change (0.001") / gage length (inch) x 30 x 10^6 psi = Tension in psi.
To use the meter, install the blade, put a moderate amount of tension on it and get it to run on the wheels where you want it, then lower the tension to zero. To do this put the tension meter on the blade, making sure there is a gap of about 0.020" between the bottom clamp block and the spine. Now reduce the tension on the blade and watch the dial gage. When it stops moving you are at zero tension. Repeat it a couple of times to confirm. Now either reset the dial gage to zero or just note the reading. Now increase blade tension to apply whatever amount of tension you want.
JOhn
Using this gage I found that the difference between applying 25 ksi to a Woodmaster CT and 42 ksi is surprising little. At 25 ksi the arrow on the saw's tension indicator was just below the 1" blade mark while at 42 ksi it was just above it, less than 1/2 a turn on the tension wheel.


 Reply With Quote
 Please help support the Creek.


