Control circuits for heads, beam up and down, forward/reverse, all the limit switches, the controls for the hydraulic feed, feeder deck, VS feed control, DC braking for each head, there is more I am forgetting.Originally Posted by Martin Wasner


 Guest
Guest
Control circuits for heads, beam up and down, forward/reverse, all the limit switches, the controls for the hydraulic feed, feeder deck, VS feed control, DC braking for each head, there is more I am forgetting.
 Moderator
Totally.......
--
The most expensive tool is the one you buy "cheaply" and often...
 [OP]
Contributor
[OP]
Contributor
Gives new meaning to the idea of a walk in closet
Bumbling forward into the unknown.
How did I miss this thread? Excellent attention to detail Brian! Any chance you are doing a YouTube series on this rebuild?
NOW you tell me...
Guest
That makes sense of all of the adjustments are motorized. You probably add 40 wires with each head.
My moulder is pretty simple, even the feed rate is mechanical with a cvt.
Brian, I've said it in my head a dozen times, but it really does look fantastic.
[OP]
Contributor
Thank you, both!
Bumbling forward into the unknown.
[OP]
Contributor
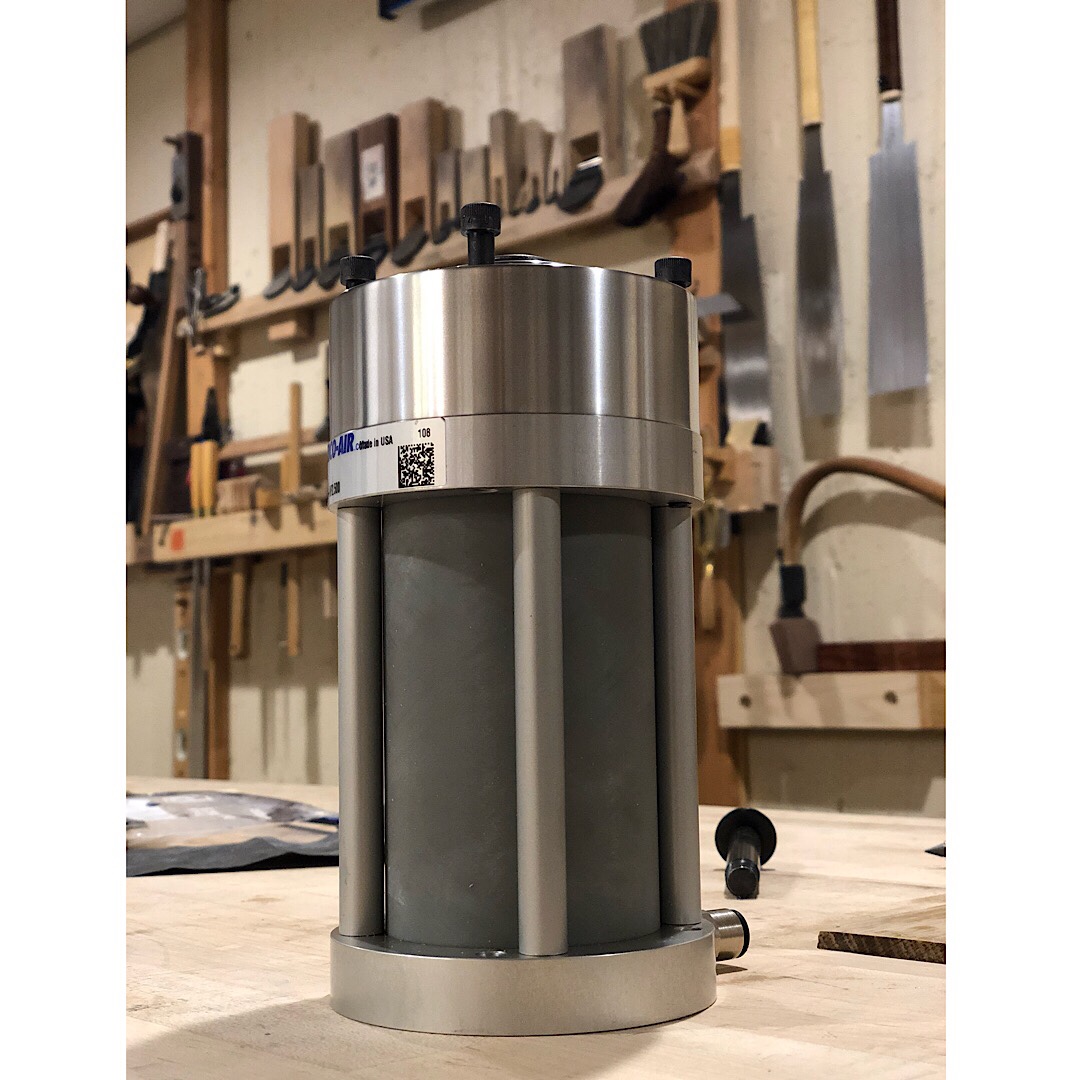
Returning to the mount, I finished cutting these parts on the mill. I don’t have a metal lathe so I used a rotary table, it took eons but maybe still less than it would have on the wood lathe.
in any case, I used a roughing bit on the mill to size it, it leaves a cool finish but departed drastically from the air cylinder. I cut the finish on the wood lathe then polished it up to be comparable.
Next I need to make a hole in the side, along with a bearing surface, for the shaft that held the previous clamp. Then buy bolts sized the correct length.
Bumbling forward into the unknown.
[OP]
Contributor
Also I plan to make some bolt holes in the piston so that it can hold a piece of wood to be used as the clamping surface.
Once the bracket is cut for a hole in the side I will put it back in the lathe and polish the face.
Bumbling forward into the unknown.
Moderator
The contrast of that very modern looking metal cylinder assembly sitting with those nice, traditional Japanese hand tools in the background is striking from a photography standpoint...And wow...you do great work! Very creative using the table on the mill and then finessing on the wood lathe. Bravo!
--
The most expensive tool is the one you buy "cheaply" and often...
Contributor
Your metalworking skills are impressive Brian! I have been almost a week now restoring my Festo feeder polishing, painting and some minor repairs. Well, it looks OK but nothing compared to your work!
You made a comment here early on about how painted bolts bother you. I polished up mine as best I could but wondering if blackened might look good. Do you know the process for that?
Contributor
Brian, i always enjoy your posts and am very impressed with your talent and craftsmanship.
Also, your sense of humor isn’t too bad either; “cut by Phil” was one of the funniest things i’ve Seen posted in awhile, and i am sure Phil enjoyed it too.
Wish you lived in my neighborhood. Patrick
Contributor
No kidding Patrick, I wish he lived next door!
Guest
There has got to be something Brian is not good at. He must be a idiot savant of some sort.
Wait I know what it is, anything half assed!
For real though you must lack social skills or something major. No way your this good at everything lol..
[OP]
Contributor
Thank you, Jim! Much appreciated.
Joe, thank you! I’ve seen your rebuild of the shaper, you do fine work! That machine is a beauty.
Wrt the bolts, the best thing is to preserve the black oxide, if possible. I soak the bolts in acetone until the paint lifts then brush them with a nylon bristle brush. That does a nice job. Oil them afterward. If they’re damaged at all just replace them. If they’re common sizes and the coating has been removed it will be less expensive to replace them. If they’re unusual bolts then it may be best to hot dip them. I continue to experiment with various cold blues but none are very durable, so I will use them to touch up a part or put a coating on a bare part but that is one part of my process id like to further improve.
Thanks Patrick M! I manage to get myself in trouble often enough with a one-liner...I just can’t help it sometimes.
Hah, Patrick W, just ask my wife, she will tell all of my secrets.
Bumbling forward into the unknown.
[OP]
Contributor
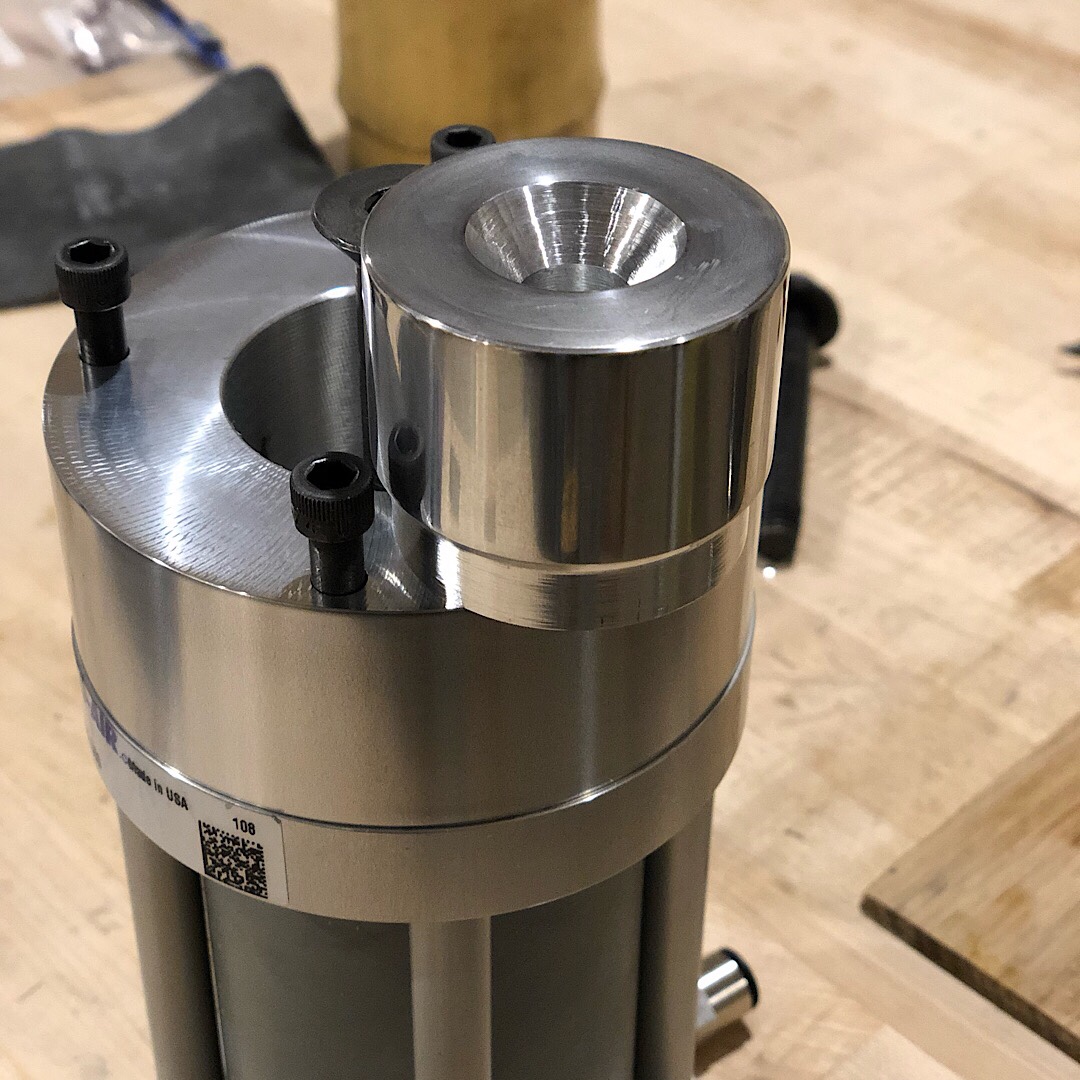
Finally finished up this part, decided to leave the machined finish in the top. Knocked the piston down a bit and fitted the side for threads. I will thread the shaft next.
Also, I’ve formed a plan for the chipbreaker and dust hood. I plan to build both before I run the machine so to avoid the temptation of skipping the dust hood for any length of time. Sawdust and a lack of regreasing were the main culprits in all of the frozen parts, no sense in continuing that cycle.
Countersunk the bolt heads.
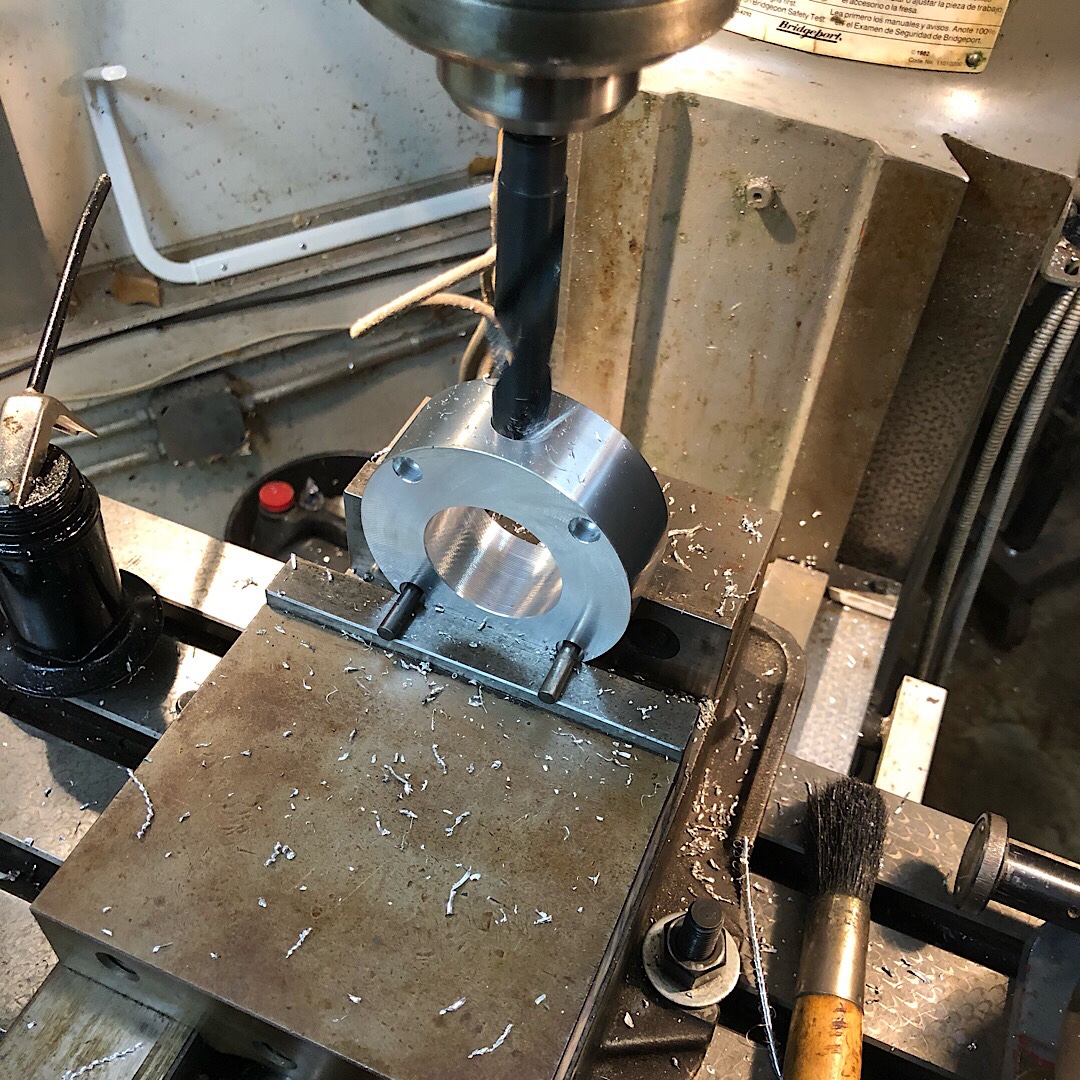
I did this at the wood shop, needed an easy solution so I drilled a 1/4” brass rod to fit the end of a stepped drill bit. Worked great and was very easy to find center.
Easy way to get the angle. I found center using a fitted pin
I don’t have a good sized end mill for cutting the shoulder, so I used the rotary table and a carbide end mill. Was very happy with the cut. I sunk the threads down a touch to allow for a step on the shaft. The step will make for a precision fit and very sturdy arrangement between shaft and mount.
Wrapped up.

Last edited by Brian Holcombe; 12-06-2018 at 8:59 AM.
Bumbling forward into the unknown.
 Posting Permissions

 Reply With Quote