
The G0490's are DJ-20 clones and until recently shared this holdover from days gone by. The newer Griz units have an enclosed chute. Mine got fixed quick and easy like so:Originally Posted by David Nelson1


The G0490's are DJ-20 clones and until recently shared this holdover from days gone by. The newer Griz units have an enclosed chute. Mine got fixed quick and easy like so:
"A hen is only an egg's way of making another egg".
Samuel Butler
 Member
I hope Alan Schaffter is still following this thread because I want to give him a big "shout out" for this great post. No more than 15 minutes prior to finding this post, I had opened up my DJ20 and it did not dawn on me as to the solution. Before implementing Alan's solution, I tried a simpler approach of adding "side boards" to the dust chute. This consisted of adding 1/4" plywood to the two vertical sides of the dust chute. This was better than the fully open top of the dust chute but still left something to be desired. Next, I implemented Alan's solution except that I used Gorilla Tape to hold the plywood in place; this will work in short term but am looking for alternative to screws in the vertical side walls of the dust chute. I have a 10+ year old Delta 14" band saw that I bought new and it's dust collection is equally as atrocious. I implemented someones recommendation for a shop built add on that works ok but not as good as the DJ20 implementation. Delta seemed to think gravity was an adequate dust collection system. I encourage all woodworkers to let their favorite woodworking journals know that when they do tool reviews, there is a minimum functionality required for dust collection before power tools will be considered for review.
[OP]
Member
Thanks. Wow, that was 10 years ago!I'm still around, though not as active on the forum. I occasionally had/have good ideas- INCRA IBox, Infinity Lock Miter Master (both licensed and one patented), and many "Shop Tips" published over the years. Would you believe that none of the WW mags at that time would accept/publish my tip on the DJ-20 & clones dust collection fix? (I believe I was the first to identify or at least publicize the problem.) They wouldn't even acknowledge the issue!
I think back when Delta designed the DJ-20, dust collection was done with a coal shovel and garbage can!
I also added a dust pickup to the underside of my bandsaw table. It took a little work to design something that would not require modification to the saw, would capture most, if not all, the dust, yet still allow access to the underside of the table, allow the table to tilt, and be quickly and easily removed. I came up with a design that met all the requirements, however, I never refined it to the point where I considered attempting to license it or publish plans. Something for another lifetime I guess.
Early version:
More advanced, less-is-more, version:
I used the existing holes and bolts that hold the rip fence front rail and rear slide to attach two pieces of steel angle to the table. (I considered attaching the shroud with magnets but the ones I had onhand were not strong enough)
The chute is attached via a hinge to a piece of ply which fully encloses* the underside of the table. The ply is supported by and rides on the angle. It easily slides in/and out and is fully removable which allows full access to the underside of the table- you to can change blades, access/adjust the lower guides, and adjust the table tilt. Hmmm, maybe I should have taken this to the next level- with a few different bottom plates and simple molded plastic housing it probably could be made to fit almost any bandsaw. * I left the back (side facing the saw's upper frame) open to provide a source of make-up air.

Contributor
Alan, I agree with others here; the chutes were originally designed so chips fell on the floor, to be swept up later (probably by the guy with the least seniority). When I refurbished my Delta 37-315 8" jointer, I tried to remedy collection with my own setup (see photo). I had Delta's 6" jointer and saw the same problem you see. I have an oversized Oneida for my shop needs, but still made a change to the chute. Chips go straight up the 4" flex with ease (it's literally a straight drop from the main 6" duct). Does it get all chips? Nope. I still get some castoffs from the cutter head. But, I think it's good enough for me. Good luck with whatever you decide.
IMG_1876.jpg
I can't tell from your photos if the bottom of you cabinet is open. There is foam tape that shows in the one photo that appears to be part of the seal for the cabinet side. Your motor is a TEFC type motor so it is depending upon the fan on the end of the motor to keep the motor cool. If the motor is inside and enclosed cabinet you won't get good cooling for your motor. Delta might have been relying upon the air flow for motor cooling. You also need to insure that you have sufficient air inlet so that air can get it so there is air flow in your now enclosed chute. You need as many square inches of inlet opening as you have for the outlet to move any chips.
Lee Schierer
USNA '71
Go Navy!
My advice, comments and suggestions are free, but it costs money to run the site. If you found something of value here please give a little something back by becoming a contributor! Please Contribute
[OP]
Member
There is no bottom to the cabinet and there are fixed louvers in both side panels, so plenty of air circulation. I suspect the foam was to prevent vibration noise. Originally, it didn't come with a TFEC- I upgraded the motor many years ago (to 2 hp?), well before I enclosed the chute. There is plenty of free space around and at the ends of the (Shelix) cutter head to allow for sufficient make-up air flow. Besides, a jointer, especially with a Shelix head, does not produce much fine dust- most is much larger than 10 microns.
Also, I never liked Delta's basic mechanical power switch and its location low on the cabinet side, so I added a Delta LVC and Delta-style momentary on-off button assemblies (both from Ebay), one of which I mounted on a stalk made from galvanized pipe (which I eventually painted black.) I also attached two fixed wheels and a Delta-style step caster (from Rockler) directly to the machine sub-base instead of using a separate mobile base. I kinda tricked out the whole jointer:
The step caster is just barely visible below the LVC box which has its cover removed. (you can see a similar step caster setup on the disc/belt sander in the left side of the photo) The rear wheels, one is visible here, are housed in short sections of rectangular steel tubing bolted to the sub-base. All my machines, even TS and router table have a similar homemade integral mobile base.
I also made a rectangular to 6" round duct port from MDF. At first I mounted a manual blast gate at the machine, then used it during testing of my autogates before converting all of them and moving them behind the knee walls and under the floor.
USNA '71 as well! 22/4
Last edited by Alan Schaffter; 02-18-2018 at 3:03 PM.
Member
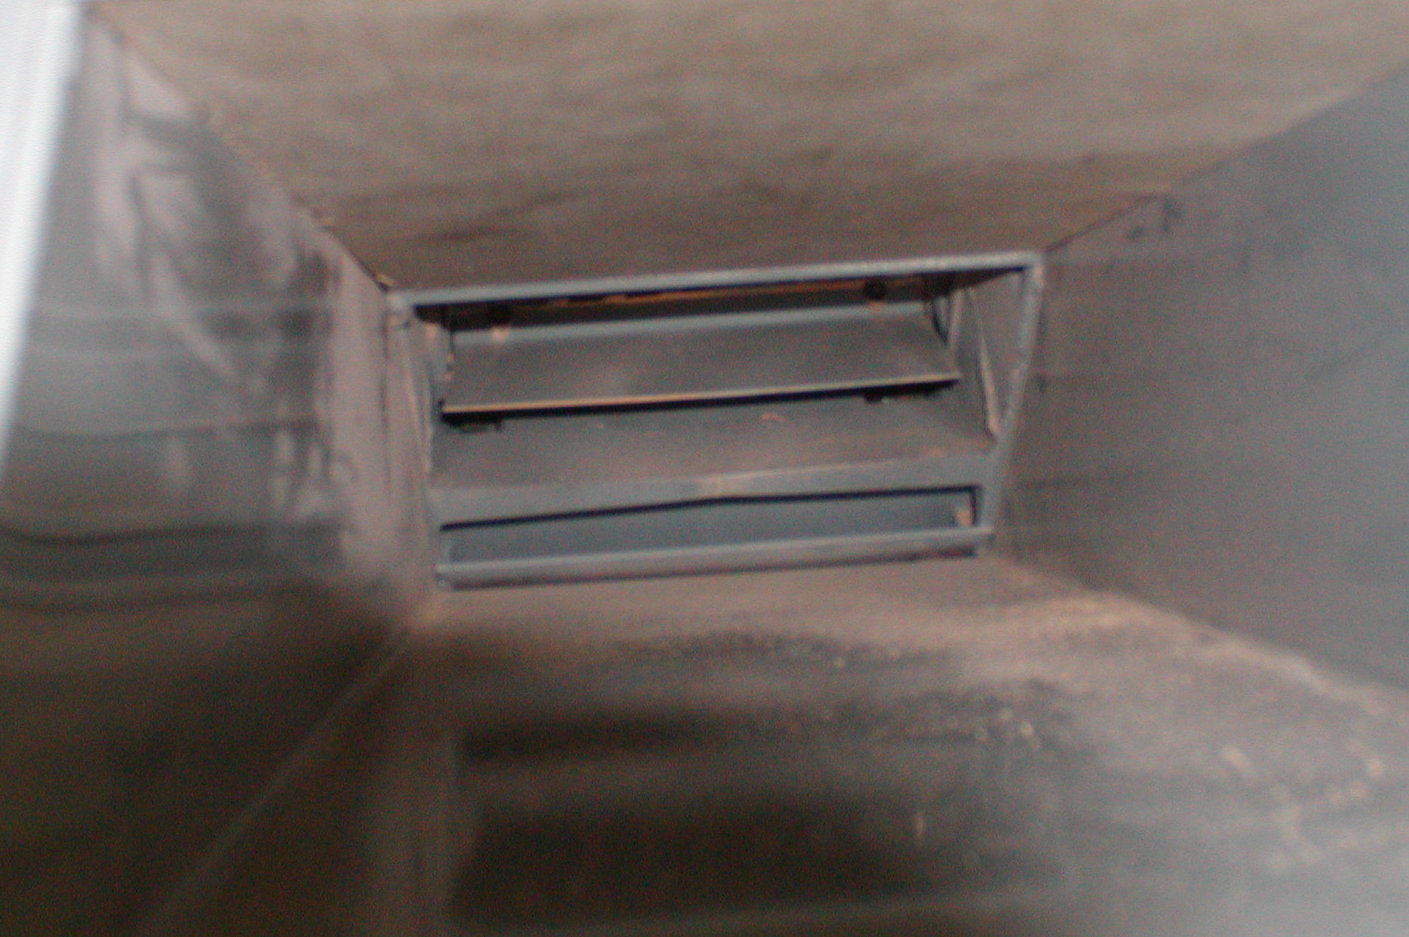
Alan Thank you very much for this information. I just bought a DJ-15 and noticed right away the DC had some issues. Had a question on the perforated chipbreaker located directly under the cutter head. Is that supposed to be installed parallel to the floor or do people bend it so half of it angles to the shaft of the dust chute? Just curious as it seems like your pictures inside the chute show the chipbreaker pointed down. Or perhaps I am seeing the chip deflector? just curious.
[OP]
Member
I don't remember any sort of chip-breaker. I think what you are seeing is a chip deflector. In fact, now that I think about it, I'm certain is a chip deflector because I put a Shelix head on the jointer and there was nothing close to the head like a chip breaker. I just found the photo- yup that is an adjustable louver/chip deflector:
Last edited by Alan Schaffter; 08-17-2019 at 11:50 AM.
Member
Very cool. I recently picked up a grizzly 16" jointer. It had a 4" DC port on the back that I have modified to 6", but I did notice that the entire jointer is open, so i may have to modify mine like you did for better suction. Incidently, I did the same thing with my DC automation. I used an arduino uno and some 5v phone chargers to automate all 28 of my blast gates!
https://youtu.be/mK_IUhmXt68
[OP]
Member
28 blast gates! Wow, you must have a blast gate or two at every branch wye, in addition to one on each machine. FYI, no need to put blast gates everywhere, especially where each branch joins a feeder or the main trunk- as long as blast gates at each tools are closed there is no flow in those branches and therefore no flow, no turbulence, no SP and no impact on CFM/system performance elsewhere in the system.
Except for a single air line supplying low pressure shop air to the solenoid valves/pneumatic cylinders and two conductor bell wire supplying 24V to operate the solenoid valves, my system is totally distributed with no home runs- requires much less wiring and tubing. I use current sensor switches at the outlets so don't need to tap into each machine to get control power or a trigger signal. The solenoid valves are right at the blast gate which are behind knee walls and below the floor of my second story shop.
My autogates aren't pretty, especially the old ones I converted, but all are located behind the wall or under the floor where you can't see them, and they have been working great for over 10 years!
Current sensor switches in electrical boxes adjacent to each wall outlet box. A single lead (either hot 120V or either of the hot 240V) runs from the electrical outlet box to the current sensor box, through the center of the torroid, and back to the outlet. Small orange and black leads are connected to the solenoid switch and 24V source. Current sensor switch by CRC Magnetics (eBay) consists of a simple torroid and an NPN transistor (PNP also available). Can't get any simpler.
New gate production line:
All autogates are behind the wall. All that is visible is the female PVC (hose connection) fitting and gate slide.

Last edited by Alan Schaffter; 08-17-2019 at 4:50 PM.
 Posting Permissions

 Reply With Quote
")


