Update: Saturday, November 17
---------------------
Before I talk about what I did today, I want to talk about a decision I made early this morning regarding the
angle of deflection at the end of the board. I laid out this angle at what turned out to be 110 degrees. This was a result of what I thought "looked good", and not necessarily any thought toward a puck coming off the rubber band correctly. There was a question as to whether that angle was going to be too much, giving an undesirable bounce. Well, this morning, I grabbed a scrap piece of ply and laid out a 90 degree angle. After looking at this scrap on the board, comparing it the "inspiration picture", and imagining how the puck would come off at that angle, I made the executive decision to keep my original 110 degrees. Hopefully that won't bite me in the butt later.

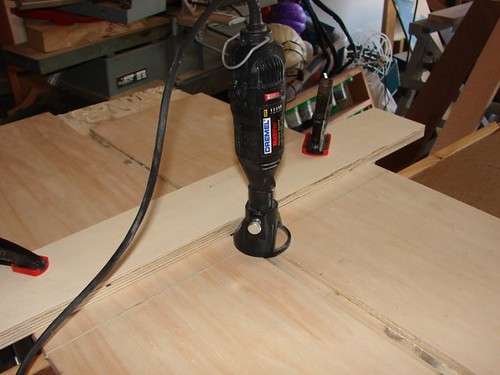
So today, I decided that I was going to try and tackle something new to me, that being inlaying. I've watched a bunch of online videos and read a lot more threads on this subject, and since these were only going to be straight lines, figured that I could do it. I needed to layout and cut a total of five grooves; one for a "Foul" line, and four scoring cells. I was kinda fired-up to put into use a far underused tool, which was my Dremel. I cranked down a spiral straight bit, clamped down a straight edge, and went to town...
It went really smoothly at first. Then my concentration slipped for only a second, and I let the Dremel come away from the edge for a split second.

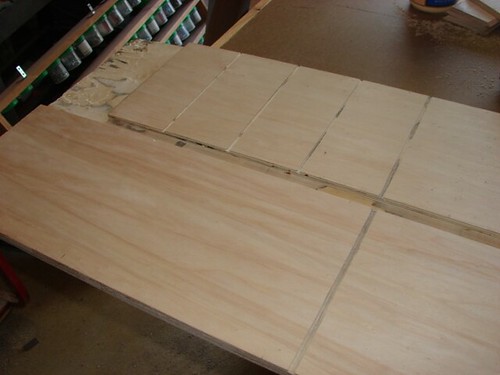
It wasn't a HUGE deal, but was going to cause me to make the inlayed walnut line 1/16th wider than I planned it. Oh well. The process of plowing out all five grooves took about 20 minutes, only because I was trying to be as careful as possible. In the end, it looked like this...
At this point, I got to "milling" the inlay material. To match the trim, I used scraps of walnut. It was a little tricky, and it didn't take me long at ALL to make sure LOML knew that a
perfect stocking stuffer for me this year would be a good set of exacto knives. I did my best with the knives I had, and even managed not to slice into a major vein in my hand.

After a test fit, I glued them in, making sure that I used enough pressure on the 2x4 cauls I grabbed. After the glue set, I grabbed a 1/2" chisel and cleaned up the inlay a bit...
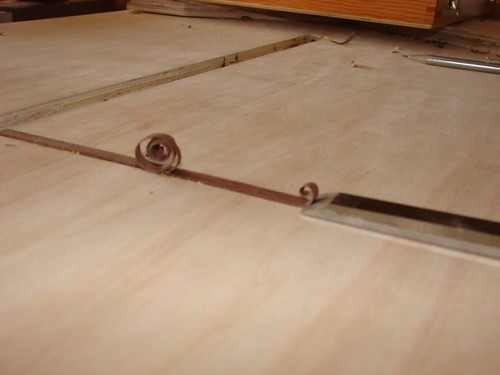
I managed to keep the number of times that I got over-zealous with the downward pressure, thereby slightly gouging the plywood, to
one! BONUS!
")
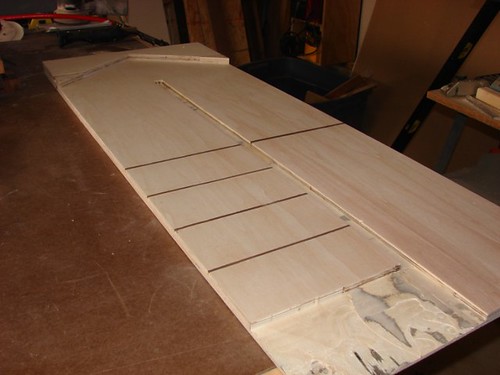
After cleaning up all of the inlays, I gave the playing surface a sanding, taking it through 120, 150, 180, and 220 on the ROS. The sanding process, and subsequent pressurized air I used to clean it off, showed me that I still have a lot to learn as far as inlaying, but overall...I'm OK with the way it looks.
I am going to stain the game surface with a light colored stain, and then apply several coats of poly. For the walnut trim, however, I would like to use BLO. I love the way it brings out the richness in the wood. At this point, I'd like to get opinions as to final assembly and finishing. I'm definitely going to stain the plywood before I attach all of the walnut trim, but should I also apply the BLO previous to assembly, too? I'm concerned with messing up one or the other if I wait until
after final assembly to finish it all. I'd really appreciate any comments or opinions.
Thanks for looking!!
- Keith


 Reply With Quote


 Being that the board is 48" long, and the longest clamps I have are 36", I had to use some CCP.....Creative Clamping Practices.
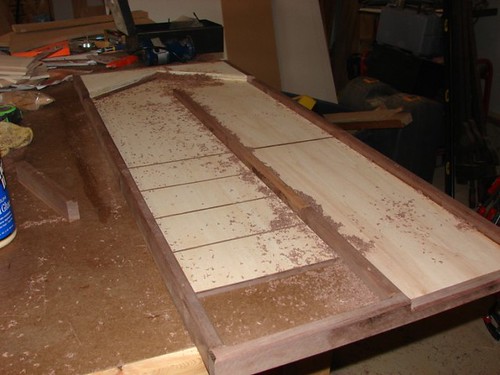


 Next, I will apply the green felt to the hardboard before I glue the hardboard down. I think this will give the gutter a cleaner look than having to apply an over-sized piece and trimming away the extra.