This topic keeps coming up with novices, so I thought it worth writing.
Whether it is a new or old chisel or plane blade, before it can be sharpened the back must first be flattened.
This is more critical with chisel blades than plane blades. Chisel blades must be flat at the back of the bevel since this area acts as a fence when paring. With plane blades one might take a short cut and use a micro backbevel (such as David Charlesworths "Ruler Trick". There is no short cut with chisels.
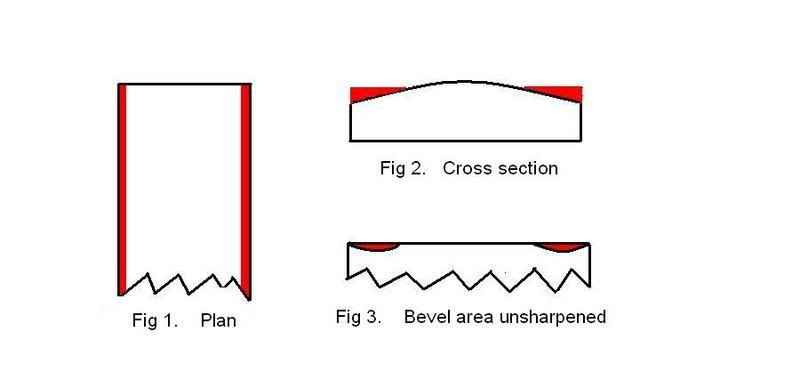
One of the problems facing some new owners of shiny new chisels is that the polishing process dubs the side edges of the blade. The effect is to cause a slight curve at the edge that runs all the full length of the blade, and ends at the bevel edge. This effectively reduces the cutting width of the blade. The diagram below will illustrate this effect.
In Figure 1 the red area represents the rounded edges looking down at the back of the blade. In Figure 2 this area can be seen again in the cross section of the blade. Figure 3 represents the area that remains unsharpened since a flat honed bevel does not reach into the lower areas.
The target area for a polished, mirror finish is the 25mm wide section immediately behind the bevel. The remainder of the blade only need be flat.
The bottom line is that some chisel blades represent more work than others this could be the price of a pretty, polished blade. Moral of the story: purchase the cheaper, unpolished version if you have this choice.
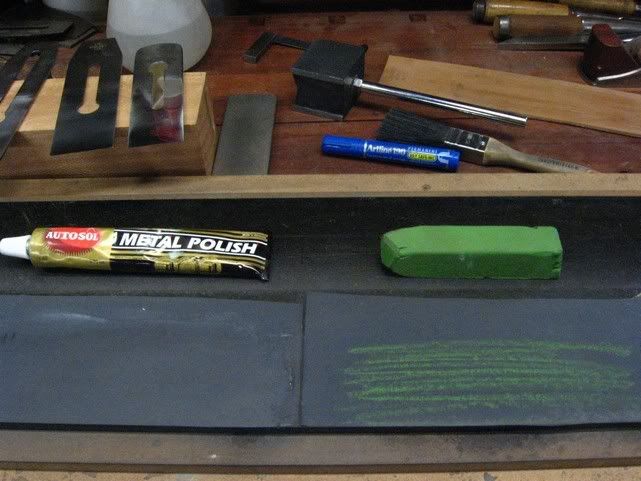
Tools of the trade
There are a number of ways one might flatten the back of a blade. There are mechanical methods, such as using a disk sander or a belt sander. There are hand powered methods, such as Japanese waterstones and sandpaper. Of all these I believe that sandpaper on a flat substrate is the safest method. It is the method I have chosen to demonstrate. Note that this is the method I use others may prefer their own methods.
For ease of illustration I will demonstrate the flattening of a few plane blades.
My lapping surface consists of a 1m long by 200mm wide and 10mm thick sheet of float glass. This is attached to three layers of 19mm thick MDF. Contact your local glazier for an off cut. This is the cheapest option.
There are different types of sandpaper. I am no expert here. Norton has recently introduced a new aluminum oxide based paper, the 3X. Reports are very promising. Up till now the most durable I know of is Zirconium Oxide belt sander belts, but this is only available in 80 and 120 grits. Generally I use emery paper. This is the black wet-and-dry paper. It does not last as long as Zirconium Oxide but it is easier to obtain, cheaper, and durable enough for most applications. One sheet is usually sufficient for at least three plane blades.
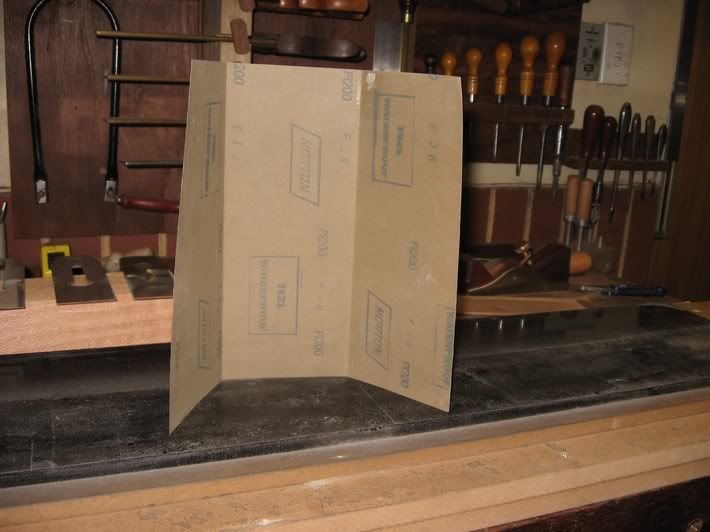
This is cut into thirds and contact glued to the glass surface. I use inexpensive poster spray contact glue. It sets quickly, is easy to pull free, and can be re-applied.
The sanding progression
As with honing the bevel, there is no point in jumping grits. Begin with the lowest that will create a flat surface. Move to the next level that will remove the scratches of the previous level. Continue along this path until the finished surface is both flat and mirror-like. I usually begin with 80 grit, and then move through 120, 240, 360, 600, and 1200 grit. At this point I move to polishing compounds.
Technique
The one absolutely essential criterion is that the blade is kept FLAT on the sandpaper. It must not be rocked as this will dub the side of the blade.
To make sure of keeping the blade flat, ones weight must be centered over the blade, pushing downward as you slide the blade sideways.
You can do this with fingertips on the back of the blade, or you can use a large magnet as a grip.
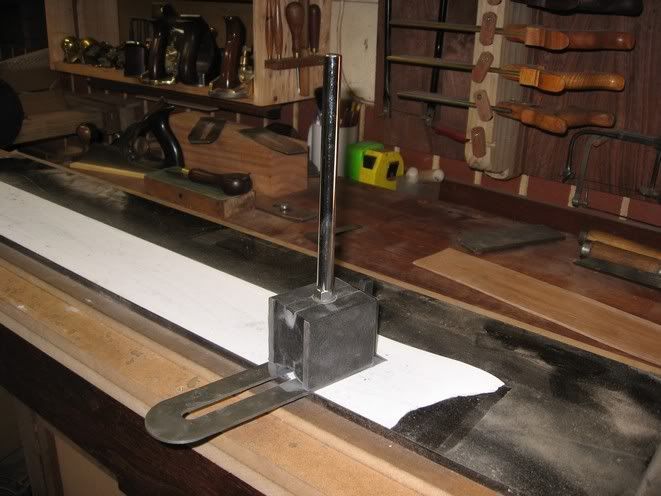
magnet
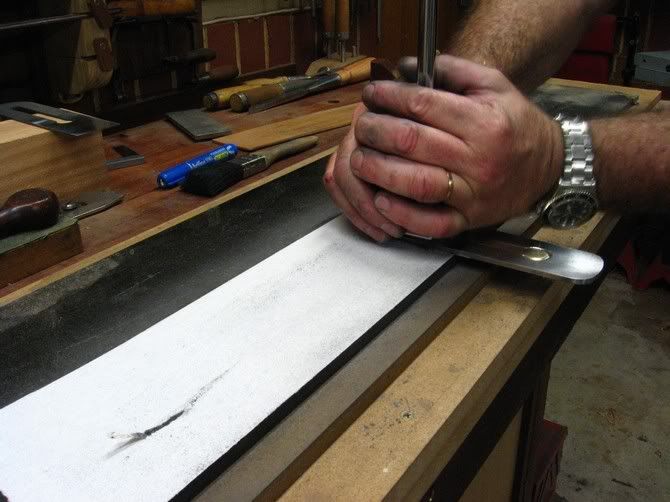
pressing down
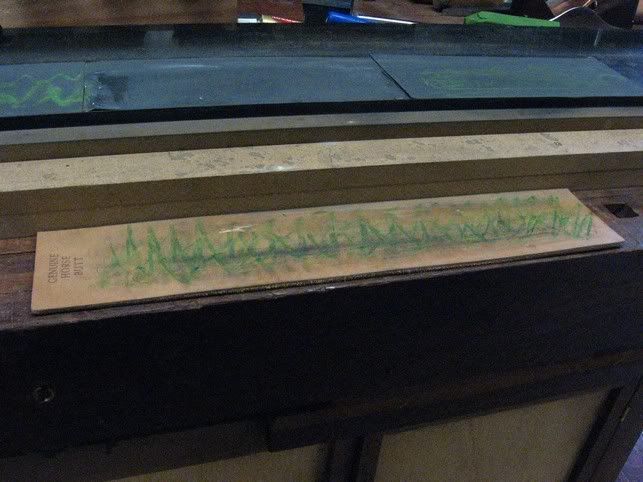
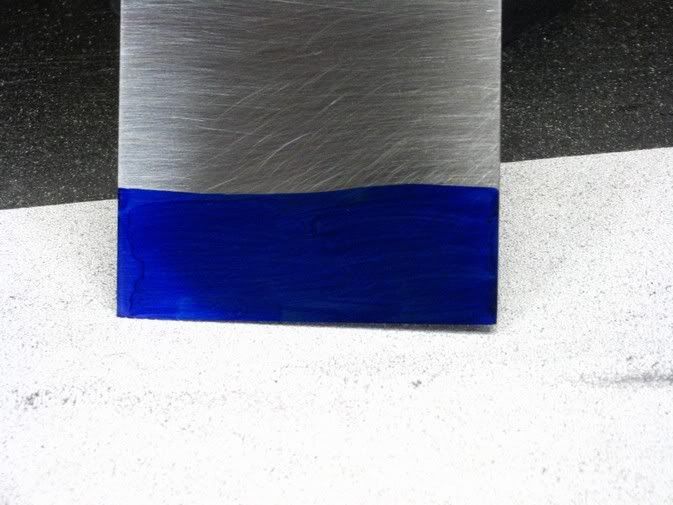
To keep track of progress it is advisable that one marks the area with a permanent marker. This will help one see where are the high and low spots.
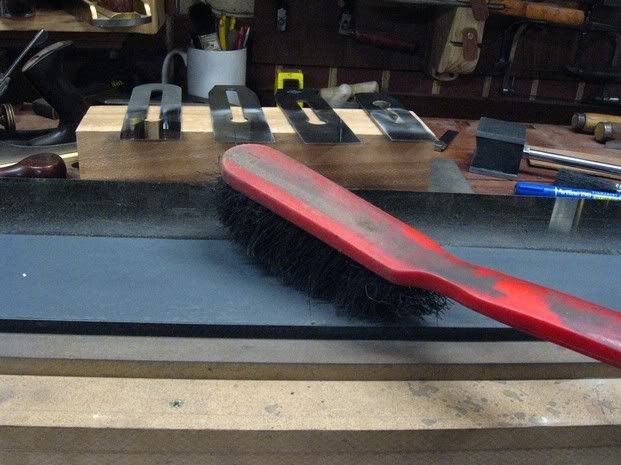
Make sure you keep the sandpaper free of swarf, the filings that are removed by the sandpaper. Do this frequently. It is the messy part of the process.
Progressive results
This is what a dubbed blade looks like. This needs to be removed completely before moving to the next grit. It may be necessary to drop back a grit is the one you are using is working too slowly. There is a trade off, however, in this regard since very coarse grits may leave deep scratches, which in turn take more time to remove.
These scratches looks like 120 grit. I didnt have anything coarser to hand.
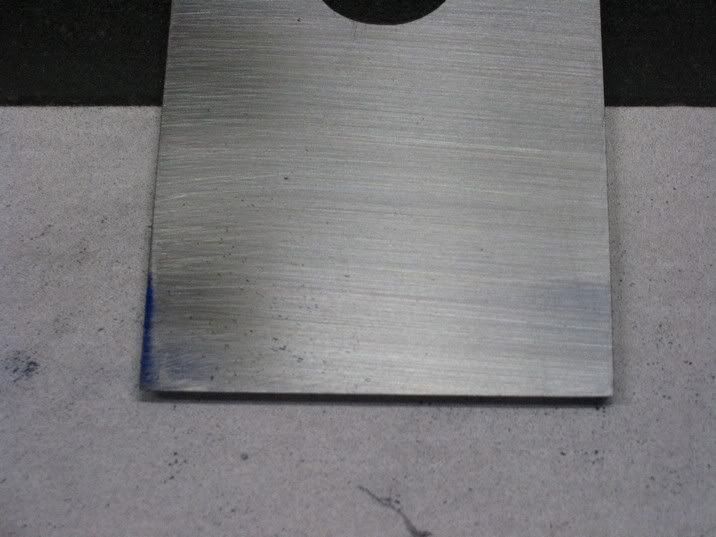
As one moves through the grits, so there should be an even replacement of the previous grit level. The following picture illustrates a blade at 240 grit.

END OF PART 1

 Reply With Quote