Page 1 of 3 123 LastLast
Results 1 to 15 of 33

Thread: Build Thread for Greene and Greene Sideboard- lots of pics

  1. #1
    Join Date
    Feb 2011
    Location
    Carlsbad, CA
    Posts
    2,230
    Blog Entries
    2

    Build Thread for Greene and Greene Sideboard- lots of pics

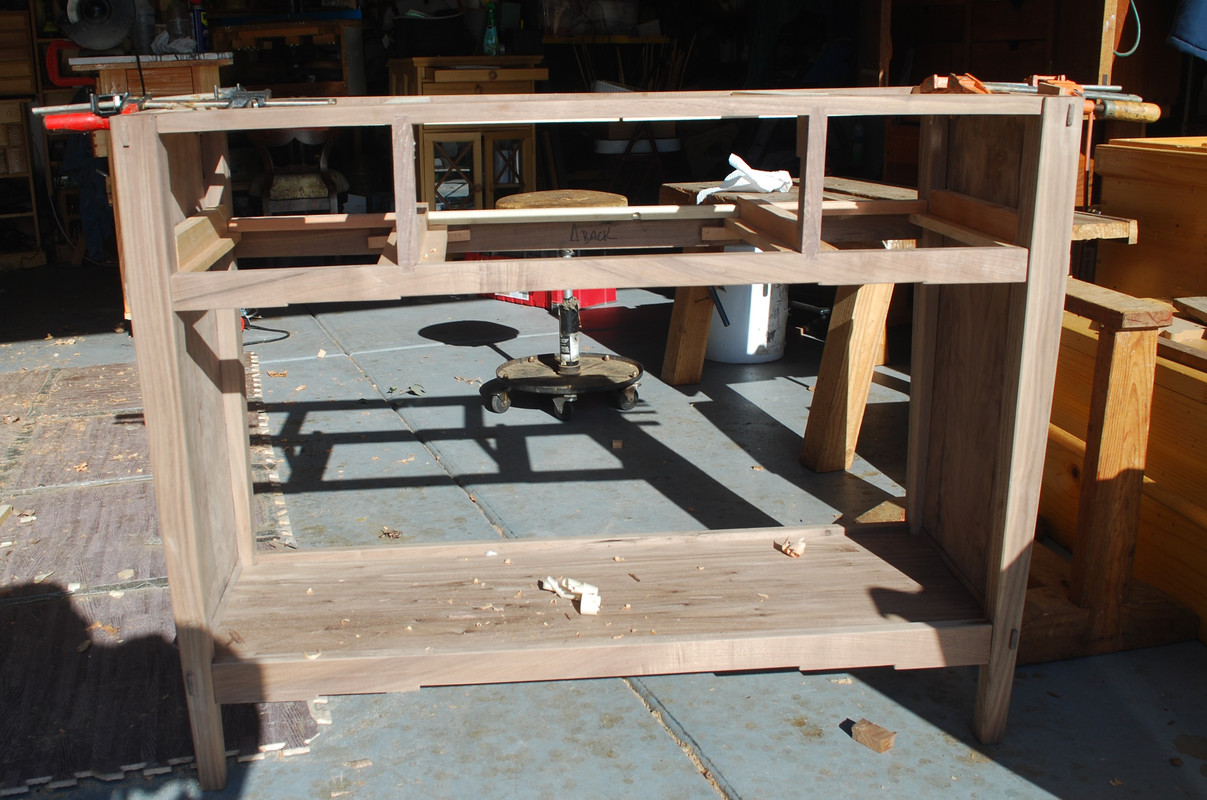
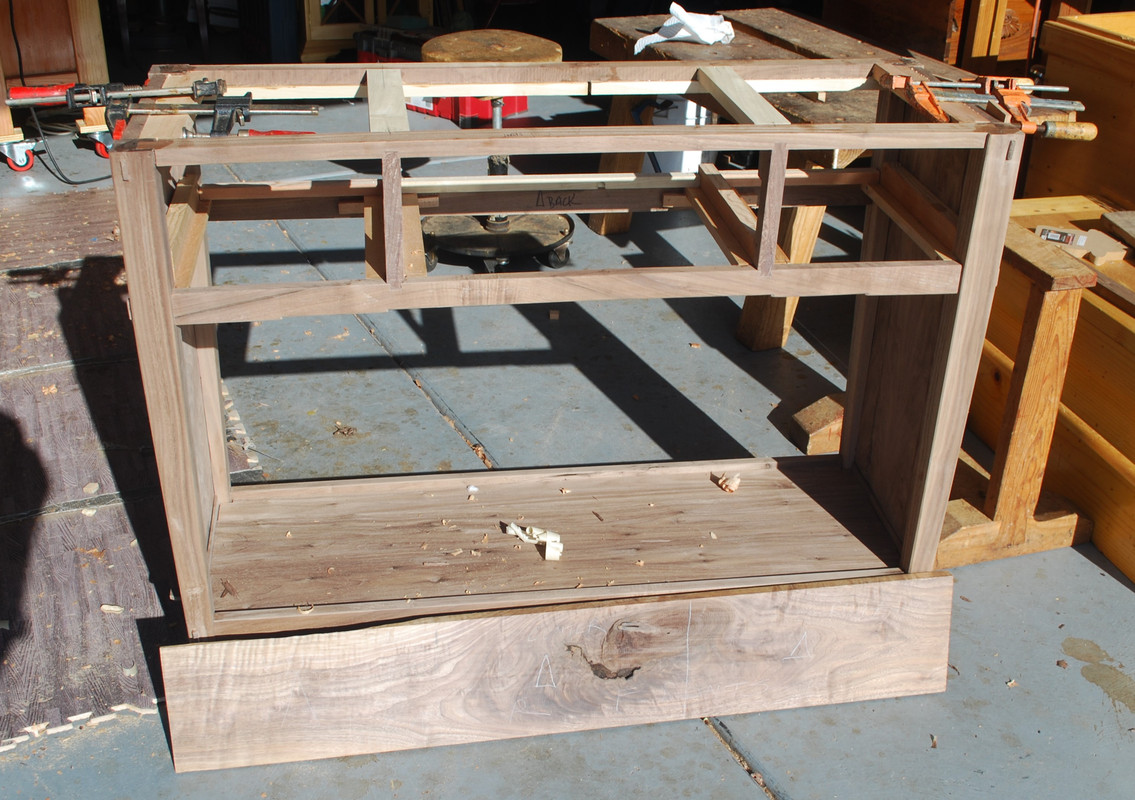
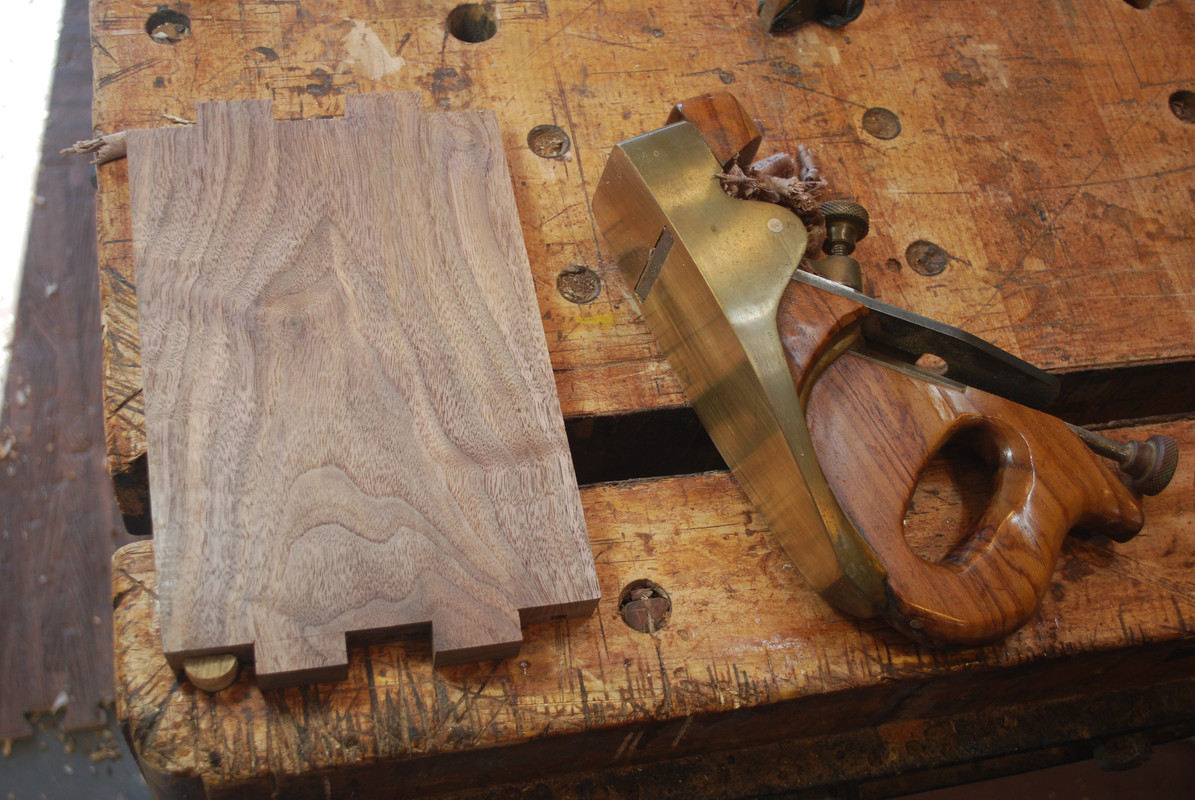
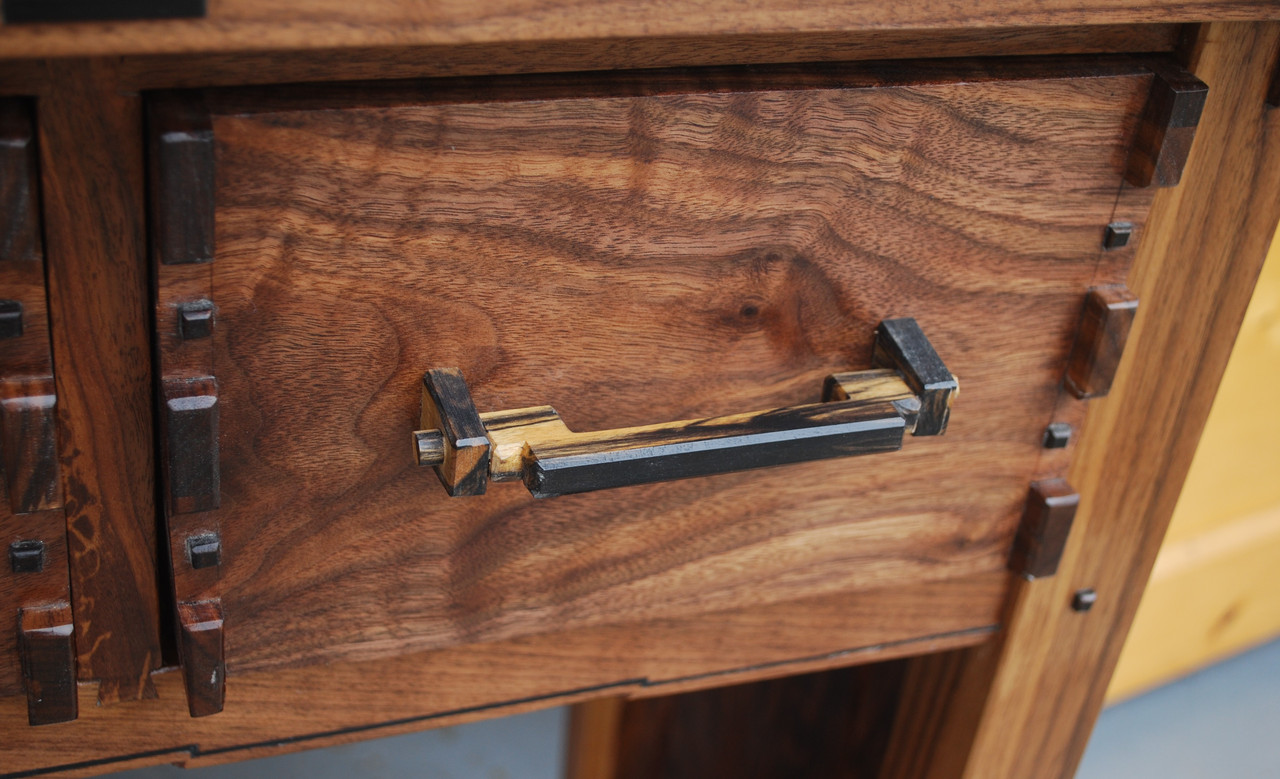
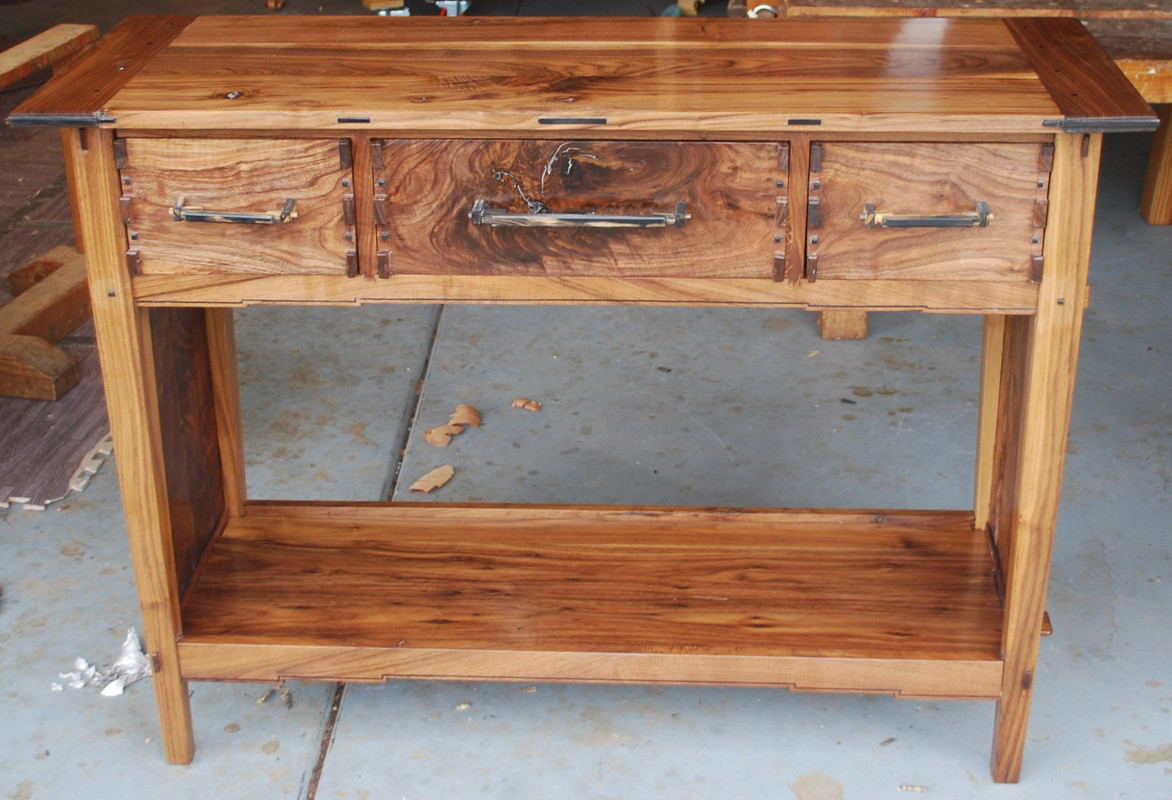
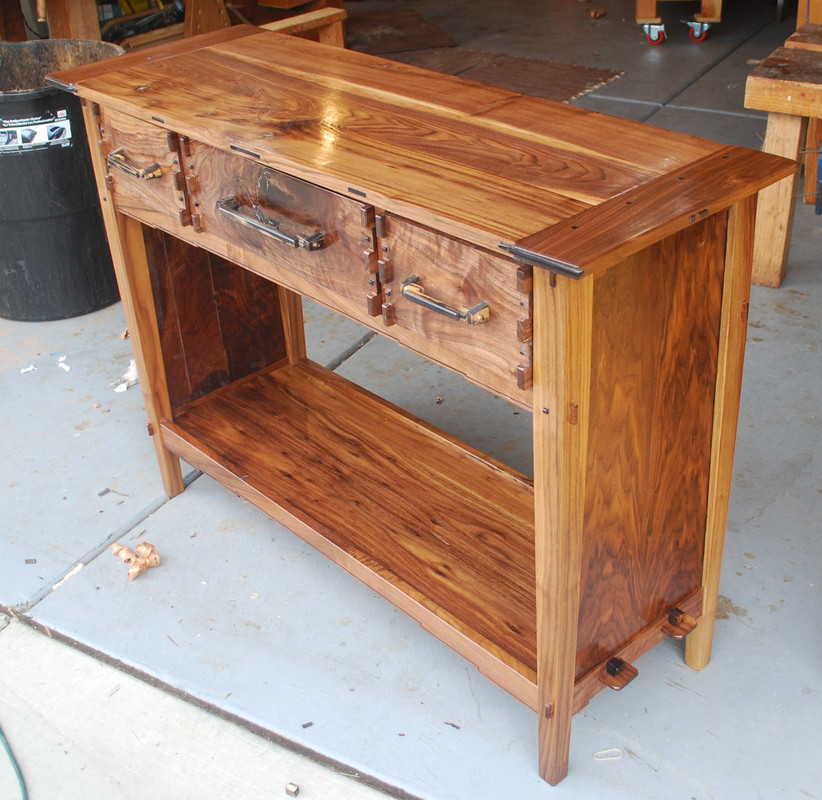
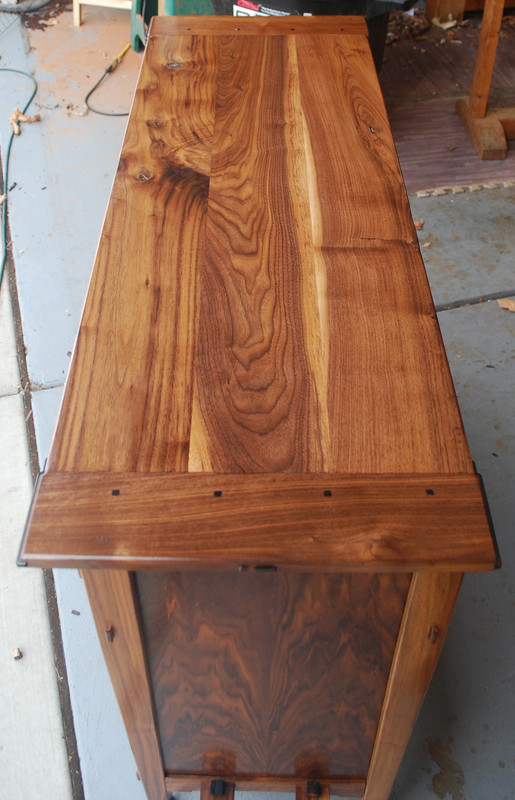
    This is a mostly hand tool build thread for a Greene and Greene sideboard in Walnut. This is the fourth piece in a matching set of coffee table, end table and sofa table. My intent is to share some of the tools and techniques that work for me –YMMV.

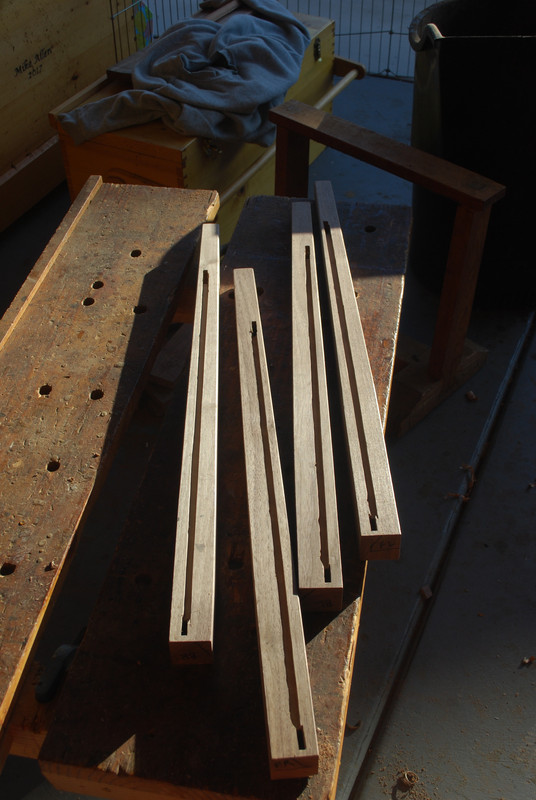
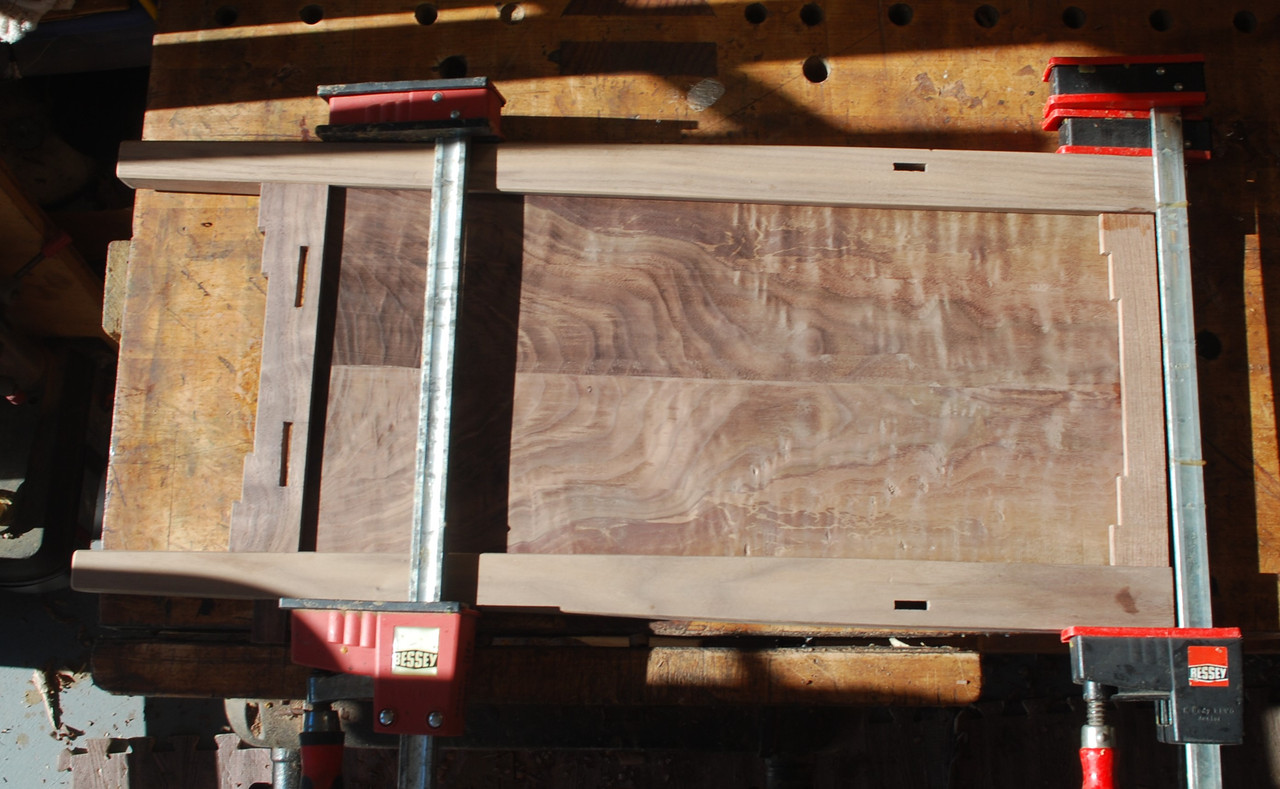
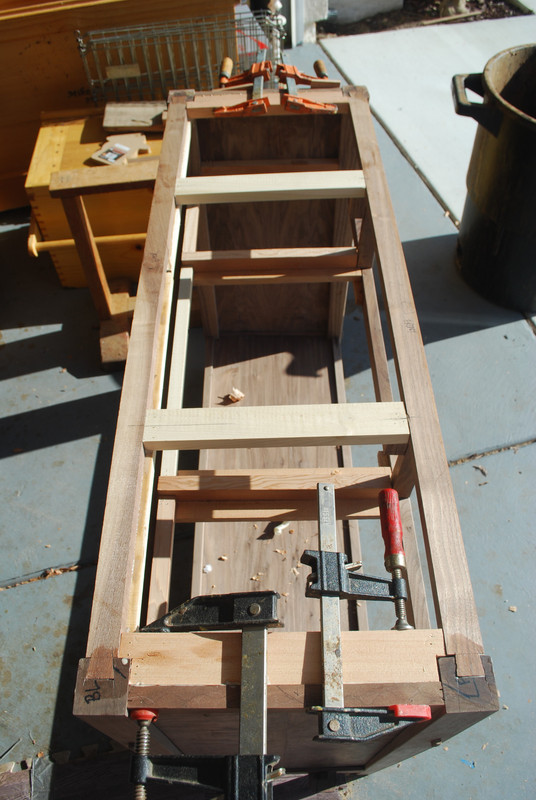
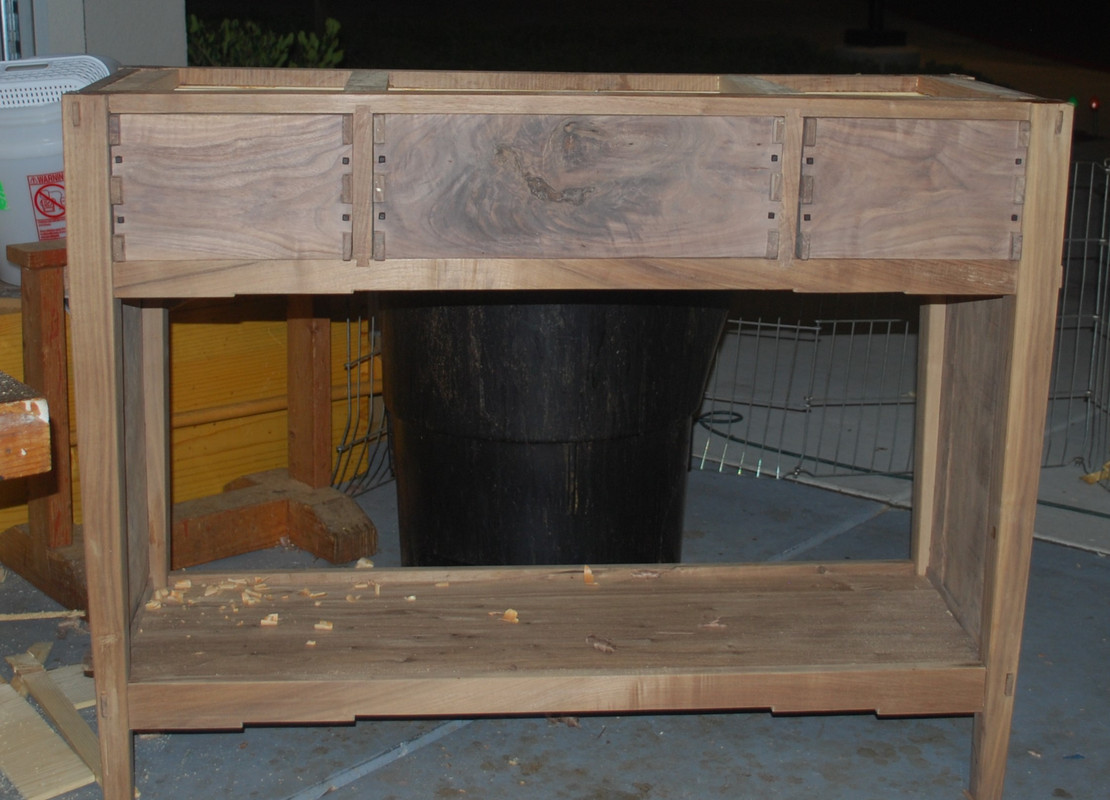
    I started with the legs that will have multiple horizontal stretchers to accommodate three drawers at the top and a shelf at the bottom.

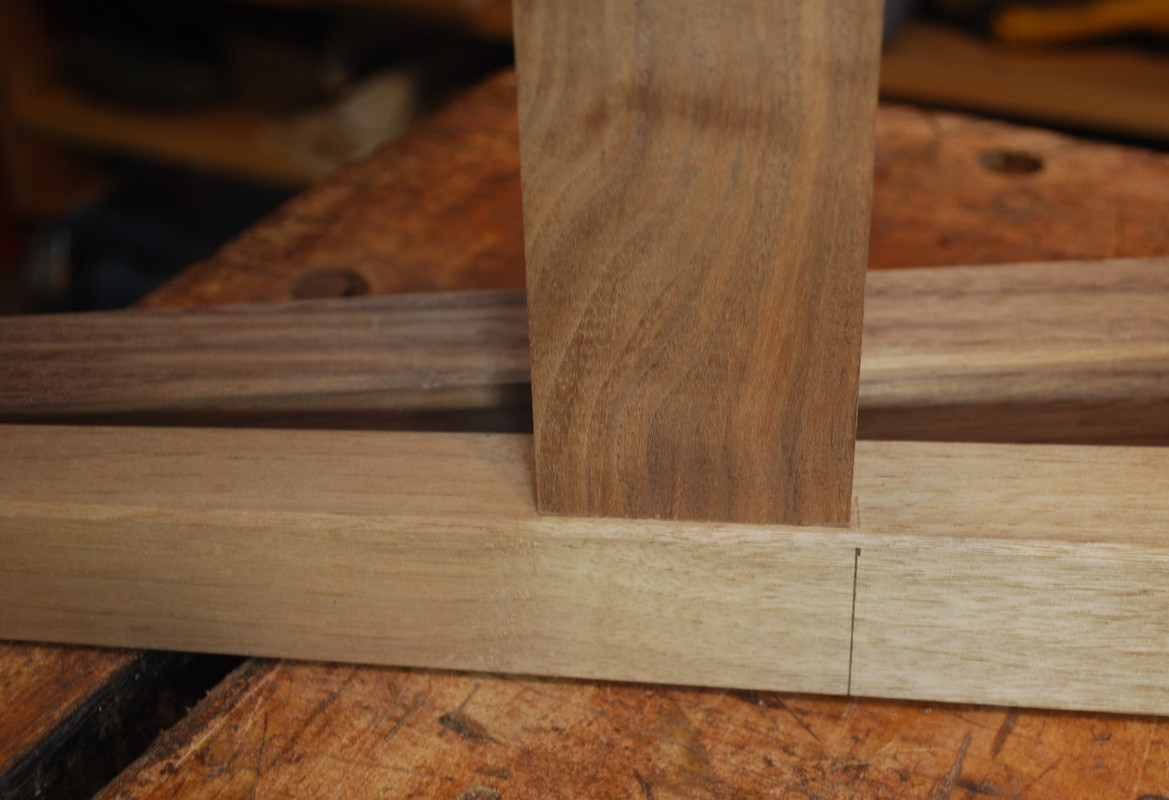
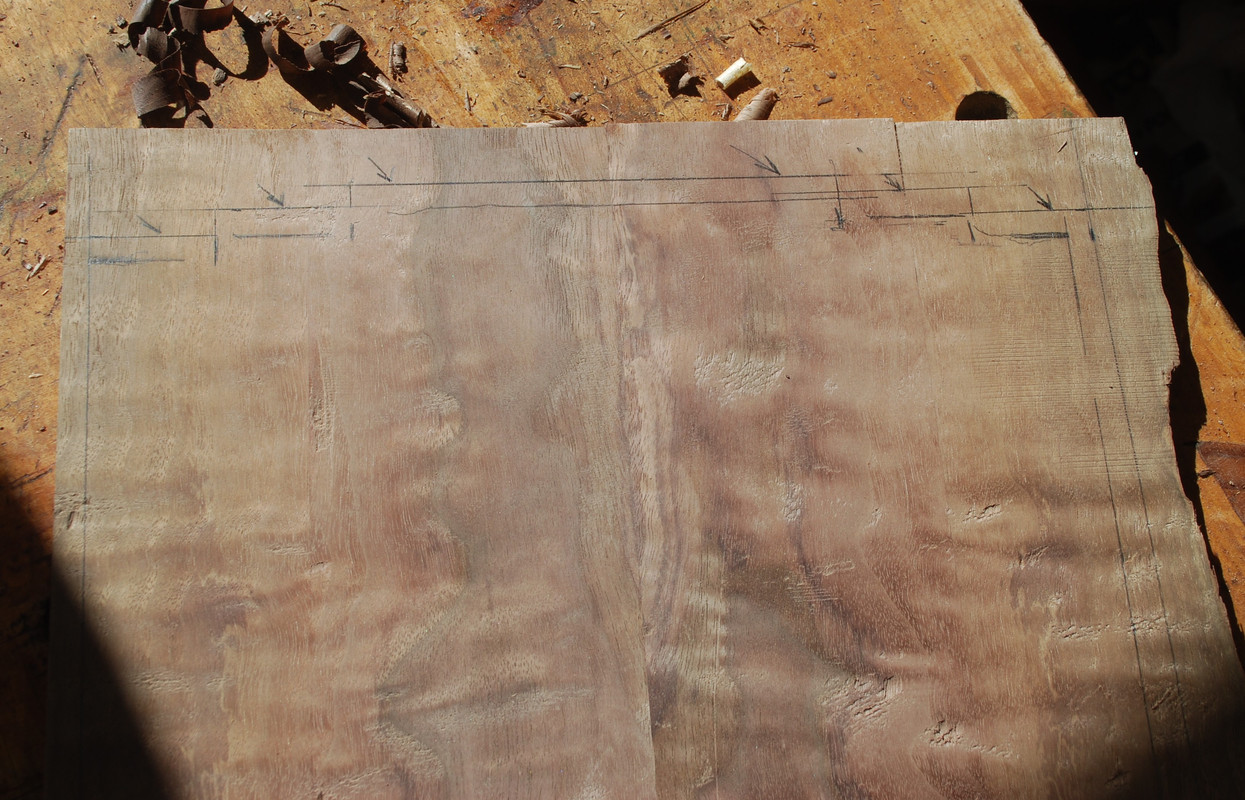
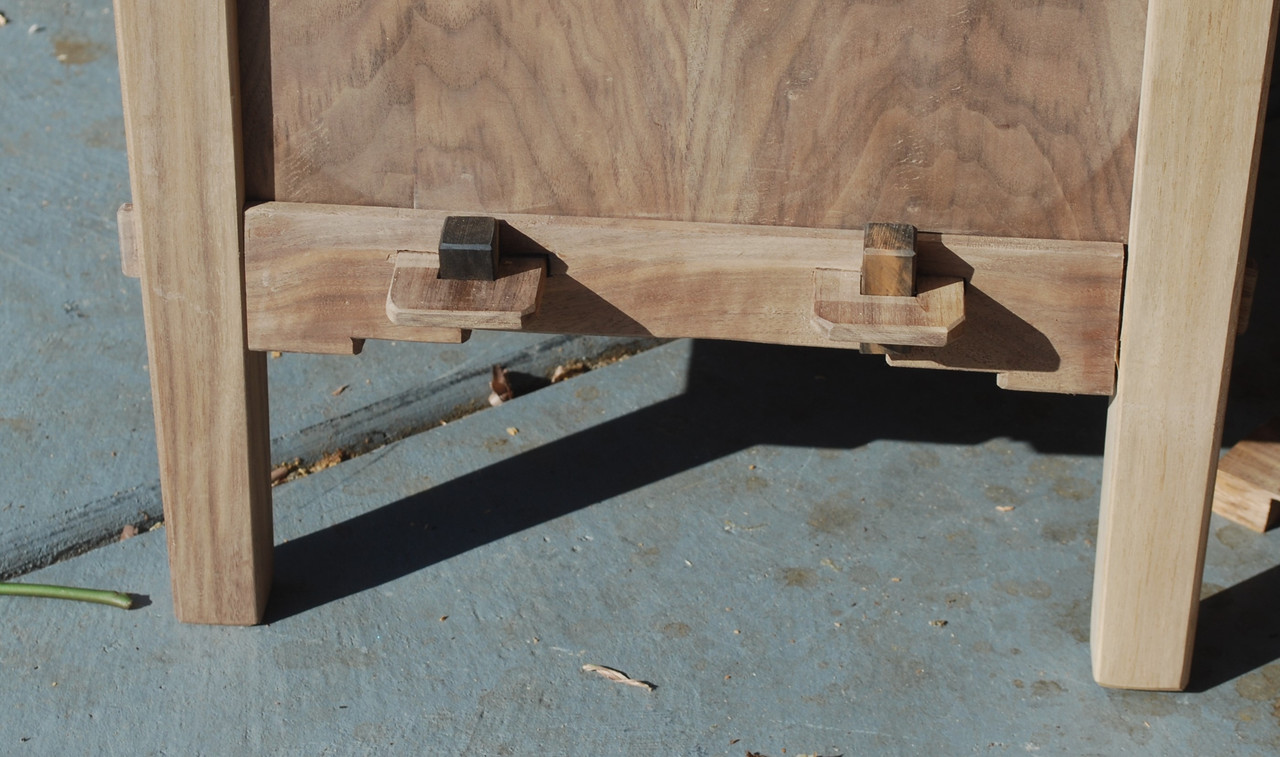
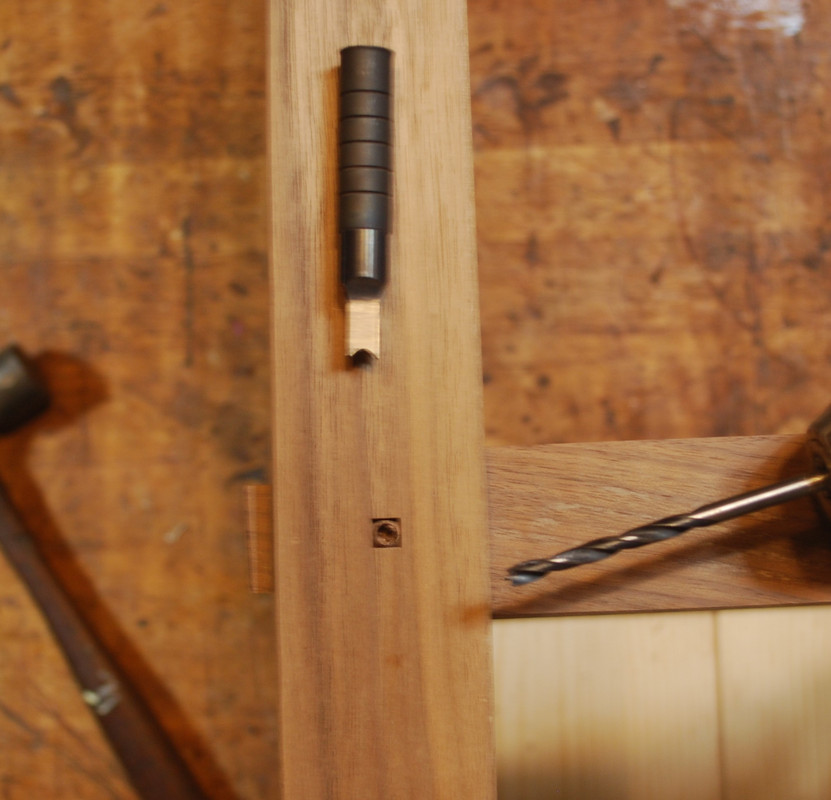
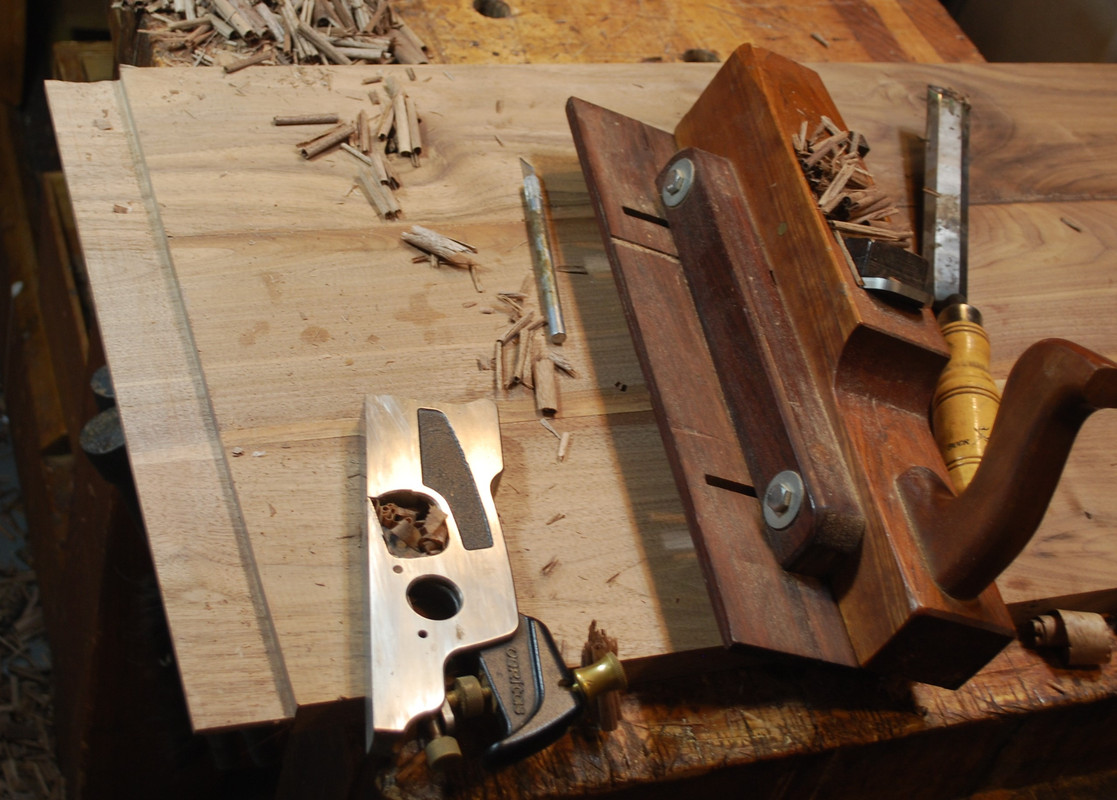
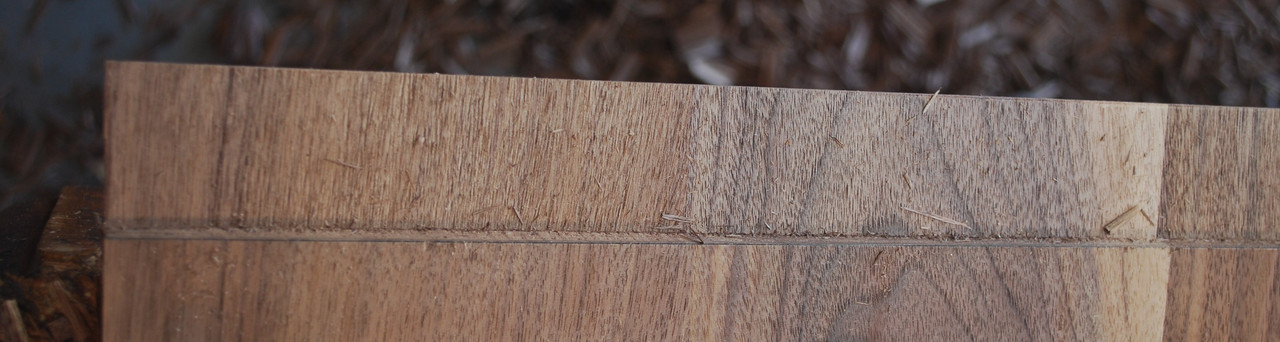
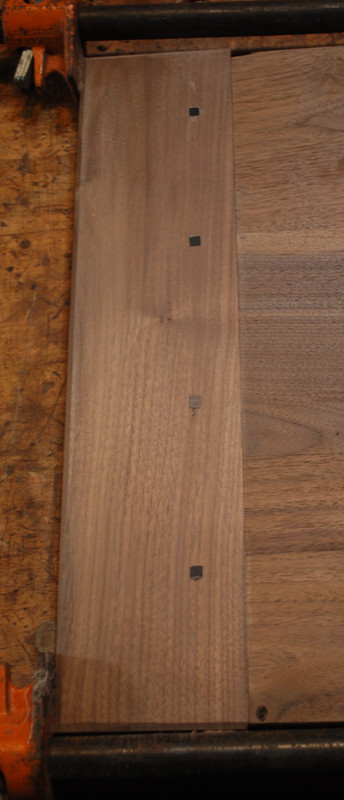
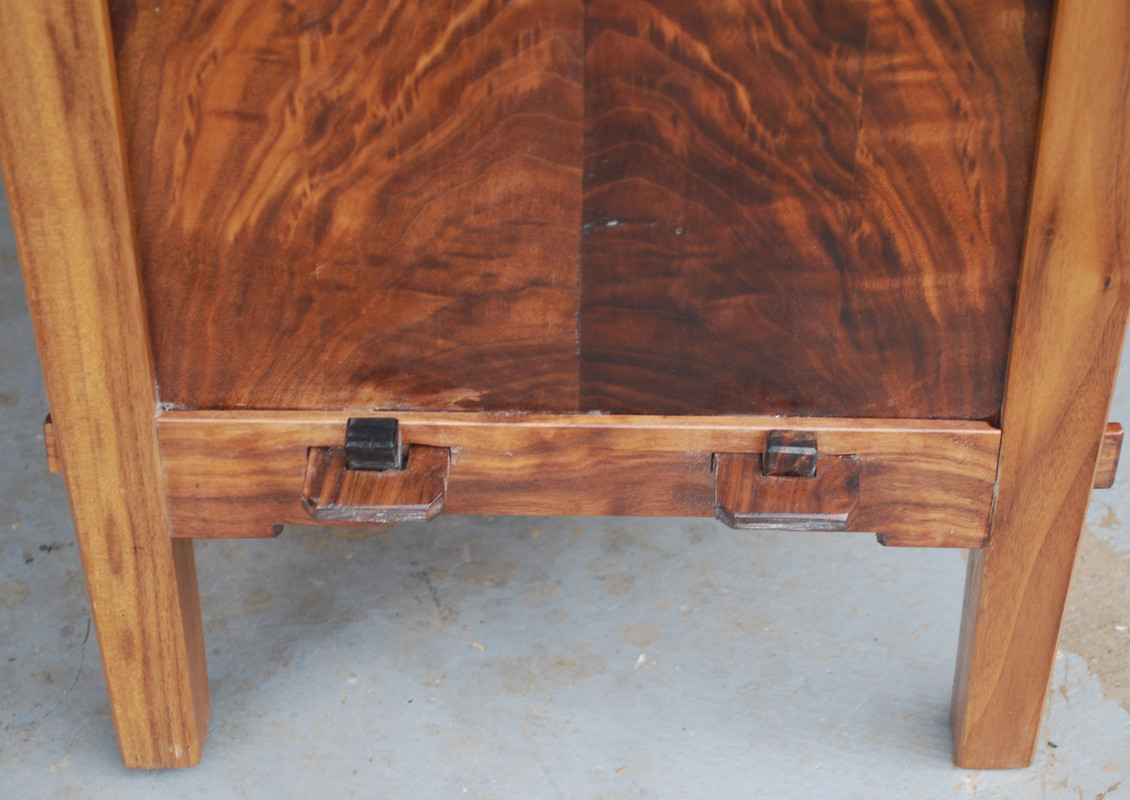
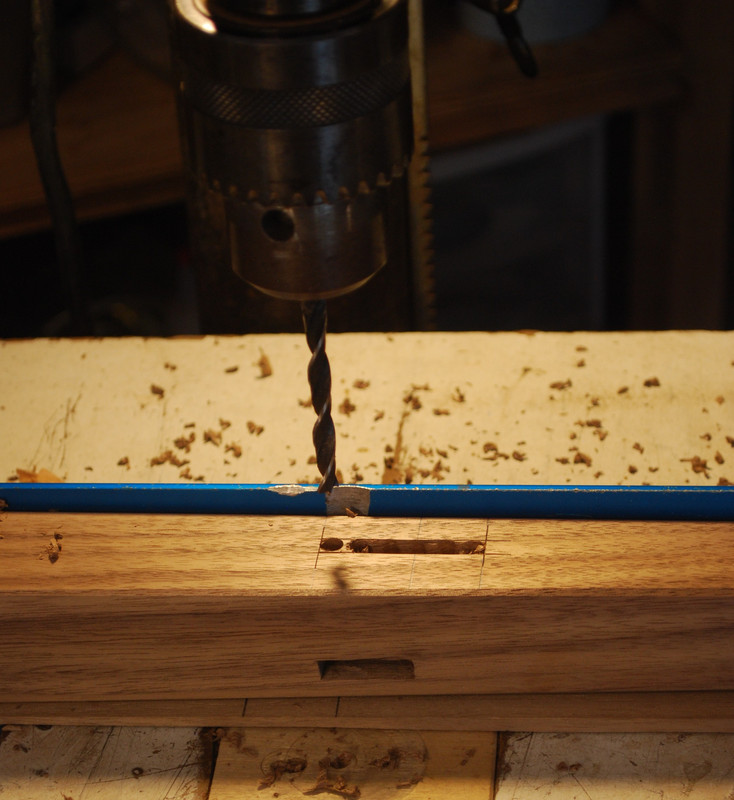
    One of the characteristics of this style is multiple through mortice and tenon joints. I layout my mortises in the traditional way with a mortise gauge - pins filed to cut rather than as points. Remove most of the waste on the drill press and cleanup the reminder with chisels.


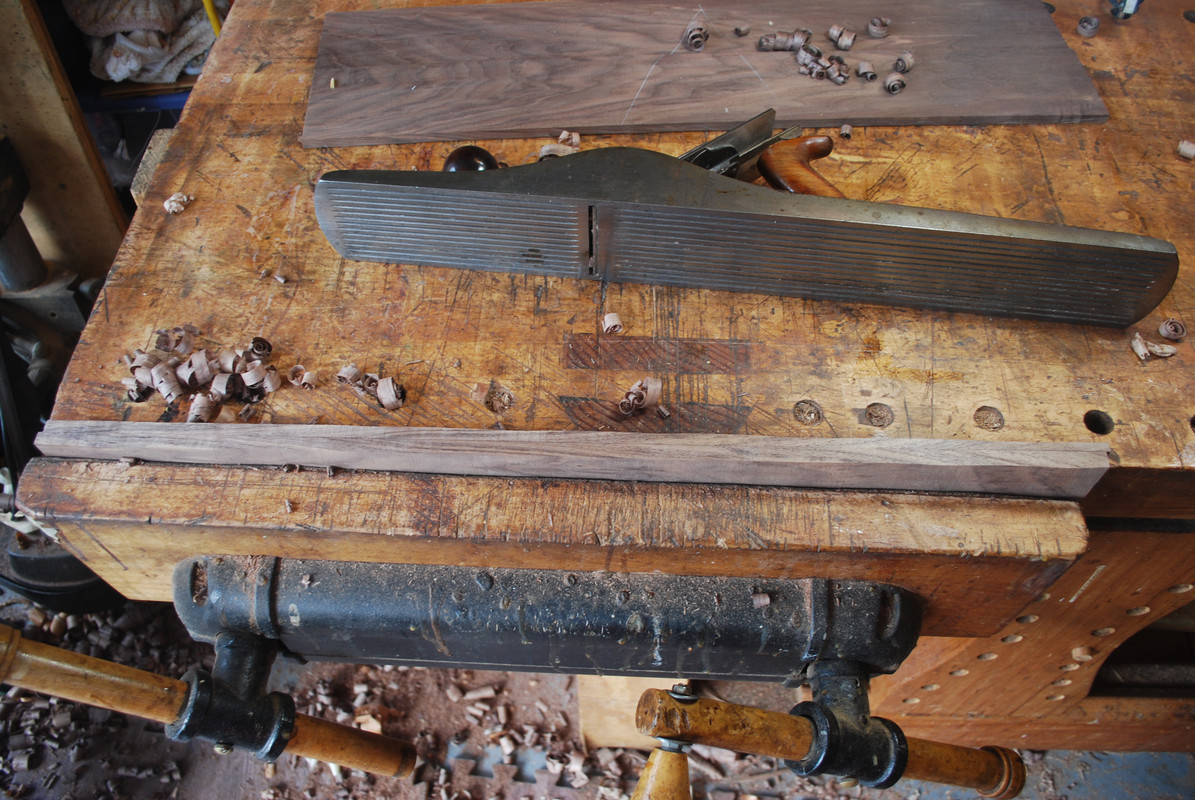
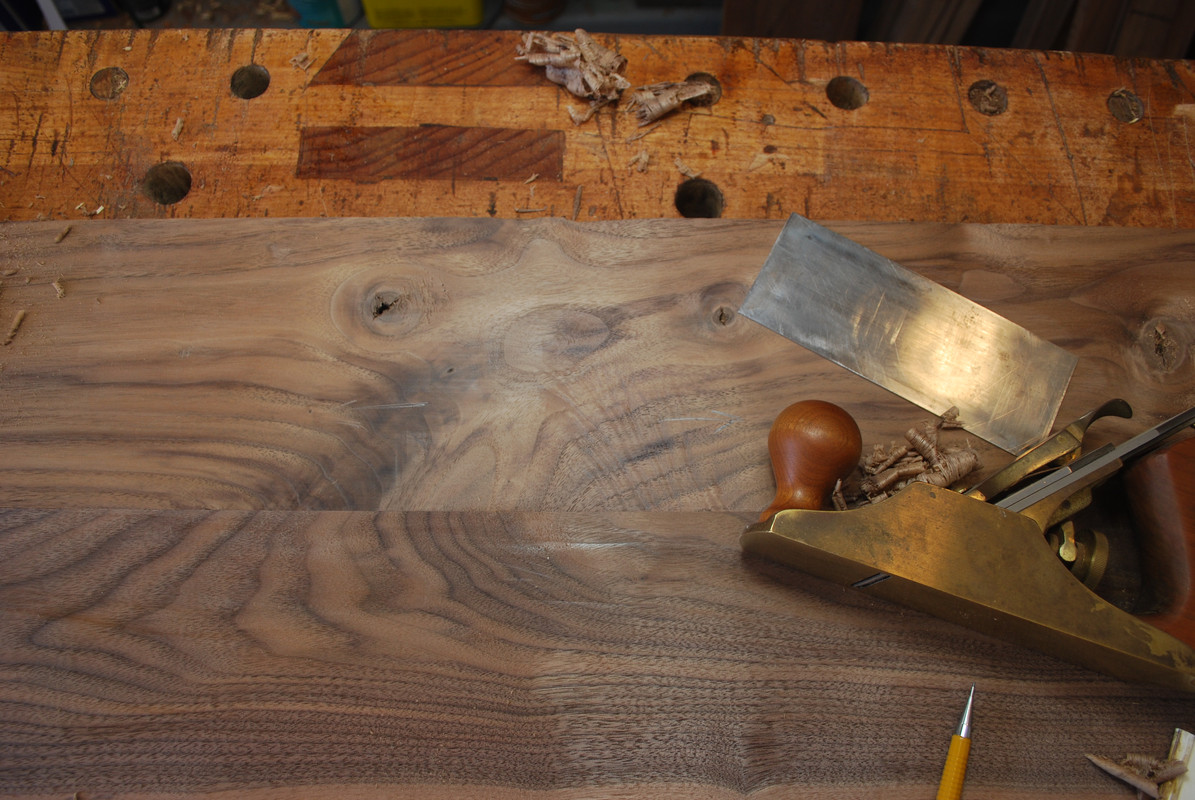
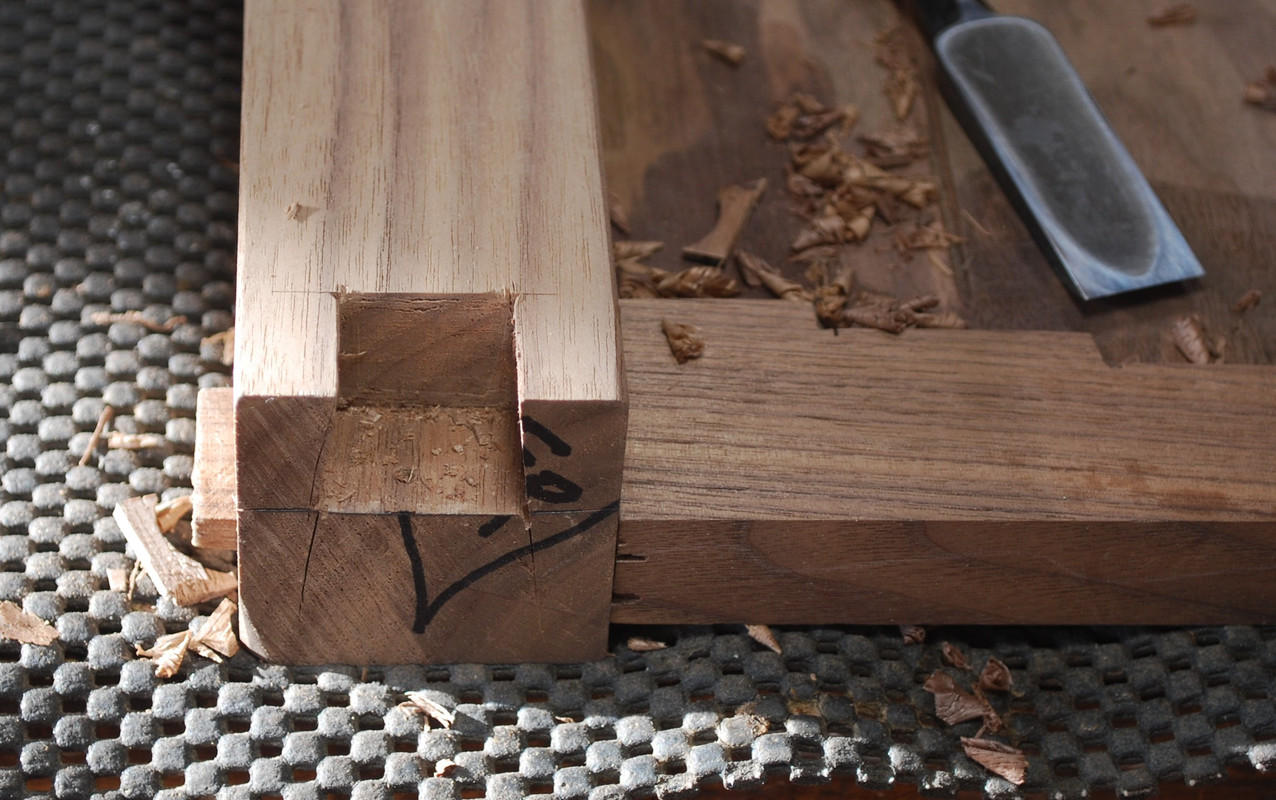
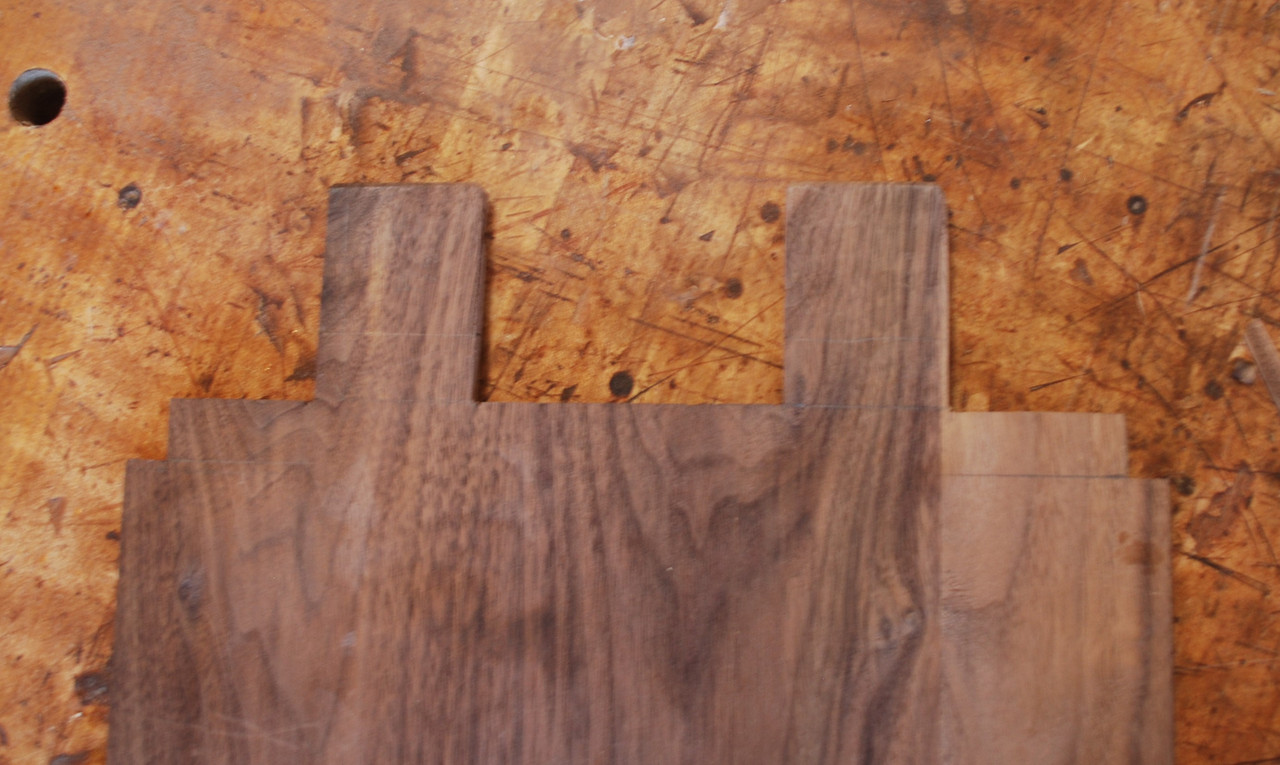
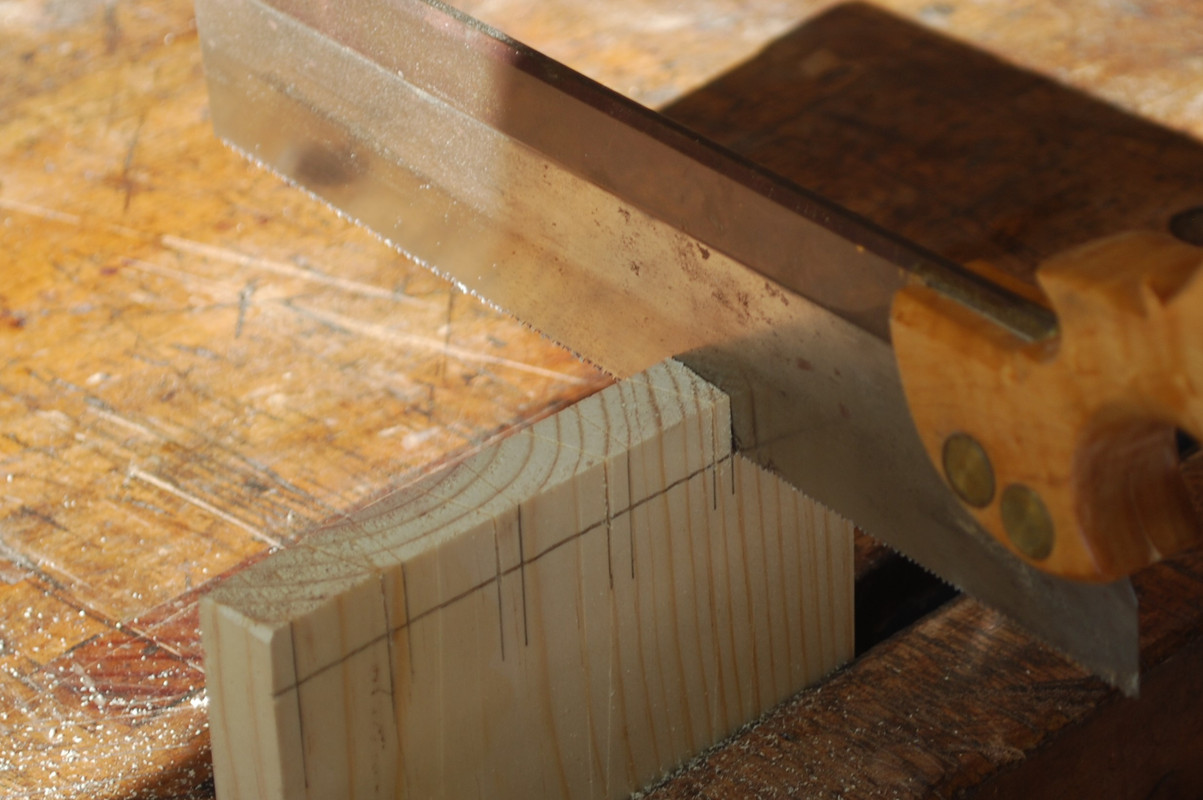
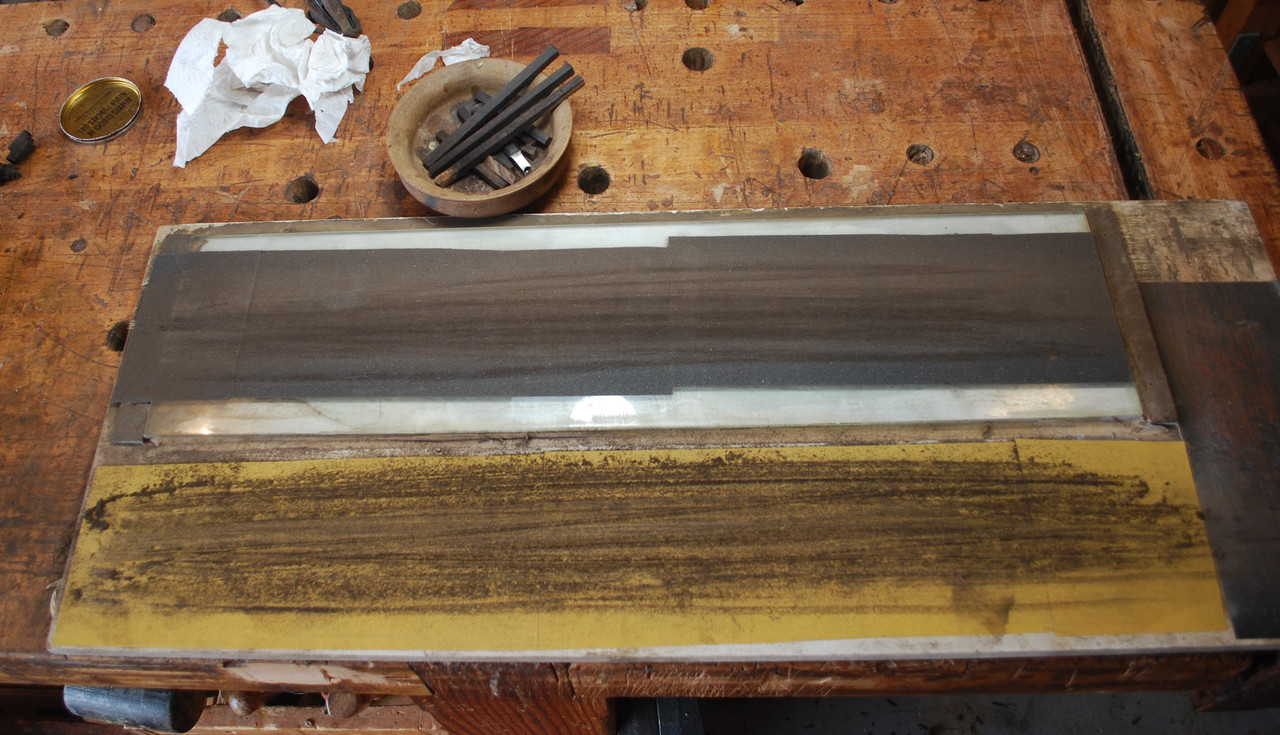
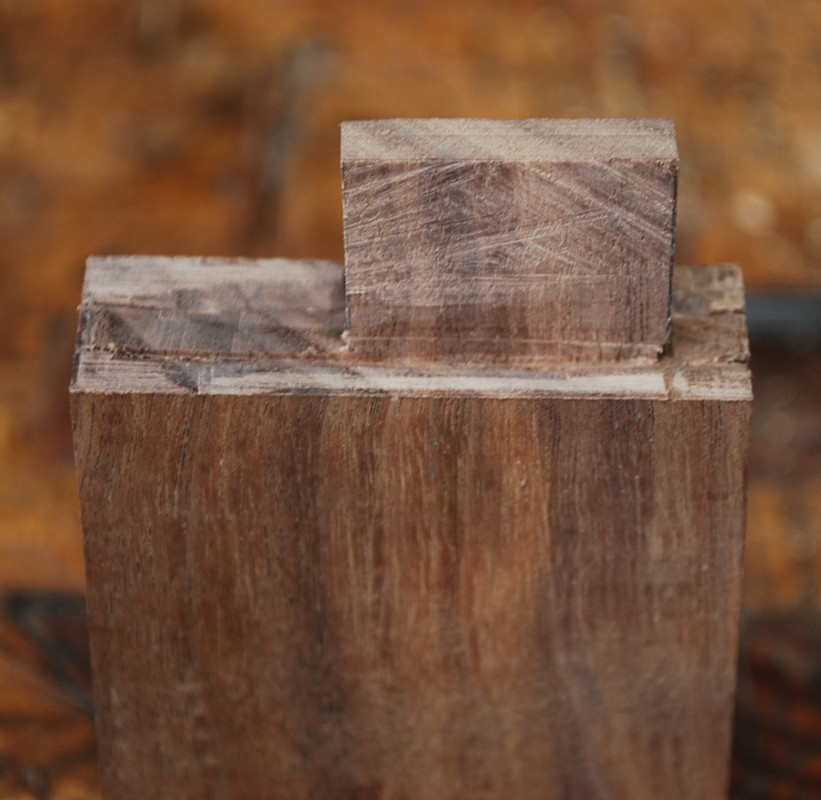
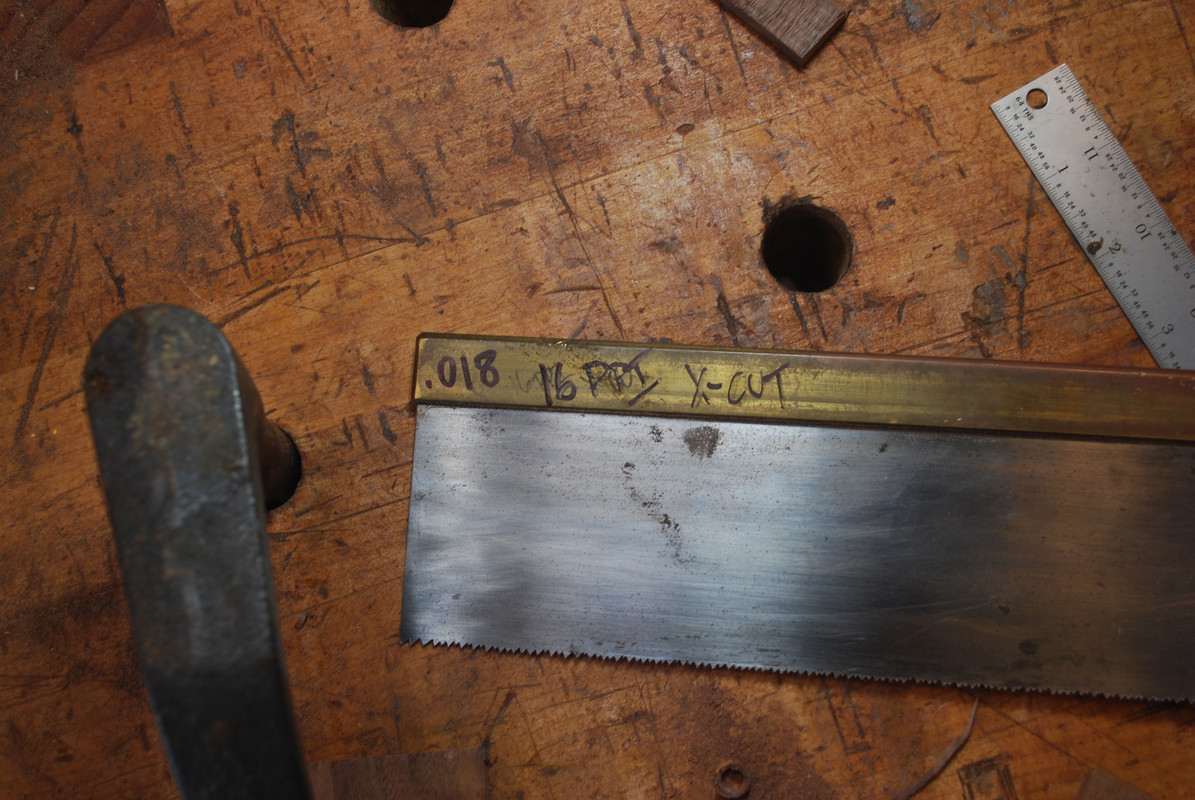
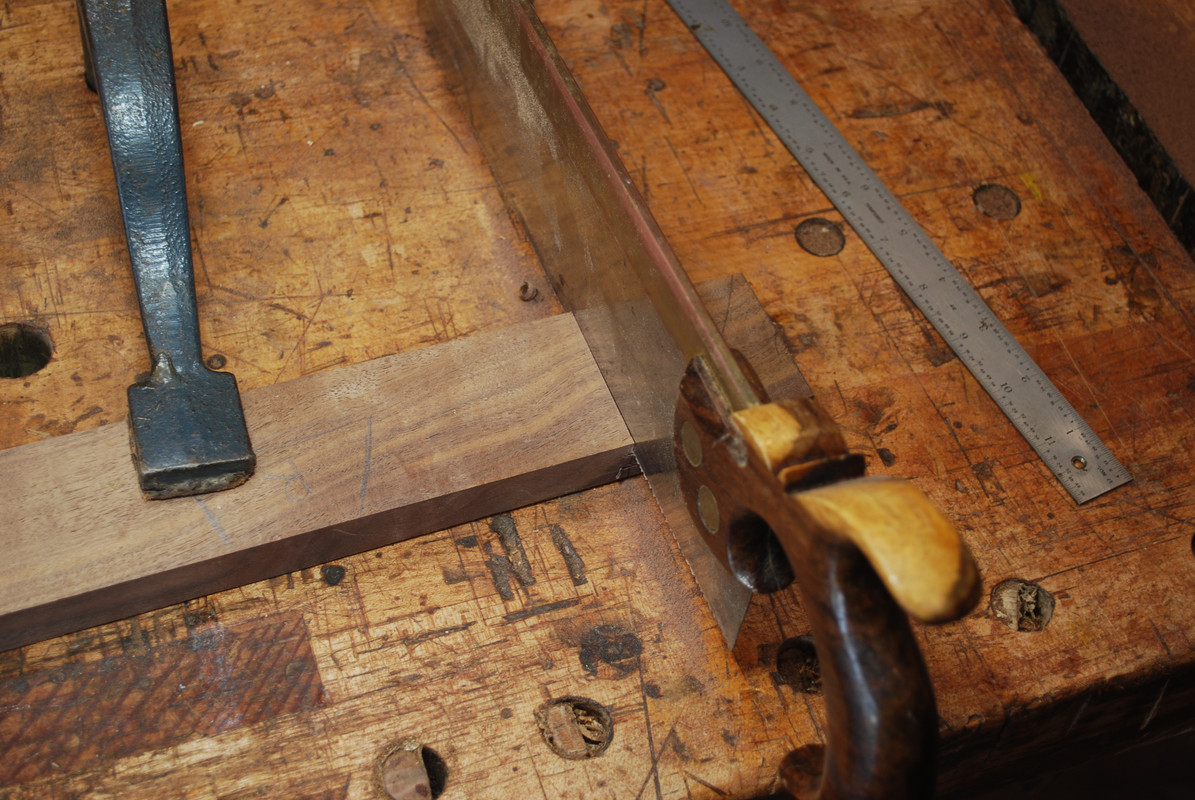
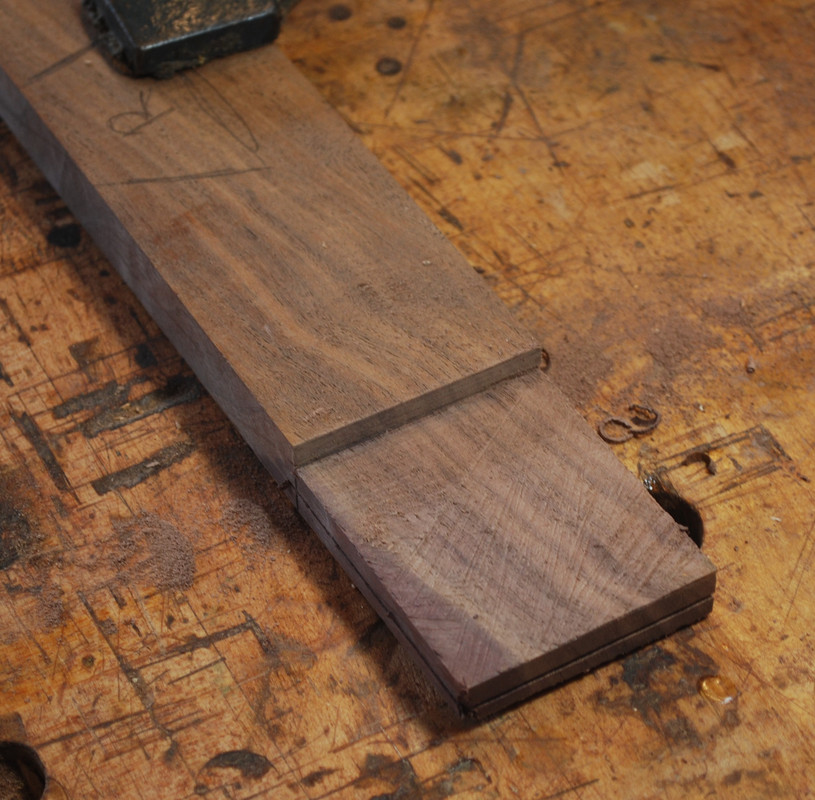
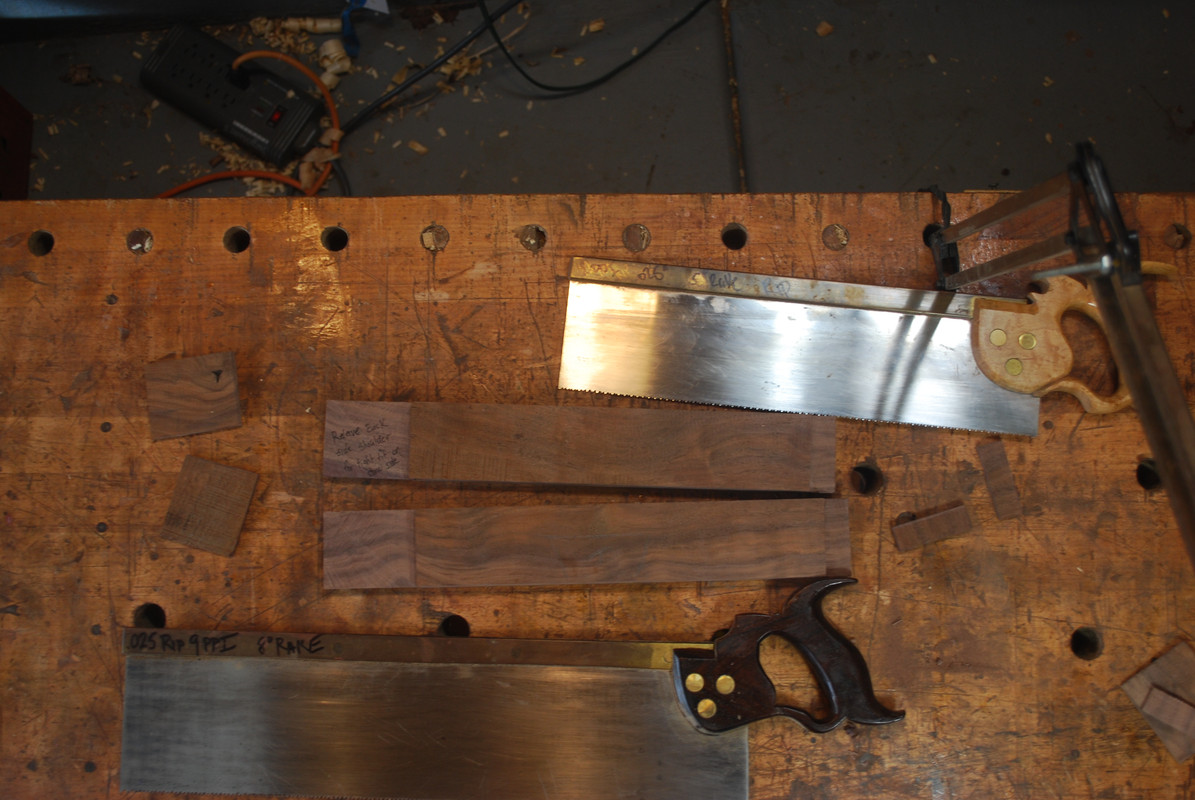
    Cutting tenons is one of my favorite hand tool jobs. I used marking knife and paring chisel to establish the shoulder and then a shop made 16 point crosscut saw with 0.018” thick plate. I built most of my back joinery saws myself and prefer thinner plates for finer cuts, with more traditional .025” thick plates for ripping tennon cheeks and larger crosscuts.
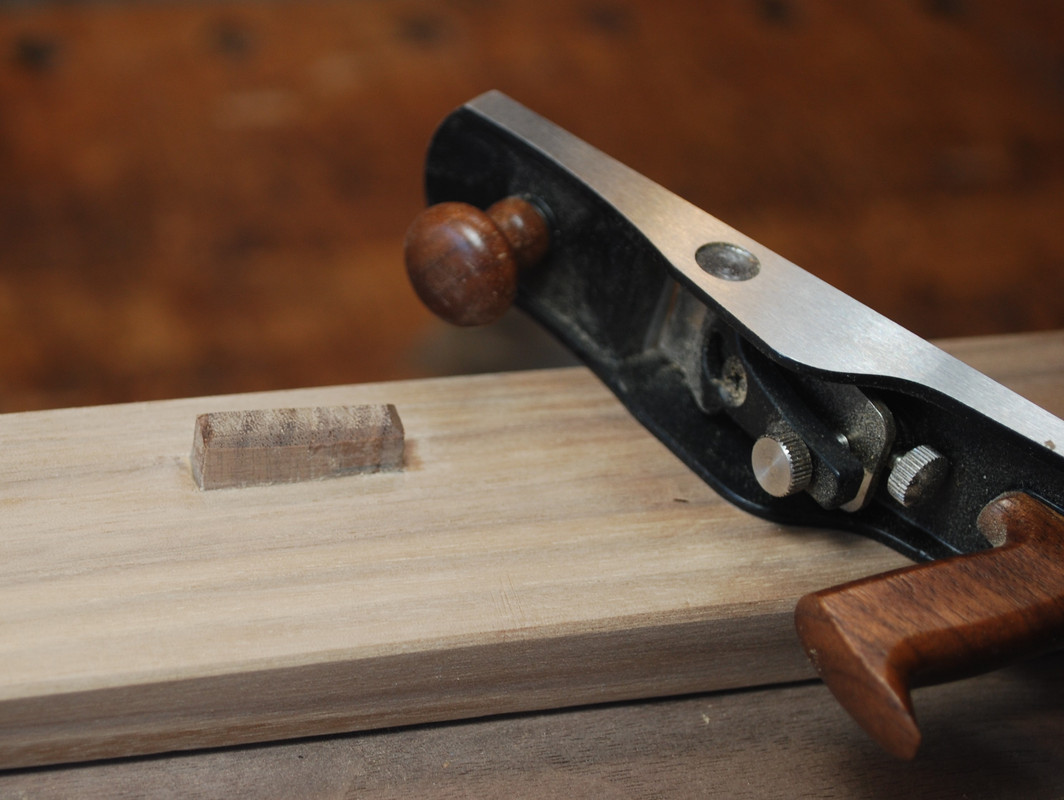
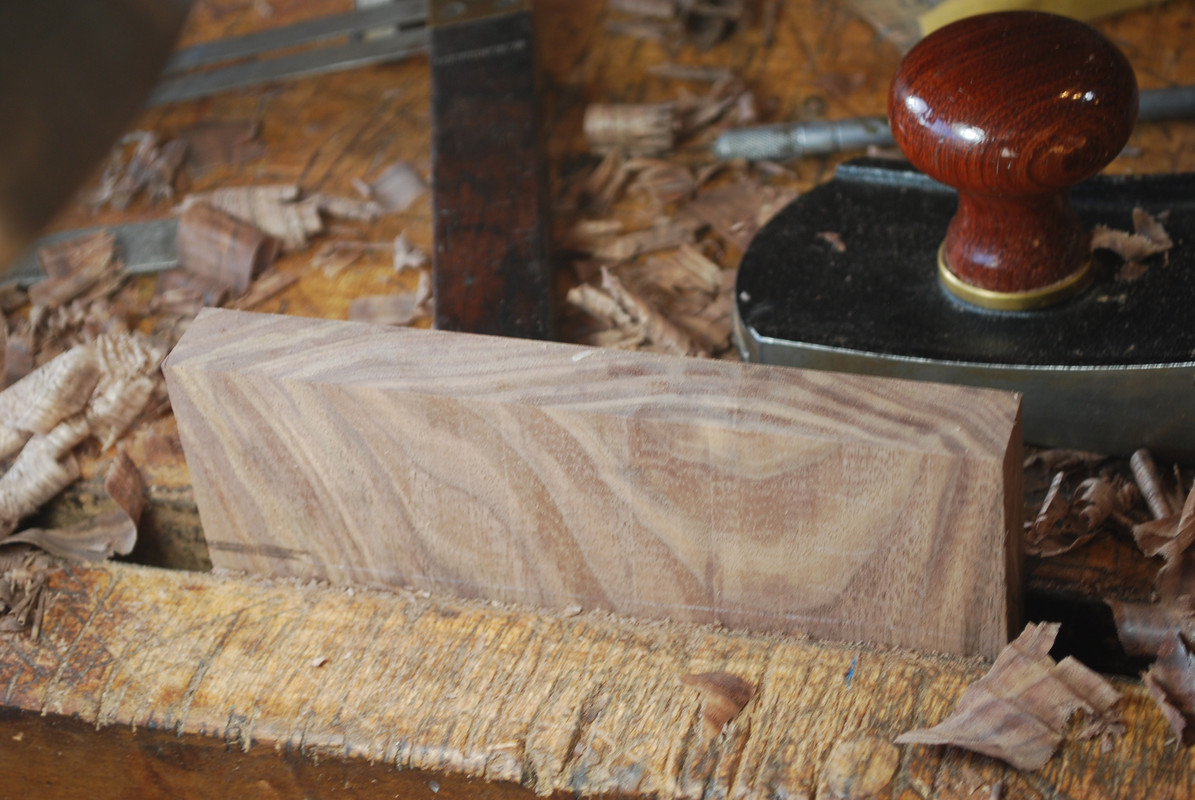
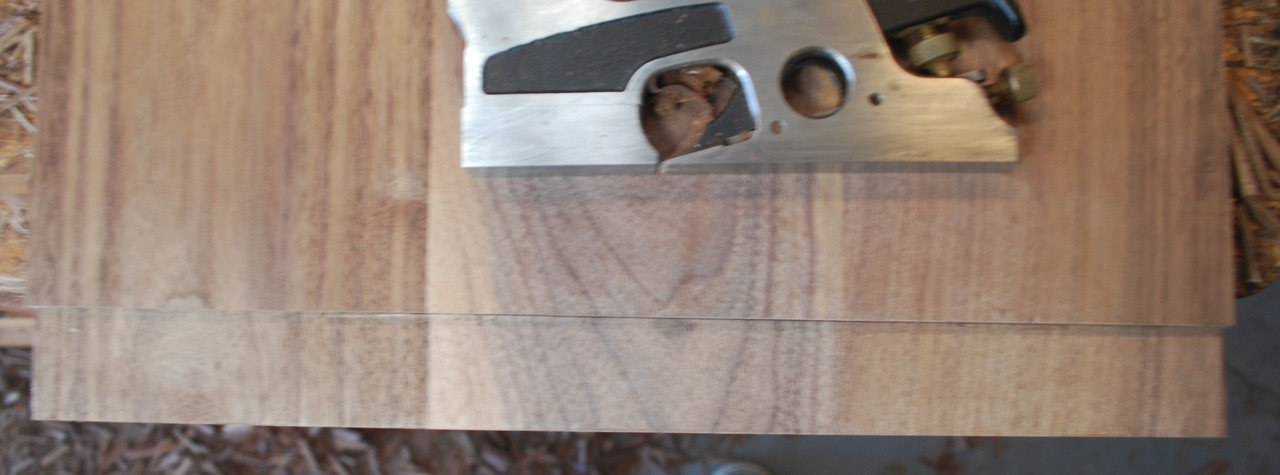
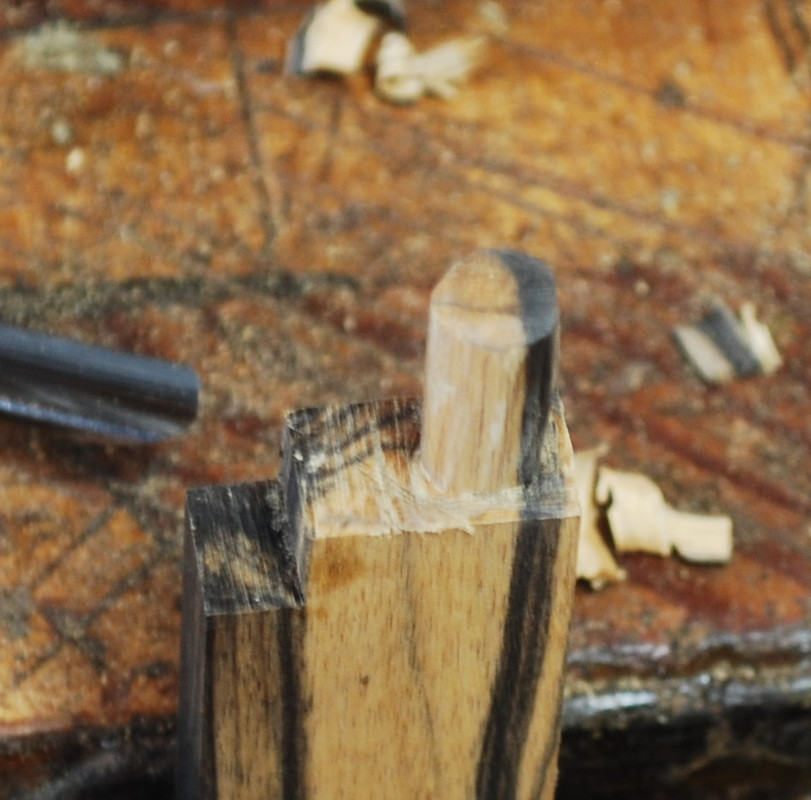
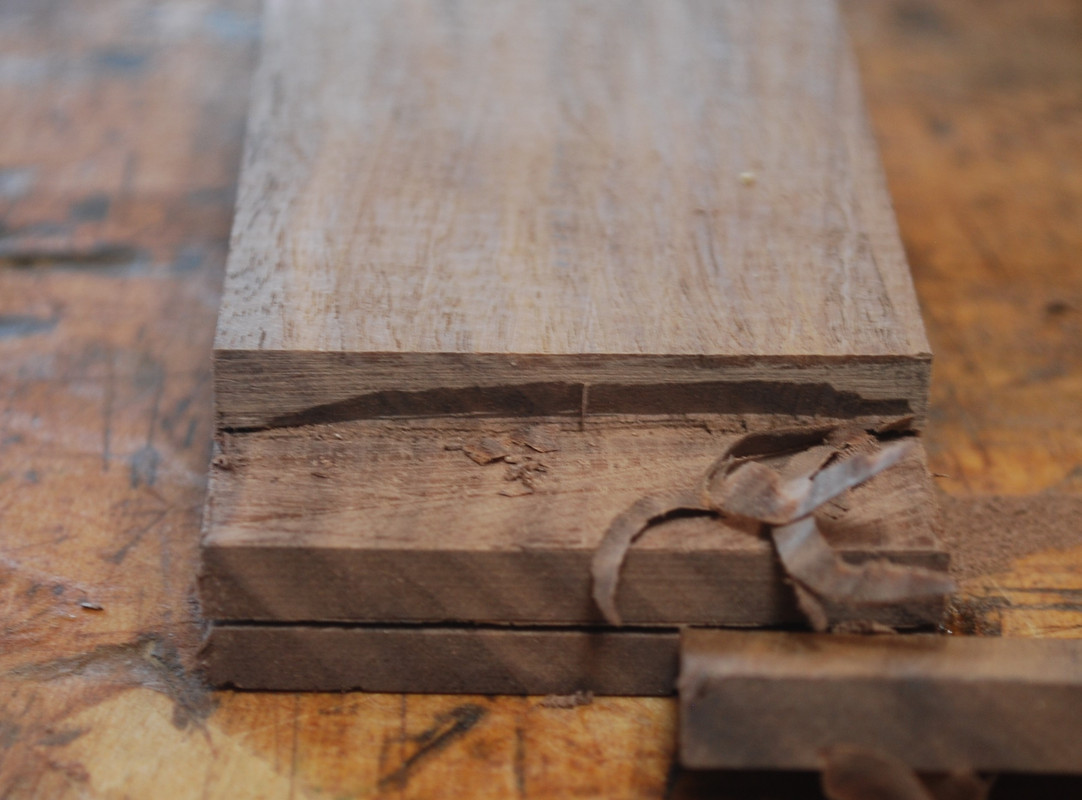
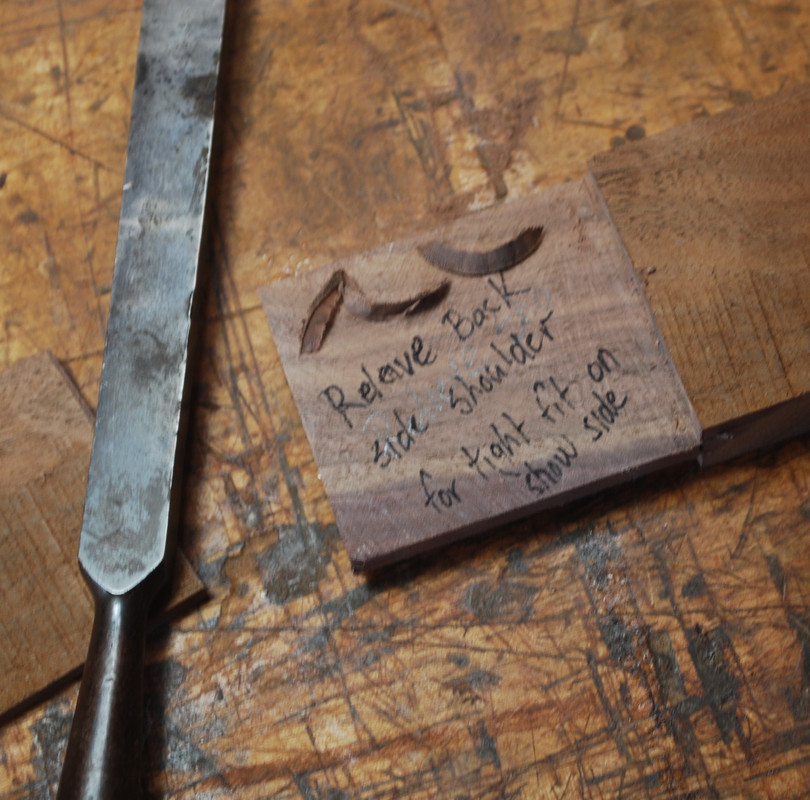
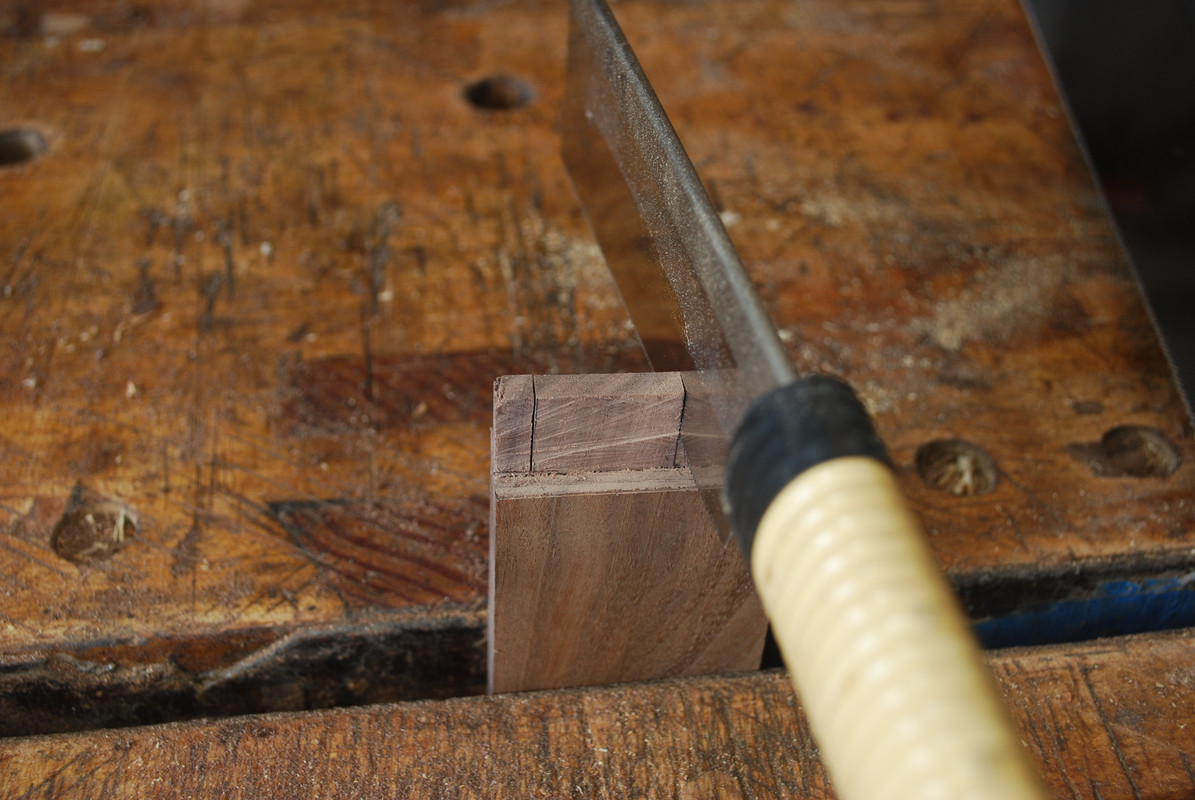


    Here’s some pics of relieving tennon cheeks (particularly the non-show side) with a sharp paring chisel.


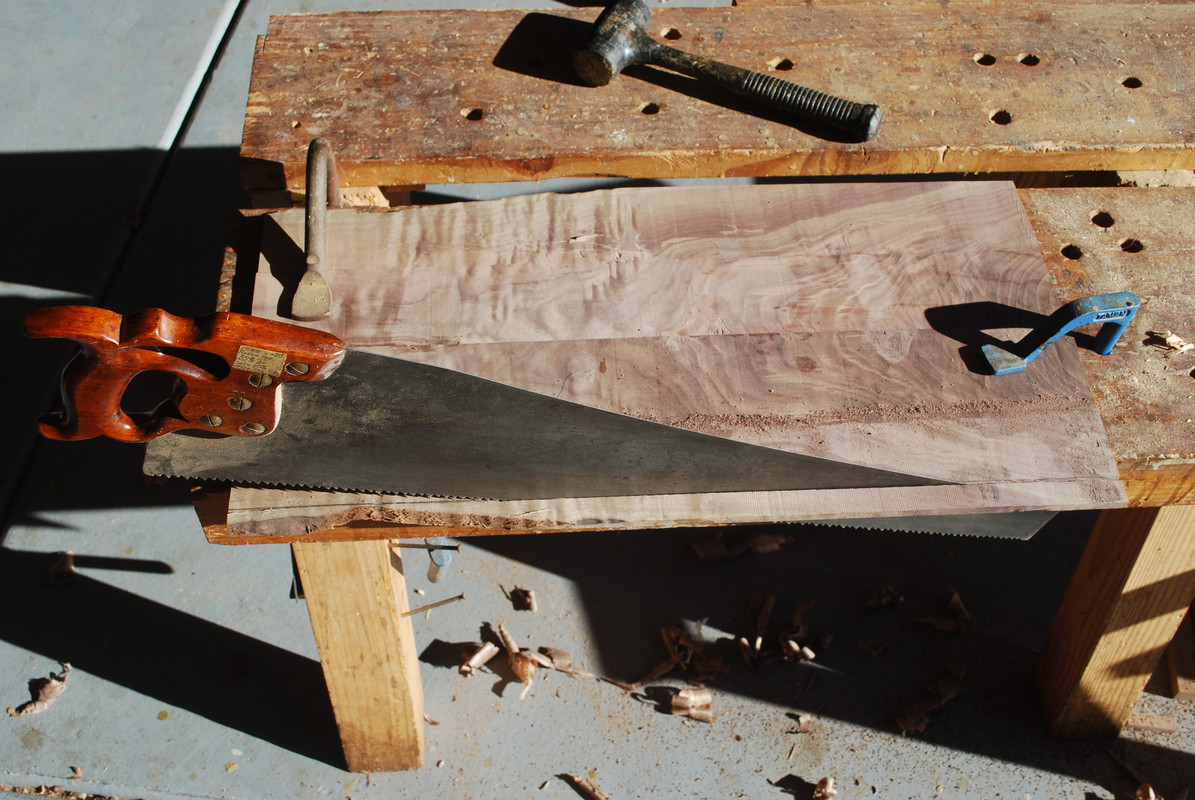
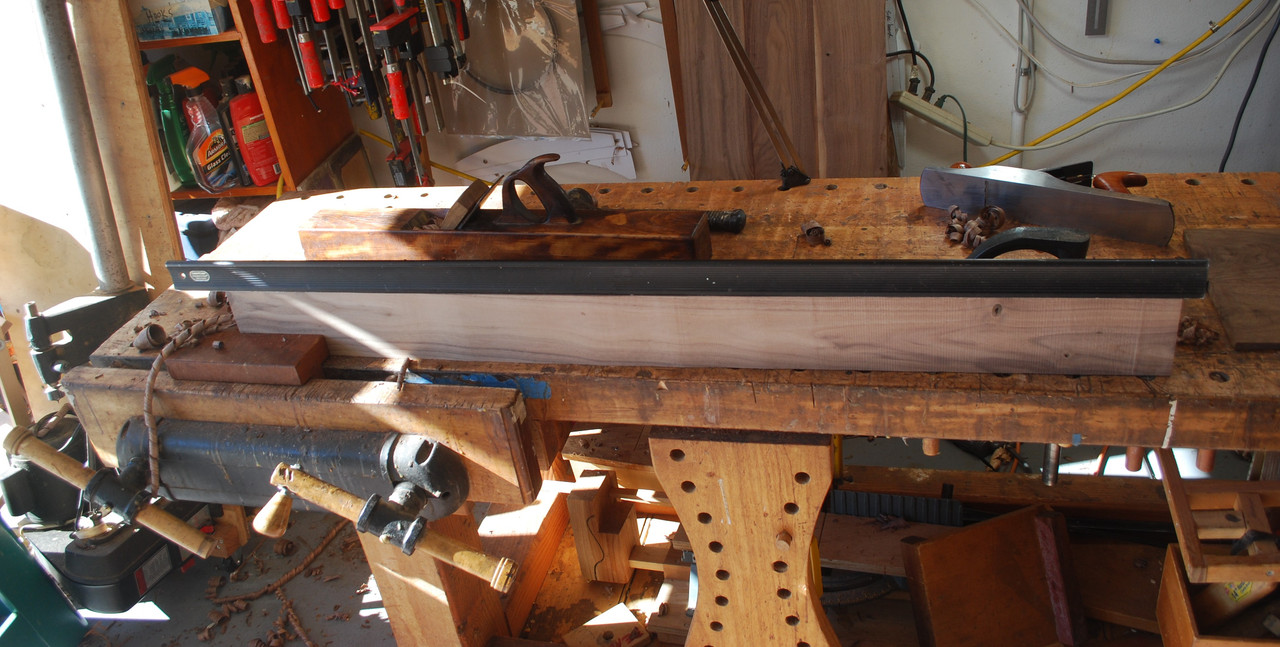
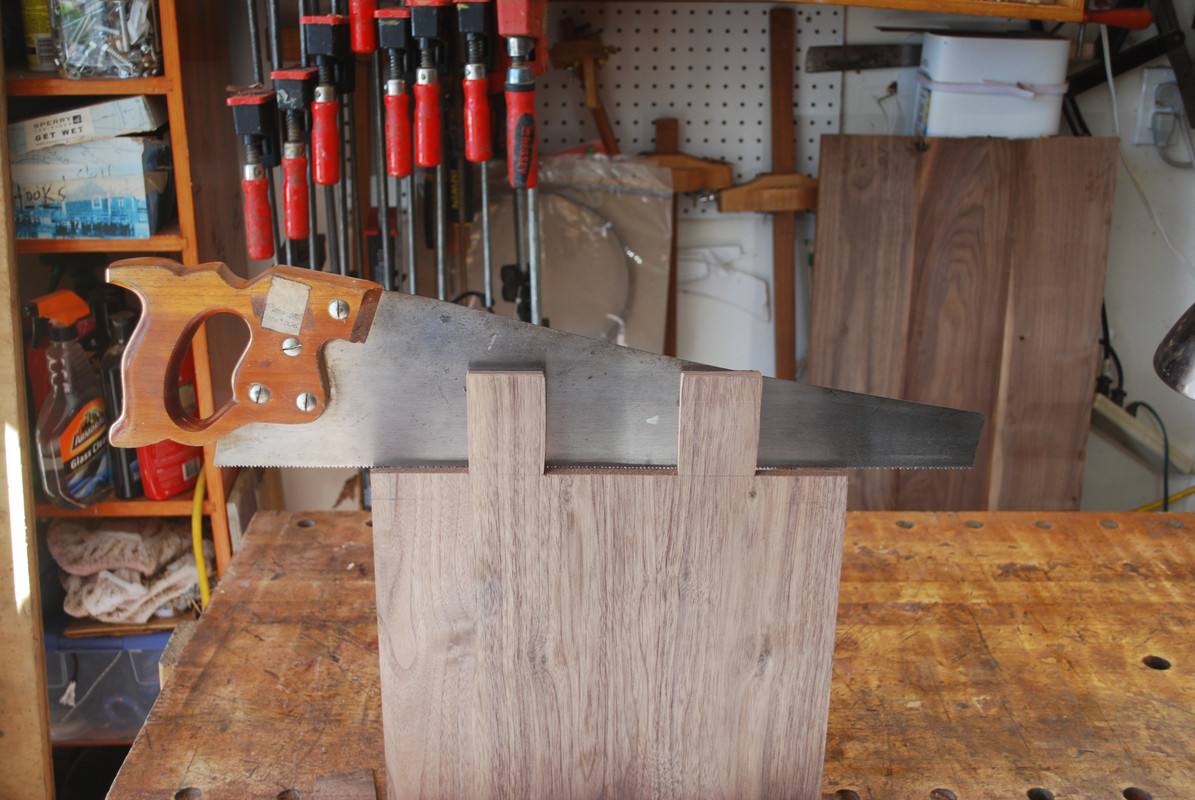
    To saw tennon cheeks, I typically try and use the largest, courses pitch ripsaw practical. The increased mass and blade length help both my speed and accuracy.


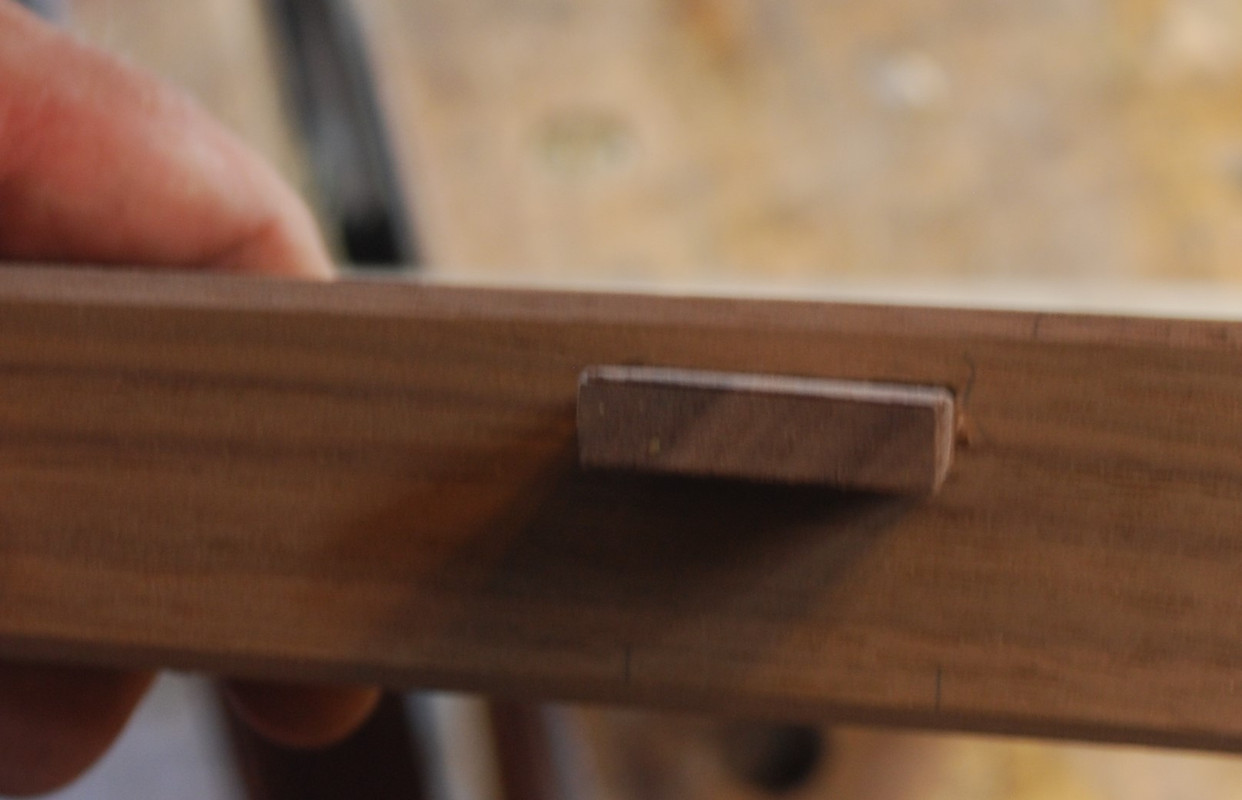
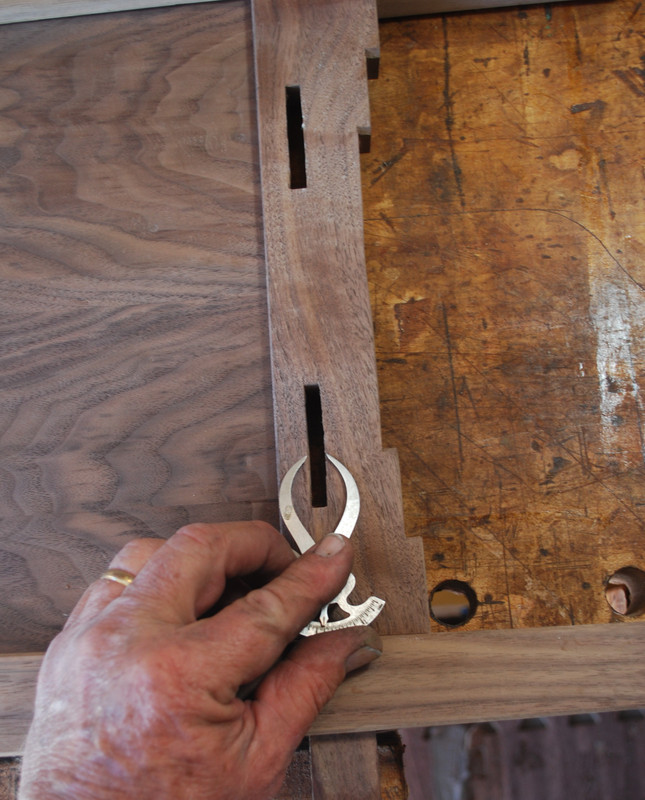
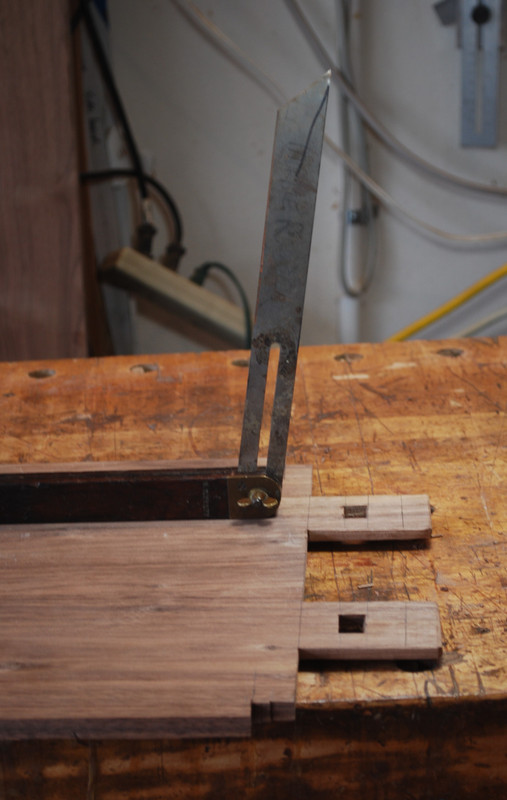
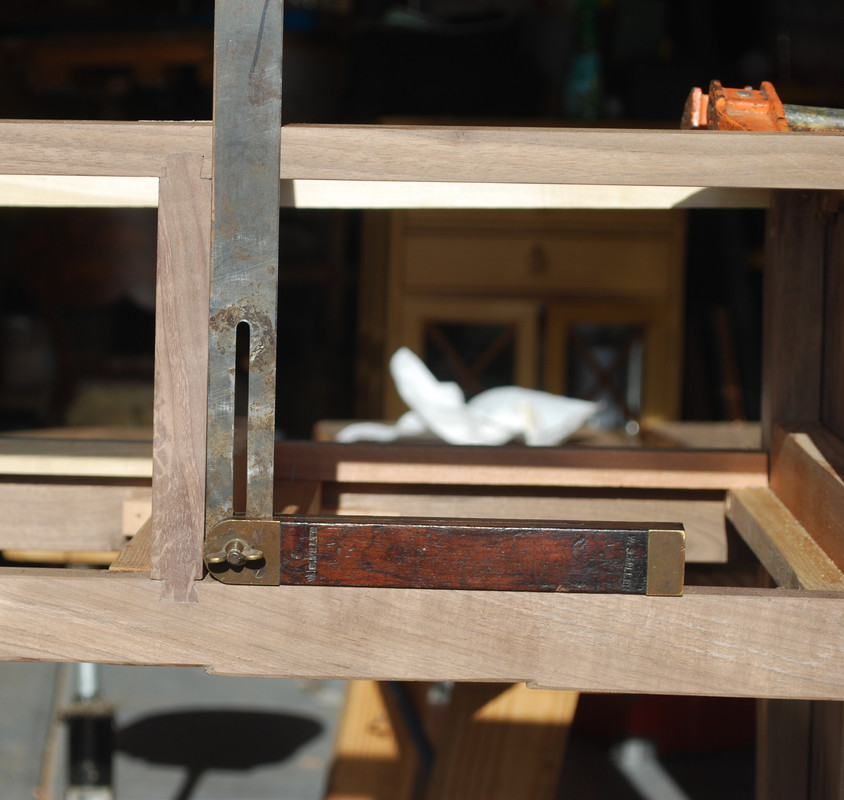
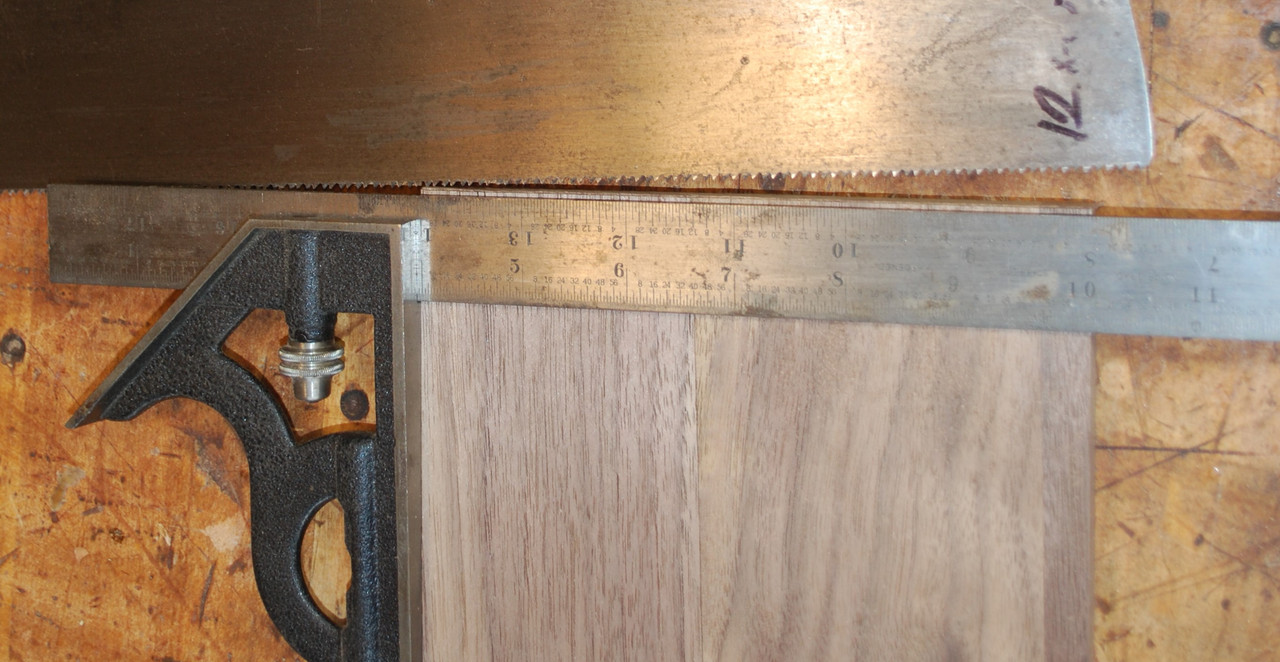
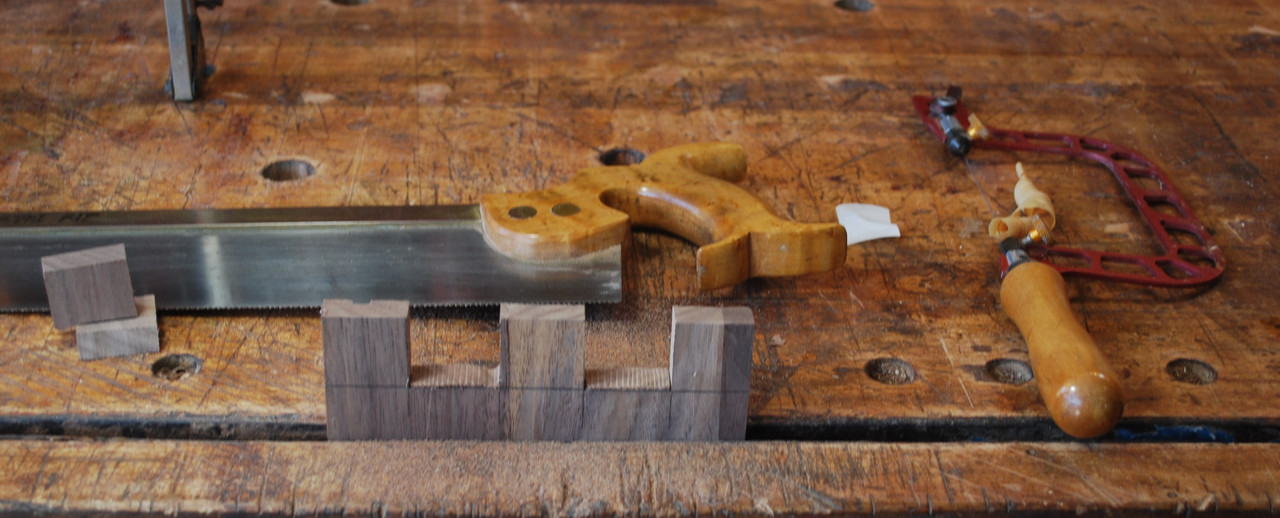
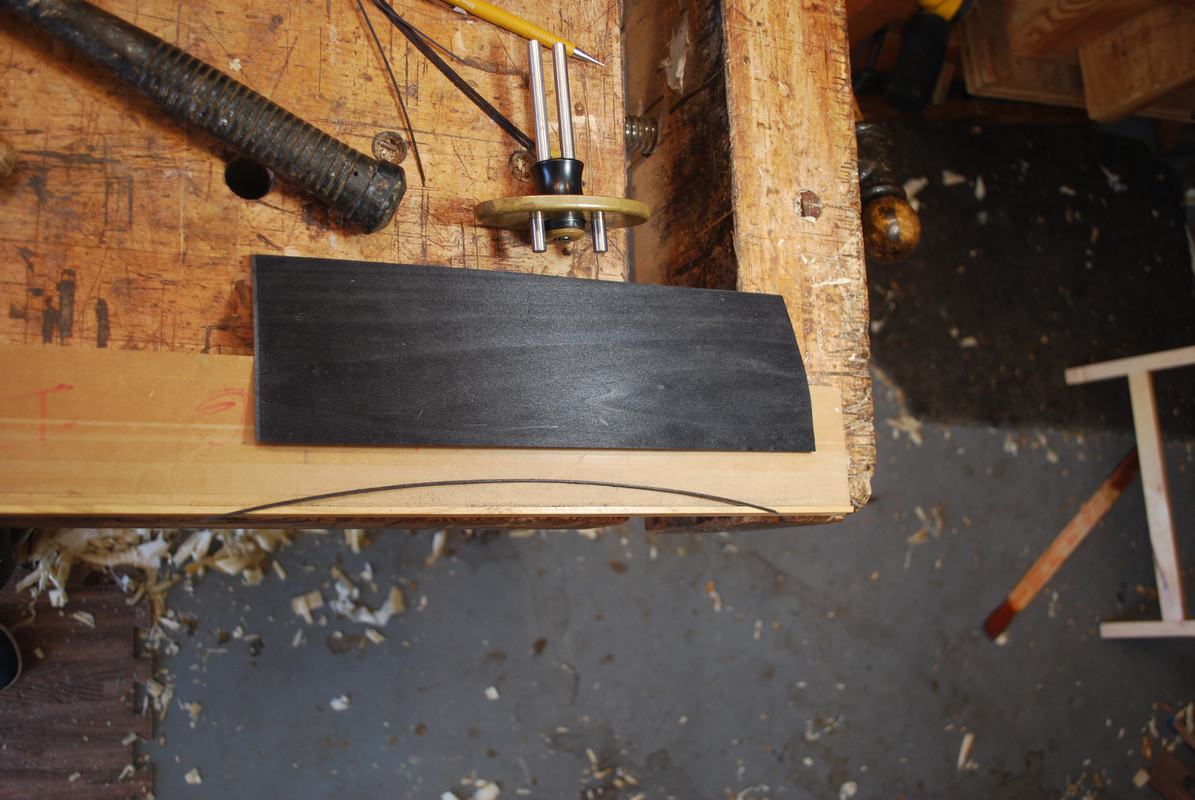
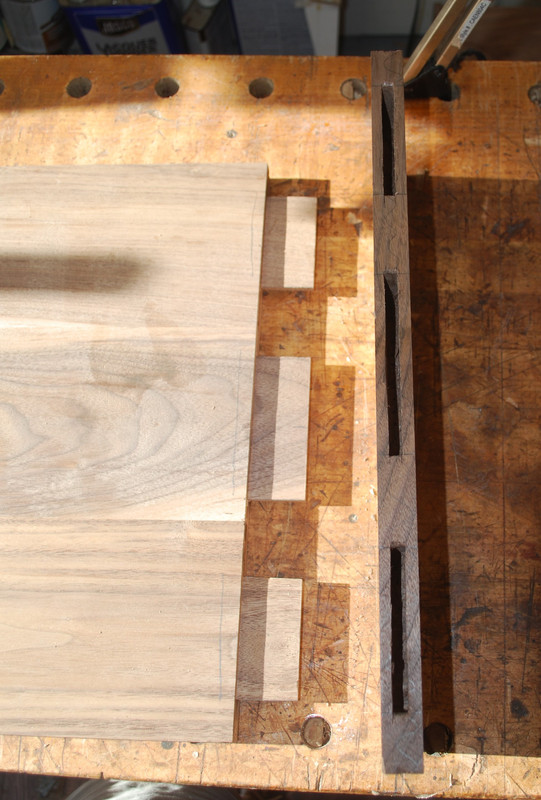
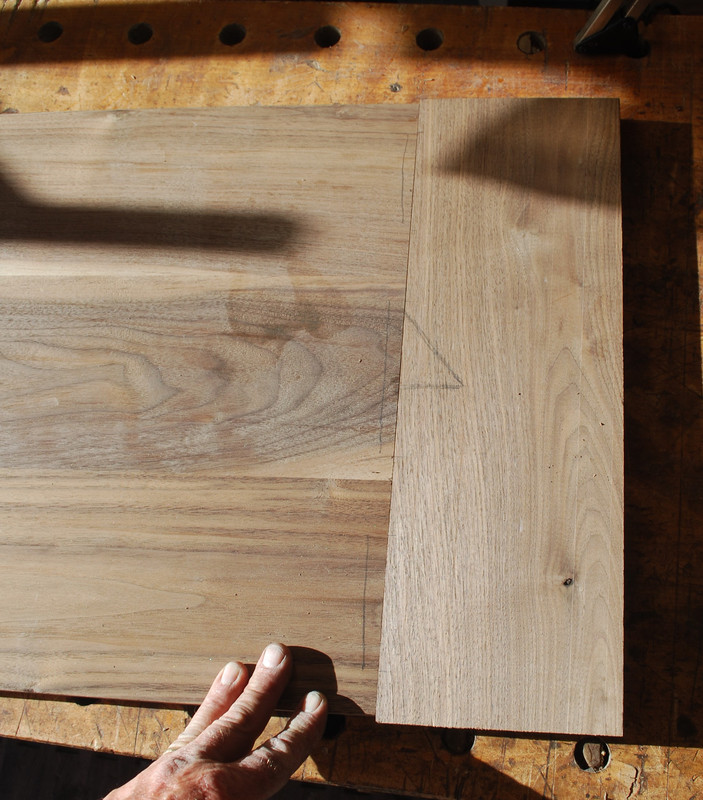
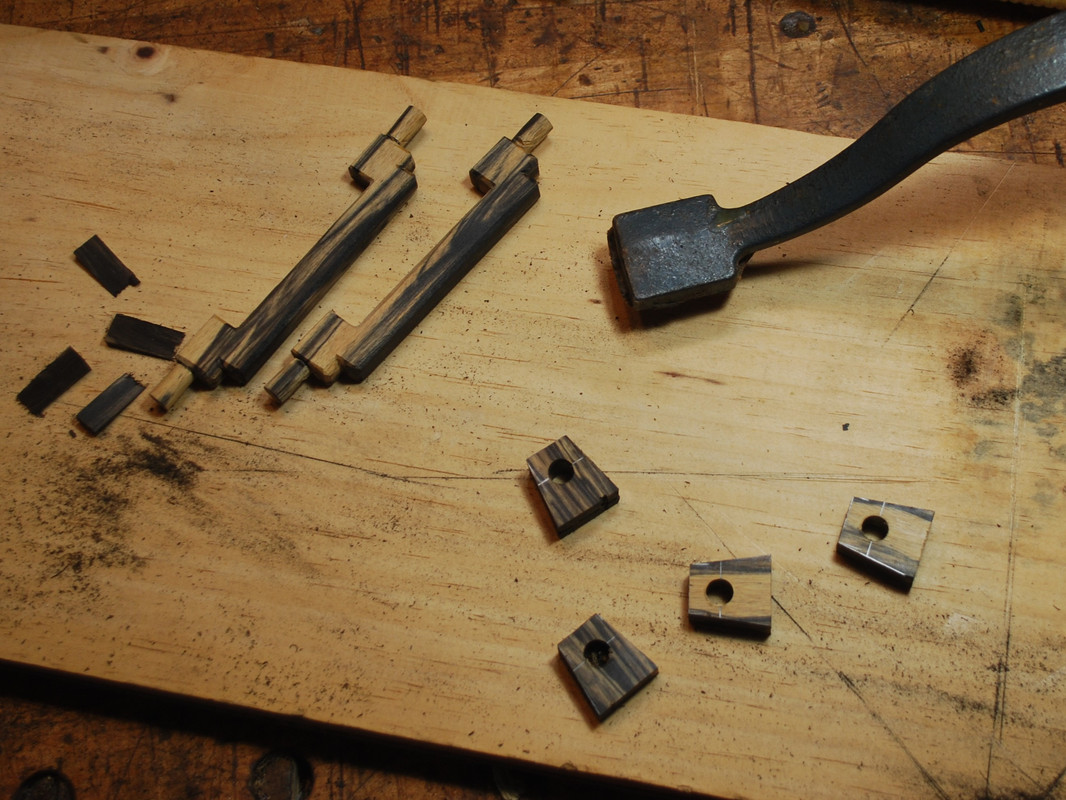
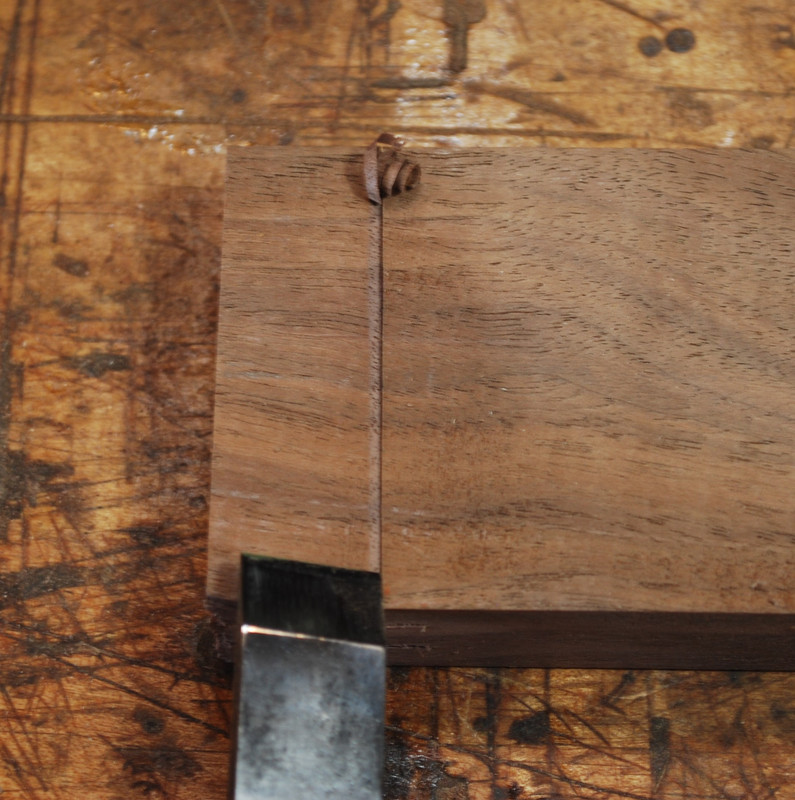
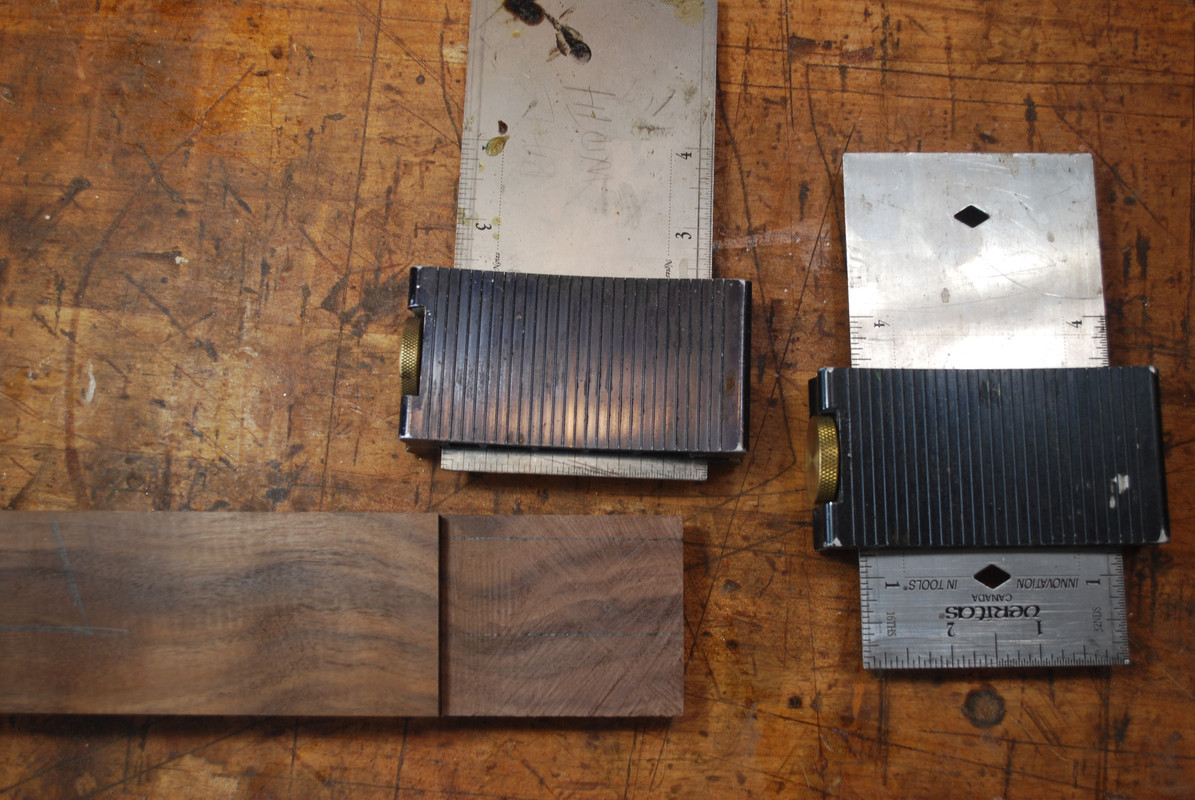
    These are four shoulder tennons and these two Lee Valley sliding marking gauges are some of my most frequently used layout tools, particularly for laying out the width of these tennons.


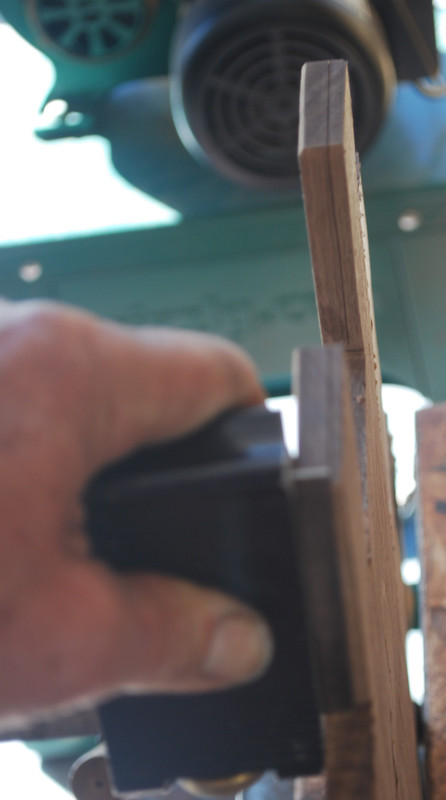
    For sawing the tennon to final width I really like Japanese pull saws –my favorites for delicate, small cuts.


  2. #2
    Join Date
    Feb 2011
    Location
    Carlsbad, CA
    Posts
    2,230
    Blog Entries
    2
    Here’s the dry fit I’m going for.


    I’m a routing the groove for the solid, ¼” thick re-sawn side panels in the legs after I’ve cut the mortises. Typically I plow the grooves first, but these legs are tapered and I didn’t trust the grooves would line up with M&T’s the way I wanted so I did them at the end.


    Here is joining edges of the re-sawn, book matched side panels. I really like my twin screw face vice to clamp and plane both edges at the same time.


    This is a shop made glue up table I like for gluing up thin panels and trying to keep them flat. How do you guys do this job?


    I intentionally chose some pretty figured stock for the side panels. Final planing/surfacing is one of my favorite jobs – for these I like a 50° bed angle and cabinet scraper. I also really like the Lee Valley planing stops for thin panels like this.


    With surfacing complete, it’s back to the saw bench to rip a straight edge and saw panels to final dimensions.


    I incorporated a “cloud lift” design element into the bottom of the rails in the sides, which means I have to duplicate that pattern on the top edge of the panel. Again a “measure twice, cut once” task. I layout both the edge of the panel and the part that will be captured in the groove because yes I’ve cut to the wrong line on this more than once – I hate when that happens!


    Here’s the glue up of the sides.


  3. #3
    Join Date
    Feb 2011
    Location
    Carlsbad, CA
    Posts
    2,230
    Blog Entries
    2
    For jointing a straight edge on what will be the bottom shelf, I really like this shop made planing stop that goes in my face vice with a wedge that holds the work please piece in place. I find the stability of planing against the benchtop helps my accuracy as compared to joining in the face vice and dead men.


    Here’s the completed bottom shelf, again book matched.


    Here’s cutting the dovetail for front, top stretcher that joins to the top of the two front legs.


    The shelf will be joined to the bottom rails on the sides via through, wedged M&T’s. Here is using some tiny calipers to transfer the height of the mortise to the layout square to saw tenons to the correct size.


    To rip these bottom shelf tennons to final thickness, I used a 10 PPI, 22 inch panel saw. I find my panel saws super handy for even relatively delicate joinery. In this case the tennons are so close together was easy is to saw them both at the same time.


    Here’s some pictures of cutting the sloped mortises in these tennons that will accept the ebony wedges to hold the bottom shelf in place.


    I typically leave my through tenons over length and trim them to final size after assembly so I get a consistent length proud of the legs. When I try and figure/cut this length first there usually never equal because all my stock is hand planed and is rarely the exact same dimensions. The miniature Lee Valley bevel up Jack plane is the perfect tool for beveling the edges of the through tenons after assembly it’s so small – I think a couple inches long, that it’s perfect for doing the job without being up the surrounding surfaces.


  4. #4
    Join Date
    Feb 2011
    Location
    Carlsbad, CA
    Posts
    2,230
    Blog Entries
    2
    I like using sliding dovetails to join the vertical dividers that define the drawer openings. Stopped dadoes are easier, but the sliding DT’s are my little conceit for showing off joinery I like but probably no one else will notice. I use an ECE dovetail plane to cut the male dovetails. I like to plane the dovetails on a wider piece of stock and then ripped that stock to final width because I always get spelching on the backside with this tool.


    With the carcass assembled, it’s time for drawer runners and kickers. I like this job because it’s with softer secondary stock (in this case pine) and it’s fast and easy to do right off the saw with some glue and pin nails. I went many years without a electric pin nailer and now I wouldn’t be without it – super handy to tack pieces in place – much less likely to slide around on the glue then when hammering a nail in.


    I posted thread earlier asking if I should use this board with the knot in it to make the three drawer fronts. Yes it’s a big defect, but this piece is kind of “chunky” rather than elegant and I think one of the differences between handmade a mass-produced furniture is the ability to to feature/match the grain in showpieces. I wouldn’t do this for client, but for our house I like it.


    These are flush fit interior drawer fronts. Overlapping drawer fronts are obviously easier but I like to offset the rails from the legs to allow a small little reveal/shadow line which means you gotta make the drawer fronts to fit the opening precisely. A great job for hand saws and planes. I like to work from reference corner and use a bevel gauge to layout the ends of the drawer fronts because I know my carcasses are rarely perfectly square. Here’s the dry fit.


  5. #5
    Join Date
    Feb 2011
    Location
    Carlsbad, CA
    Posts
    2,230
    Blog Entries
    2
    Through dovetails in the drawer backs and proud finger joints (characteristic of the style) for drawer fronts.


    I use this Lee Valley square chisel with matching drill bit to make mortises for ebony pins to hold the M&T’s in place and as decorative elements on drawer fronts.


    Sandpaper glued to a flat surface is how I bevel the edges of these pins which are 3/8 inch square.


    At this stage the LOML “helpfully suggested” that some black string inlay on the front horizontal rails would help highlight the cloud lift elements. I pointed out this would’ve been a lot easier to do before assembly – which surprisingly didn’t really seem to be much of an obstacle to her! I used 2 thicknesses of commercial dyed black veneer sandwich together with spray glue and this little fenced jig with the Lee Valley string inlay cutter to slice the stringing to the correct thickness. Plowing the groove was done partially with a fenced palm router and a straight edge an X-Acto knife to get the corners. Yeah not very efficient!


    I love making breadboard ends for tabletops, for me a chance to tie the grain of the hole tabletop together. I use a shop made fenced rabbit plane to remove the bulk of the waste just shy of the knife line and then a finally set rabbit plane to trim the last bit of waste to get a nice, straight edge.


  6. #6
    Join Date
    Feb 2011
    Location
    Carlsbad, CA
    Posts
    2,230
    Blog Entries
    2
    Here’s some pics of the final tabletop glued up.


    I made the pulls out of black and white ebony. When I’m trying to create a rounded pin on the end of the pull I use a gouge to rough out the cylinder. This probably and easier/better way – maybe some kind of tennon cutter?


    Here’s some pics of the finished piece


    I hope this isn’t too much details/pictures. Personally I really enjoy build thread so that’s why included content above. Thanks for looking.

    All the best, Mike

  7. #7
    Join Date
    Nov 2007
    Location
    Goleta / Santa Barbara
    Posts
    969
    Professor Michael, I (and everyone else here) ALWAYS enjoy, immensely, your Build threads.
    Great job, as always. Great craftsmanship, as always.
    Wishing you and the family the best, as always! Patrick

  8. #8
    Join Date
    Apr 2008
    Location
    Dayton Ohio
    Posts
    964
    Very nice. Earlier you were concerned about the drawers having too much figure. Considering you have a lot of figure on the whole piece it balanced out well.
    Is this piece a one off or will you be making similar for a set?

  9. #9
    Join Date
    Feb 2011
    Location
    Carlsbad, CA
    Posts
    2,230
    Blog Entries
    2
    Quote Originally Posted by Patrick McCarthy View Post
    Professor Michael, I (and everyone else here) ALWAYS enjoy, immensely, your Build threads.
    Great job, as always. Great craftsmanship, as always.
    Wishing you and the family the best, as always! Patrick
    Counselor, great to hear from you- wishing you and yours all the best for wonderful Holidays and a fantastic central coast new year! Please look me up next time you’re in town!

    Cheers!

  10. #10
    Join Date
    Feb 2011
    Location
    Carlsbad, CA
    Posts
    2,230
    Blog Entries
    2
    Quote Originally Posted by Eric Brown View Post
    Very nice. Earlier you were concerned about the drawers having too much figure. Considering you have a lot of figure on the whole piece it balanced out well.
    Is this piece a one off or will you be making similar for a set?
    Thanks Eric. I already built the 3 companion pieces- coffee table, end table and sofa table. Not sure how to find them but I probably posted at least some of the builds previously on SMC.

    I’ve been doing this for 40 years and we have no room for any more furniture. Only time I get to build anything for the house is when the boss decides to redecorate. We just moved into empty nesters house and Boss wanted something “more casual” than the Queen Anne and Federal style stuff I built before. fortunately I enjoy building Craftsmen/Greene& Greene furniture, although I do miss the carving /veneer/inlay. Nowadays I only get to do that on smaller chests, boxes etc. that end up stacked in my office!

  11. #11
    Join Date
    Sep 2007
    Location
    Longview WA
    Posts
    27,471
    Blog Entries
    1
    Beautiful Mike.

    As far as too many pictures… Pictures are like clamps, you can never have too many.

    jtk
    "A pessimist sees the difficulty in every opportunity; an optimist sees the opportunity in every difficulty."
    - Sir Winston Churchill (1874-1965)

  12. #12
    Join Date
    Jan 2019
    Location
    Fairbanks AK
    Posts
    1,566
    Mike, thanks. There was a call for more 'build along' threads some time ago; you obviously did not build this thing in 34 minutes, but I did get to go on the ride with you. Thank you for that.

    I do find the drawer pull does a lot to push the void of the center drawer front into the background.

    I do have one other question that may have been asked before. Your benchtop. It has been through a war zone, all the way to Egypt, out the back door of Egypt, and then round trip home through all the same. What material is that? Does it have any finish on it? How often do you flatten it, about?

  13. #13
    Join Date
    Feb 2011
    Location
    Carlsbad, CA
    Posts
    2,230
    Blog Entries
    2
    Quote Originally Posted by Scott Winners View Post
    Mike, thanks. There was a call for more 'build along' threads some time ago; you obviously did not build this thing in 34 minutes, but I did get to go on the ride with you. Thank you for that.

    I do find the drawer pull does a lot to push the void of the center drawer front into the background.

    I do have one other question that may have been asked before. Your benchtop. It has been through a war zone, all the way to Egypt, out the back door of Egypt, and then round trip home through all the same. What material is that? Does it have any finish on it? How often do you flatten it, about?
    Thanks Scott, I appreciate you letting me know you enjoyed the build thread. When it comes to Woodworking, there’s always more than one way to skin a cat and I always enjoy seeing how other people approach tasks differently than I do, And appreciate you letting me share what works for me sometimes.

    Now that you mention it, my bench top really does look pretty rough! I hadn’t really thought about it for a while. Benchtop is eastern hard rock Maple. Finish is Watco oil varnish blend – something that is easy to restore whenever needed.

    Despite appearances, I scrape my bench top with a card scraper probably once a week to remove glue squeeze out and surface imperfections etc. and check it for flatness with a straight edge pretty regularly. Even though it looks like crap, it is flat.

    That said, I could be a lot more careful about preserving the surface. I do suffer from a lack of patience and have been known to use chisels and saws right on the bench top instead of taking the time to get a piece of scrap, etc. – my bad!

    However, I only plane it clean and smooth maybe once a year – I guess it’s about time for that now.

    Believe it or not, I actually have a second bench that I try and use for the really dirty Jobs. I’ve had that one since 1981 – you can just imagine what it looks like!

    Cheers, Mike.

  14. #14
    Join Date
    Apr 2017
    Location
    Clarks Summit PA
    Posts
    1,747
    Mike, a great build and impressive sideboard! I appreciate your extensive display of hand tool use - this is what the Neanderthal forum is all about for me. I frequently have trouble trimming the width of tenons to get the 3rd or 4th shoulders. I use a pencil and ruler to make a line to rip with my handsaw, but I am not satisfied with my results. Your Veritas sliding square/ruler looks to be the answer. It seems you highly recommend it? Thanks Mark

  15. #15
    Join Date
    Jun 2010
    Location
    twomiles from the "peak of Ohio
    Posts
    12,185
    I'm a bit late to the Party...looks great!

    How about one of these, next time to mill round tenons?
    replated, EC Stearns cutter.JPG
    Made by E.C. Stearns...1/4" to 1-1/4" cutter...
    E.C.Stearns, laying down.JPG
    Powered by just about any sized brace, too..
    A Planer? I'm the Planer, and this is what I use

Posting Permissions

  • You may not post new threads
  • You may not post replies
  • You may not post attachments
  • You may not edit your posts
  •