Results 1 to 7 of 7

Thread: Power and hand together (10): Skyhooks

  1. #1
    Join Date
    Feb 2004
    Location
    Perth, Australia
    Posts
    9,497

    Power and hand together (10): Skyhooks

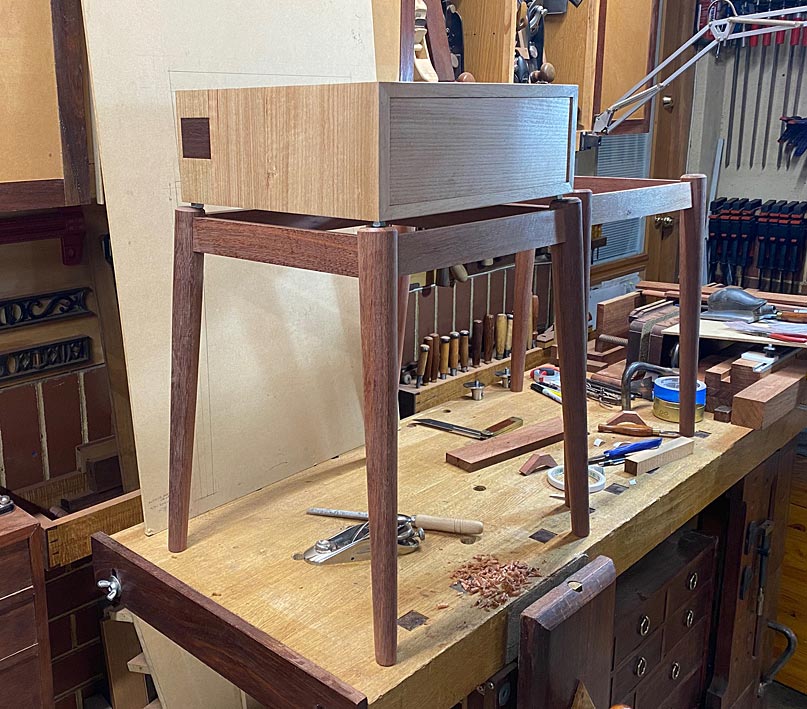
    Last time the nightstand build ended with a mock up of one nightstand ..


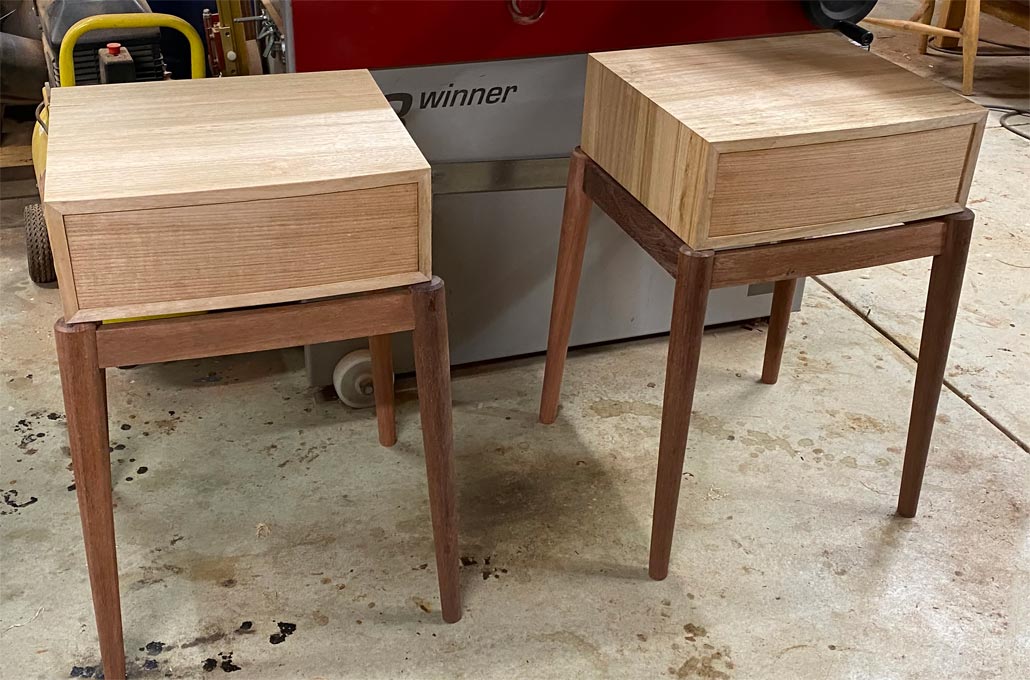
    Here steel nuts were used to lift the cabinet off the base. This weekend I completed the second base. Here are the two with the cabinets resting on the bases ...


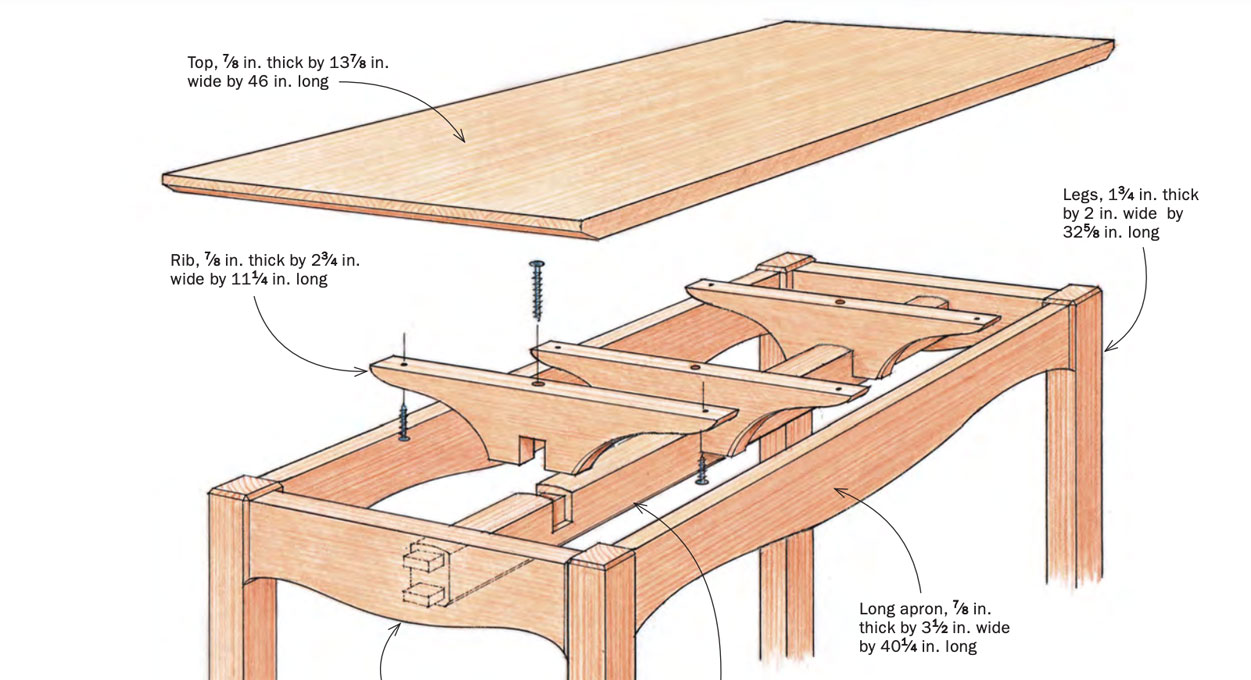
    I had been planning to construct the floating appearance by using a slight variation of this construction ...


    ... but the example with the nuts had me thinking if there was another way, one less observable from the side.


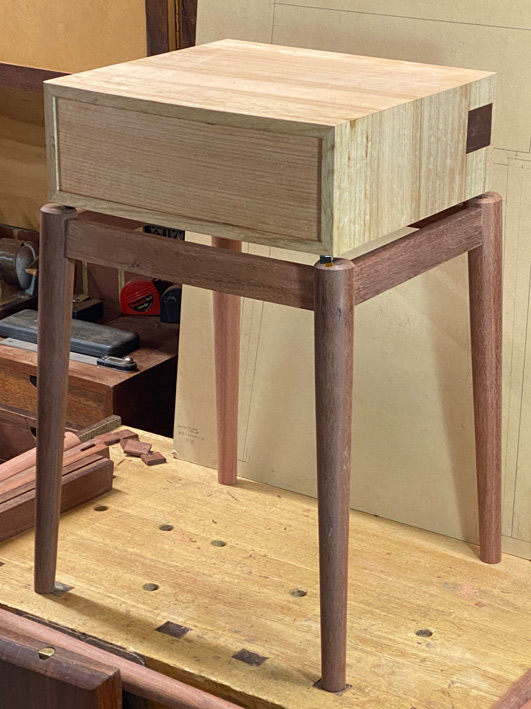
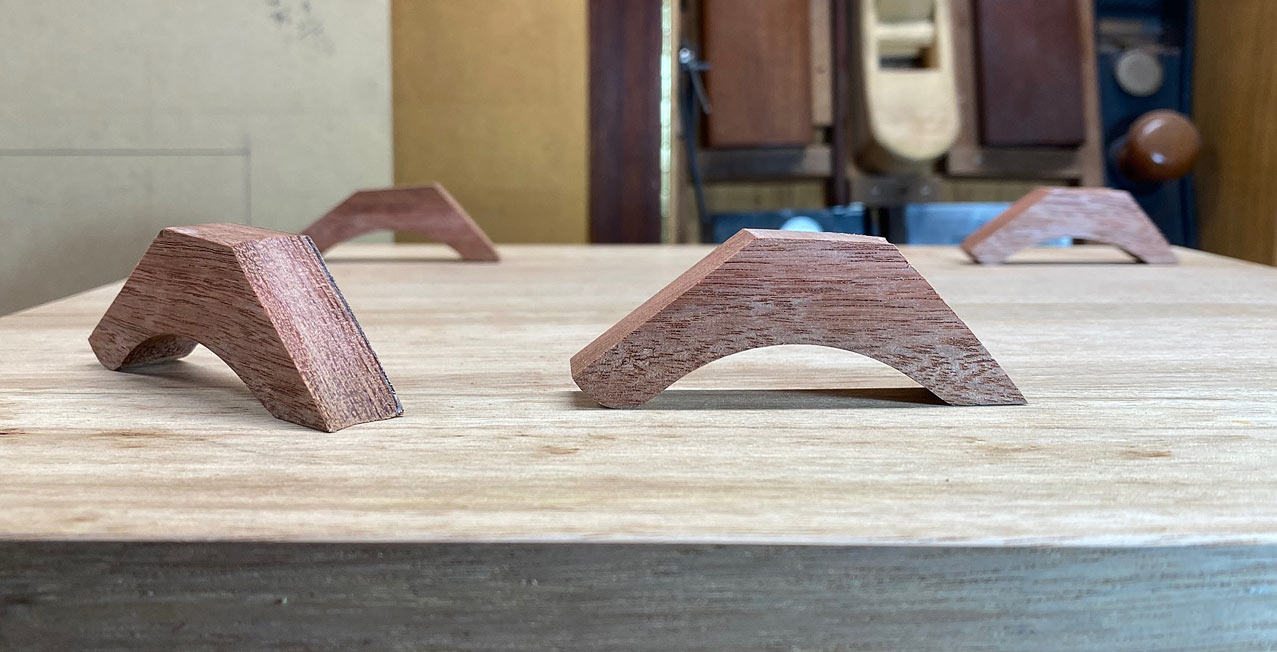
    Here is a mock up again, taken today ...


    I came up with this linkage, and what I am after is some opinion as to how secure you imagine it will be.


    These simply began as Jarrah triangles, and were shaped to reduce unnecessary bulk (which might be visible). All legs are 10mm thick x 18mm wide ...


    For greatest strength, the grain runs across the bracket.


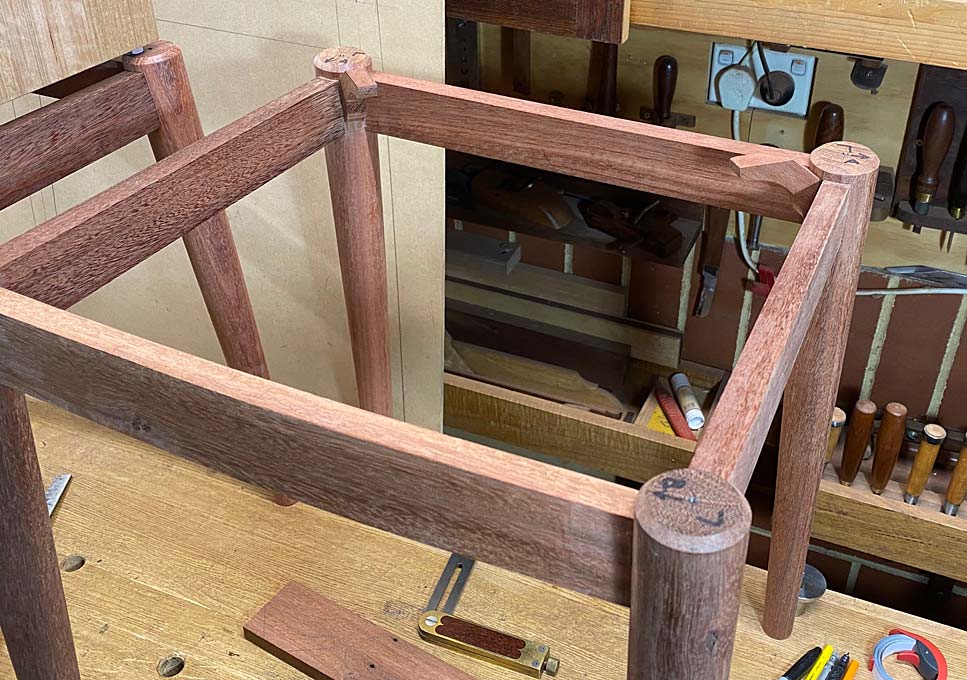
    The one side was coped to fit flush with the round leg ...


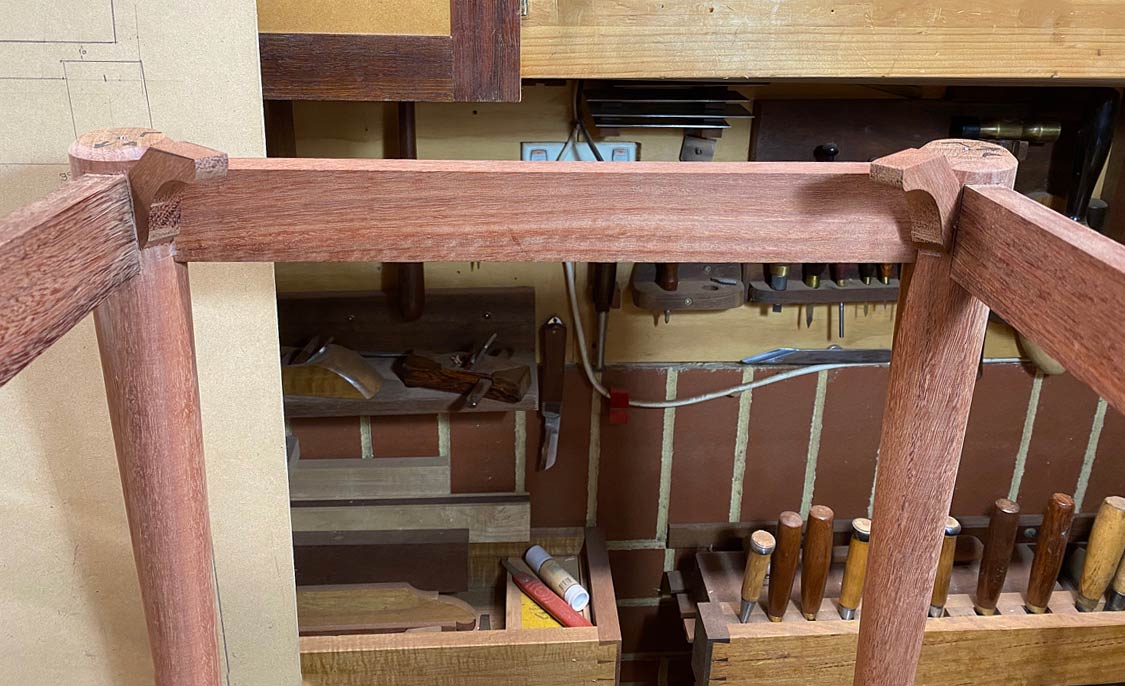
    This is how it is intended to be fitted ...


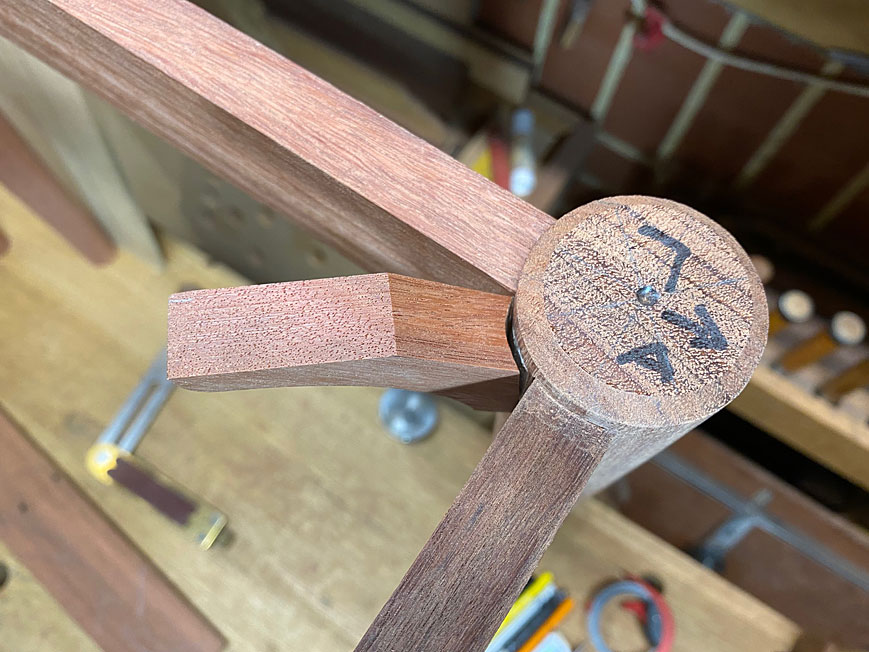
    Here is the mating of the coped inside with the outside of the round leg ...


    The plan is to glue and screw the coped side. The glue joint should create a strong connection, and a screw will just provide extra support. The cabinets will be screwed to the top of the bracket.


    Opinions and ideas?


    Regards from Perth


    Derek

  2. #2
    Personally, I wouldn't use screws for a couple of reasons.
    You didn't use scres anywhere else did you?
    I would want a wooden mechanical connection between the leg and your little knee brace.
    I believe you have a domino, or at least a dowel.

  3. #3
    Join Date
    Feb 2004
    Location
    Perth, Australia
    Posts
    9,497
    Thanks Edward.

    I literally woke up in the middle of the night (it happens when one is 73) and considered what would happen if the construction was tipped over on its side. The strength of the bracket is weak in lateral movement - perhaps not these, but in design. Consequently, this is not the connection I want to use, and I will go back to Plan A.

    Regards from Perth

    Derek

  4. #4
    Join Date
    Feb 2011
    Location
    Carlsbad, CA
    Posts
    2,230
    Blog Entries
    2
    Derek, typically clever design, well executed. I love the floating design of drawer component! IMHO, plan A might even look better revealing a little of the "engineering" supporting the superstructure- maybe even a little larger reveal to "show your work"?
    Thanks for sharing!

    PS: I'll post pics of blanket chest for my nephew with hidden drawer inspired by your tables.

  5. #5
    Join Date
    Jan 2019
    Location
    Fairbanks AK
    Posts
    1,566
    I internet searched for images related to "Krenov Cabinet on stand" and it looks to me like you are trying to push past Krenov's mark to make something even lighter in appearance. Kudos for even thinking of it, and you are well along in the build too.

    Serious props.

    Fundamentally, any physical connection between the legs and the cabinet is going to be visible from some angle in some light.

    One idea is to paint your triangular linkages with the same paint used on the walls in the destination bedroom. But as soon as your wife decides to repaint the bedroom you will have an extra chore.

    Another idea - that I only saw once in the various Krenov cabinets I looked at online- is the "Beech cabinet on stand" image hosted at the krenov archive dot org. The upper cabinet is white, the lower stand with the drawers might be cherry. But the separation is a black band.

    I have no idea how to turn jarrah black. But if you did the inside of all the aprons black, and the bottom surface of the cabinet black, and your triangle linkages black; the linkages should be pretty hard to spot unless the piece was illuminated from behind.

    You might also consider rounding over the most visible surface of the linkage, where you cut the apex off the original triangle. With sharp edges like you got now there will be two shades of black in the shadow, a shape; where if that surface is rounded over there should be more like a shadow in the darkness.

    My two cents anyway.

  6. #6
    Join Date
    Feb 2004
    Location
    Perth, Australia
    Posts
    9,497
    Scott, my alternative to the corner brackets is more substantial and a lot more work, but also likely to be harder to detect. I start on this today. It will be a fun challenge.

    You might also consider rounding over the most visible surface of the linkage, where you cut the apex off the original triangle. With sharp edges like you got now there will be two shades of black in the shadow, a shape; where if that surface is rounded over there should be more like a shadow in the darkness.

    I have considered rounding over the tops of the legs. Then I realised that they will not appear rounded later on, and will simply show one sharp line and appear flat. The bevel at the top is a double line, and it punctuates the top of the legs more gently than a flat top.

    And thank you for your compliment regarding Krenov. He has been one of my inspirations for decades, and your words are high praise indeed.

    Regards from Perth

    Derek
    Last edited by Derek Cohen; 07-07-2023 at 9:03 PM.

  7. #7
    Join Date
    Jan 2019
    Location
    Fairbanks AK
    Posts
    1,566
    I agree the "how secure it might be" aspect of the triangular linkages probably leaves something to be desired, but these are obviously not for the bedroom of a child.

    I cannot imagine you have much material left to remove at the top of the legs with the mortises for the aprons already cut, so mortising a linkage into the leg won't work.

    I will hazard a guess you are planning some blind mortises on the insides of the aprons for some structure under the cabinet. I can draw something that should work, but I am confident you will execute something that does work and is beautiful to appreciate. Or a stopped mortise. So many names for the same thing. I expect Derek will cut some mortises onto the inside surfaces of his aprons that don't go all the way through the aprons.

Posting Permissions

  • You may not post new threads
  • You may not post replies
  • You may not post attachments
  • You may not edit your posts
  •