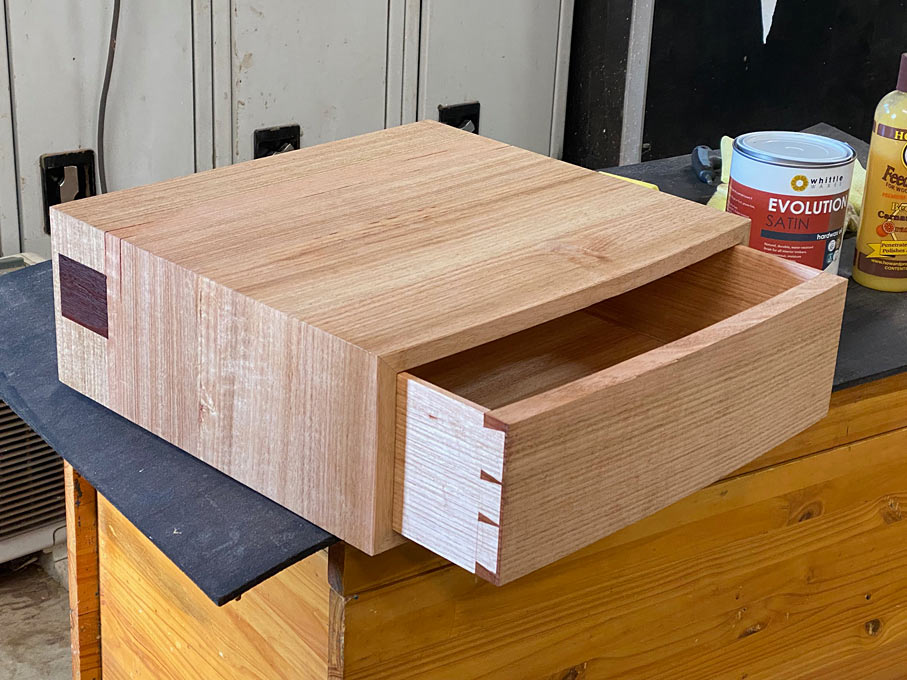

Pardon, but your slip is showing.
When drawer sides are thin, say between 6mm - 8mm, then "slips" are used to hold the drawer bottom rather than ploughing grooves into the sides. Slips are runners which are glued onto the sides. They have two purposes: firstly, to hold the drawer bottom in a grrove ploughed into their sides and, secondly, to wides the underside registration of the drawer side.
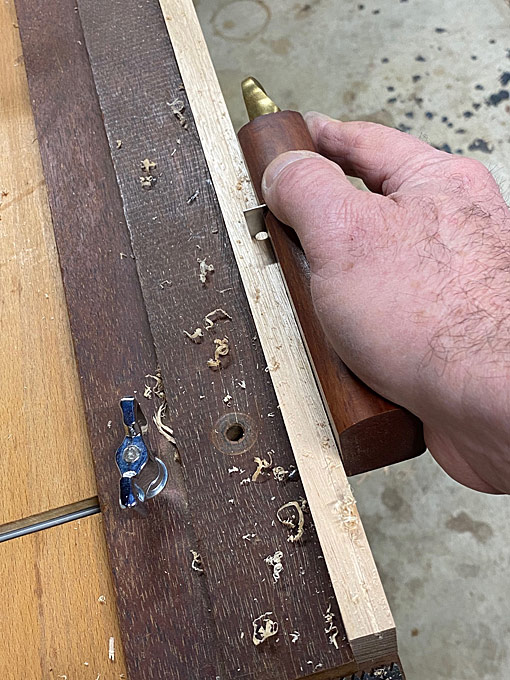
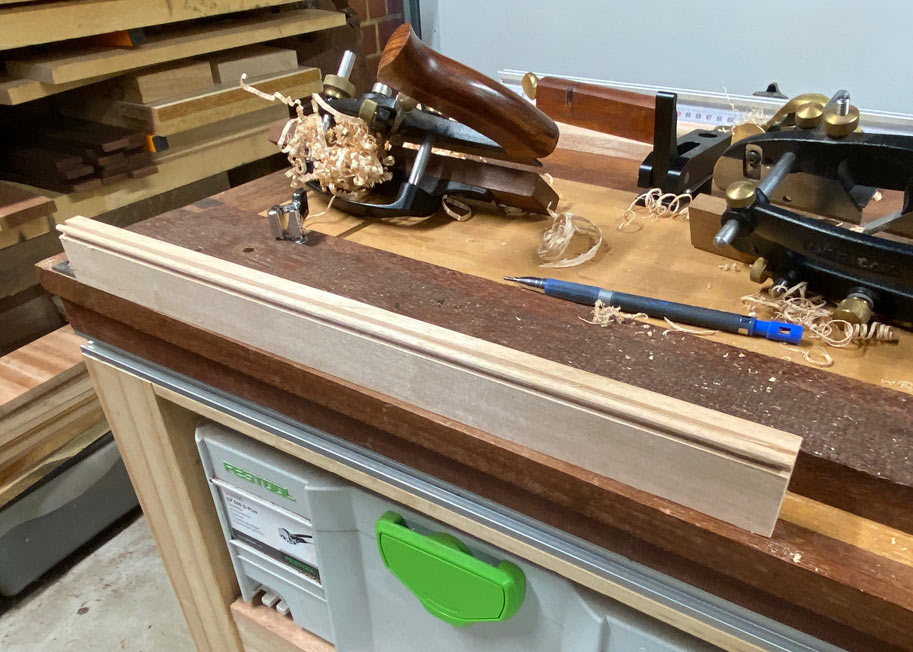
I like to add a bead as a transition between the slip and the drawer bottom. Below, the bead is about to be scraped on the sticking board ...
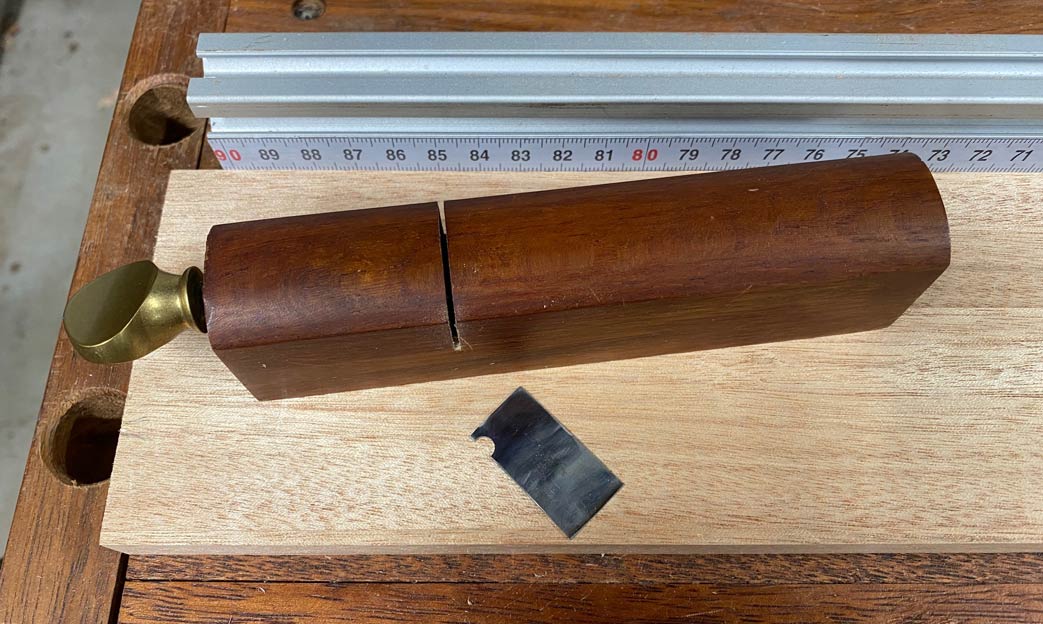
The scraper is made from hardwood and uses a shaped section of bandsaw blade to create the shape. This design comes from Garrett Hack ...
This is final shape created ...
Once the bead is made, turn the board on its side and plough the groove ...
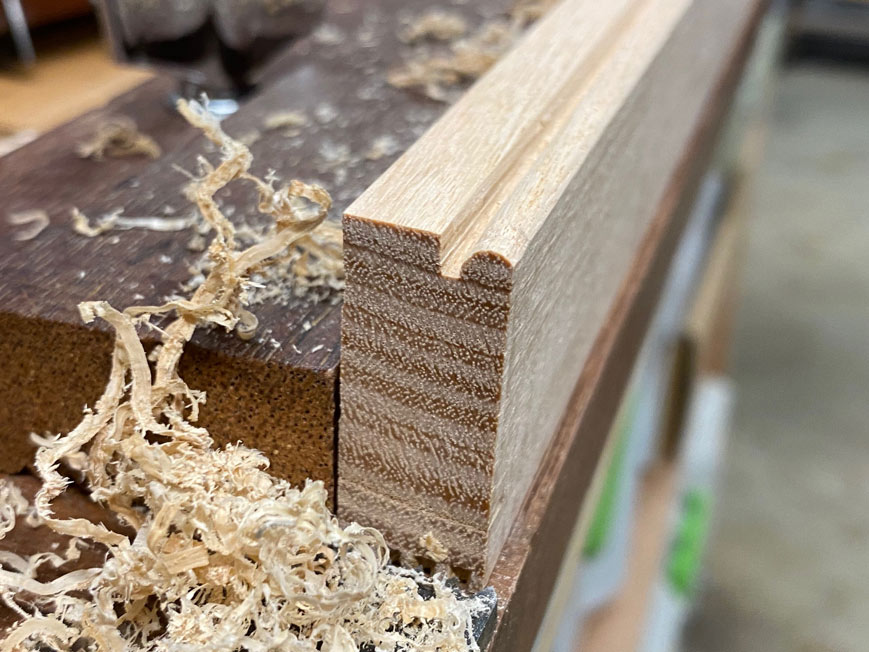
Completed bead (oversize still) ...
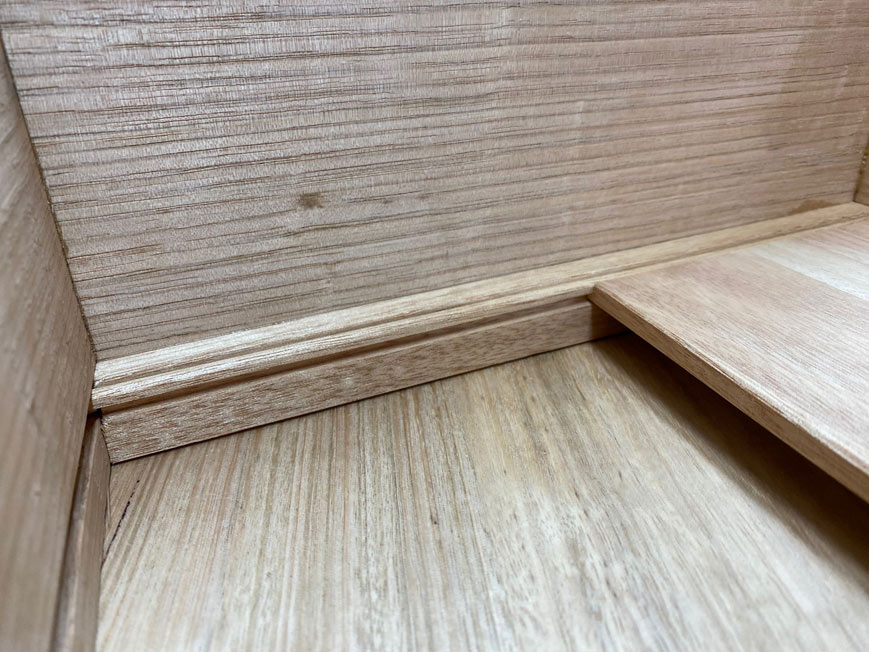
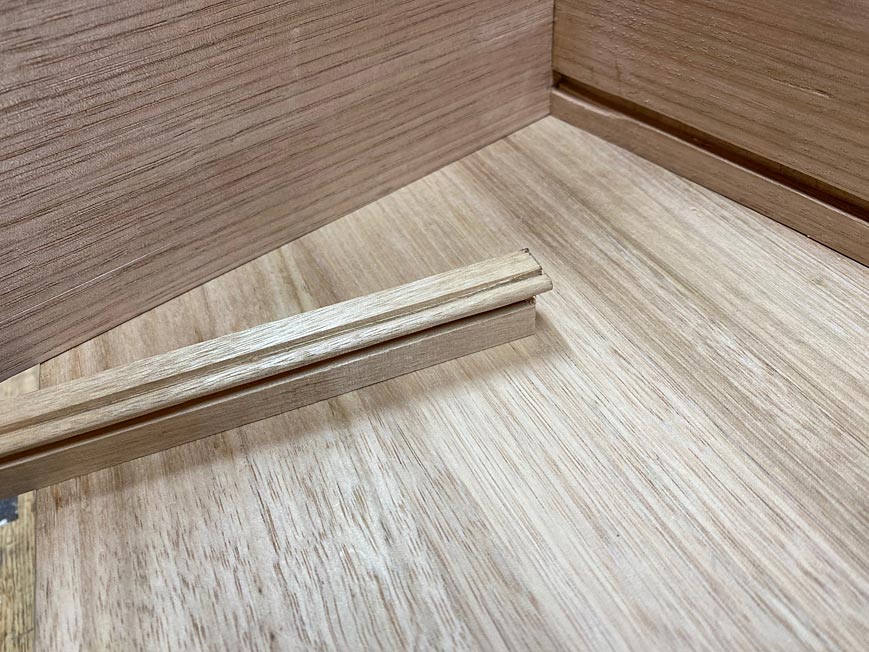
The slip is cut to size. Thos is how it will look inside the drawer ...
The end of the slip has a tenon, and this will fit into the groove in the draw front (which was ploughed in an earlier post) ...
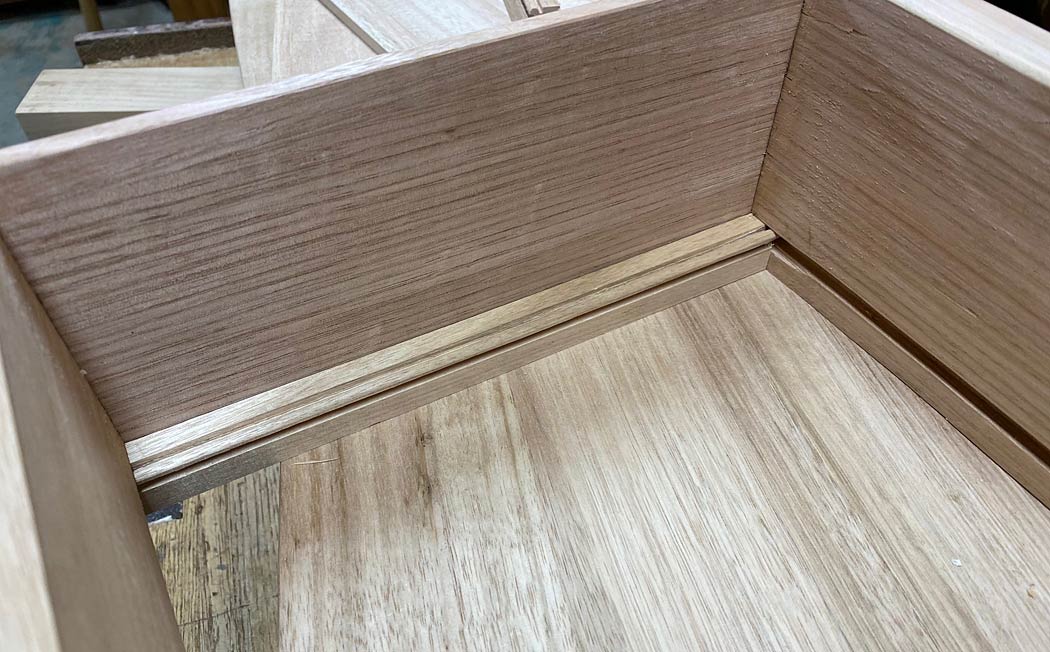
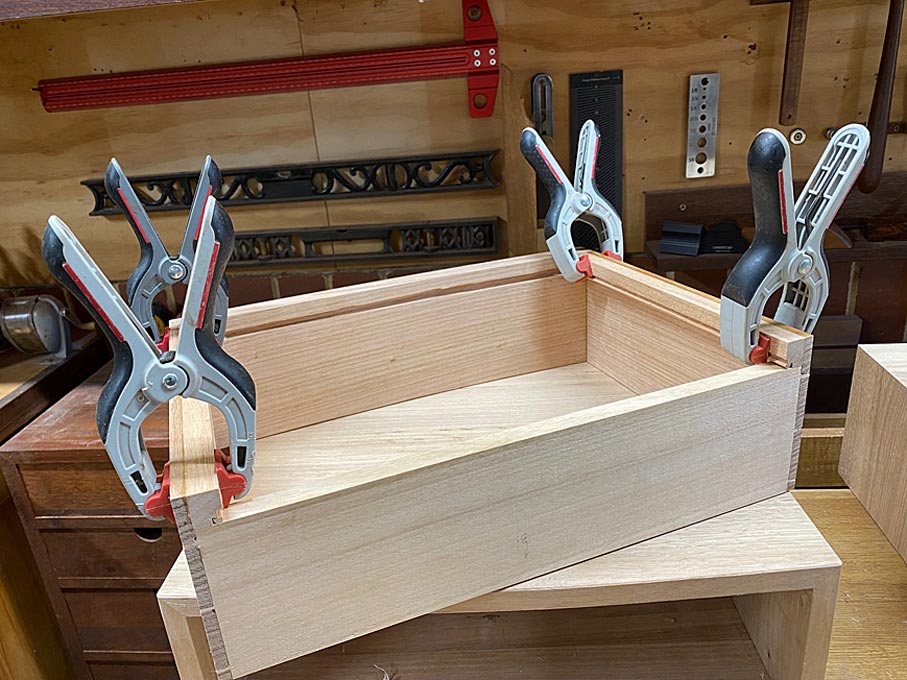
The slips are glued to the sides ...
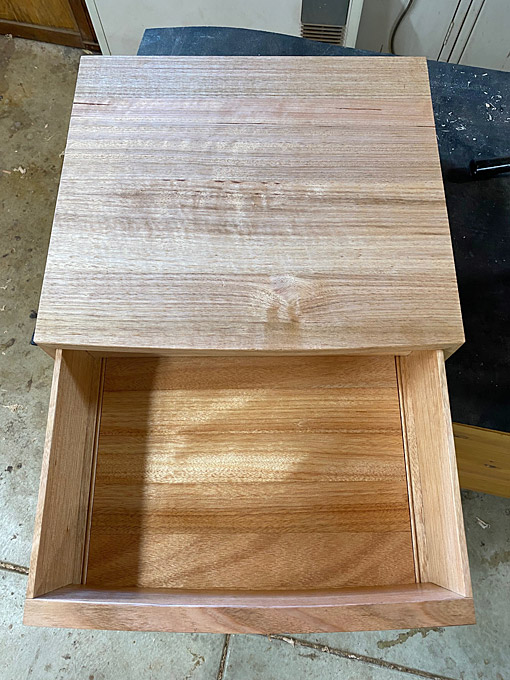
And now it is time to fit the drawer bottom!
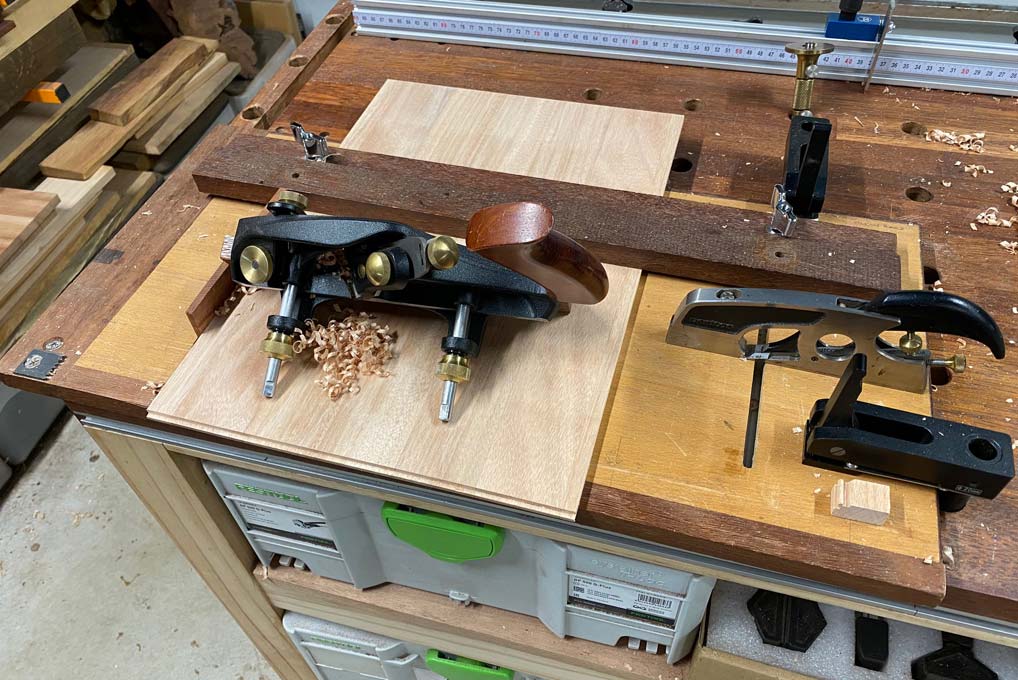
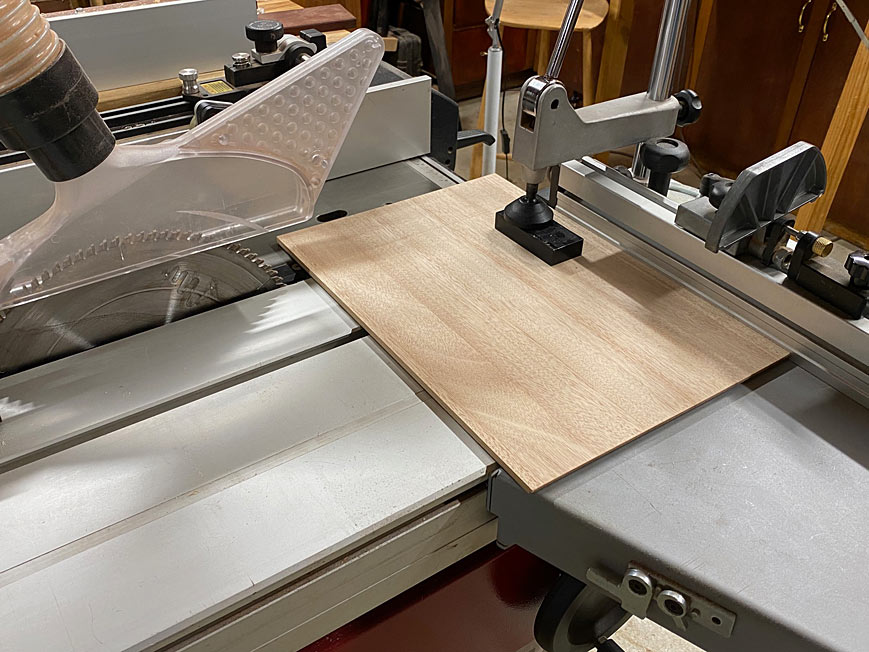
At this stage it is oversize but planed to thickness, in this case 1/4". The panel is set on the sticking board to hold when ploughing 3mm side rebates. The sticking board is given a slight modification for this purpose as the panel is too wide to fit against the fence. Instead, it slides under the fence, which then acts as a hold down ...
To add to the set up, a thin board is set into the track as a fence/stop ...
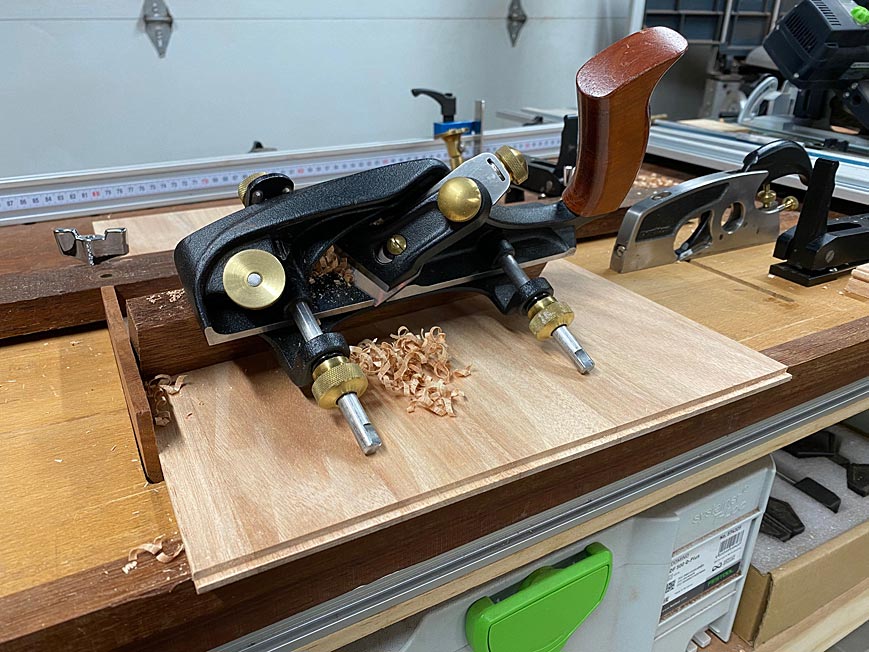
The width of the rebate is marked in with a cutting gauge - the finish here must be perfect as it will be viewed for always - and then is planed almost to depth. Finally, it is finished with a small shoulder plane. This ensures that the finish is clean and ready to use ...
Incidentally, note the new front thumb "knob" I made for the Veritas Skew Rabbet Plane.
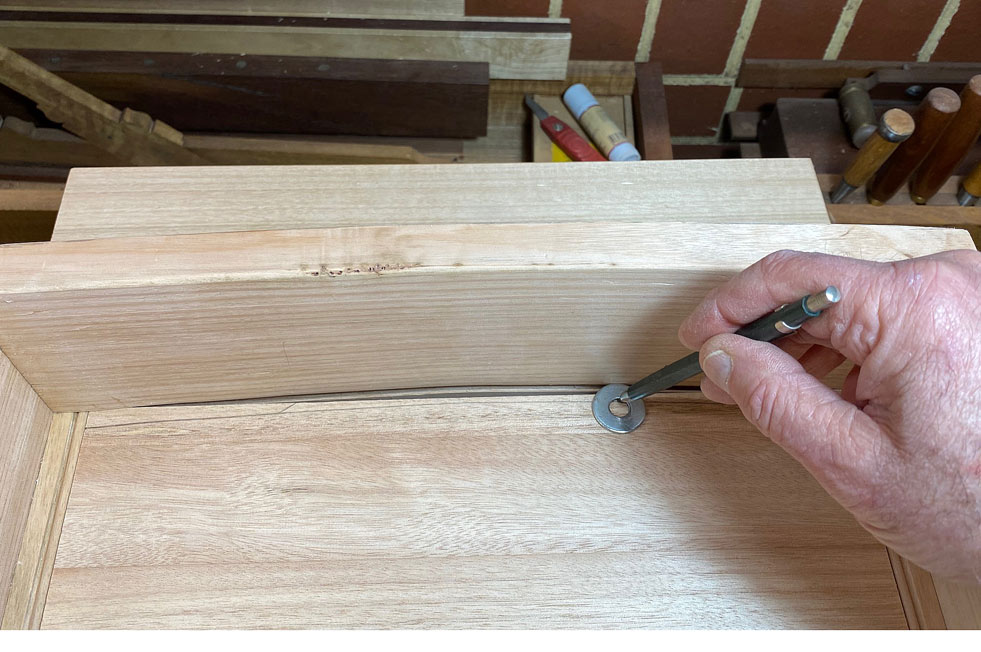
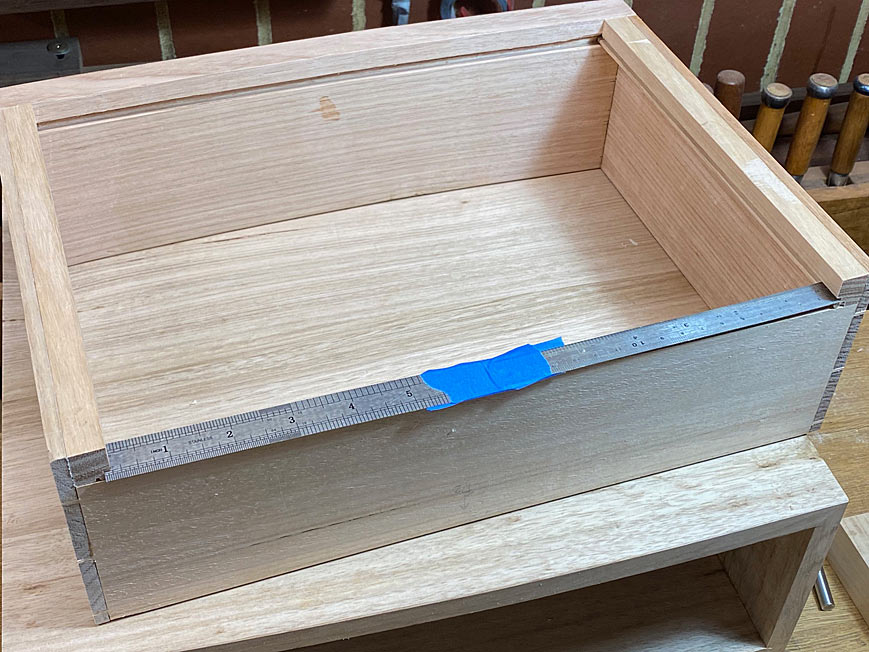
To fit the drawer bottom, the panel needs to be sized. Before marking and sawing, the width between the grooves is checked the full length. Unless it is parallel, the drawer bottom will bind. The rules here are used for this ...
Now the bottom is marked against the grooves themselves, and the total width crosscut ...
... and the procedure of planing the rebate is done once again. This is a little more exacting than before as there can be no slip ups.
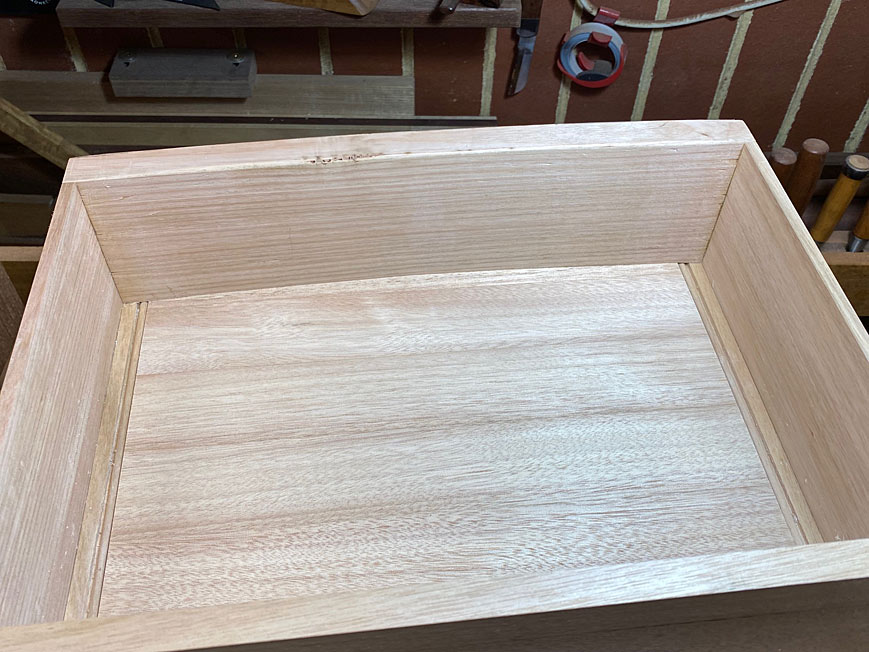
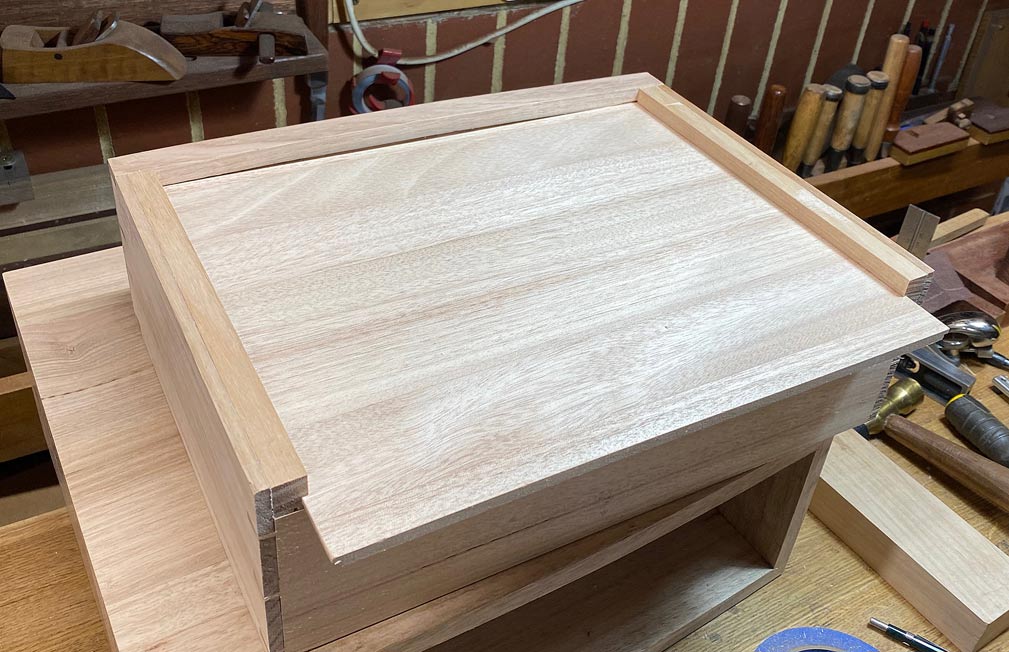
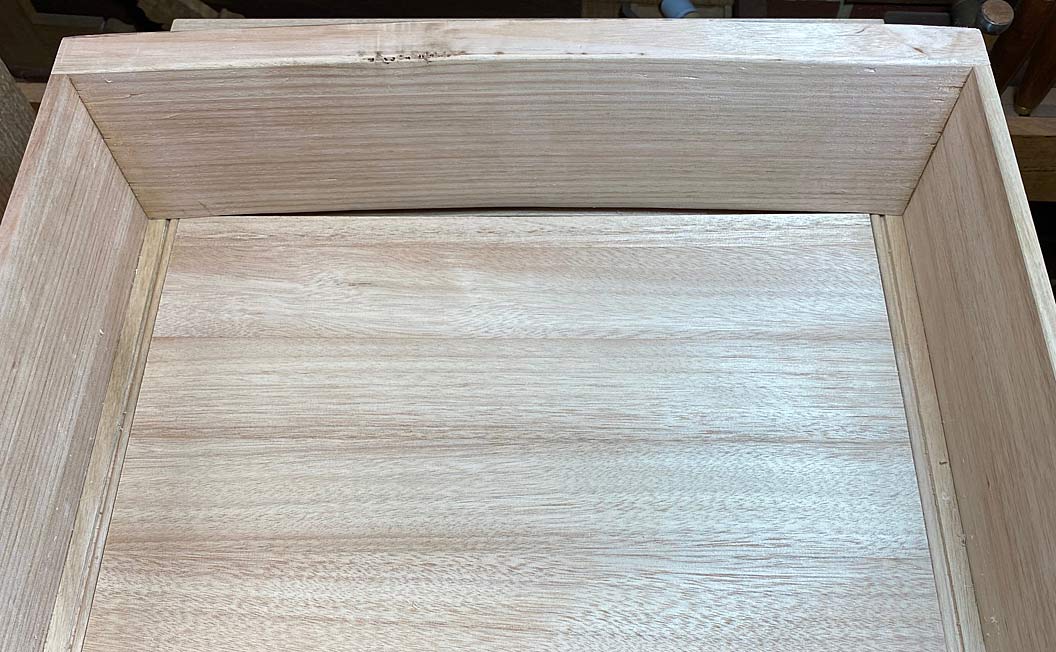
The completed panel slides into the grooves and is pushed in as far as it will go ...
Of course, as the drawer front is curved, it stops short ...


 Reply With Quote