Page 1 of 2 12 LastLast
Results 1 to 15 of 26

Thread: Beds revisited

  1. #1
    Join Date
    Feb 2004
    Location
    Perth, Australia
    Posts
    9,494

    Beds revisited

    See my previous post, "Morticing the easy way", in the General Tools and Power forum, by way of introduction.

    This weekend I rebuilt two single beds (they had been completed some weeks back). It was a lot of work. Basically, I had screwed up by oversizing the beds 40mm in length and 40mm in width.


    To correct this, the beds were taken apart, and the rails shortened. Then the head- and foot boards were shortened, re-morticed, and re-glued. And finally, all the slats had to be shortened by 40mm, which was not a simple matter. More on this in a while.


    About the beds and their design: One of the reasons I am posting the build details is that I hope it helps others in a similar position.


    About 25 years ago I build a fantastic Jarrah King size double bed for my wife and myself. It was deliberately built 25mm over-width (which made it appear even wider) ...


    The reason for this is my wife is an incredibly light sleeper, especially since our son was born 3 decades ago, and will wake up if I even roll over in bed. We spent a small fortune on mattresses ... all those special ones which promised to smother any vibration. Well, all I can say is that I am lucky I was not smothered in my sleep! The solution for a while was the King size bed with two single mattresses, pushed together, but able to be pulled apart by 25mm if I was restless in sleep. The issue with a single bed is that vibration is transmitted by the bed frame. Consequently, I decided to build two beds which would actually become a double bed, but able to be separated if needed. I will explain this in a while.

    As mentioned, these beds are done. Now I have a new headboard to build, which is for another time.

    My wife stipulated no tail board for the beds as they make is far more work when making up a bed. My preference was for clean lines, which meant that I did not want visible bed bolts. Bed bolts are used, but they are hidden.

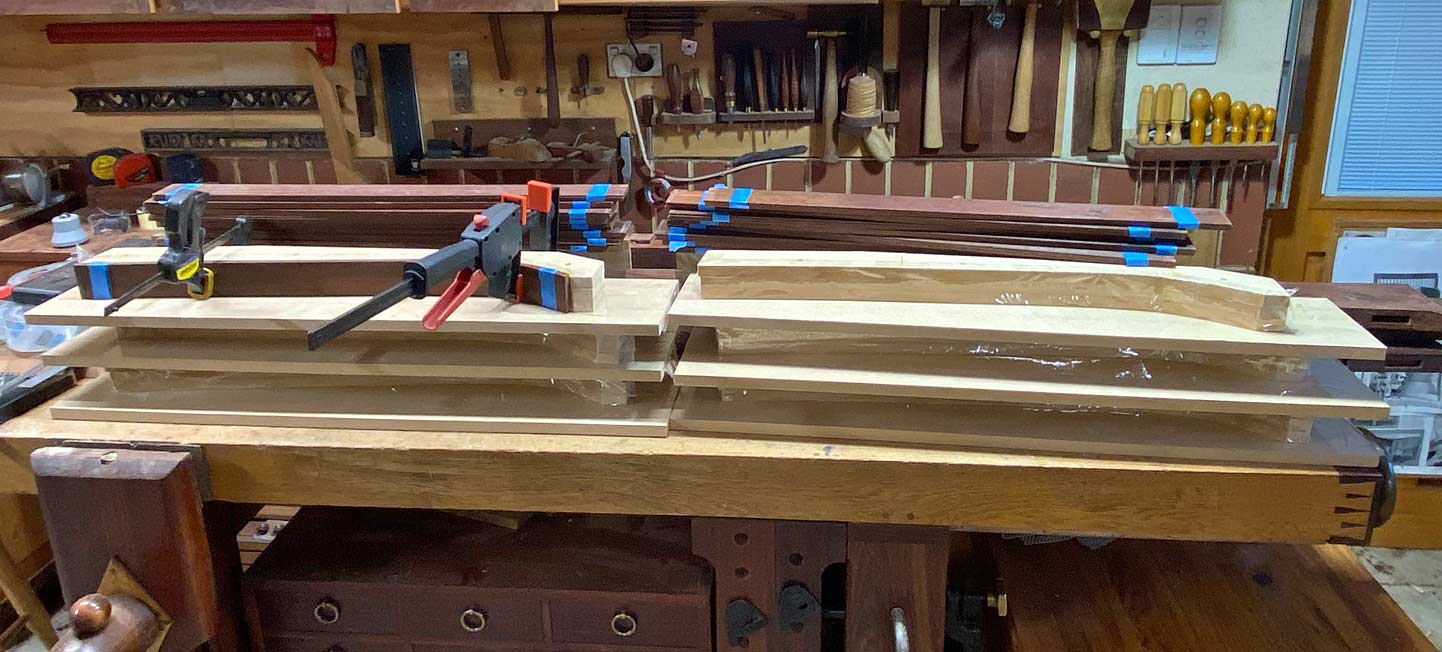
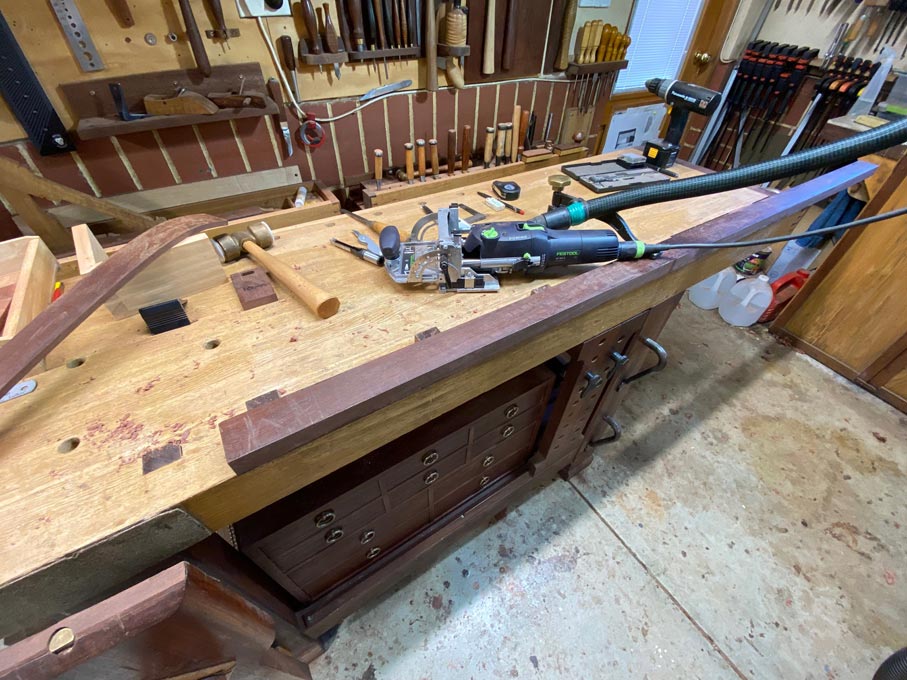
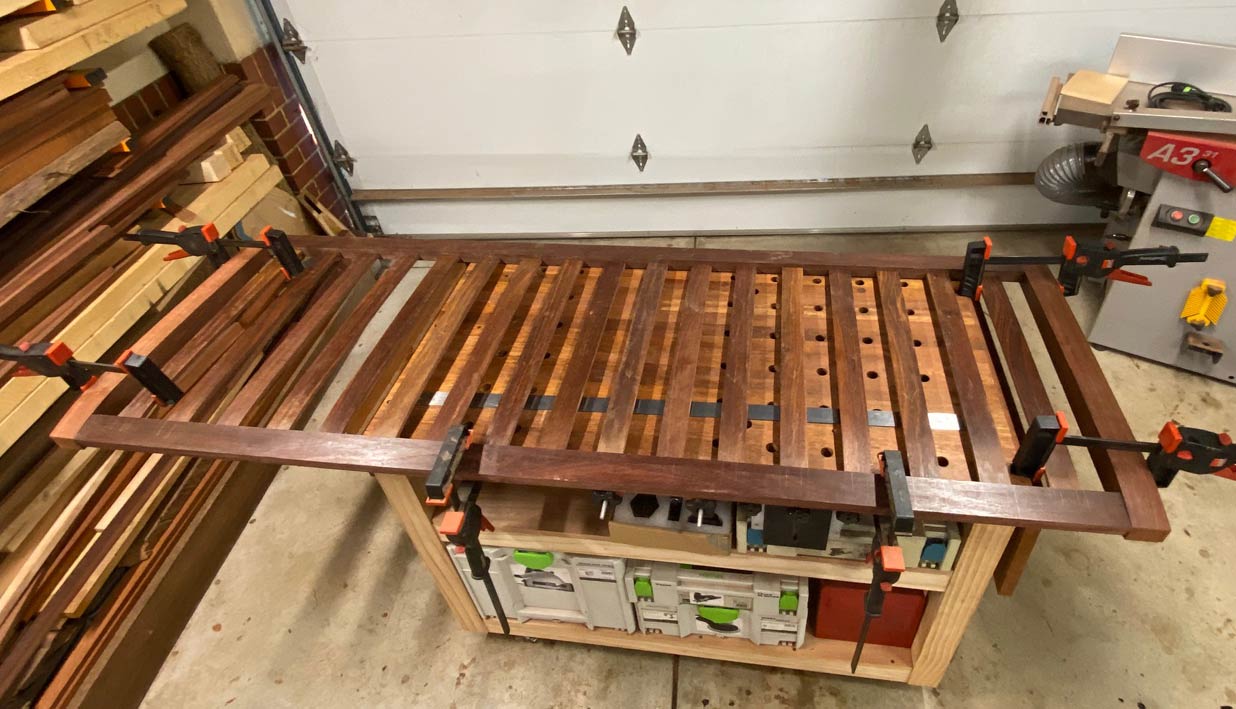
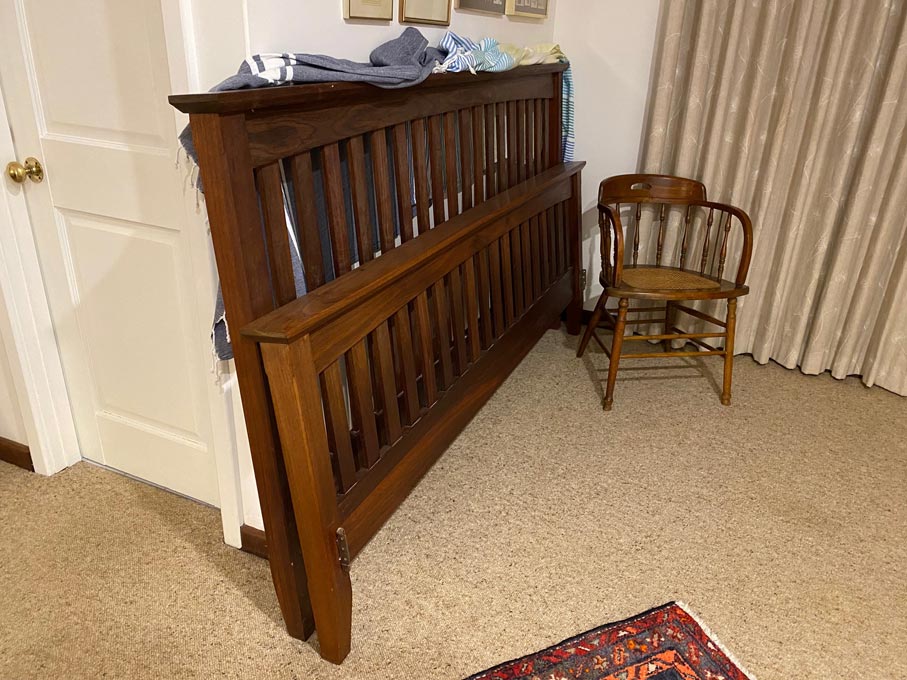
    Here is the start of re-assembling the beds ..


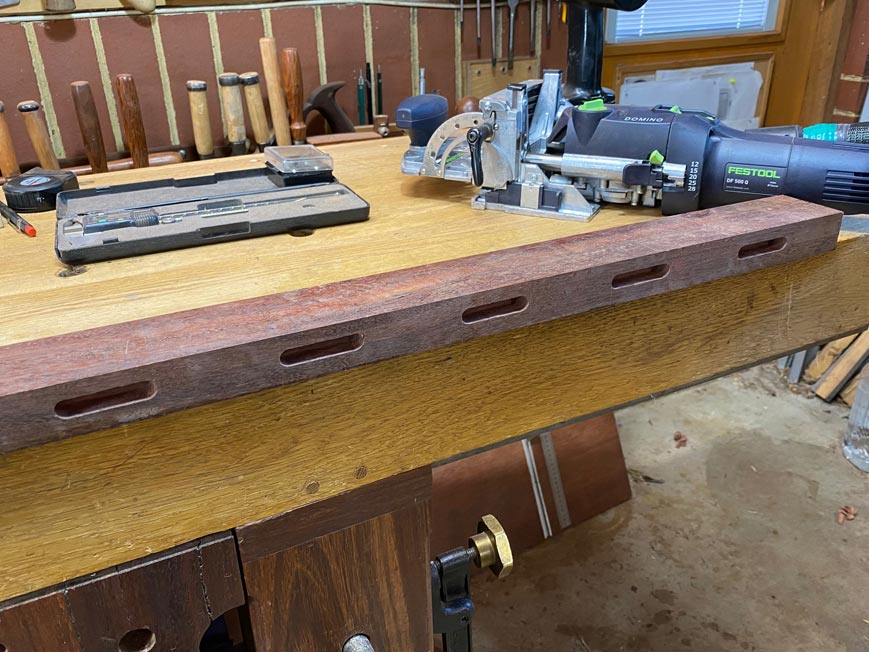
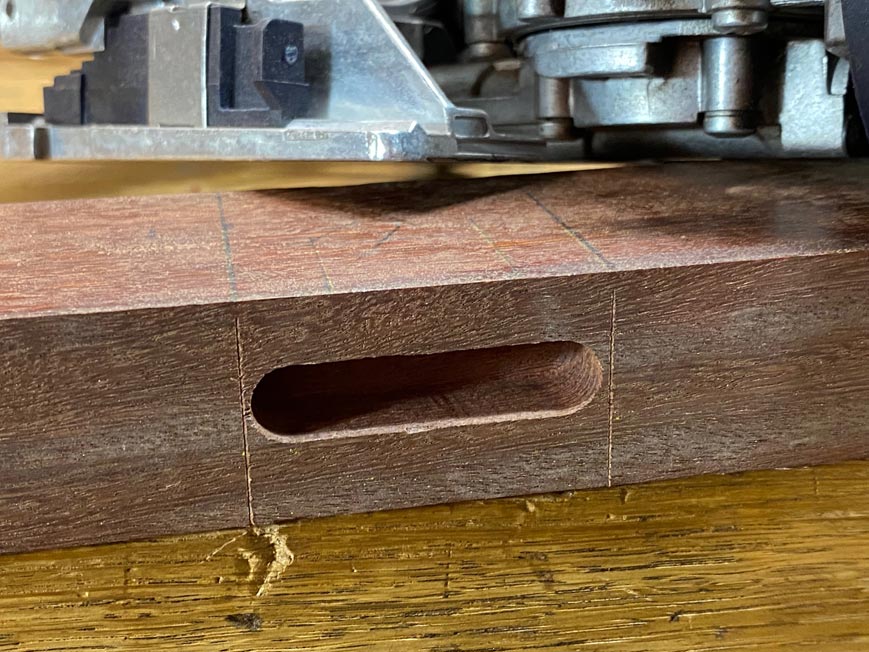
    The head and tail ends are constructed with a mortice-and-tenon (this was the post made recently on morticing with a Domino). The side railed are connected with hidden bed bolts.

    Here are the side rail connections. When the rails were shortened, so the bolts in these rails needed to be ..


    The bolts are fixed into inserted metal threads in the posts permanently with Loctite. The post and rail are locked with double loose mortice-and-tenons (no glue) and then bolted in the rail ...


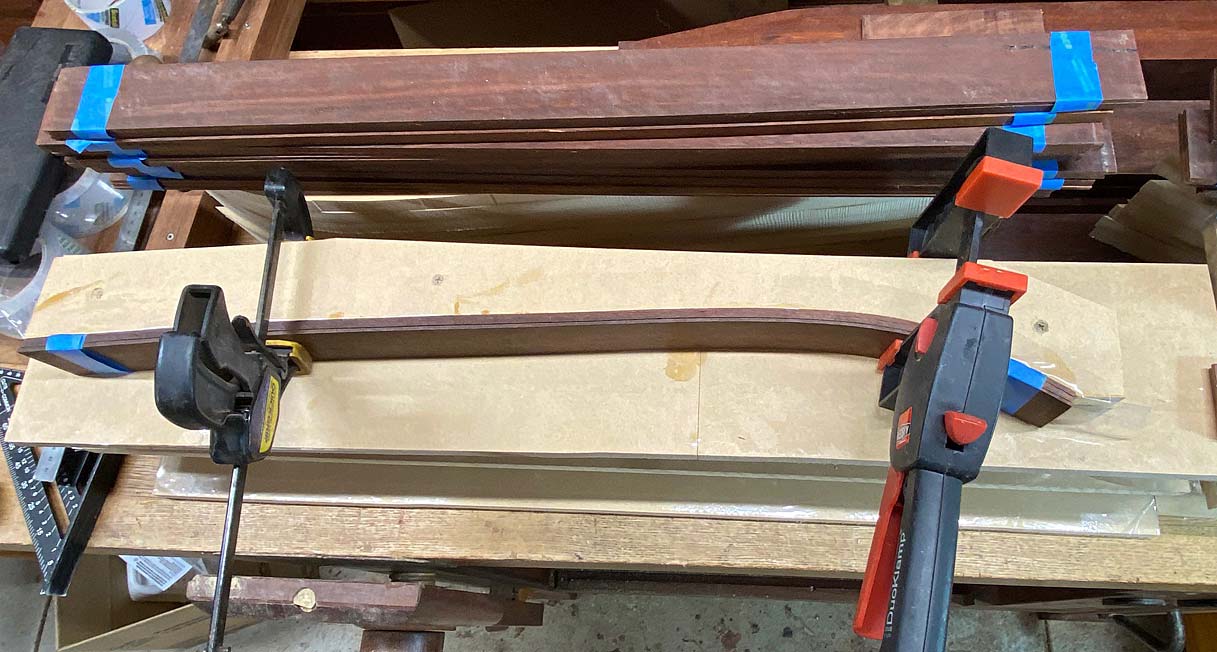
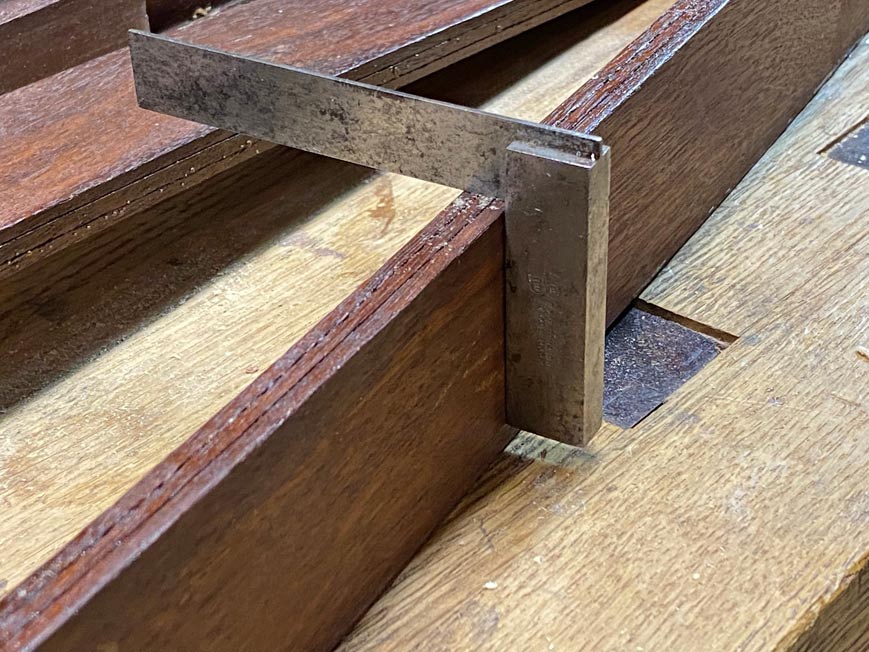
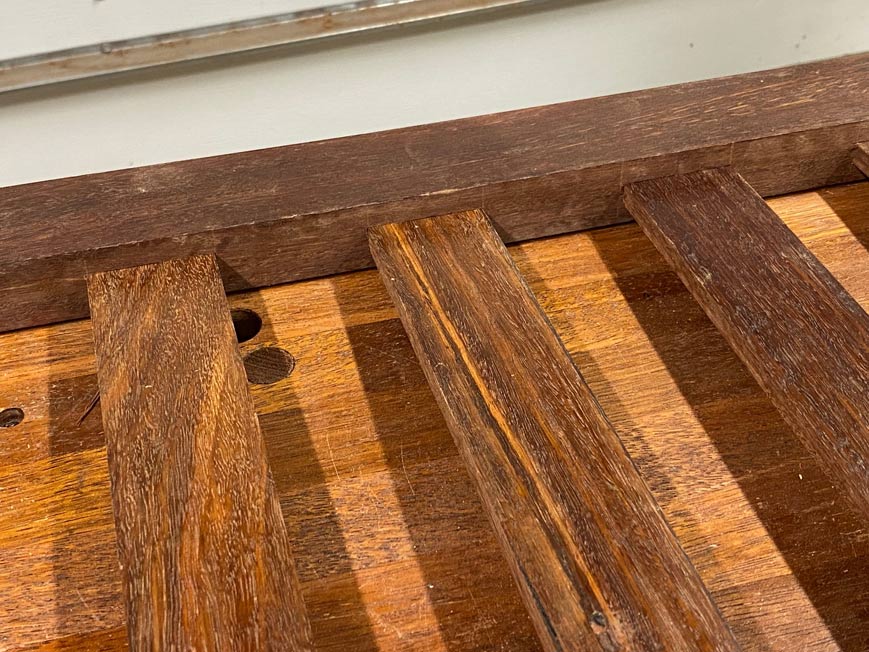
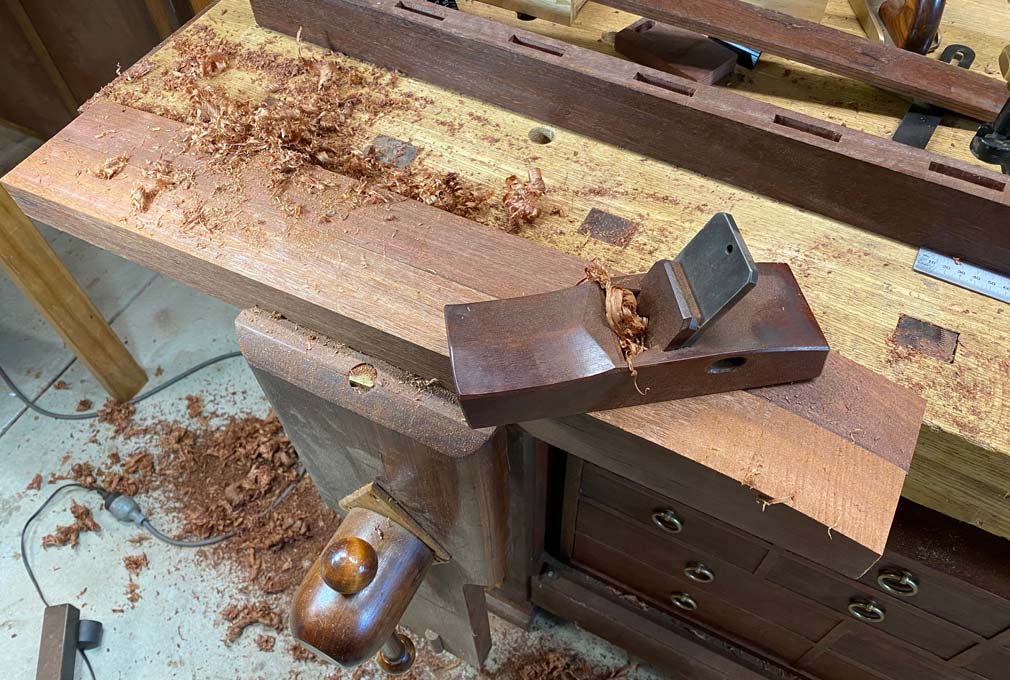
    The slats for the beds are made in two parts ...


    They are a T-section, which makes for a very rigid structure ...


    ... and screwed down for extra strength.


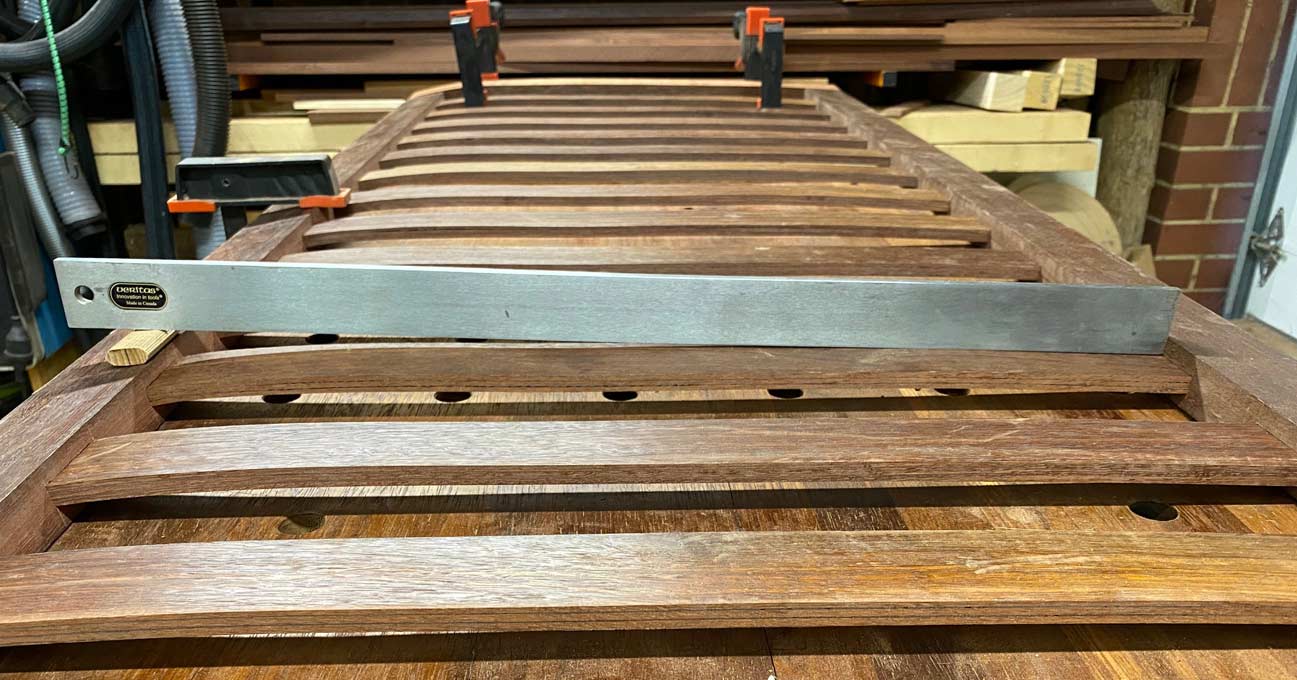
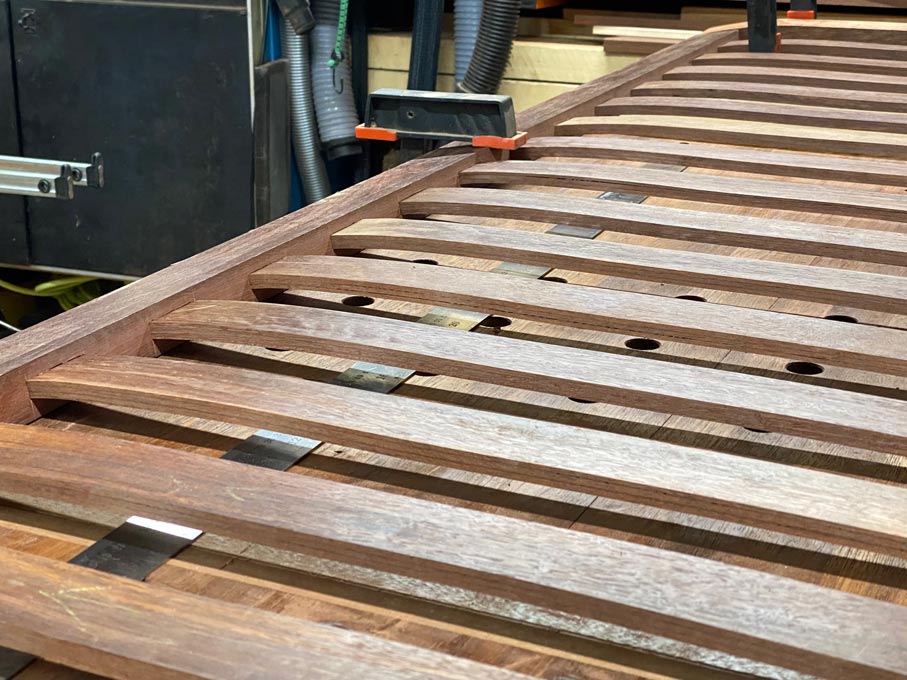
    Now the secret to making a double bed out of two singles lies with the rails. The slats on the outer sides are lower by 6mm (1/4") to aid in preventing the mattress slipping off the base, but also low enough to make it easier to tuck in sheets, etc.


    The slats on the inside rails are flush with the top ...


    ... enabling two mattresses to be placed alongside one another. Conversely, it is easy to pull them apart.


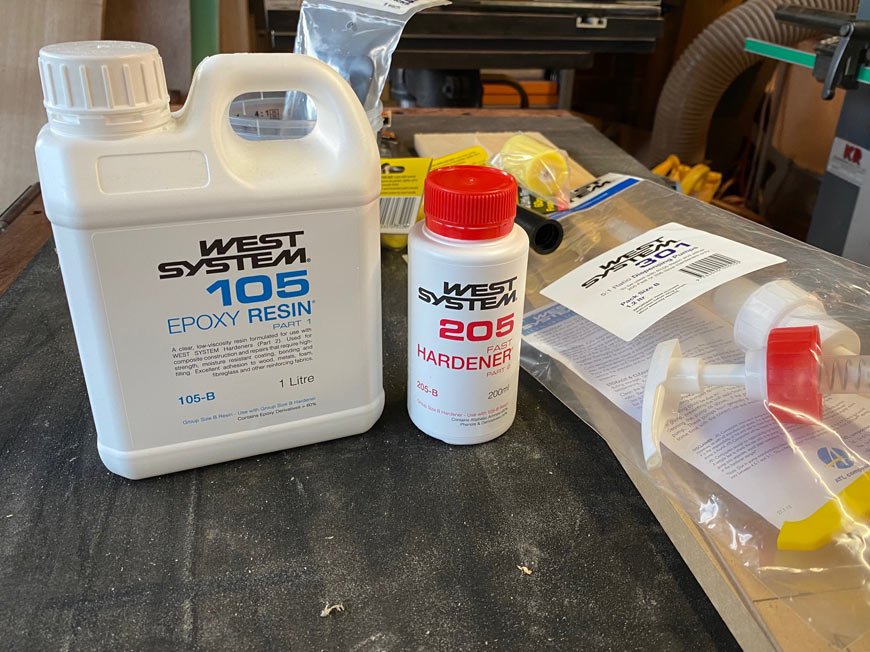
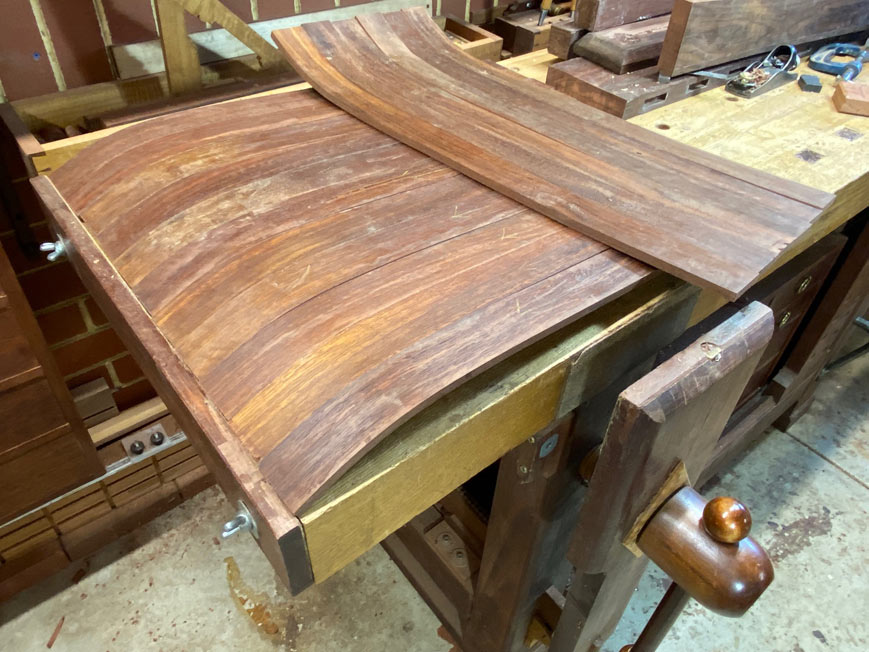
    The Jarrah is finished in hard wax oil, and the result is quite stunning. Difficult to see in this light ..


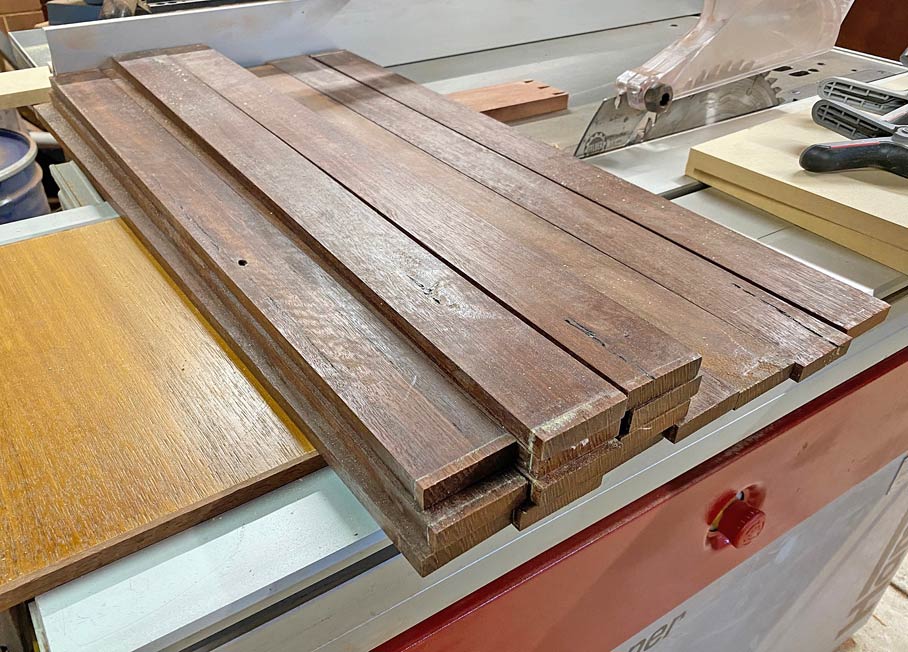
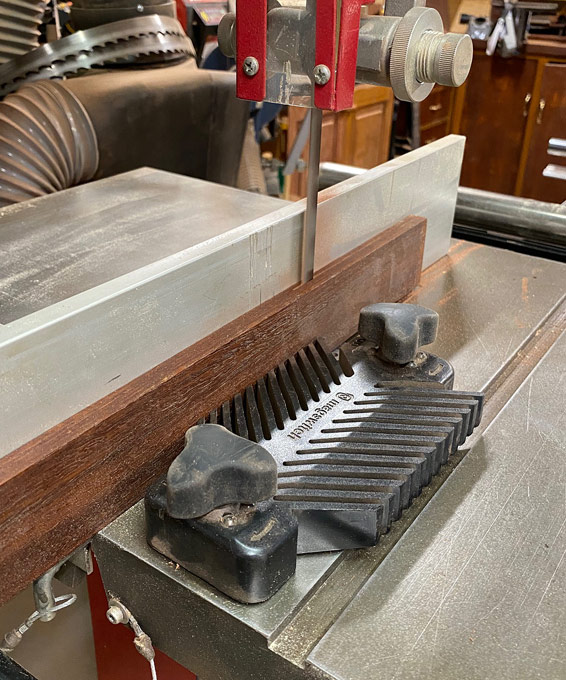
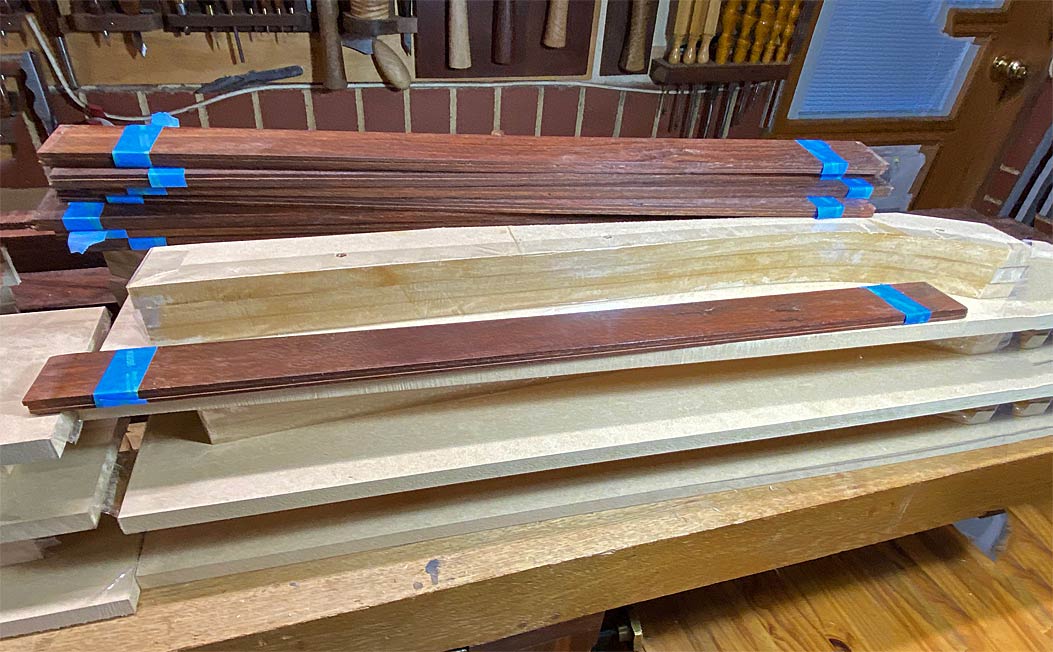
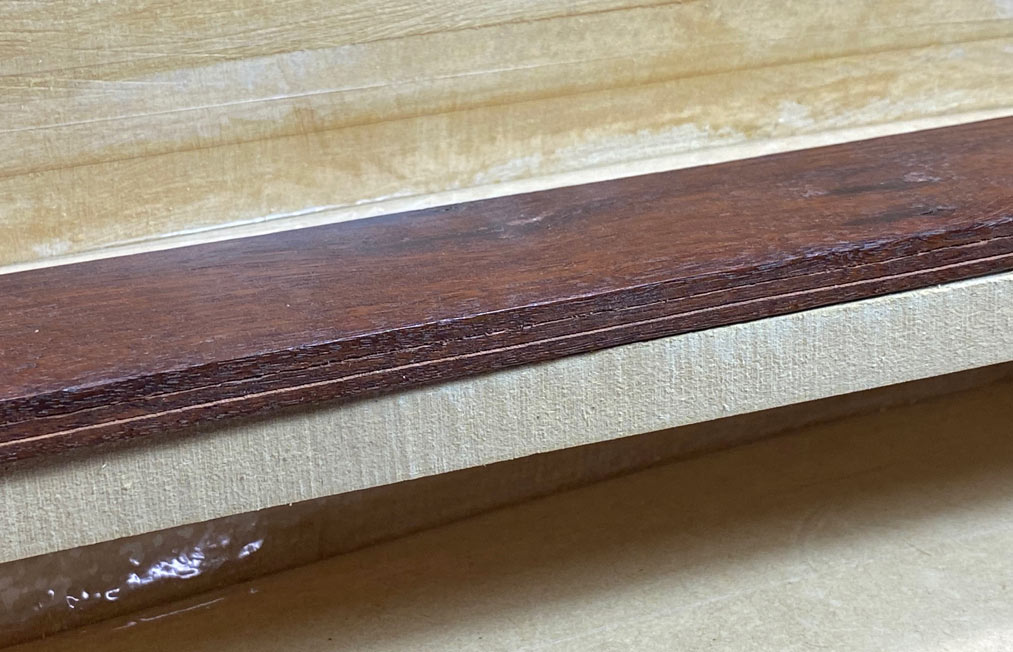
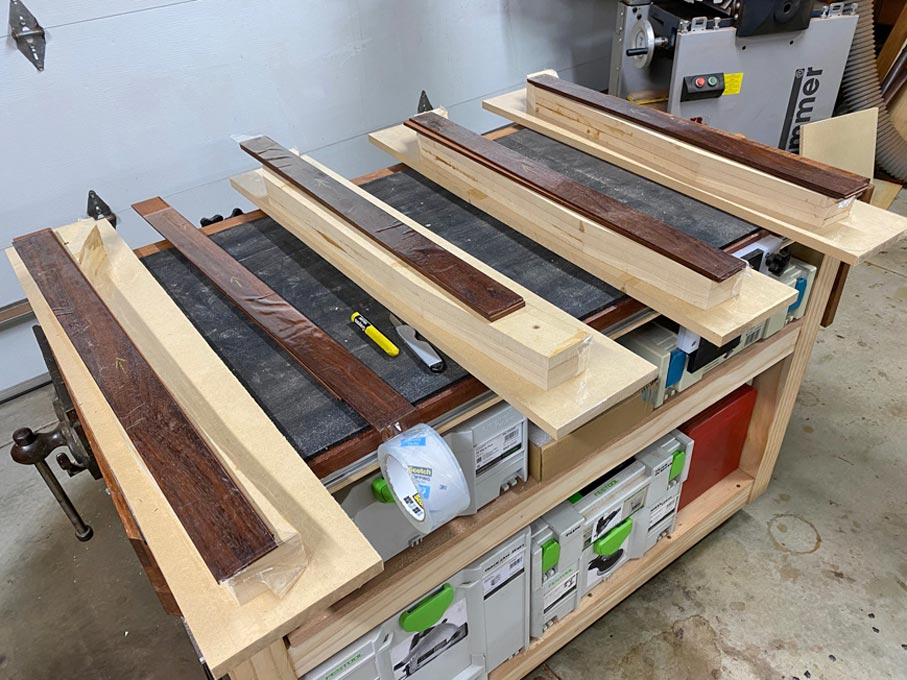
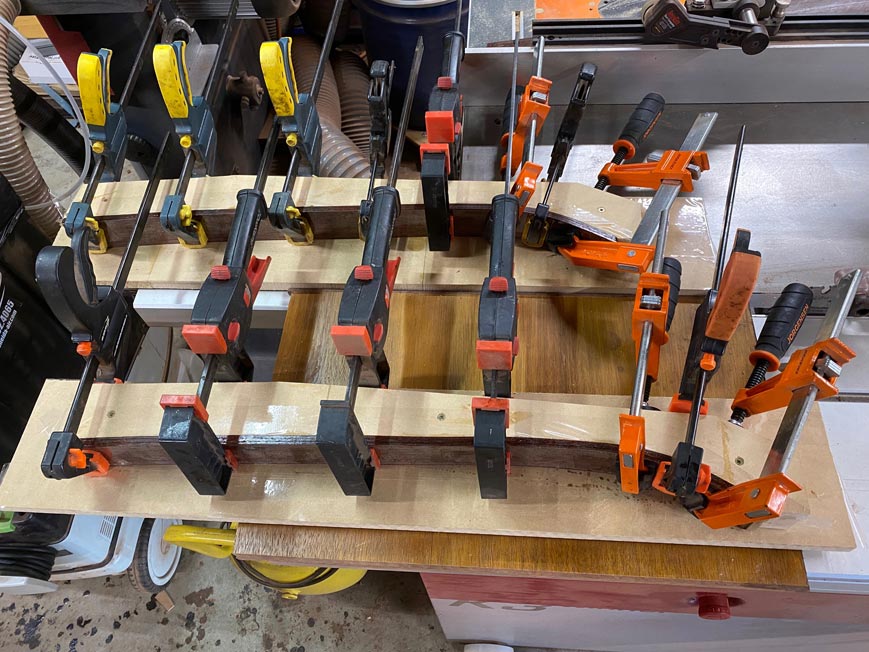
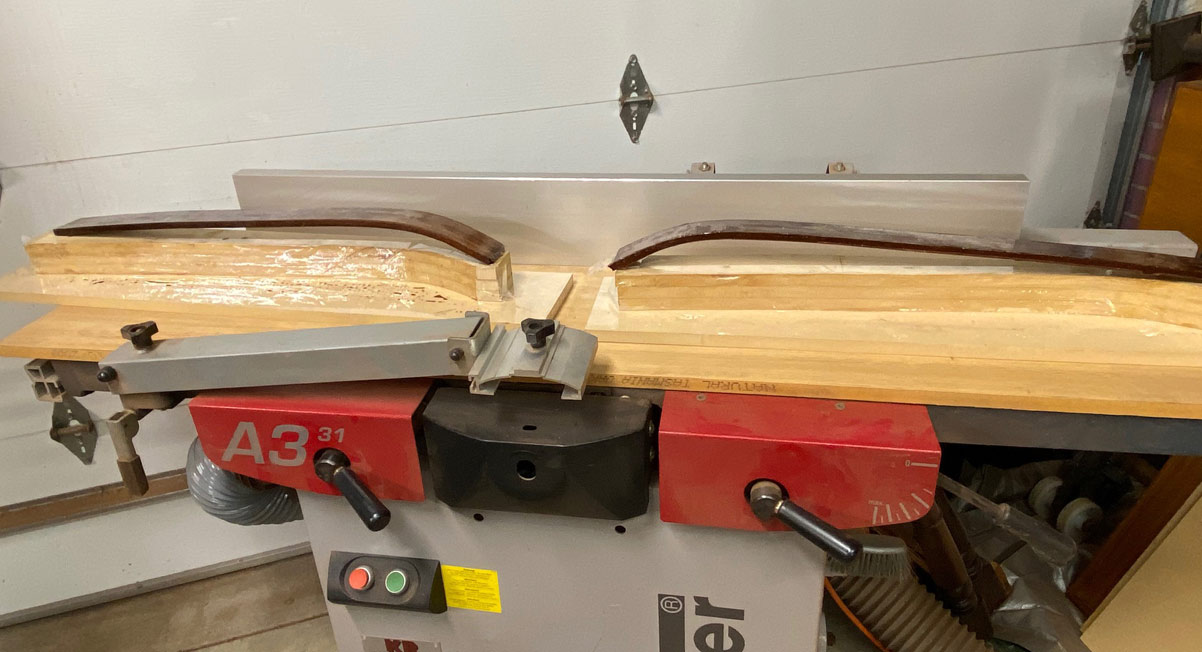
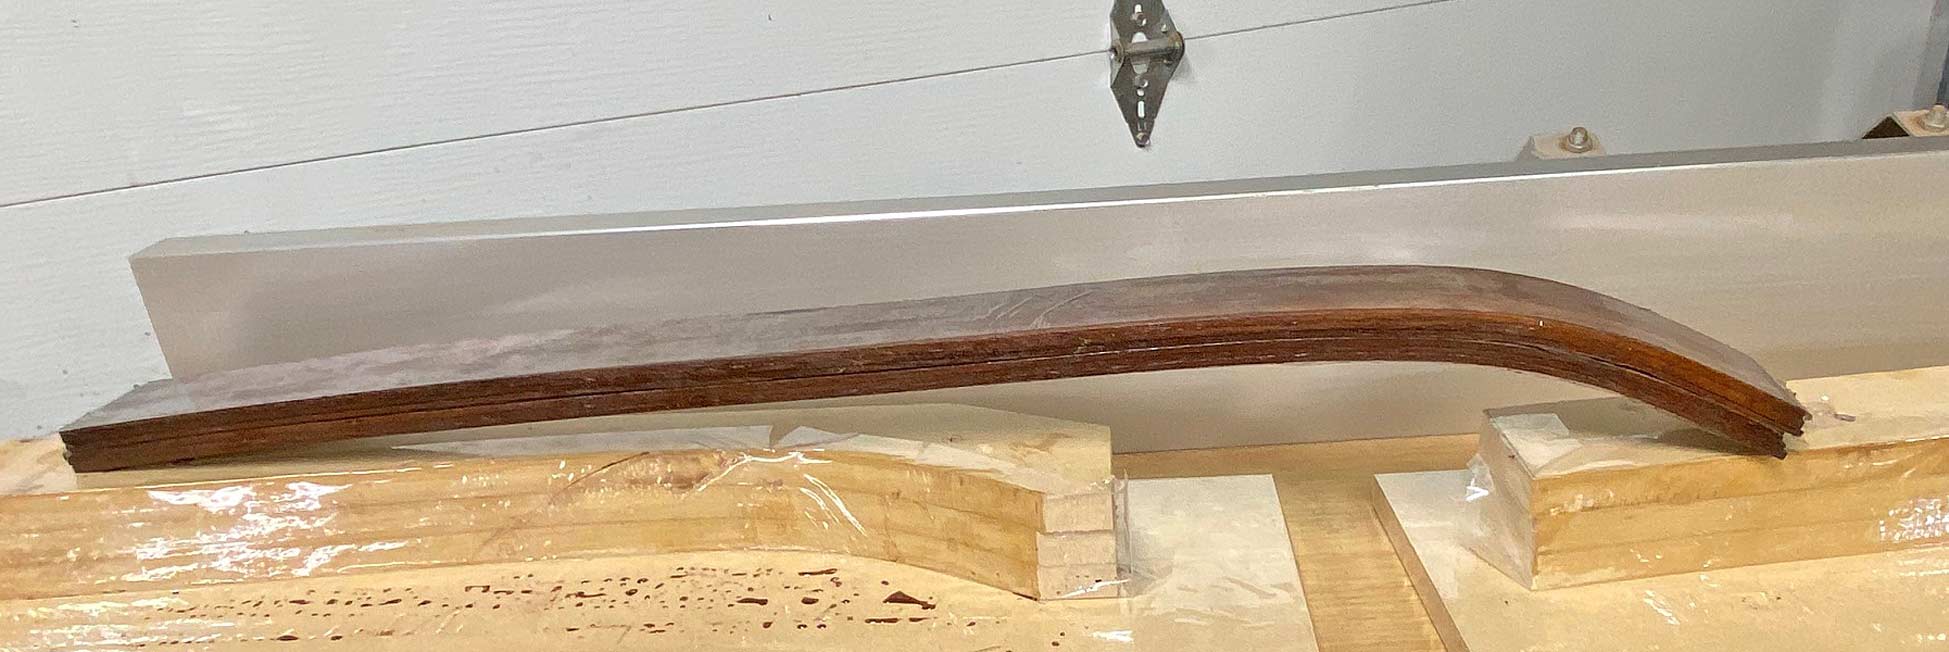
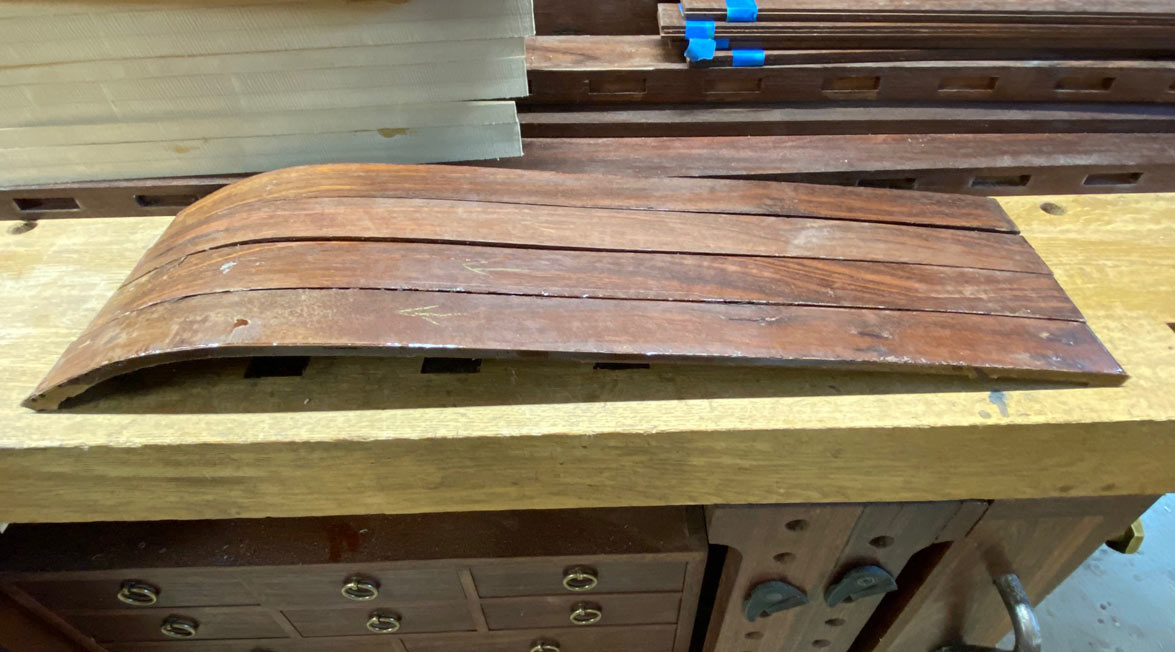
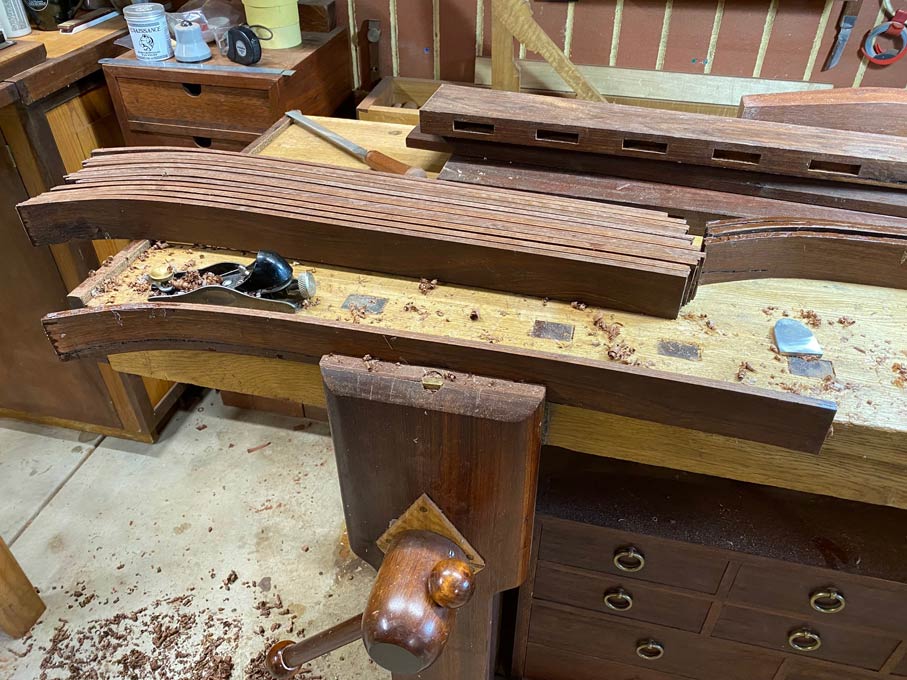
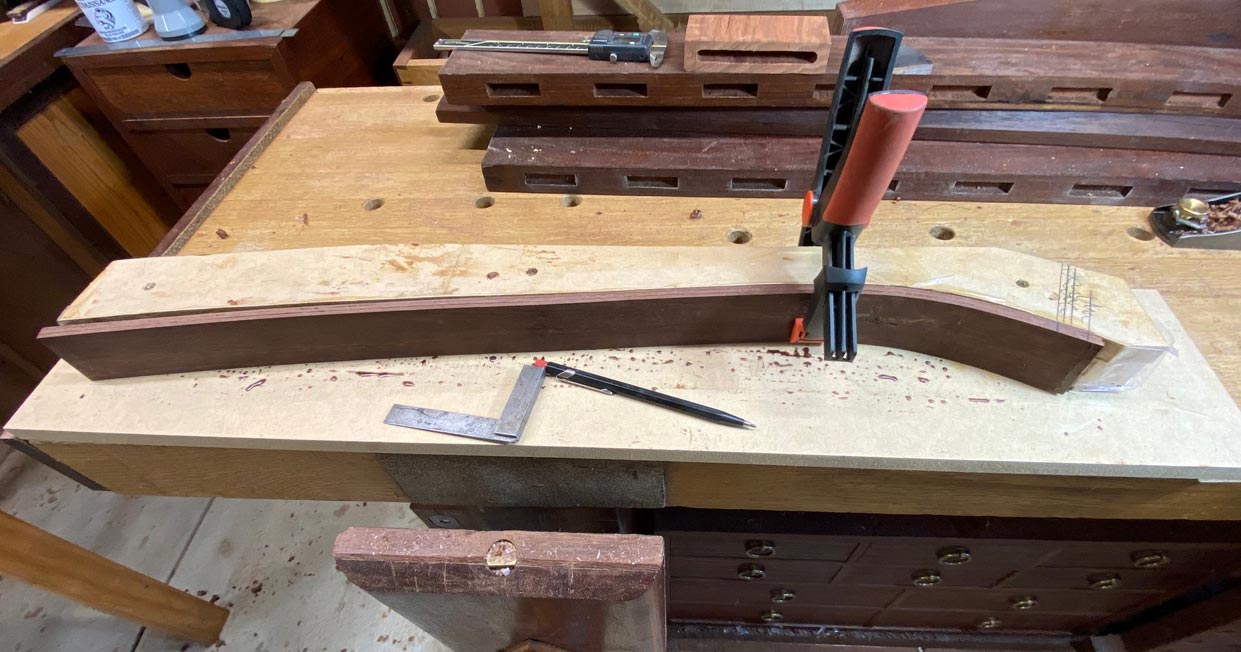
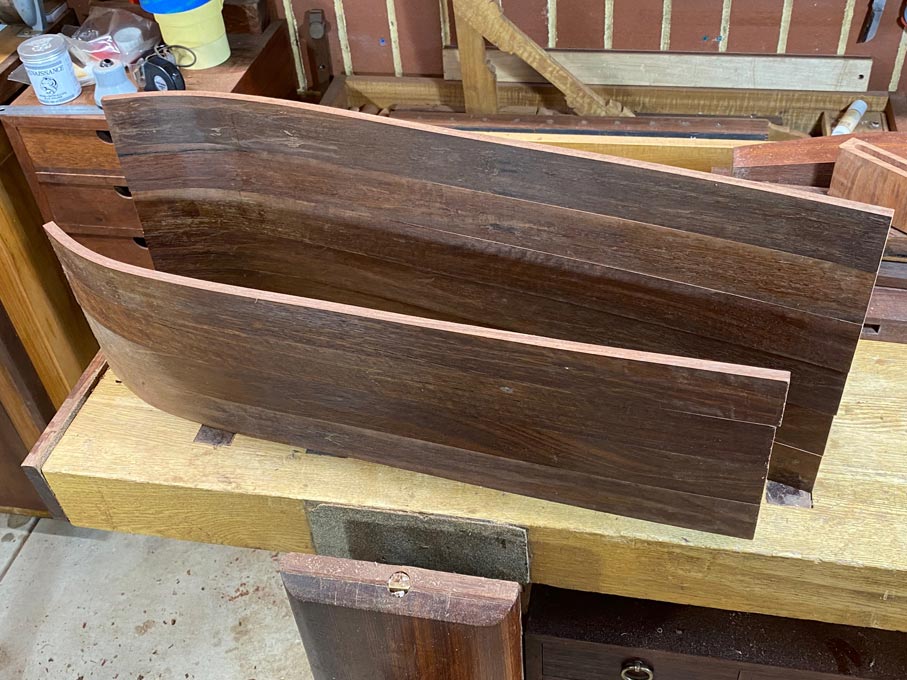
    Now I am left with the headboard to make, which will be secured to the wall and not the beds. The wood will come from these ...


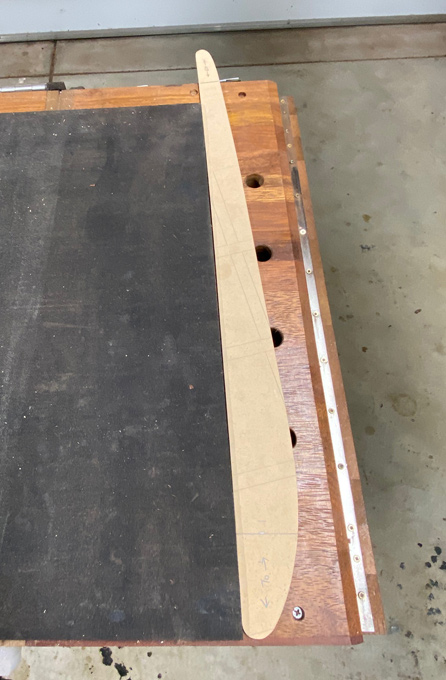
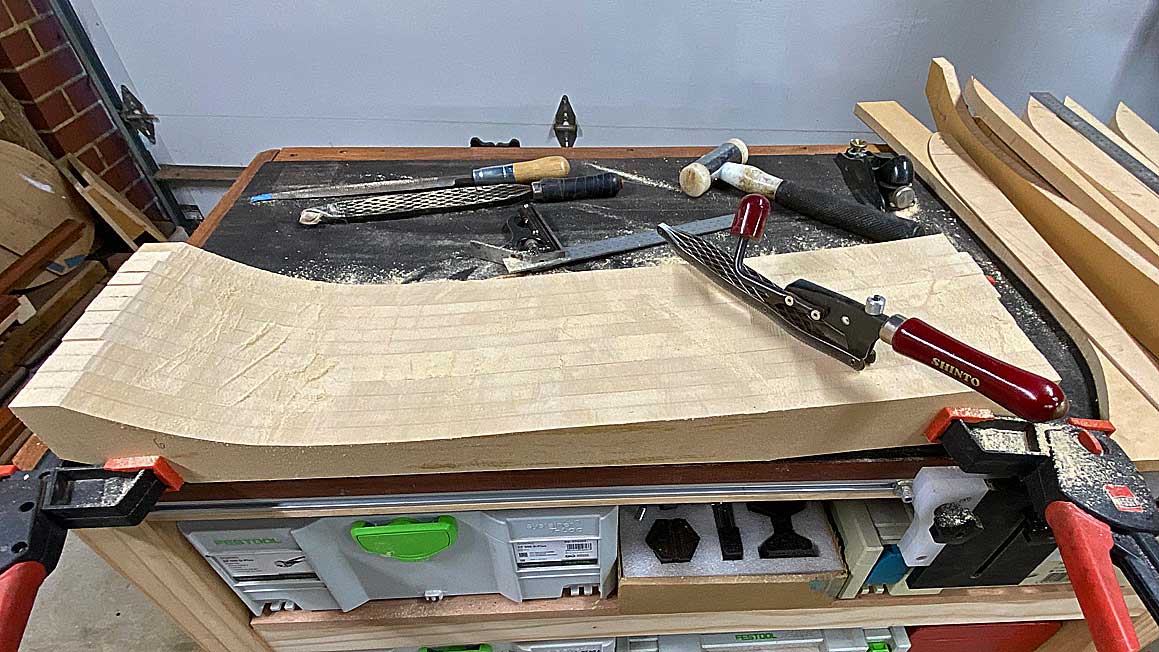
    Laminations and curves are planned.


    Regards from Perth


    Derek

  2. #2
    Lotta work there everything looks great!

  3. #3
    Join Date
    Feb 2004
    Location
    Perth, Australia
    Posts
    9,494
    Laminating curved slats for a headboard


    It was a bitter-sweet task to pull apart the old headboard ...


    I recall making this, 25 years ago, in the 10 days my wife was away visiting her mother. I wanted it to be a surprise on her return. I got it done the night before her return ... sweating and swearing as I struggled to fit the slats into their mortices, align all, and pull together the glued mortice-and-tenon joints in this impossibly-heavy-for-one-person Jarrah beast. But there is no point in keeping it, and a lot of good Jarrah to re-use.


    There are 13 x 12mm thick and 50mm wide slats ..


    The plan was to re-saw them into three equal slices and then laminate them into a curve for the headboard ..


    Each slice came out at a smidgeon over 3mm. This should end up about 9.5mm or 3/8".


    The headboard is to be attached to the wall. It will have a mortice-and-tenon frame, with curved vertical slats. Where previously the slats were 50mm wide (for a Mission-style bed), these will each be re-sawn into two, making them around 24mm wide. There will be 26 slats in all, with the thinner slats now offering a more modern look.


    The frame will be cut from the 100x100mm bed posts. The profile from the side is something like this (will be tweaked) ...


    Making templates for bending ...


    Each of the templates - there are 6 in all - are covered in packing tape for release, and screwed to a backing board to keep all square ...


    Even with 3mm sections, the combination is pretty stiff, but responds to clamping ...


    The plan is to glue using two-part West Systems epoxy. I think that epoxy is a better choice here than a glue such as Titebond as it will create a rigid setting, one with minimal springback. I am using the fast setting (8 hour) hardener as I have no desire to be doing this all for many days on end.


    Now a question I have is in regard to the re-sawn slats: these are straight off the bandsaw and have not been planed or sanded. The leaves are too thin to send through a thickness-planer, and I do not have a thickness sander. The finish I have is decent insofar as the leaves are even in thickness and all appears straight. My plan is to add a dark brown tint to the epoxy, which should hide anything showing at the edges ...


    Your thoughts on this? Is the tinted epoxy going to create a good finished section, or must the leaves be sanded?


    Ready to go tomorrow ..


    Regards from Perth
    Derek

  4. #4
    Join Date
    Jan 2017
    Location
    Marina del Rey, Ca
    Posts
    1,937
    I would definitely sand them before gluing (but I have a drum sander). But I have never found the need to tint the epoxy.

    Regarding 205 vs 206 hardener, I used to use 205, but found that 206 was essential in warm weather for longer working times. So now I use 206 exclusively.
    "Anything seems possible when you don't know what you're doing."

  5. #5
    Join Date
    Feb 2004
    Location
    Perth, Australia
    Posts
    9,494
    Andy, the reason for tinting the epoxy is to hide any serrations from the bandsaw. I cannot use a thicknesser on this brittle wood, and I do not have a sander thicknesser. Doing any of this by hand will dub the edges and open the sides.

    Regards from Perth

    Derek

  6. #6
    Join Date
    Jan 2017
    Location
    Marina del Rey, Ca
    Posts
    1,937
    Because it's such a shallow curve you can likely get away without sanding. On tighter curves I have found that the striations from the bandsaw misalign and exaggerate the thickness of the glue line.

    I had to sand these teak laminations:

    "Anything seems possible when you don't know what you're doing."

  7. #7
    Join Date
    Feb 2004
    Location
    Perth, Australia
    Posts
    9,494
    There were some concerned comments (on WoodCentral forum) when I planned to laminate 6 of the slats without a test run. I reasoned that the slats had already been re-sawn (into three leaves, and at 3mm was the thinnest I was prepared to go), and this would either work, or not. If it did not - too much springback - then I would just start again.

    There was also concern that I chosen the 205 "fast" hardener but, as I mentioned to Keith and William (below), I was after a faster cure time. I felt that I could work with the pot life time.

    There were a few preparations, such as creating the formers, getting all the small clamps together, and readying the epoxy. One last tactic was to add packing tape to the front and back of the slats ...


    The pump is useful for small amounts, and it went smoothly. After a thorough mixing, I added a tiny amount of brown oxide to colour the mixture. The epoxy was rolled on thinly to all inner surfaces. The work area ...


    Originally, the plan called for cauls, but in the end I found that they did not exert sufficient even pressure, and wound up using many small clamps ...


    Six was the maximum it was possible to laminate as I ran out of work surfaces ...


    I began mid-morning (I am still on leave), and by late afternoon I decided to remove 4 of the slats as the epoxy was hard. The first two ...


    There was 1mm, at the very most 2mm springback at the tightest section of the curve. Very happy with this.
    Here are two slats on top of one another ...


    All went in square and has come out square ...


    Four slats alongside each other. Any variation is likely due to the sections being set in the formers slightly differently ...


    There are 4 more slats to add to these, and 5 left to lay up.
    Regards from Perth
    Derek

  8. #8
    Join Date
    Jan 2017
    Location
    MT
    Posts
    699
    Derek - looking forward to seeing the finished product. Good to see you are able to salvage that lumber even though it looks like a lot of work.

    I have been thinking lately about keeping my eye out for junk or unusable furniture that has good lumber for re-use. I think a lot of usable lumber ends up being burned or in the dump.

    About 35 years ago I built a crib for my oldest. It was glued together pine and dowels and I was pretty proud of myself when finished. The crib was about 3"-4" longer than a crib mattress. (no internet to look those things up). We rolled up a baby blanket and filled the gap. Got us through two kids.
    Regards,

    Kris

  9. #9
    Join Date
    Feb 2004
    Location
    Perth, Australia
    Posts
    9,494
    Kris, I think that you will enjoy this article on my website …

    http://www.inthewoodshop.com/Furnitu...rmations1.html

    There are a couple of others that go with it. Just return to the Index page and scan down

    Regards from Perth

    Derek

  10. #10
    Join Date
    Jan 2017
    Location
    MT
    Posts
    699
    Quote Originally Posted by Derek Cohen View Post
    Kris, I think that you will enjoy this article on my website …

    http://www.inthewoodshop.com/Furnitu...rmations1.html

    There are a couple of others that go with it. Just return to the Index page and scan down

    Regards from Perth

    Derek
    Thank you for that Derek. That is good inspiration.

    I thought the original table - clunky and "mannish" the end result is much refined.

    I don't seem to be be able to get a continuation going where I am able to produce work in the shop. That is part of life. I find myself referring back to Tage Frid's volumes 1-3 for inspiration from time to time when I get rolling again. His writing works for me and though some of the equipment is outdated the foundation is there.

    Your posts are always an inspiration to me.

    At some point - I will tackle some more important furniture pieces. In the meantime I keep myself entertained with more mundane projects.
    Regards,

    Kris

  11. #11
    Join Date
    Dec 2016
    Location
    South West Ontario
    Posts
    1,504
    I use quite a bit of West epoxy, mostly boat jobs. I gave up on the pumps, priming can be a pain and if you don’t use it all up the air gets in and badly discolours the epoxy brown rendering it useless, except for this job!
    The slow cure in my mind at least gives the epoxy more time to soak deeper into the wood. Given your huge surface area not a concern here. It also gives you the option of letting it sit to thicken a little before use if you don’t want drippy but still get lots of working time.

    I bought a modest digital scale accurate to 0.1g and use metal trays. I know the ratio is spot on and it’s invaluable for mixing small amounts, less than the pump volume.
    ​You can do a lot with very little! You can do a little more with a lot!

  12. #12
    Join Date
    Feb 2004
    Location
    Perth, Australia
    Posts
    9,494
    William, the pumps were helpful for the small amounts used each time. Owing to the heat (100 F), a large batch would have gone off quite quickly. The slow hardener was controllable, and it cured quickly. I have managed to complete all 17 laminations in 2 days.

    It would have been different if I was laminating a large surface.

    Regards from Perth

    Derek

  13. #13
    Join Date
    Feb 2004
    Location
    Perth, Australia
    Posts
    9,494
    How did the slats turn out?


    Out of the formers, the edges are planed with a block plane to remove the excess epoxy ...


    The edges were then jointed and thicknessed. The resulting edges show few signs of laminations and are straight and square edged.

    Then returned to the former to mark off the dimensions ...


    The aim here was to centralise around the deepest part of the bend. What is important .. vital ... is that the curve of each slat matches up.


    The ends are cut off ..


    I thought I would try and line them up vertically to check whether the curves matched ...


    But this kept falling over. So here they are lying down (where they cannot fall over) ...


    Good enough?


    Regards from Perth


    Derek
    Last edited by Derek Cohen; 01-21-2023 at 8:47 PM.

  14. #14
    Join Date
    Dec 2016
    Location
    South West Ontario
    Posts
    1,504
    You can change the order to give a smooth transition to any variances, not that anyone will notice.
    ​You can do a lot with very little! You can do a little more with a lot!

  15. #15
    Join Date
    Feb 2004
    Location
    Perth, Australia
    Posts
    9,494
    It's looking a lot like a headboard!


    We left off with 17 curved slats for the headboard build ..


    The goal is to build a kingsize headboard, which will be attached to the wall. I shall come back to this at the end.

    The Jarrah is salvaged from the previous headboard, and two side posts (55x55mm) and and an upper- and lower rails (55x30mm) have been cut to size. The rails are to be morticed to fit the curved slats.

    The Gods were smiling on me as the laminated slats come in at as close to dammit to 10mm in thickness. This makes it possible to use the Domino as a morticer once again .... which is a win as this Jarrah is particularly hard stuff.


    I decided to work on my bench, rather than the MFT, as the light was better to see the fine joinery lines.


    I have hooks attached to the ceiling to keep hoses and cords out of the way ...


    Careful marking out creates 17 x 50mm wide mortices on each rail ...


    A close up of one mortice. Note that the scribed outline is important. Also is the morticing just inside these lines ...


    I purchased cheap hollow mortice chisels in different sizes. This one is 10mm, a perfect match for the 10mm Domino-made mortice ...


    The side posts are shaped to match the profile of the slats. First cut out on the bandsaw, then shaped with a handplane ...


    A dry fit of the slats into the rails ...


    Now I decided that the curve at the lower end of the rails was too extreme, and shortened the slats at that end. This created a more gentle curve. See the profile of the post below ...


    This is the amount of curve now ...


    Back to work tomorrow, so the remainder will get done on the weekend: morticing the rails into the posts, and blending the profiles with hand planes. Then planing slight chamfers, breaking edges, and adding a finish.


    Question for all: how to attach the headboard to the wall? Would you use a french cleat, or key holes? Or something else?


    Regards from Perth


    Derek

Posting Permissions

  • You may not post new threads
  • You may not post replies
  • You may not post attachments
  • You may not edit your posts
  •