Page 1 of 2 12 LastLast
Results 1 to 15 of 26

Thread: Greene & Greene Style Sofa Table Build Thread

  1. #1
    Join Date
    Feb 2011
    Location
    Carlsbad, CA
    Posts
    2,230
    Blog Entries
    2

    Greene & Greene Style Sofa Table Build Thread

    This is a build thread for a Walnut sofa table in the Greene & Greene style that matches a pair of coffee table and side table I previously built. For those not familiar, Greene & Greene style is characterized by a combination of Craftsman and Asian design elements which characteristically include through tenons, ebony plugs inlays and “cloud lift” details on horizontal frame members.

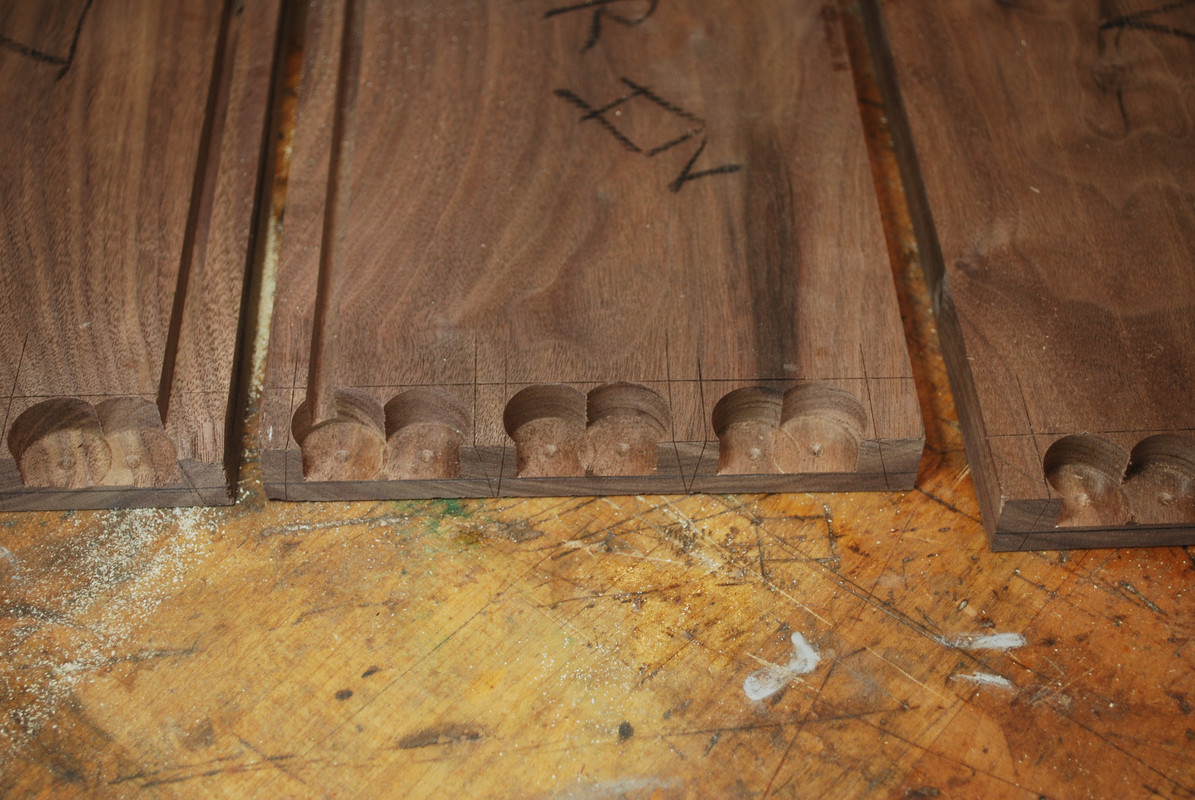
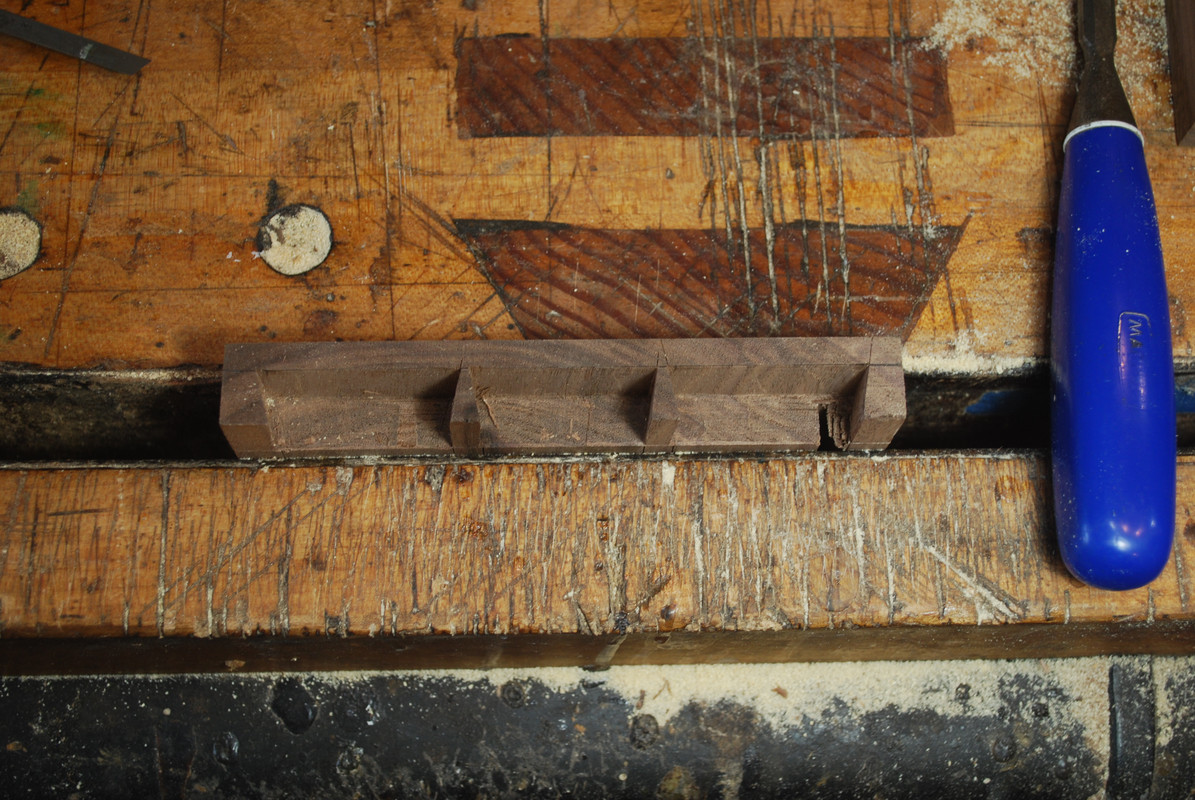
    Here is the cloud lift detail on one of the side rails.


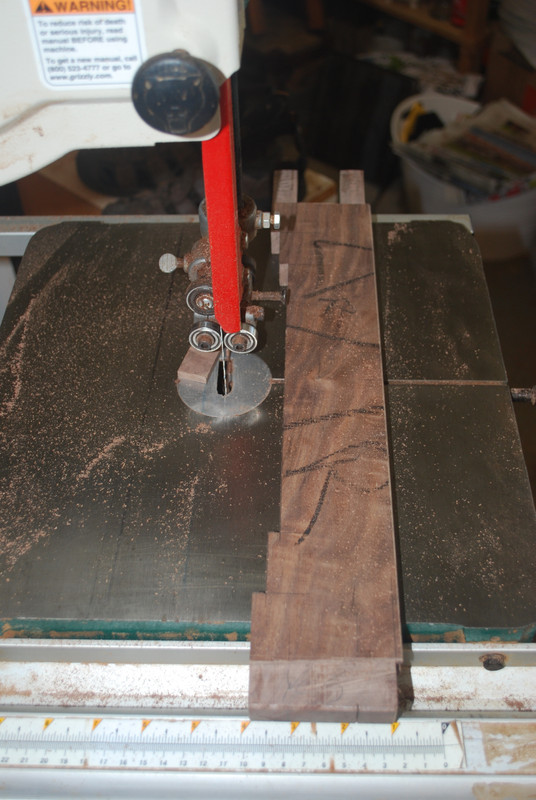
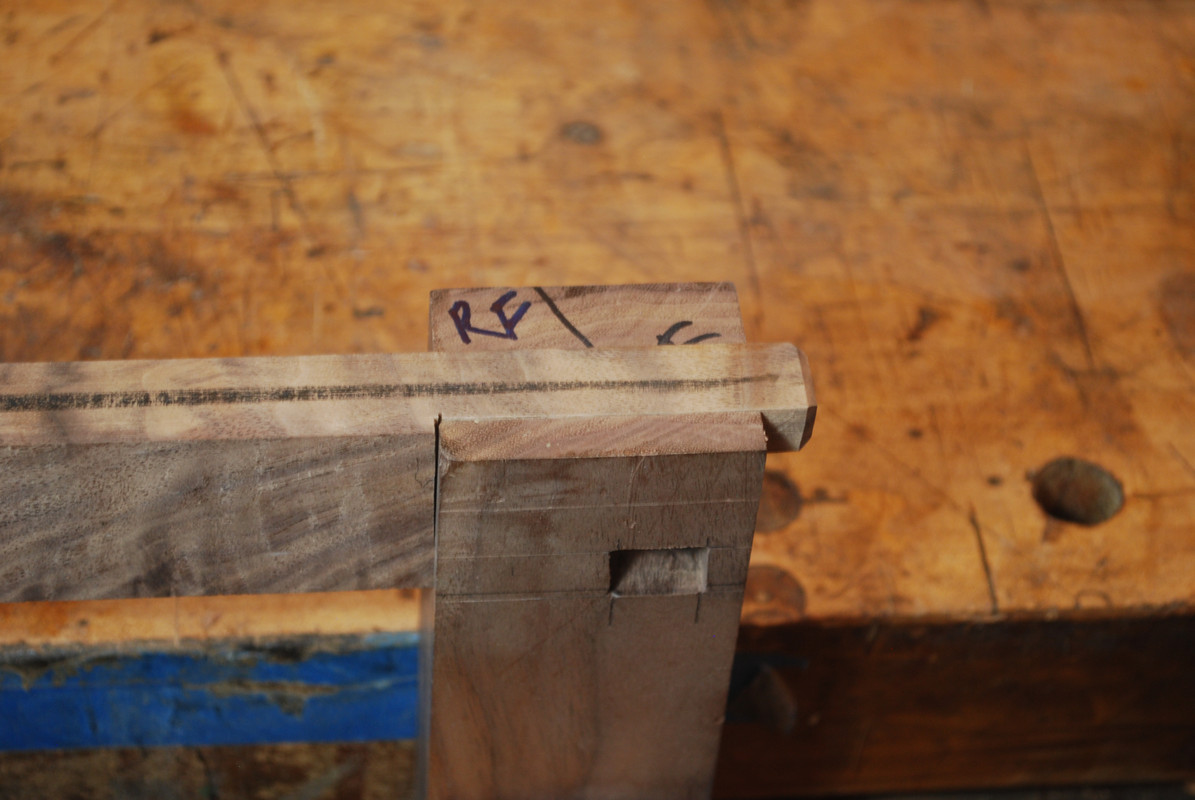
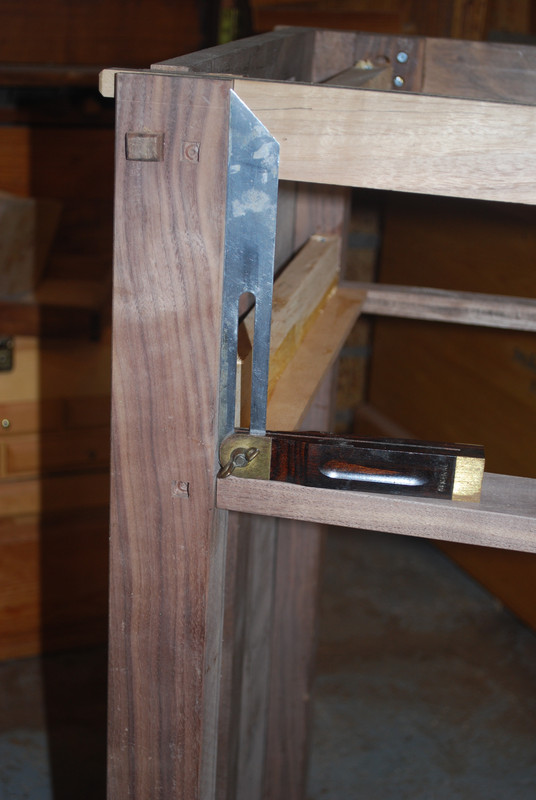
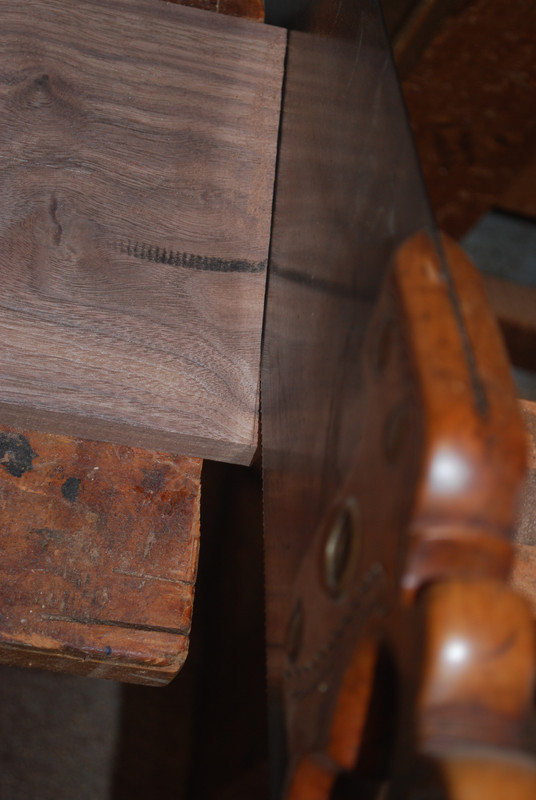
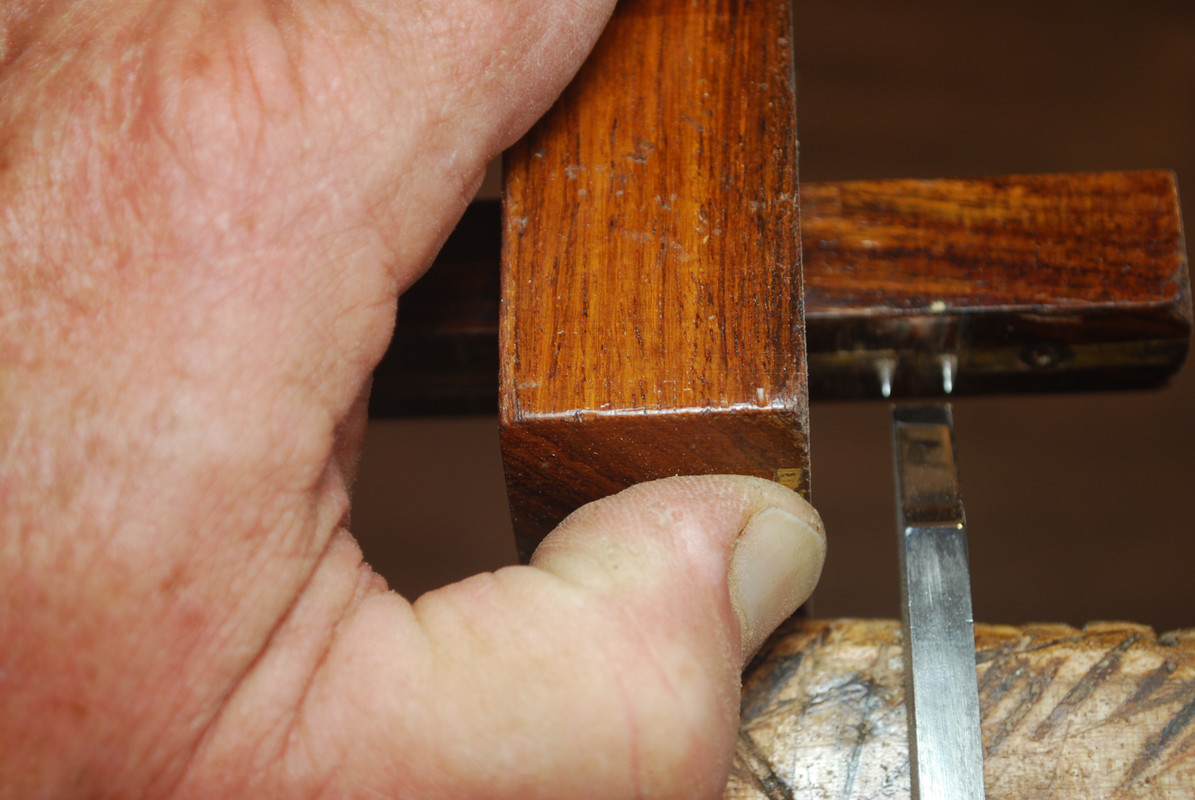
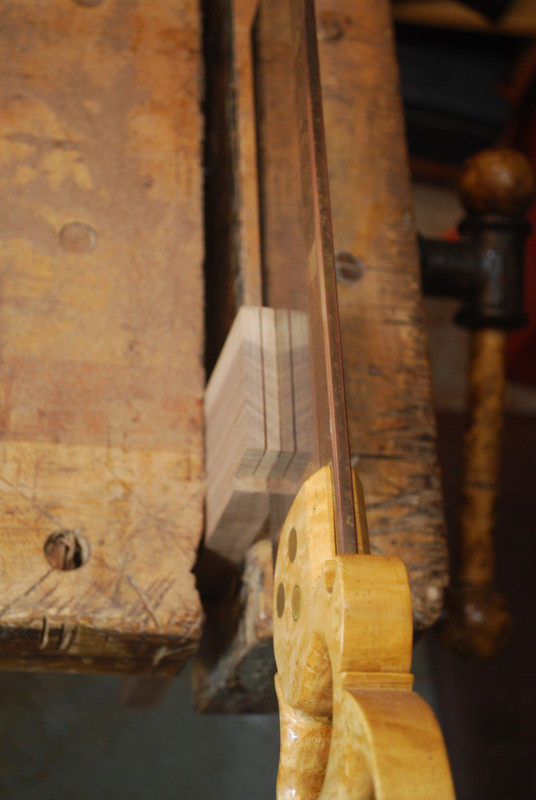
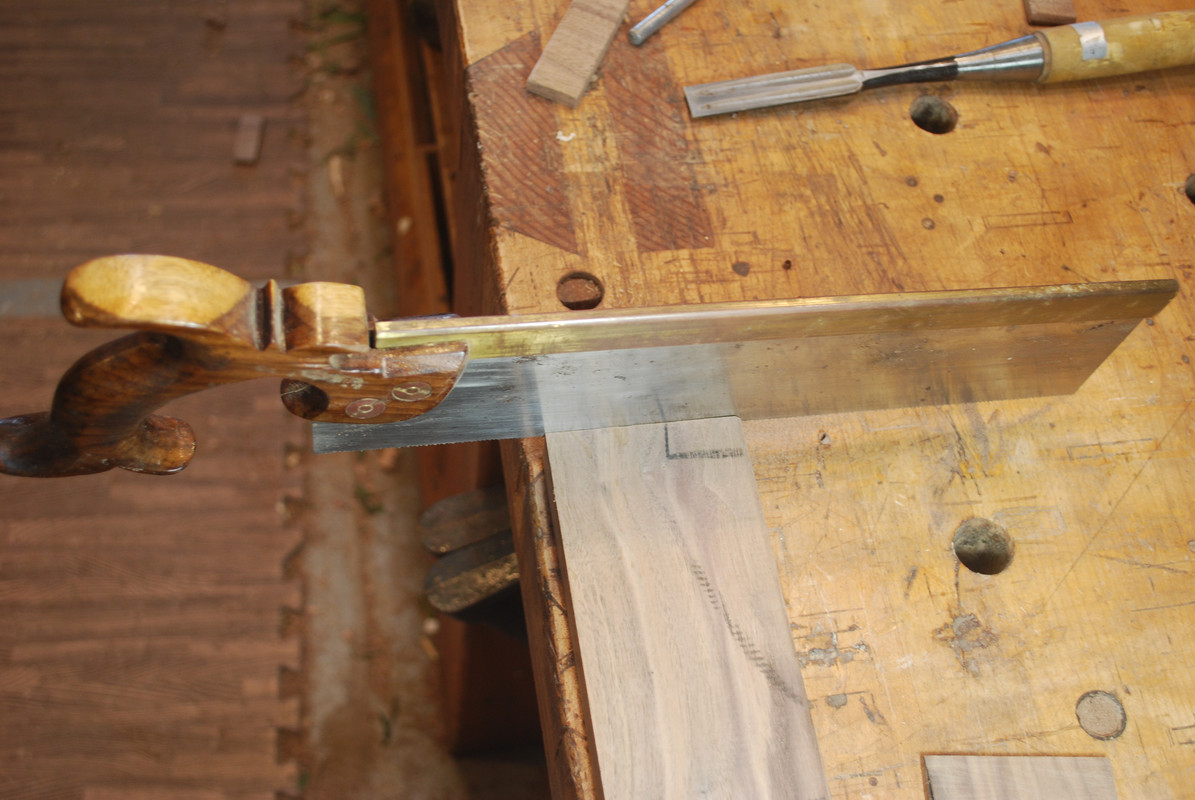
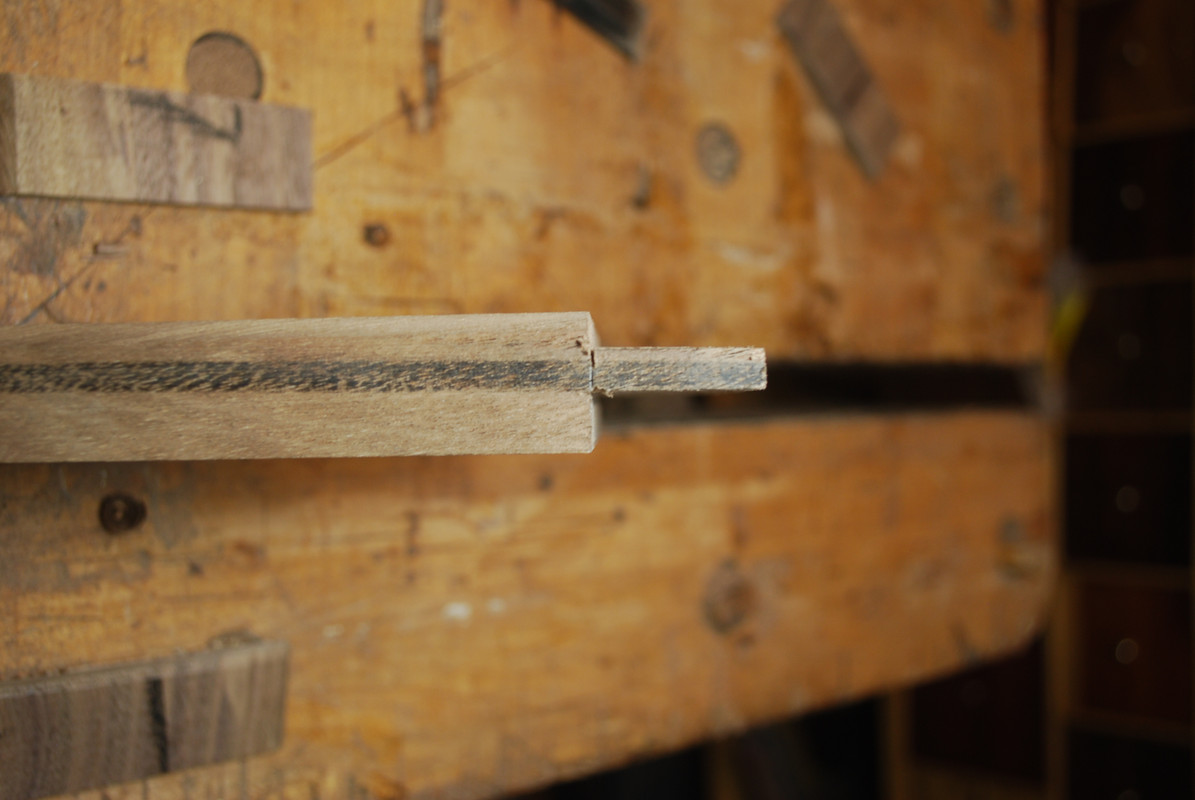
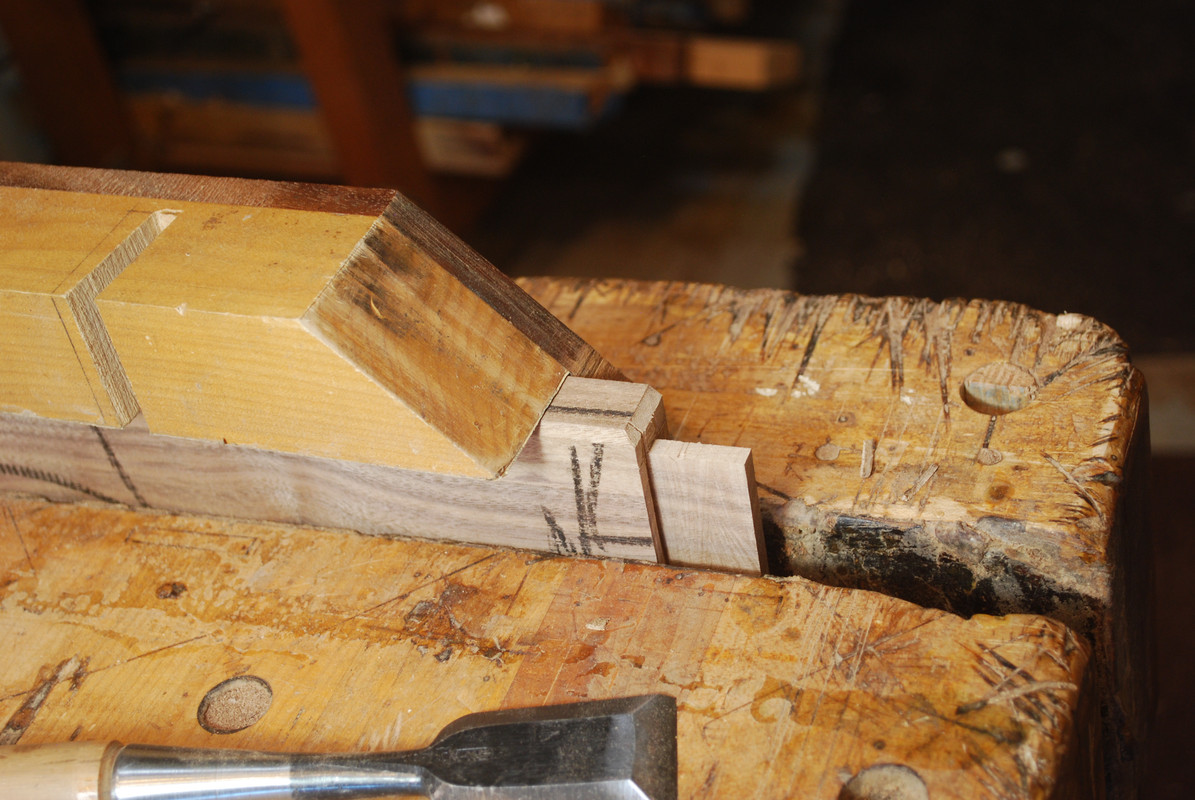
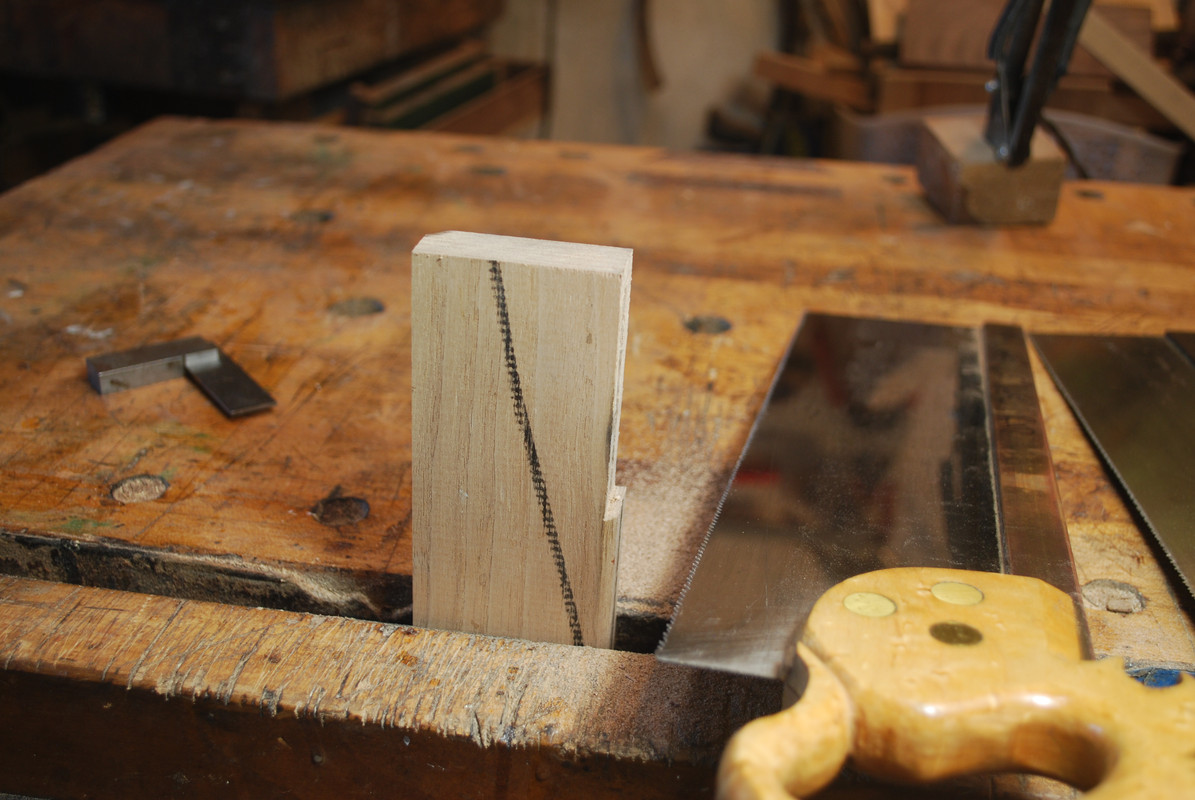
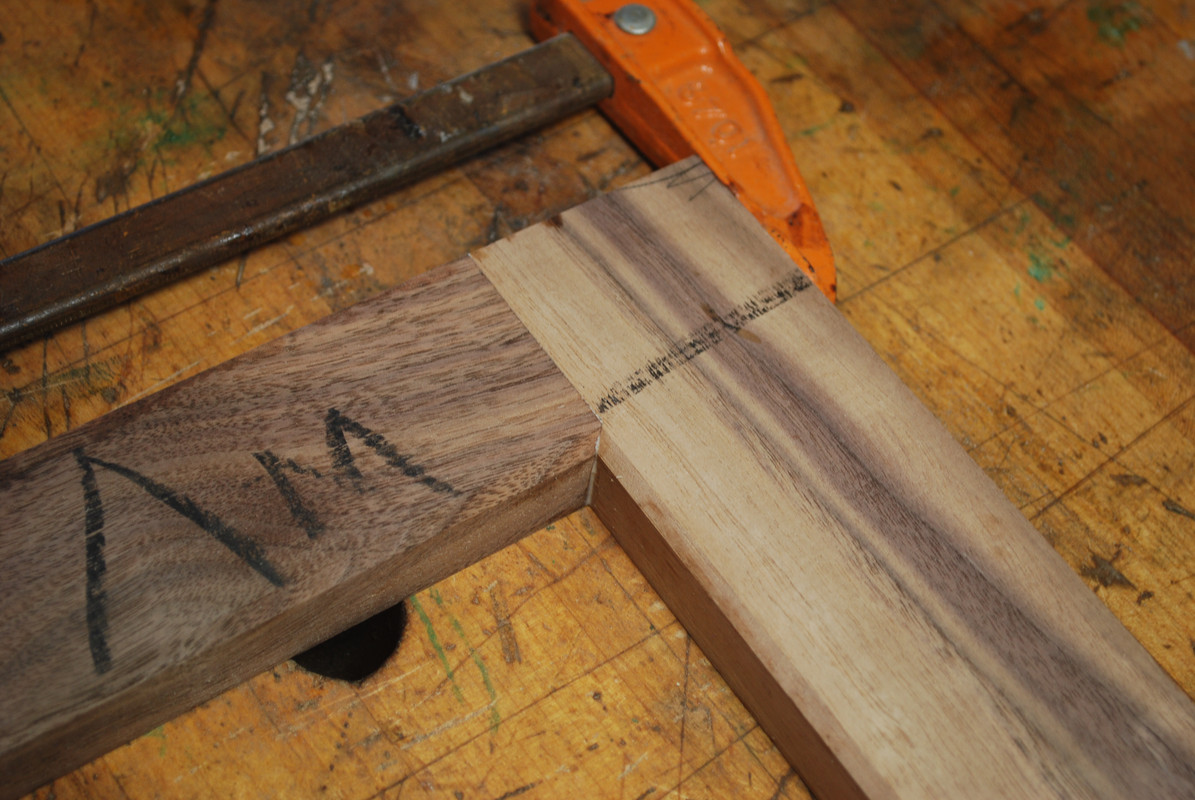
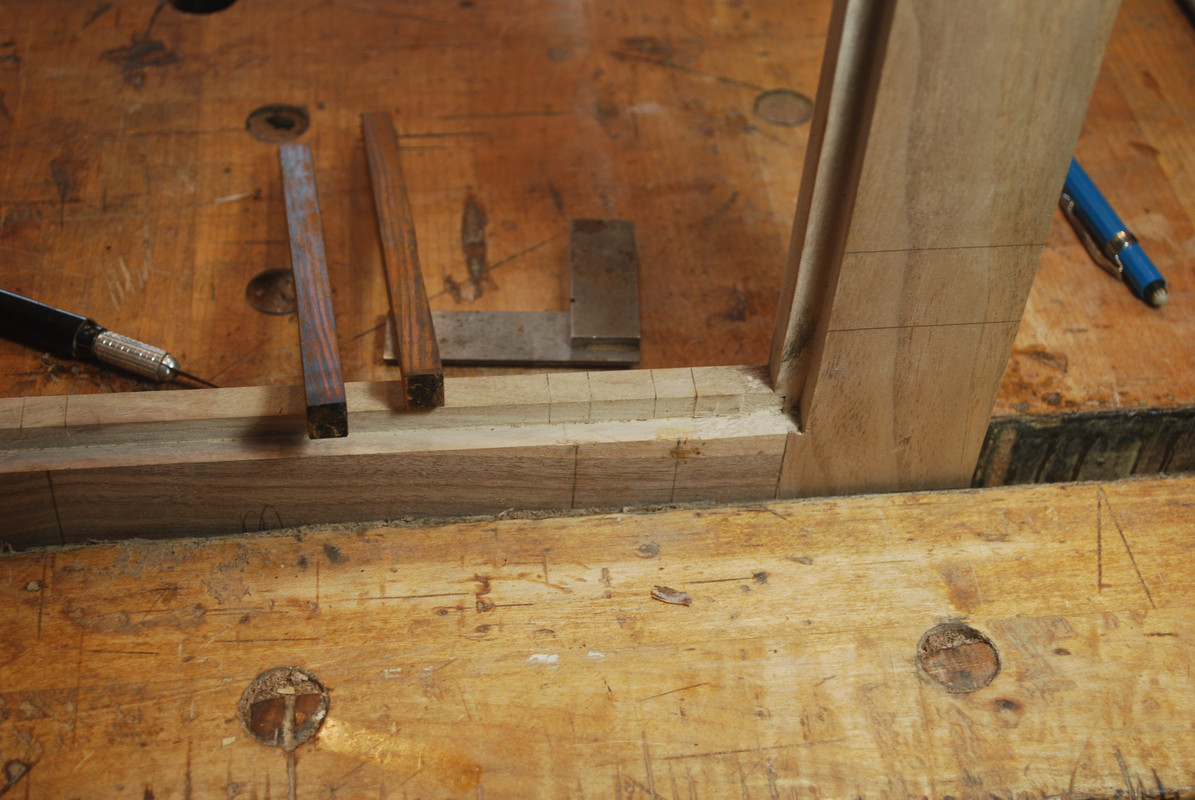
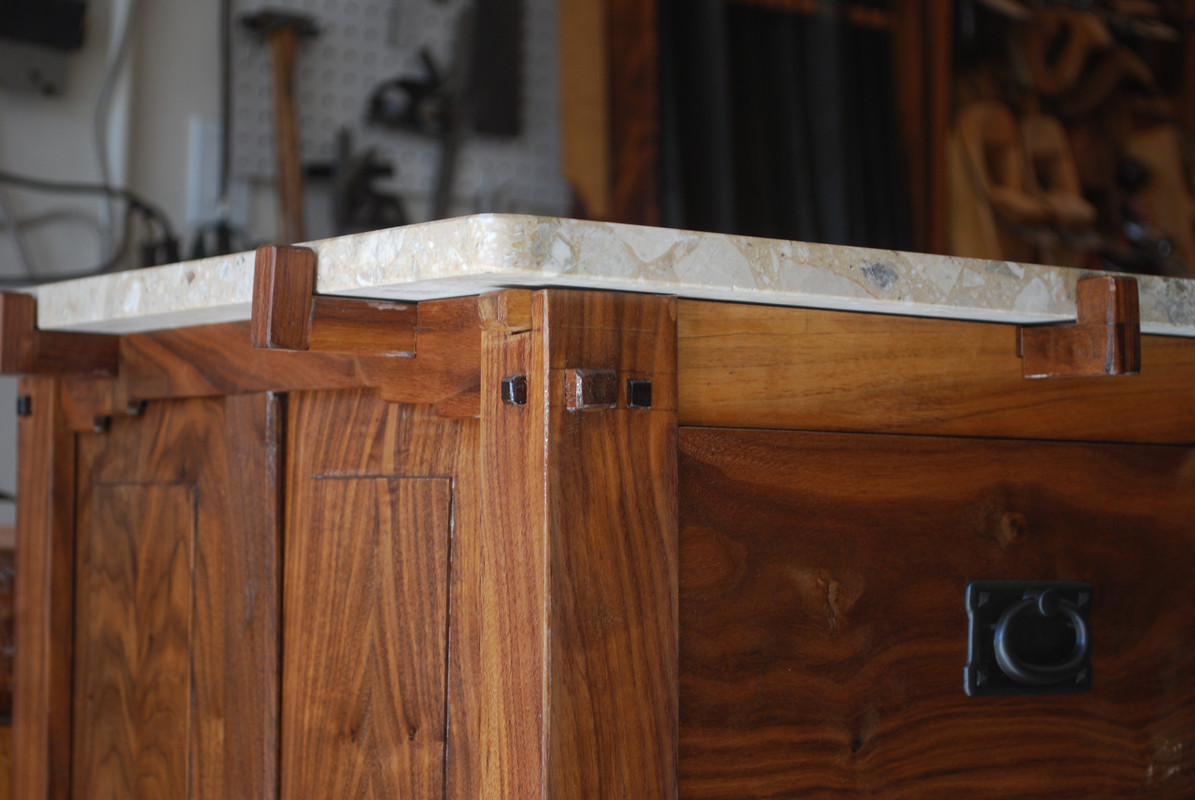
    Lots of through joinery on the four corner posts that frankly greatest attribute is aesthetic not necessarily structural. Bridal joint for top rail to post. An essential tool for this build was a Lee Valley 3/8 inch square mortise cutter for the ebony plugs inlays.


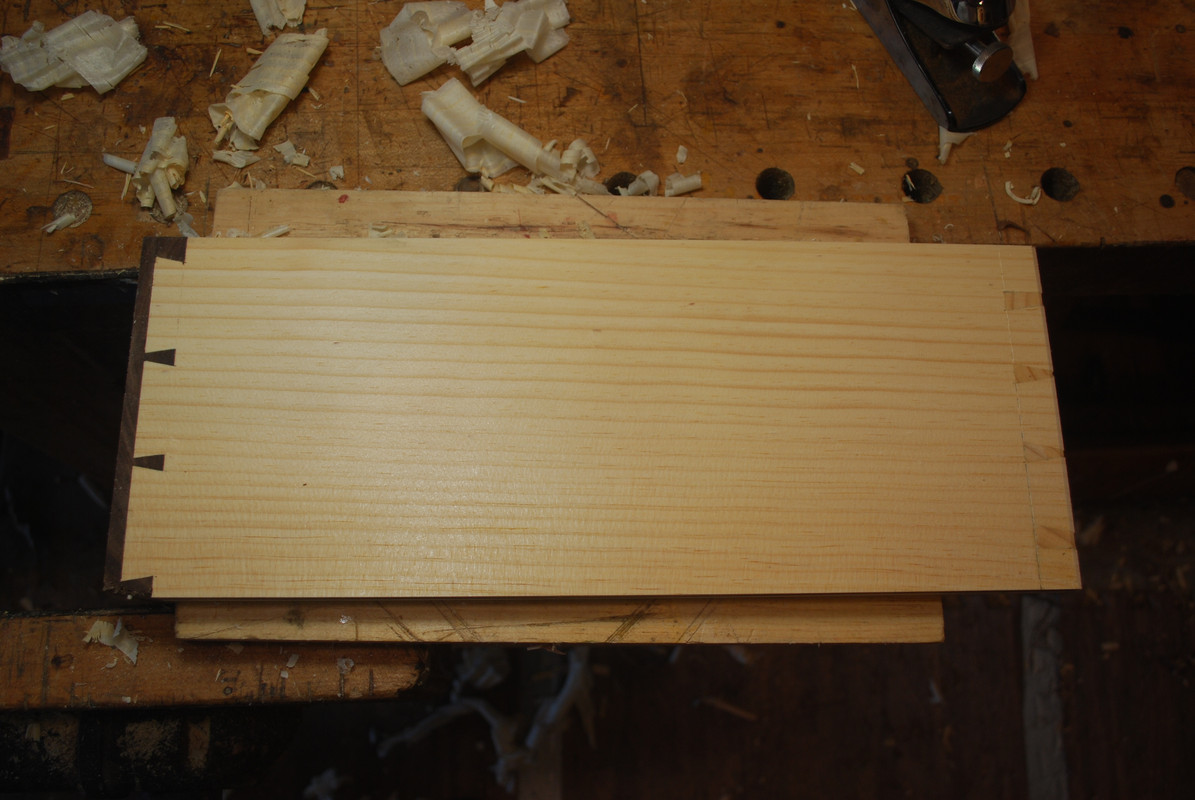
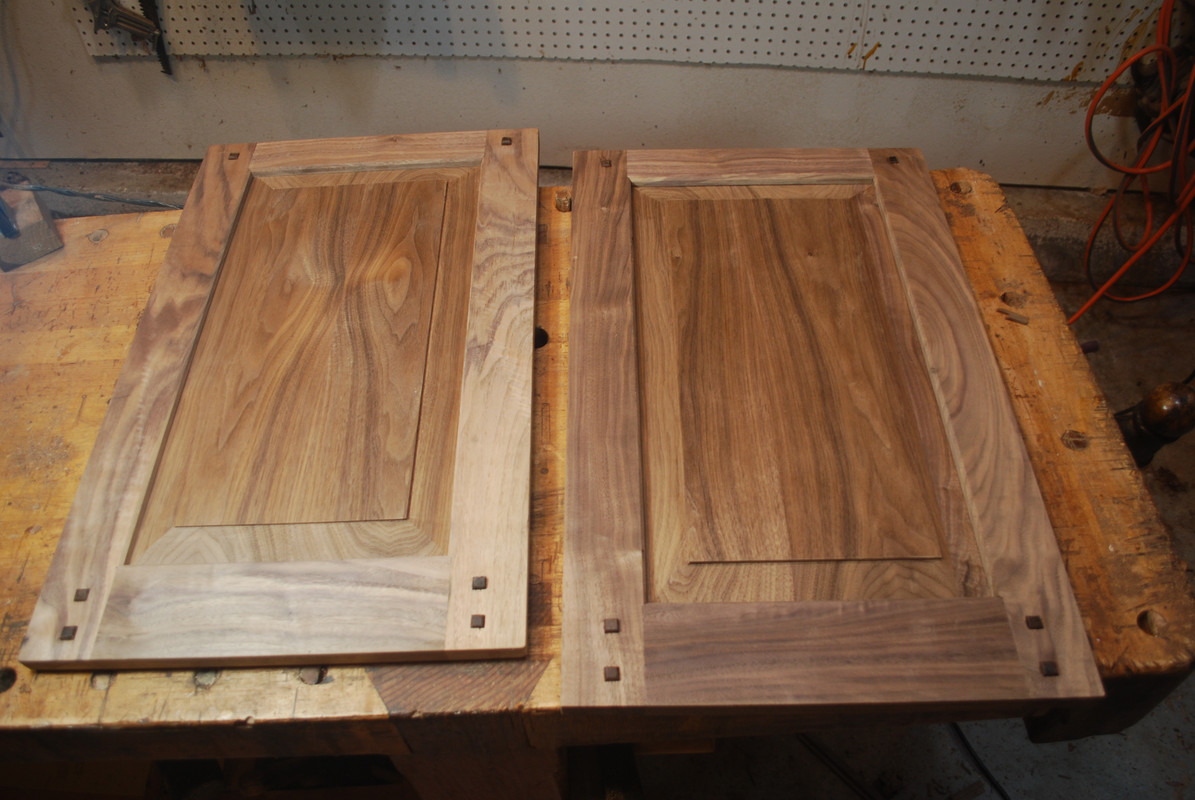
    Here’s the dry fit of the side of the carcass and close-ups of through tenons and ebony plugs.


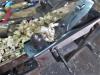
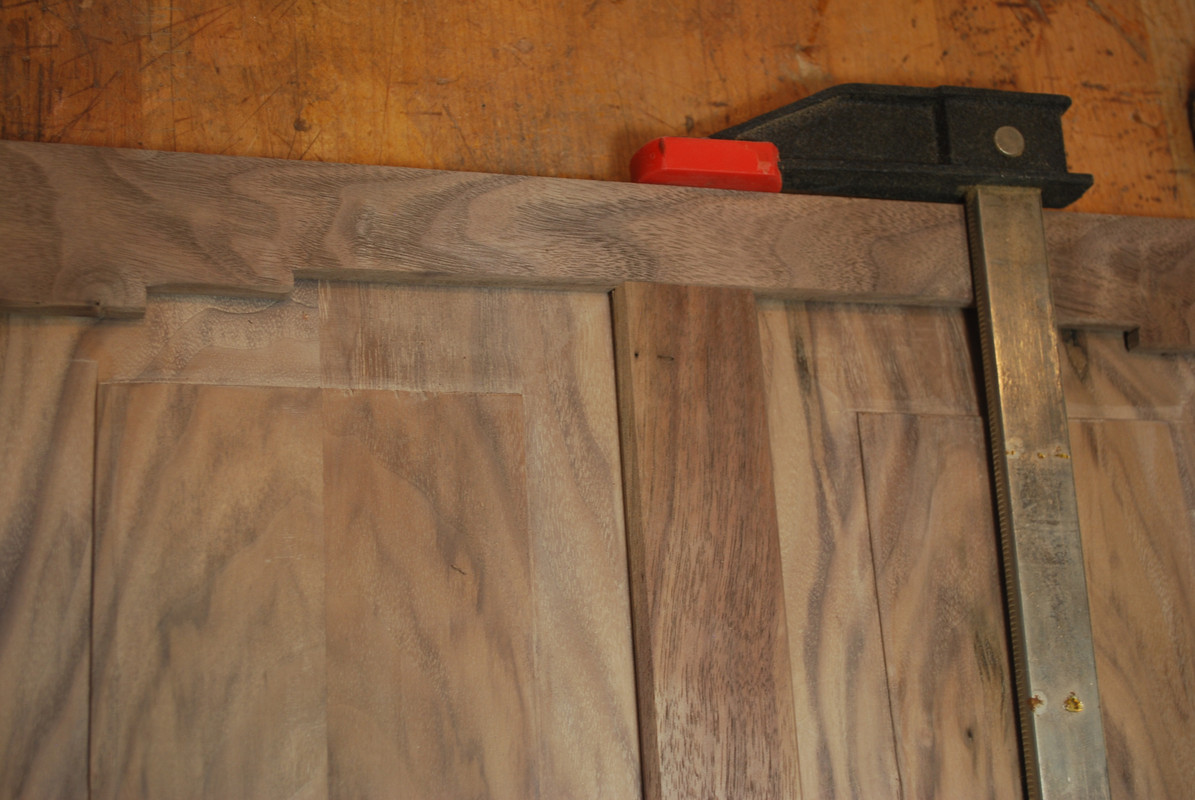
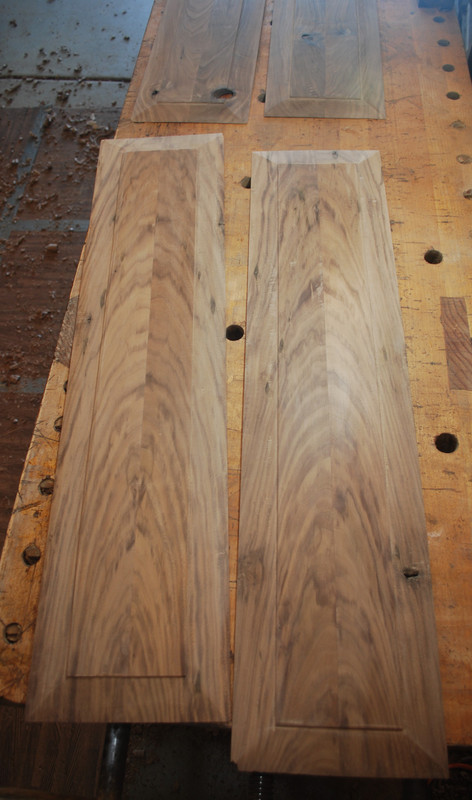
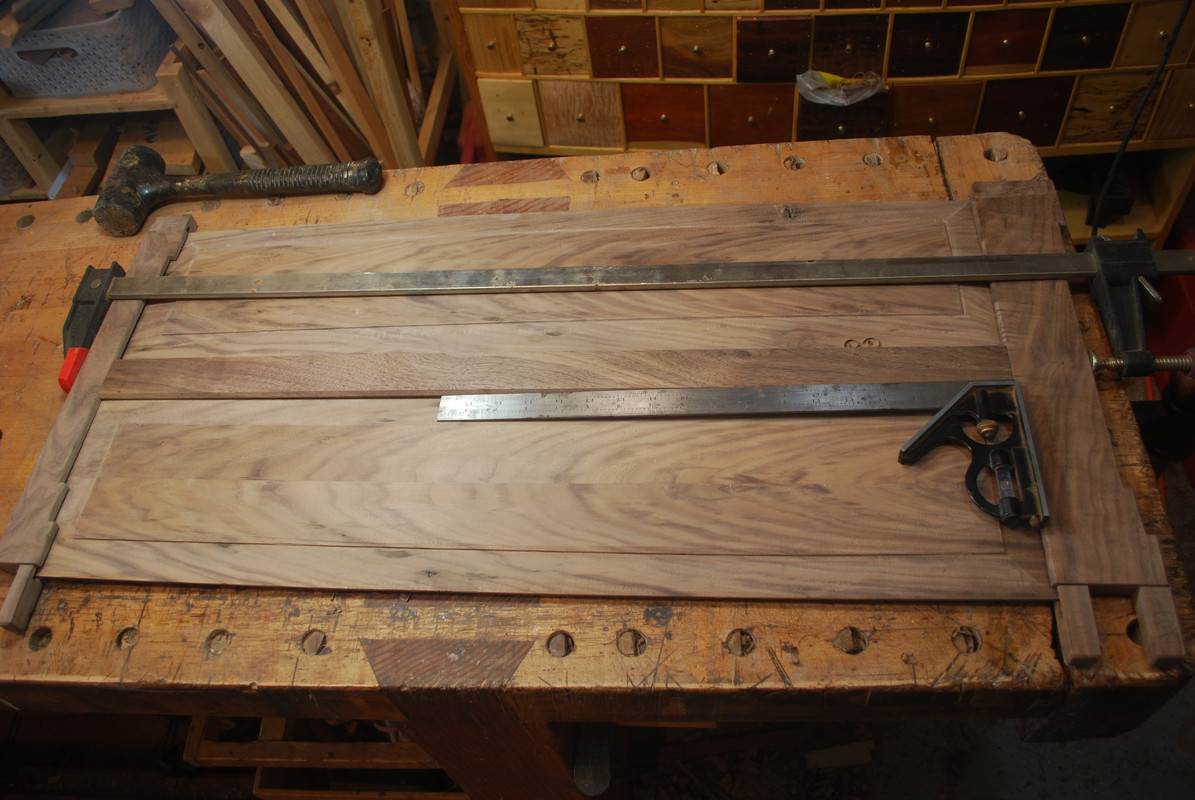
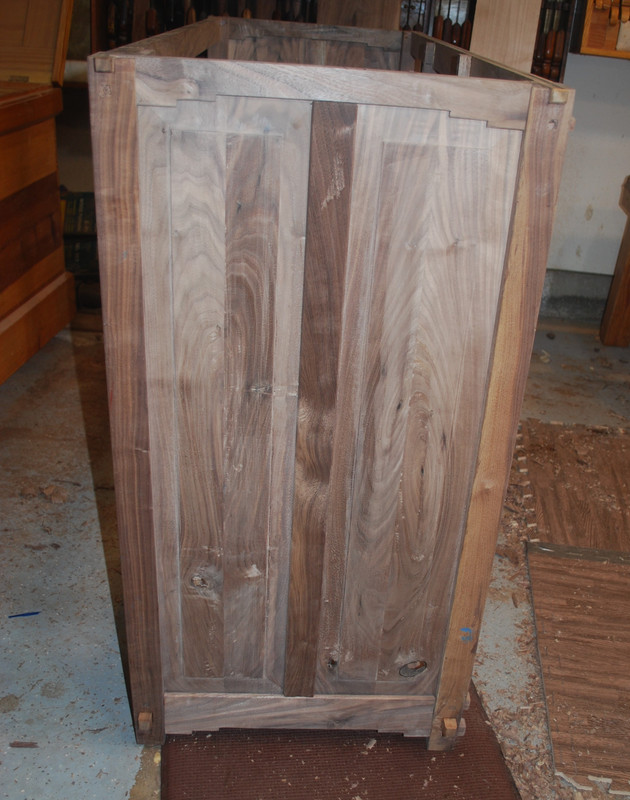
    Next was creating the raised panel frames for carcass sides with central divider. Here’s a picture of tools I use for raising panels and final result.
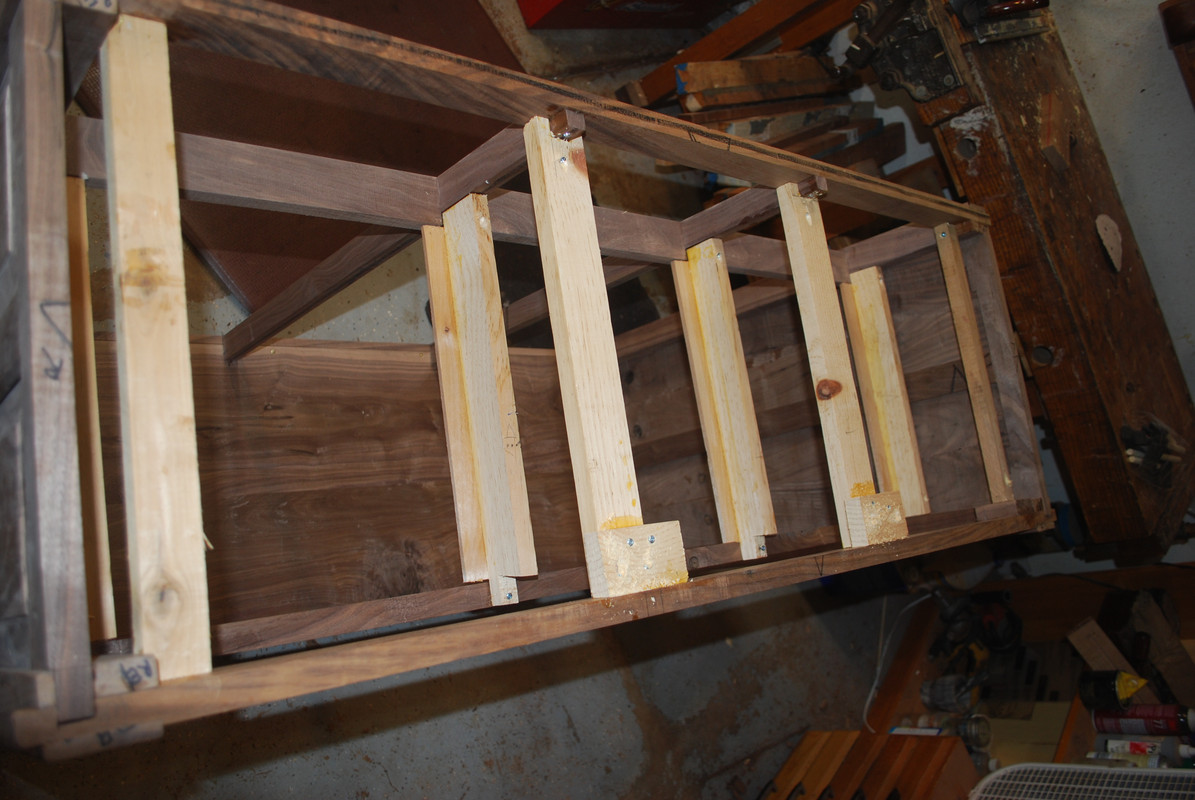
    With side carcass assemblies completed, next step was carcass front styles and rails to accommodate three drawers on top and three doors below.


    Last edited by Mike Allen1010; 10-26-2022 at 10:28 PM.

  2. #2
    Join Date
    Feb 2011
    Location
    Carlsbad, CA
    Posts
    2,230
    Blog Entries
    2
    This pic of top of front left post shows overlapping pattern of through tenons.


    Here is the internal structure of drawer runners and kickers for the top three drawers. This is one of my favorite jobs because goes quickly with soft, secondary woods and glue/screw joinery.


    Fitting flush drawers is always the something I take pride in. My typical approaches to work from a reference corner with the bevel gauge and saw and plane drawer fronts to fit nicely.


  3. #3
    Join Date
    Feb 2011
    Location
    Carlsbad, CA
    Posts
    2,230
    Blog Entries
    2
    Next was cutting drawer sides/backs out of pine. I have a shop made crosscut jig that would like to replace I can only find a miter box that fits my 30 inch long, by 5 inch deep miter saw. I confess I’m confused by the various manufacturers and model numbers of miter boxes and don’t really know what I need. Any suggestions?


    Some pics of dovetailing drawers. For me through dovetails are fairly straightforward. I try to save time by ganging drawer sides together.


    I struggle little bit more with the half blind dovetails I use for the drawer fronts. My approach is drill press and Forstner bits remove the bulk the waste and clean up with chisels. For this job I find skew chisels super helpful.


    Here is fit of assembled drawers.


    Next is cutting Motice & tenon joinery for the three doors. This is a hand tool job I really enjoy. My go to rip backsaw is shop made 9 PPI. This is sawing task where speed need not be the enemy of accuracy. Pics of sawing shoulders.


  4. #4
    Join Date
    Feb 2011
    Location
    Carlsbad, CA
    Posts
    2,230
    Blog Entries
    2
    Interior edge of doorframes has a ¼” bevel on show surface. Personally I think ripping off the bevel on vertical members and trimming the 45° miter with chisel and guide block are jobs that resulted in highly visible results and are worthy of time and attention.


    Central door has a lattice of quarter-inch square cocobolo (didn’t want to spend the dollars on ebony). Tried to talk the boss into this design for all three doors but her concept for this piece is to be able to store as much crap inside as possible, not the display case I had in mind.


    Here’s some pics of completed panels and doors with ebony plugs.


    Back is shiplapped vertical grain Doug fir.


    Drawer bottoms are aromatics Cedar.


    Here’s some pics of the completed piece.


  5. #5
    Join Date
    Feb 2011
    Location
    Carlsbad, CA
    Posts
    2,230
    Blog Entries
    2


    Thanks for looking, Mike

    BTW, sharing I finally accomplished the empty-nester move into a smaller house – went from 3 car garage, which included my shop to a two-car garage. If anyone is interested, happy to share some pictures of design modifications the shop I made to accommodate this smaller space. Please let me know if you’d like me to share details.

  6. #6
    Join Date
    Jun 2010
    Location
    twomiles from the "peak of Ohio
    Posts
    12,181
    A Millers Falls Langdon No. 75 will take a 30" long saw. There is one in my shop, at the moment, takes a 5" x 30" miter saw.
    A Planer? I'm the Planer, and this is what I use

  7. #7
    Join Date
    Sep 2007
    Location
    Longview WA
    Posts
    27,453
    Blog Entries
    1
    Very nice piece Mike. I especially like the grain flow across the drawers.

    jtk
    "A pessimist sees the difficulty in every opportunity; an optimist sees the opportunity in every difficulty."
    - Sir Winston Churchill (1874-1965)

  8. #8
    Join Date
    Nov 2013
    Location
    United Kingdom - Devon
    Posts
    503
    Mike, thank you for sharing this build. It's nice to see pictures! As I'm not a paying member I do miss out. Not complaining, 'tis house rules.

    What's the top? Looks like stone?

    The Greene and Greene style is not something I see over here. I am aware of Greene's influence but my knowledge is limited.

    Was the timber a local source? Aromatic cedar? Makes me think of Cedar of Lebanon but that's pale, your drawer bottoms look reddish with defined sapwood. Tell me more!

    It's certainly a piece that will be greatly appreciated, congratulations!

  9. #9
    Join Date
    Dec 2016
    Location
    South West Ontario
    Posts
    1,504
    Have you tried doing an angled cut with a dovetail or Japanese saw for the half blind drawer fronts? Seems like an easier way to define the edge before clearing out the waste, good chisel guide as well.

    The drawer bottoms are lovely, shame they won’t be visible when drawers are in use!
    ​You can do a lot with very little! You can do a little more with a lot!

  10. #10
    Join Date
    Apr 2017
    Location
    Clarks Summit PA
    Posts
    1,745
    It all came together in a magnificent table Mike! Your pics of your work flow are invaluable, and as a fellow Neanderthal, I will use as a reference for my own work in the future. It looks like quarter sawn pine for the drawers which is best for long lasting smooth drawer action. I assume you had to glue some quarter sawn stock together to get the needed width...were you able to find quarter sawn that wide?

  11. #11
    Join Date
    Aug 2012
    Location
    Missouri
    Posts
    2,152
    Very well done Mike. Both the piece and the write up first class work.
    Jim

  12. #12
    Join Date
    Feb 2018
    Location
    N CA
    Posts
    1,289
    Wow, Mike. I believe this Sears/Hempe box will handle a 5” saw. It is yours for the cost of UPS boxing and shipping if you would like. I like my Langdon box and don’t need another.
    Attached Images Attached Images

  13. #13
    Join Date
    Dec 2010
    Location
    San Marcos, CA
    Posts
    15
    Am I the only one that can't see Mike's photos?
    You Never Regret Quality

  14. #14
    Join Date
    Feb 2011
    Location
    Carlsbad, CA
    Posts
    2,230
    Blog Entries
    2
    Quote Originally Posted by steven c newman View Post
    A Millers Falls Langdon No. 75 will take a 30" long saw. There is one in my shop, at the moment, takes a 5" x 30" miter saw.
    Thanks a lot Steve I really appreciate your suggestion. I'll keep my eyes open, however Southern California is kind of a hand tool desert compared to other parts of the country so I guess I'll end up trolling the mega-auction site.

    Cheers, Mike

  15. #15
    Join Date
    Feb 2011
    Location
    Carlsbad, CA
    Posts
    2,230
    Blog Entries
    2
    Quote Originally Posted by Graham Haydon View Post
    Mike, thank you for sharing this build. It's nice to see pictures! As I'm not a paying member I do miss out. Not complaining, 'tis house rules.

    What's the top? Looks like stone?

    The Greene and Greene style is not something I see over here. I am aware of Greene's influence but my knowledge is limited.

    Was the timber a local source? Aromatic cedar? Makes me think of Cedar of Lebanon but that's pale, your drawer bottoms look reddish with defined sapwood. Tell me more!

    It's certainly a piece that will be greatly appreciated, congratulations!
    Thanks Graham I appreciate your feedback. The top is some kind of stone, I just don't know which kind. As I mentioned, this piece matches a coffee table and end table I built previously. In all three cases I use the stone that came at the existing store-bought tables. I recently purchased a piece of granite to be the top of the Thomas Seymour federal style bar I built quite a while ago I think it was roughly 50 inches long by 20 inches wide and the cost was around $300. I'm hoping to pick it up tomorrow and I'll post some pictures of the completed bar.

    Drawer bottoms are aromatic Cedar, which I believe it is a domestic species native to the South Eastern US? It's really soft and works easily with hand tools and smells great. Tends to be fairly knotty.

Posting Permissions

  • You may not post new threads
  • You may not post replies
  • You may not post attachments
  • You may not edit your posts
  •