Results 1 to 9 of 9

Thread: A box for travelling dovetail saws

  1. #1
    Join Date
    Feb 2004
    Location
    Perth, Australia
    Posts
    9,497

    A box for travelling dovetail saws

    I've been making a few boxes of late for tools used in demonstrations at wood shows and workshops. They are not jewellery boxes.


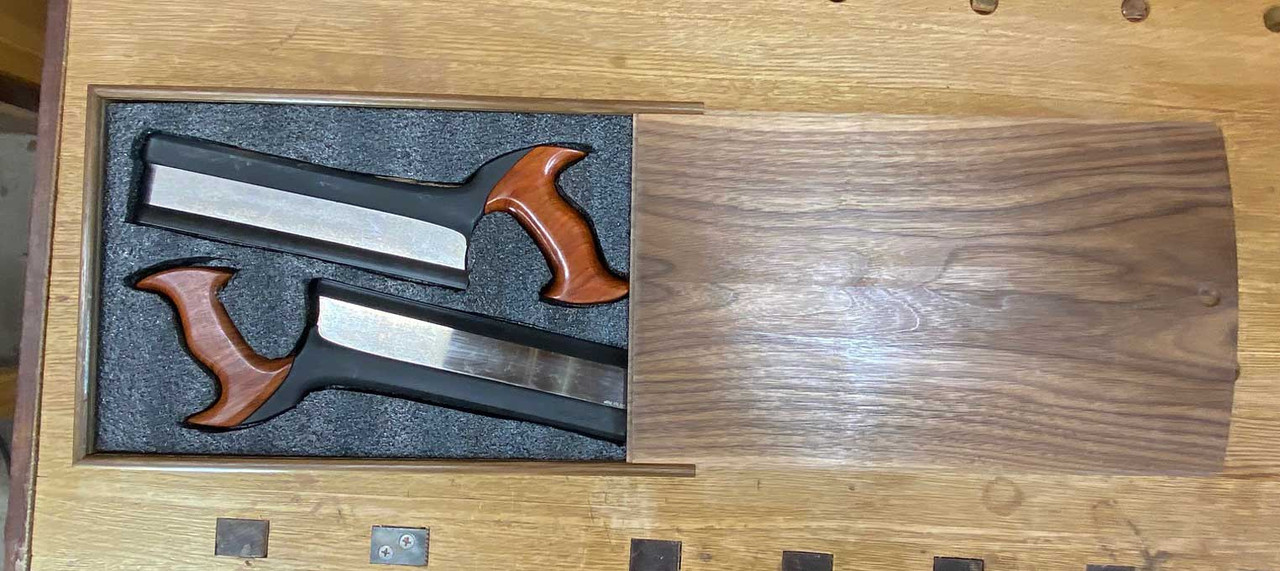
    The current box is for a couple of dovetail saws, in particular a Veritas 20 ppi and a Veritas 14 ppi (which I have re-filed from 14 degrees of rake to 10 degrees of rake and 15 degrees of rake for the first 1 1/2" of the toe). The 20 ppi is excellent for thin board and softer wood, plus works well for crosscutting (such as the shoulders). The idea behind the progressive rake in the 14 ppi saw is to make it easier to start in hard, brittle wood, and then cut more aggressively.


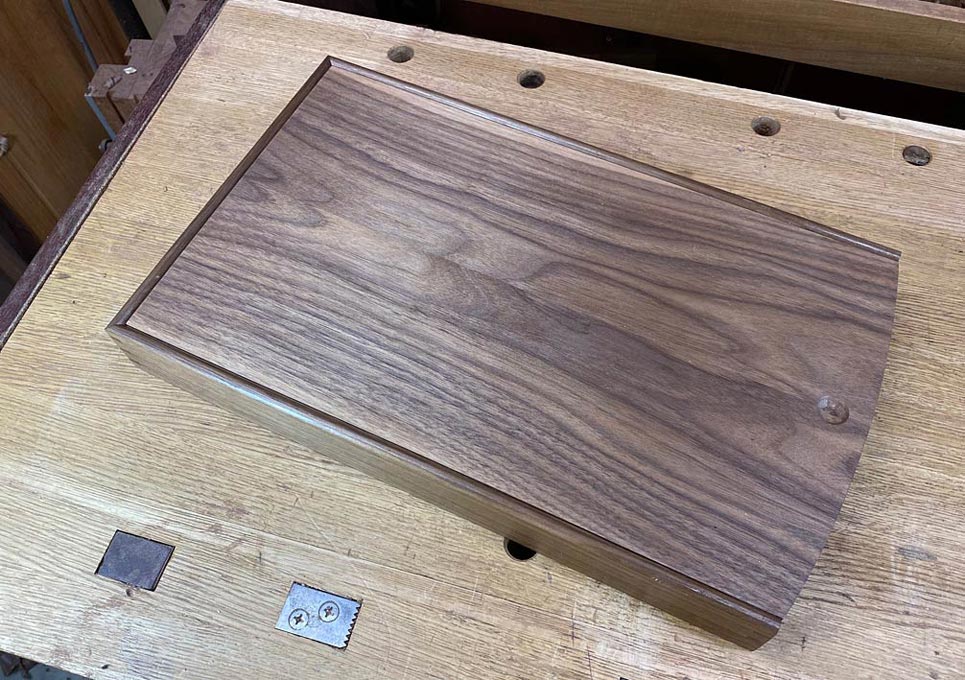
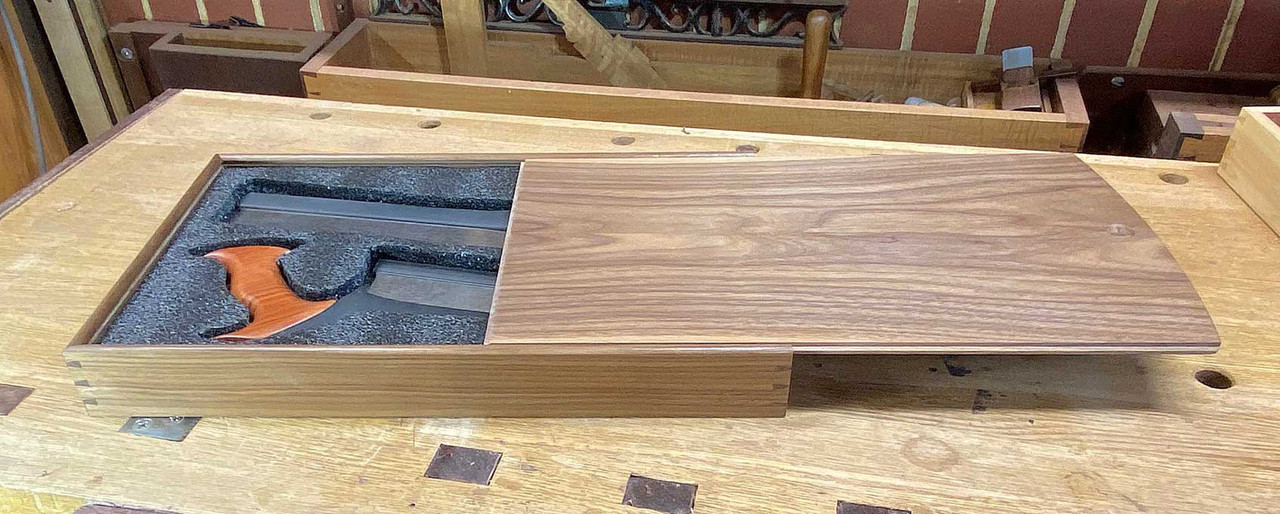
    The wood here is US Black Walnut, and the 20 ppi saw was used.


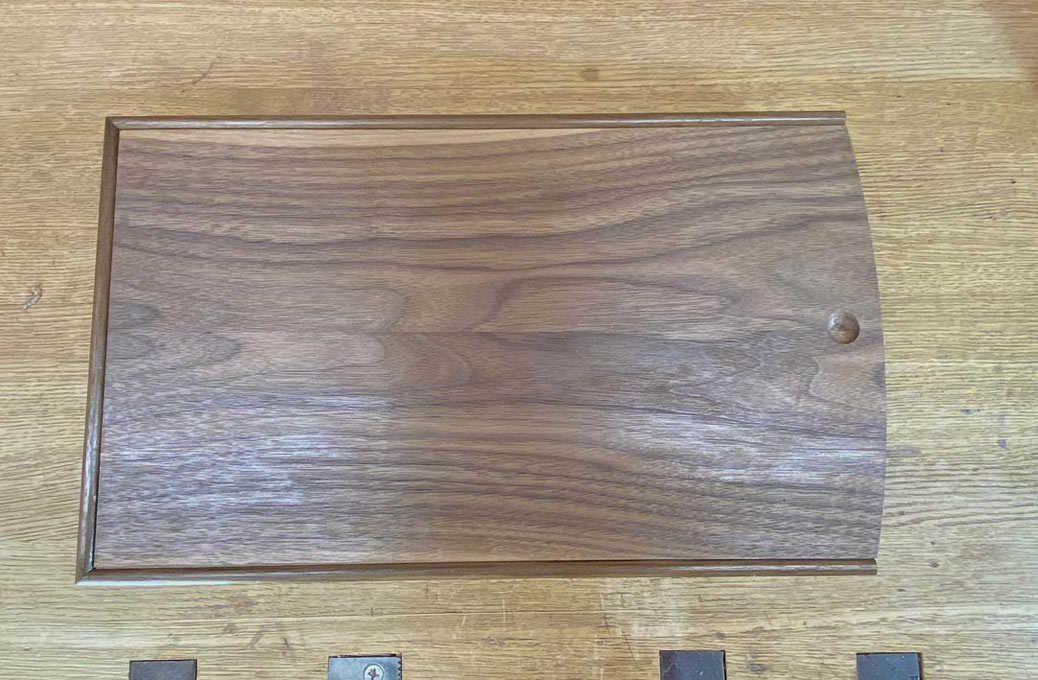
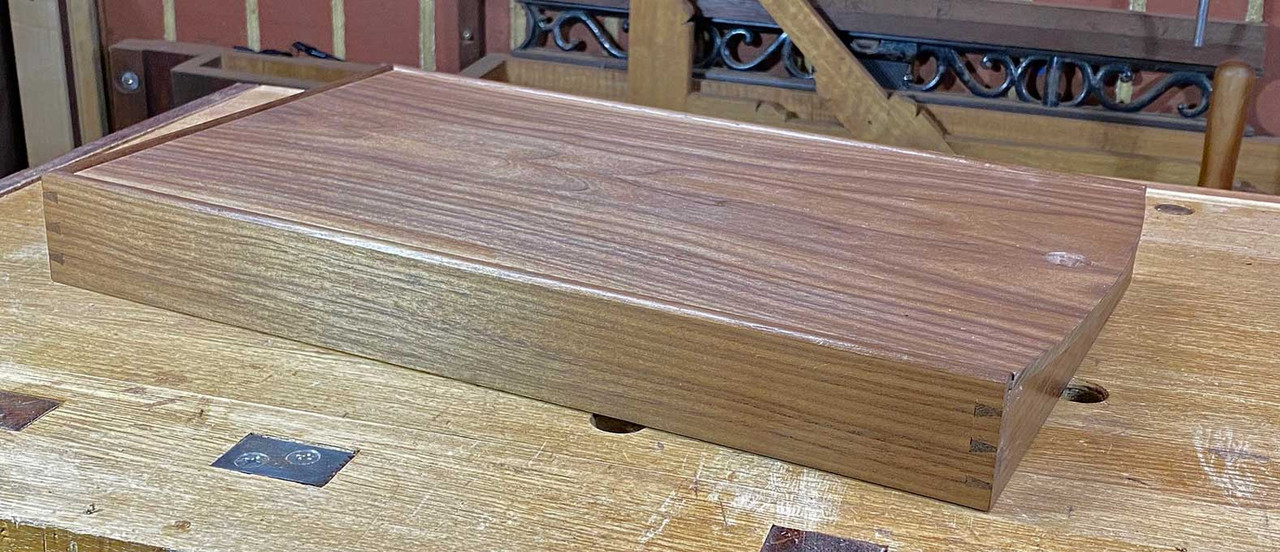
    The design involves mitred through dovetail ends and sides rounded at the top. The mitred ends make it possible to hide the grooves ...


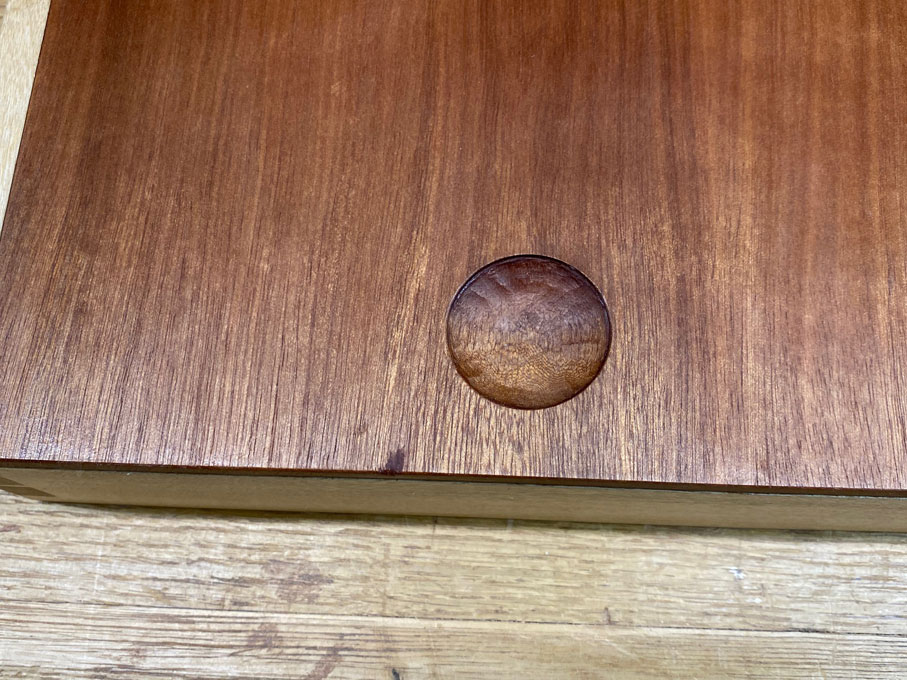
    The lid pull is incorporated into the curved end, something I should have done with the previous box ...


    Slide it back to reveal the two dovetail saws ...


    I hope there are some ideas for you to use.


    Regards from Perth


    Derek

  2. #2
    Lovely box Derek. I'm a big fan of the mitered dovetail ends for boxes. Just curious on how you go about making your thumb pull? I've been using a round nose router bit chucked into a drill press to date - but have been thinking about getting some gouges to experiment with (not sure of sizes).

  3. #3
    Join Date
    May 2021
    Location
    Spartanburg South Carolina
    Posts
    386
    Very nice Derek, makes me want to dip my feet into the mitered dovetail pool. But the water looks a bit cold right now, gotta work up some courage to try.

  4. #4
    Join Date
    Sep 2007
    Location
    Longview WA
    Posts
    27,490
    Blog Entries
    1
    Fine looking carrying case.

    jtk
    "A pessimist sees the difficulty in every opportunity; an optimist sees the opportunity in every difficulty."
    - Sir Winston Churchill (1874-1965)

  5. #5
    Join Date
    Feb 2004
    Location
    Perth, Australia
    Posts
    9,497
    Quote Originally Posted by Dean Arthur View Post
    Lovely box Derek. I'm a big fan of the mitered dovetail ends for boxes. Just curious on how you go about making your thumb pull? I've been using a round nose router bit chucked into a drill press to date - but have been thinking about getting some gouges to experiment with (not sure of sizes).
    Hi Dean, I don’t have a close up of this thumb pull, but here is one from the previous box. As I recall, the gouge size was about 3/8” or 1/2” here, while it was smaller for the current box (but which I started off with a round nose cutter as it is half the size).


    Regards from Perth

    Derek

  6. #6
    Thanks for the close up pic and gouge suggestions Derek. That's exactly what I'd like to do on my next pulls. I really like the idea of that texture (both in looks and I assume feel) when someone goes to open the box. Had a Pfeil 5/12 and 8/10 on my short list so one of those should work for this.

  7. #7
    Join Date
    Sep 2007
    Location
    Longview WA
    Posts
    27,490
    Blog Entries
    1
    A spoon bit or Forstner bit would likely help to start.

    jtk
    "A pessimist sees the difficulty in every opportunity; an optimist sees the opportunity in every difficulty."
    - Sir Winston Churchill (1874-1965)

  8. #8
    Join Date
    Feb 2020
    Location
    Camarillo, CA
    Posts
    423
    That is a nice box! I think mitered dovetails are the most demanding corner joint.

    I agree that a mid-size gouge is a really good tool to have for making pulls and other small indents. I really like the texture you get from them.

  9. Lovely fitted box Derek. Love your work.

Posting Permissions

  • You may not post new threads
  • You may not post replies
  • You may not post attachments
  • You may not edit your posts
  •