
Sam Blasco was my original inspiration for a parallel guide. Here is a video of Sam using his
Mike Kreinhop made a great one using an Incra LS25 positioner ...
Then, two years into Covid and many tools are not available, I decided to use what I had and build my own. An Incra Positioner was out of the question, it is not available in Australia, with local versions costing upwards of $1000 (AUD).
The main component was a 1m length of 8020 aluminium extrusion, identical to the one I used for my router table fence ...
The fence came from an Incra mitre fence (which had been used with the original F&F I made a few years ago, and discarded when the reversed F&F was built).
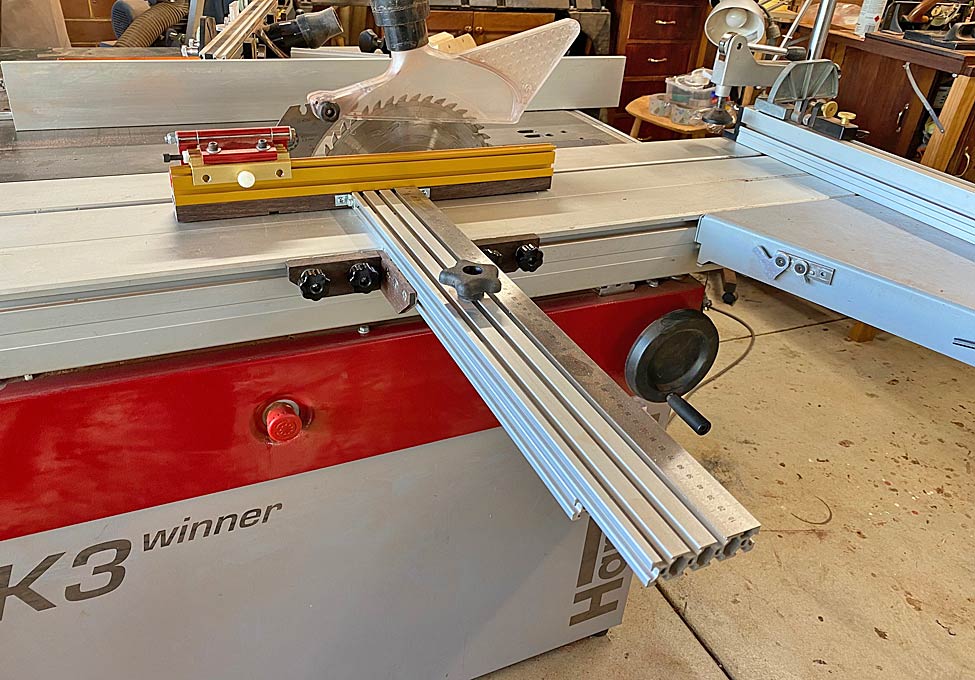
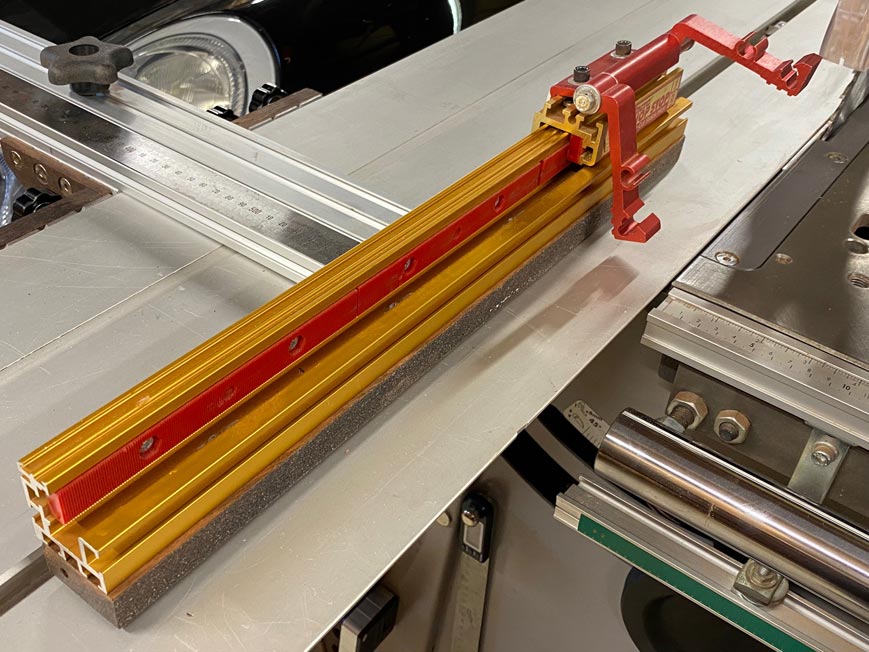
This is what I came up with ...
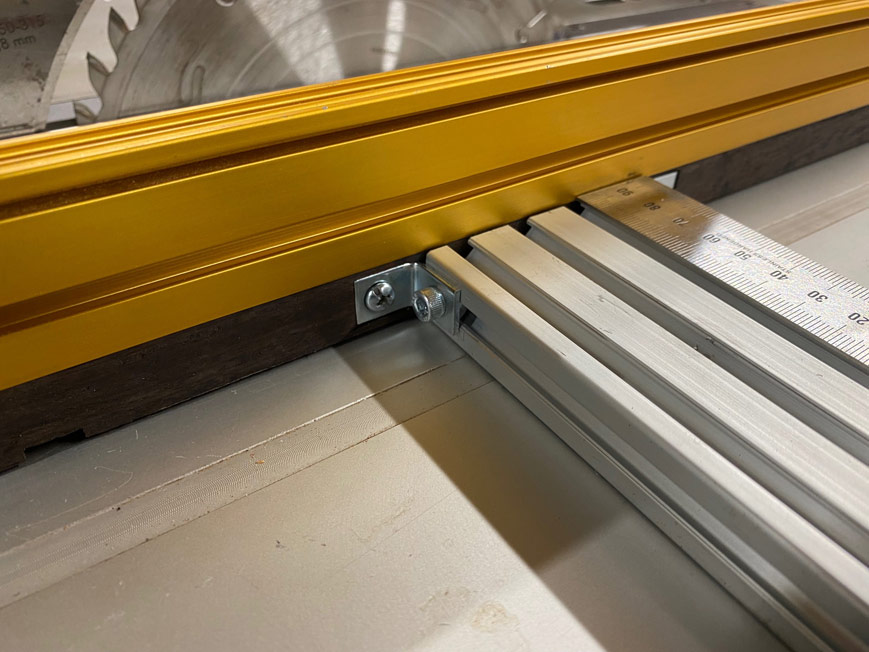
Steel angle brackets are used to connect the base to the wagon ...
These were then shaped and given a wooden cover for aesthetics ...
The L-bracket on the underside which ensures the fence base is square to the side of the slider. This is adjustable ...
In fact, everything is adjustable on this fixture. The Incra fence is attached with small L-clips, and the side screws enable the fence to be moved in-and-out on each side ...
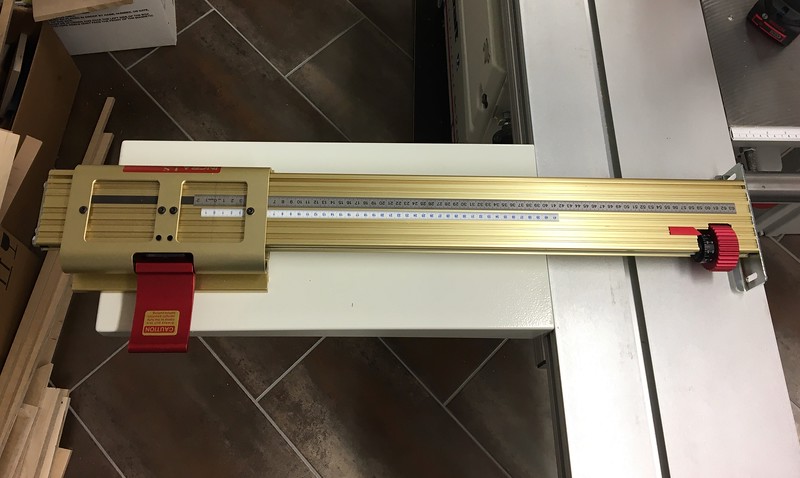
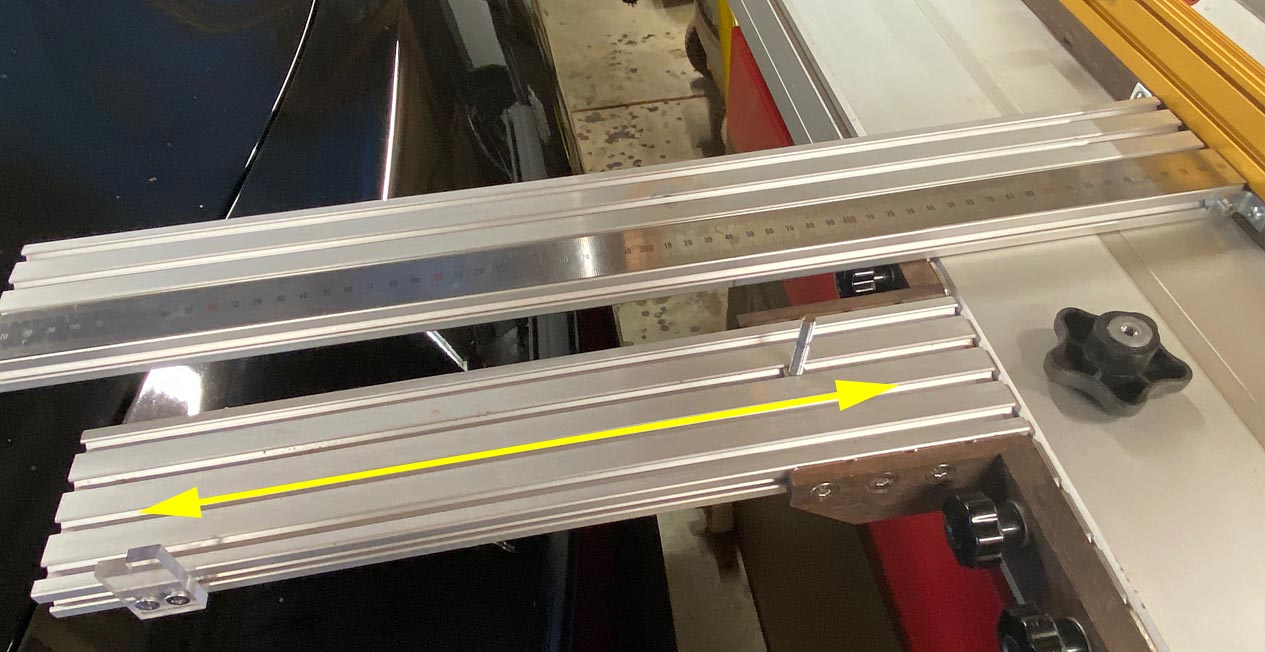
The base (rail) is a double sandwich of 8020 lengths ...
The lower rail is 400mm long, and the upper rail (connecting to the fence) is 900mm long. The fence is 470mm long and 40mm wide.
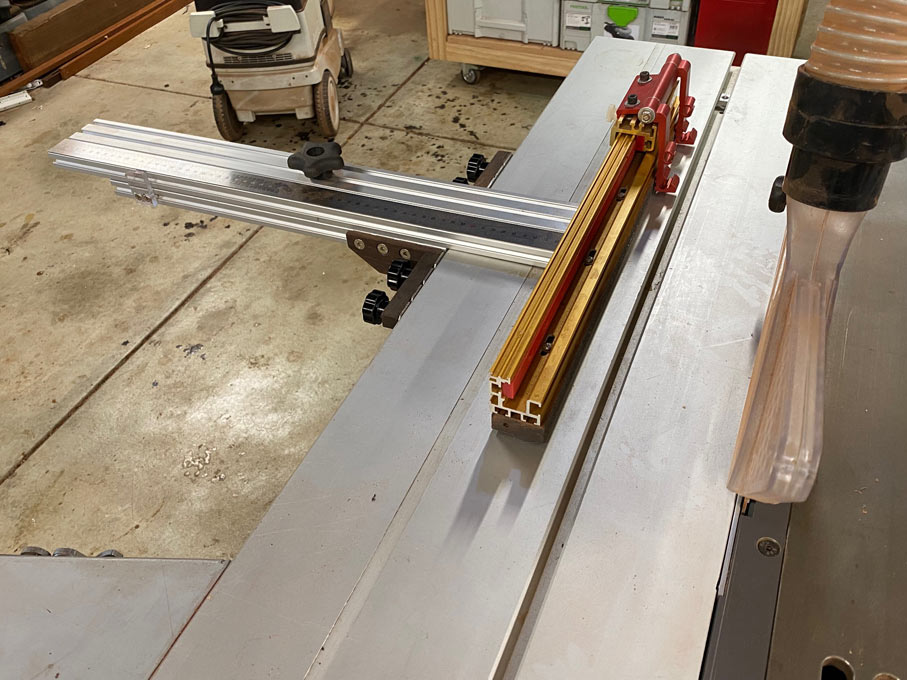
The lower rail has a sliding 6mm bolt (which can slide the full length) ...
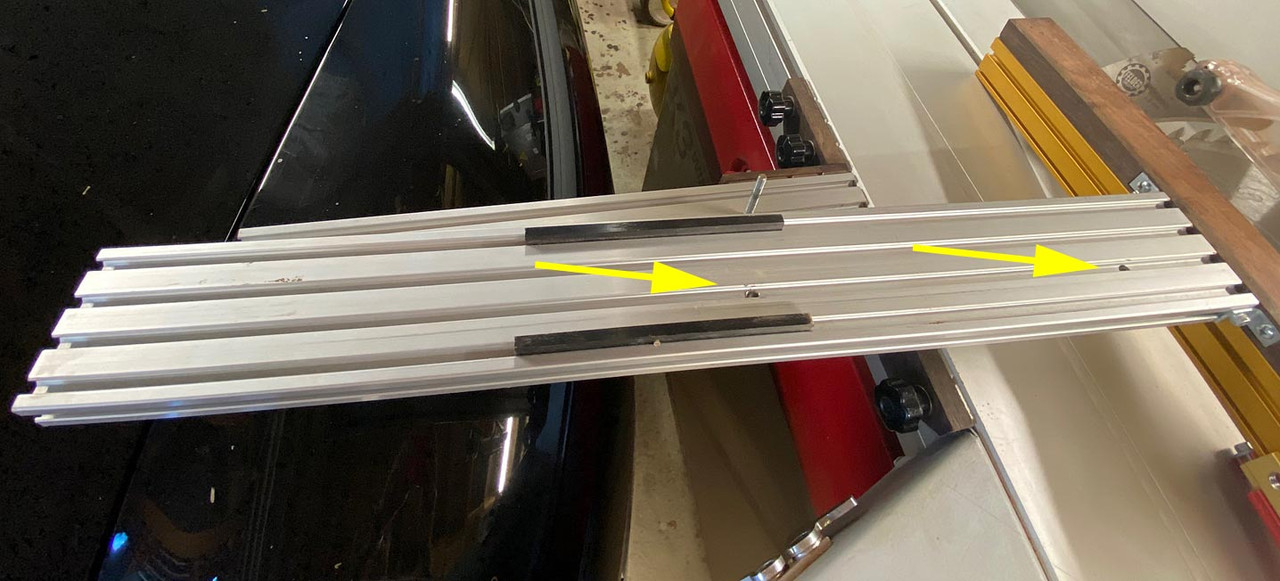
The uppe rail, as shown here upside down, moves on and is squared by two UHMW slides. It also has two positions for the 6mm bolt - one at the rear and one near the front. These enable the full length of the rails to be used.
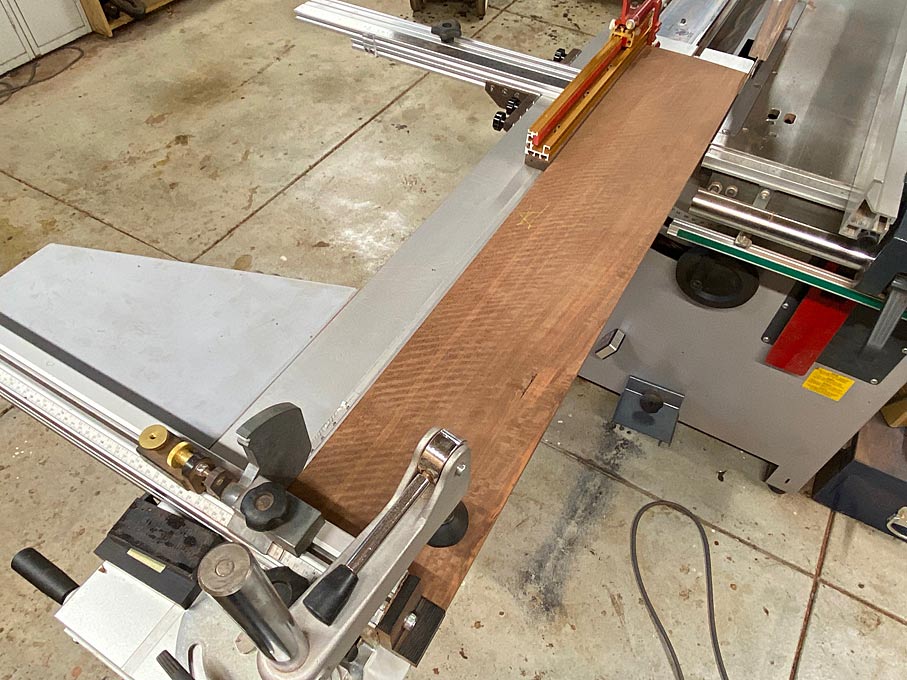
There is a total of 610mm width of cut when ripping. The scale on the upper rail is a steel rule. Alongside is an adjustable marker (I use the front edge) ...
My K3 is a short stroke with the crosscut fence at the front of the slider wagon. The depth stop on this perfectly is aligned with the parallel guide.
The depth stop on the Incra fence slides along its face ...


 Reply With Quote