Page 1 of 2 12 LastLast
Results 1 to 15 of 20

Thread: Bookcase Build Thread Part 2 Done – Still Probably Too Many Pics

  1. #1
    Join Date
    Feb 2011
    Location
    Carlsbad, CA
    Posts
    2,230
    Blog Entries
    2

    Bookcase Build Thread Part 2 Done – Still Probably Too Many Pics

    This is the second and final build thread for bookcase made primarily out of Red Grandis. There is an earlier thread that covers carcass construction through fitting the drawer fronts.

    Drawer fronts are going to have a veneered border of vertical grain darker wood (sorry can’t remember species), and also cock beading in contrasting Paduak. First step is using cutting gauge to layout shallow border rabbits. Then “joint” the edges of veneer strips with sandpaper holding them between the benchtop and another board. Before I applied the veneer border, I cut a deeper rabbit for the 3/16” cock beading, then the veneer is glued in place held with tape. Last two picture show what I think is an interesting contrast between the surface quality after card scraper as compared to 220 grit sandpaper.


    Here is the Paduak cock beading – curved profile is created with scraper and then ripped from larger stock. Because the Paduak color fades quickly, I spray it with a quick coat of shellac before assembly.


    Next is dovetailing drawers. No need to explain anything to this crowd. Might point out that with five drawers, it was easier for me to plow drawer bottom groove on the router table. Also using chisel and dividers simplifies layout. Finally for half blind dovetails on drawer fronts, I remove most of the waste with a trim router.


  2. #2
    Join Date
    Mar 2006
    Location
    SoCal
    Posts
    22,510
    Blog Entries
    1
    Too many pics? There is such a thing!?! Looking great Mike. Keep 'em coming.
    "A hen is only an egg's way of making another egg".


    – Samuel Butler

  3. #3
    Join Date
    Feb 2011
    Location
    Carlsbad, CA
    Posts
    2,230
    Blog Entries
    2


    Here’s the fit:


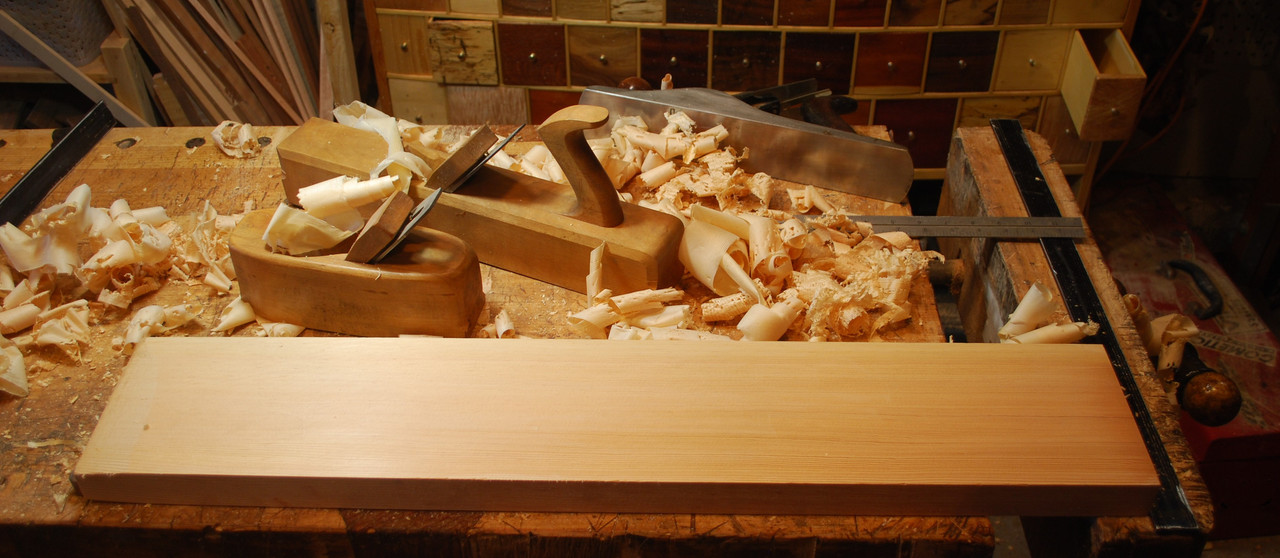
    Interior shelves and carcass back are vertical grain Doug fir. I never really use this wood for anything but interior house trim. It was easy/fun to work with hand tools. Sawed to length with my grandpa’s Disston D-7, you can see his initials etched in the saw plate.


    Use a spoke shave to plane a slight, curving bevel on the underside of the front of shelves.


    Carcass back pieces are ship a lapped. Coins used for spacing.


    Making the handles for the doors in the upper two thirds of the case was there an opportunity for me to use up a scrap of rosewood I’d been hoarding. To hold/work small pieces like this a machinist vise is super helpful.


    Placing hinges and hanging doors, especially interior flush fit door is always nerve-racking for me. Hard to get a consistent reveal. My approach is to set the hinges in the doors, do my best to cut hinge mortises on the interior of the carcass where I think they belong. To give me a little fudge factor, I only install the central screw on the carcass side of the hinge. That way I can still move them in/out to get the reveal I want, and then lock them in place with the two outside screws.


    Last edited by Mike Allen1010; 12-10-2021 at 6:42 PM.

  4. #4
    Join Date
    Feb 2011
    Location
    Carlsbad, CA
    Posts
    2,230
    Blog Entries
    2
    Integral part of getting the right fit/reveal are the stops/latches for the doors. To keep the interior stiles of the doors together, I added internal lip to the door that fits the best. I then use spring bullet latch and magnets to wrestle the other door that fits to proud into place.


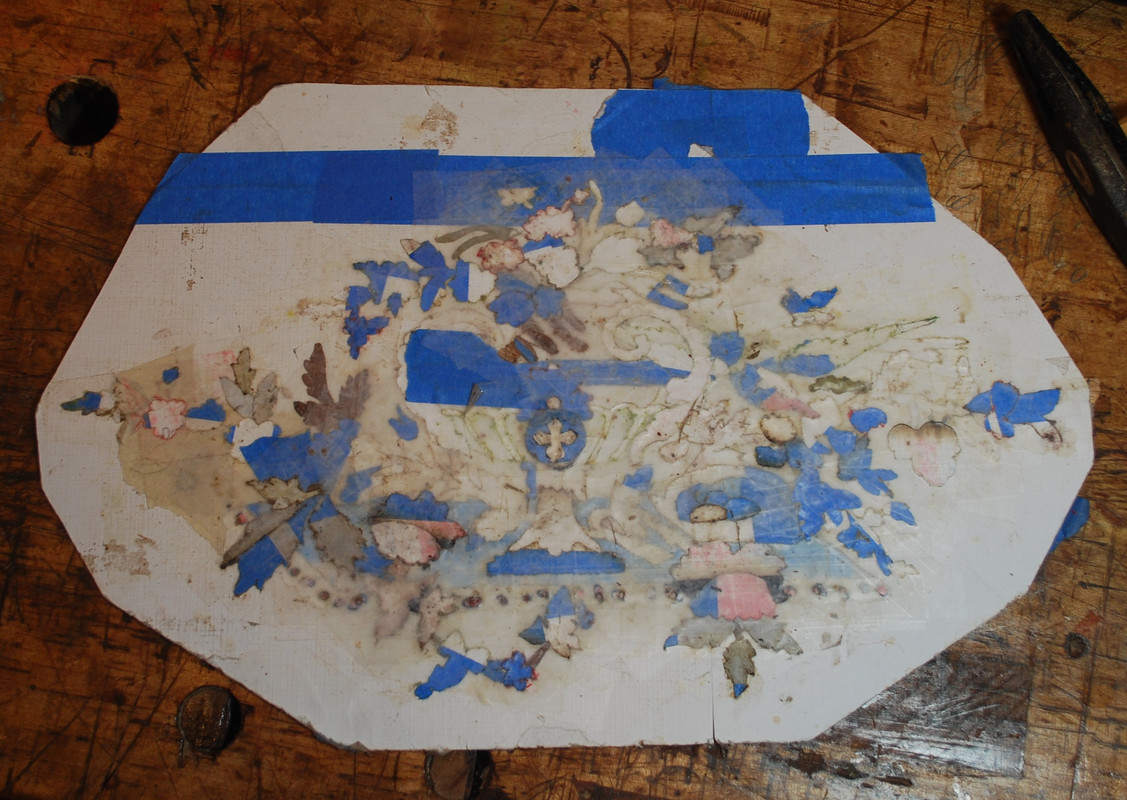
    I got nowhere to put this bookcase when it’s finished so I’m not in a hurry to get it done. I decided to create what for me is an ambitious marquetry panel to be inlaid on top of the bookcase, which is 48 inches high so top would be visible. Here’s a picture that will act as a pattern transferrd via carbon paper.


    This is joining with blue tape the two pieces of veneer that will act as the background.


    Here’s the pattern transferred onto the background and different colors of veneer I’m going to use to make the picture. For me commercial veneers are perilously thin. To make them a little thicker, and hopefully better able to hold some of the tight curves/details, I glue thick “resume” paper to the back of all the veneers.


    Here’s an example the marquetry process which is pretty straightforward you only need: birds mouth, a tiny drill for inserting the saw blade, veneer saw and lots of tape. I should say for me, bright light and magnifying visor were essential.
    In a nutshell you tape the colored piece of veneer to the back of the background, drill a tiny hole to insert the saw blade and saw out simultaneously both the hole in the background and the piece in the colored veneer that will fit into that hole to create the image – in this case a red flower. There are much better sources to get the “how to’s of marquetry” elsewhere, I’ll just point out that angling the top of the sawing surface on the birds mouth creates the “double bevel” that hopefully allows a good fit. Glue and cellophane tape holds it in place.


  5. #5
    Join Date
    Feb 2011
    Location
    Carlsbad, CA
    Posts
    2,230
    Blog Entries
    2
    Sand shading is simply cast-iron pot and electric burner with sand. The heated sand creates darker shading that helps differentiate one piece, of a flower for example, from an adjacent piece in the final image.


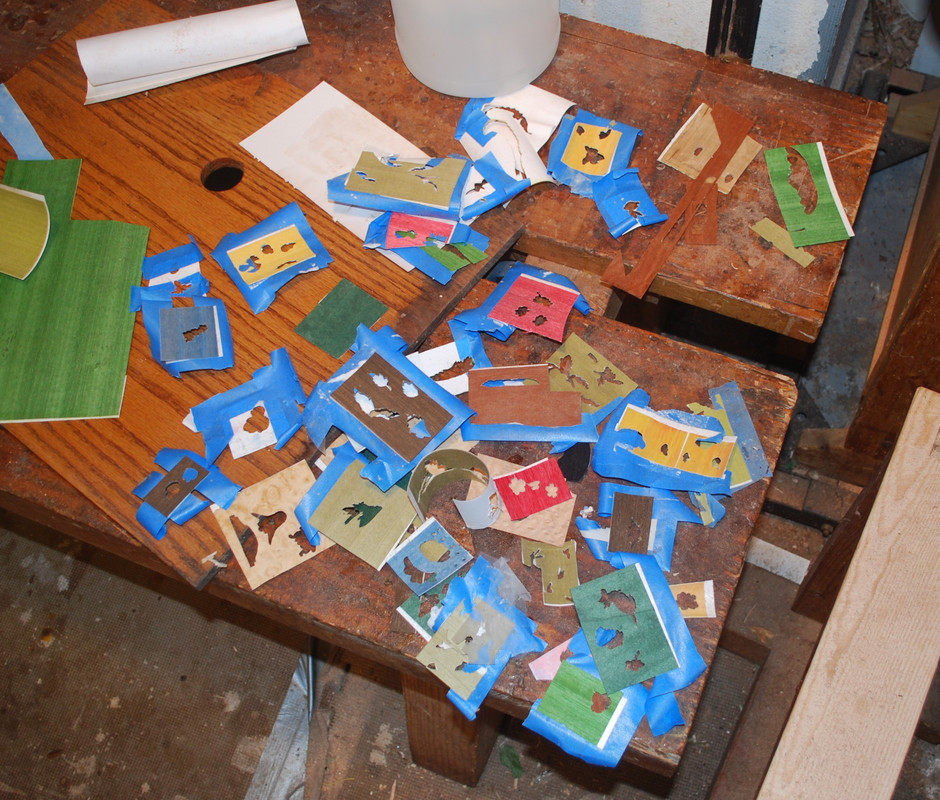
    Here’s the finished product and the detritus. I like bright colors, but I think I over did it here –the color contrast makes it hard to see continuity of the overall image. Also a simpler, less figured background would make the image more visible. Opps my Bad, the perils of being too lazy to get new veneer and just relying on what's hanging around the shop. Anyway with this marquetry piece under my belt I can go back to a simpler, hopefully visually less complicated pattern next time.


    This is creating the cocobolo drawer pulls. Again machinist vise comes in super handy. My preference is to shape the pull first retaining the square cross-section that will be the “post” that holds it in the drawer, for better workholding in the vice. And then cutting out the post last. i always think the pulls will be quick, but fact is they take a lot of time for such small pieces.


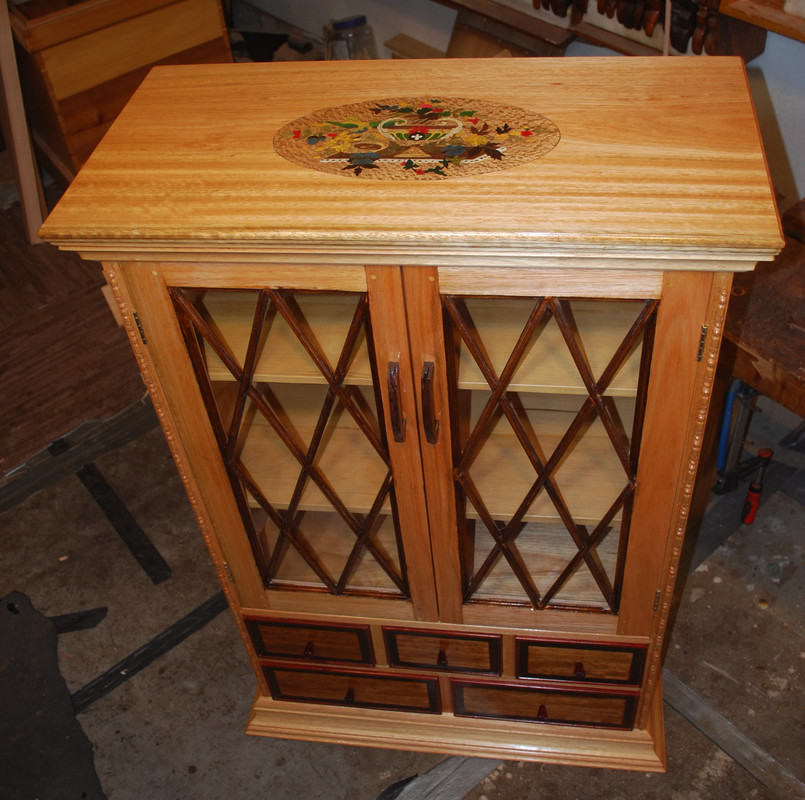
    Here’s some pictures of the finished piece. It was Sherrie’s idea to go with the “two-tone” look. I had originally planned to dye the entire piece the darker brown color of the mullions, drawer fronts and side panels. Somehow the Boss thought this might be better – what you think?


    Last edited by Mike Allen1010; 12-10-2021 at 6:49 PM.

  6. #6
    Join Date
    Feb 2011
    Location
    Carlsbad, CA
    Posts
    2,230
    Blog Entries
    2


    Thanks for looking! All the best, Mike

  7. #7
    Join Date
    Sep 2008
    Location
    N. Idaho
    Posts
    1,621
    Superb as usual! The pulls might have taken a while, all those details add up. And the marquetry sure does go through a bunch of blue tape!

    Thanks as always for sharing you work, Mike. I always pick up a new trick. This time: rasping round pulls (rather than being stuck without a lathe).

    Best,
    Chris
    "You can observe a lot just by watching."
    --Yogi Berra

  8. This is great. Thanks for sharing. Your build threads are some of my favorites here. Please continue to share your new projects.

    And from someone who's never tried it, the marquetry is mighty impressive. I would struggle with the patience for cutting out all those fine pieces.

  9. #9
    Mike,

    Your work never fails to impress!

    This is a fine showcase* for multiple skills.
    I especially like the rosewood handles.


    JB

    *unintended pun

  10. #10
    Join Date
    Aug 2012
    Location
    Missouri
    Posts
    2,152
    Mike, Very nice. It seems you’re ready to do a period piece and go for the Cartouche award.
    Jim

  11. #11
    Join Date
    Feb 2003
    Location
    In the foothills of the Sandia Mountains
    Posts
    16,641
    Beautiful work Mike. You can never show us too many pictures.
    Please help support the Creek.


    "It's paradoxical that the idea of living a long life appeals to everyone, but the idea of getting old doesn't appeal to anyone."
    Andy Rooney


  12. #12
    Join Date
    Sep 2007
    Location
    Longview WA
    Posts
    27,432
    Blog Entries
    1
    Great project Mike, the more pictures the merrier.

    jtk
    "A pessimist sees the difficulty in every opportunity; an optimist sees the opportunity in every difficulty."
    - Sir Winston Churchill (1874-1965)

  13. #13
    Outstanding!!!

  14. #14
    Join Date
    Mar 2015
    Location
    SE Michigan
    Posts
    3,225
    Great work, Mike. Always rewarding to stand back and see what hours and hours of skillful work can produce. I have this posted in my workshop. A wonderful reminder as I work through a project. It came to mind when I saw the pile of veneer cutouts!

    2CC3E98C-FBC3-40F9-A49E-C65460A40A8F.jpeg

  15. #15
    Join Date
    Jul 2014
    Location
    Edmond, Oklahoma
    Posts
    1,750
    Mike,

    Beautiful workmanship as usual! There were NOT too many pictures.

    Thanks for the post,

    Stew

Posting Permissions

  • You may not post new threads
  • You may not post replies
  • You may not post attachments
  • You may not edit your posts
  •