Results 1 to 13 of 13

Thread: Suggestions on how to make a plexiglass door for this cabinet? Limited tools!

  1. #1
    Join Date
    Jan 2021
    Location
    Chesapeake VA
    Posts
    39

    Suggestions on how to make a plexiglass door for this cabinet? Limited tools!

    Not sure that this is the right place for this post, or even the right forum. If not please feel free to move or if there is a better place to ask...I will do so.

    I posted earlier about my dad's router table, I got it all cleaned up and have a new router installed in it, and have started doing some playing around on scrap wood...just practicing on how to use it. Someone on that thread realized that it was the Norm Abram/New Yankee Workshop design, so I have googled that table and I see where many have put a plexiglass/wood door on the compartment where the router is.

    I'd like to do that, but am scratching my head where to start. The compartment measures 17.25 x 17.25. I did order a small sheet of fiberglass 1/8" thick, 16x16. I realize I will probably have to cut the fiberglass down a little, as I want it surrounded by some wood, sort of like a picture frame I guess. However, I have no table saw, and no miter saw. (One day I will get there but right now I don't know enough to even buy one yet LOL). I do have a circular saw and a jig for straight cuts, and a router of course (including a nice little palm router that I have used quite a bit). I also have a jig saw and some other misc. tools but no table saw.

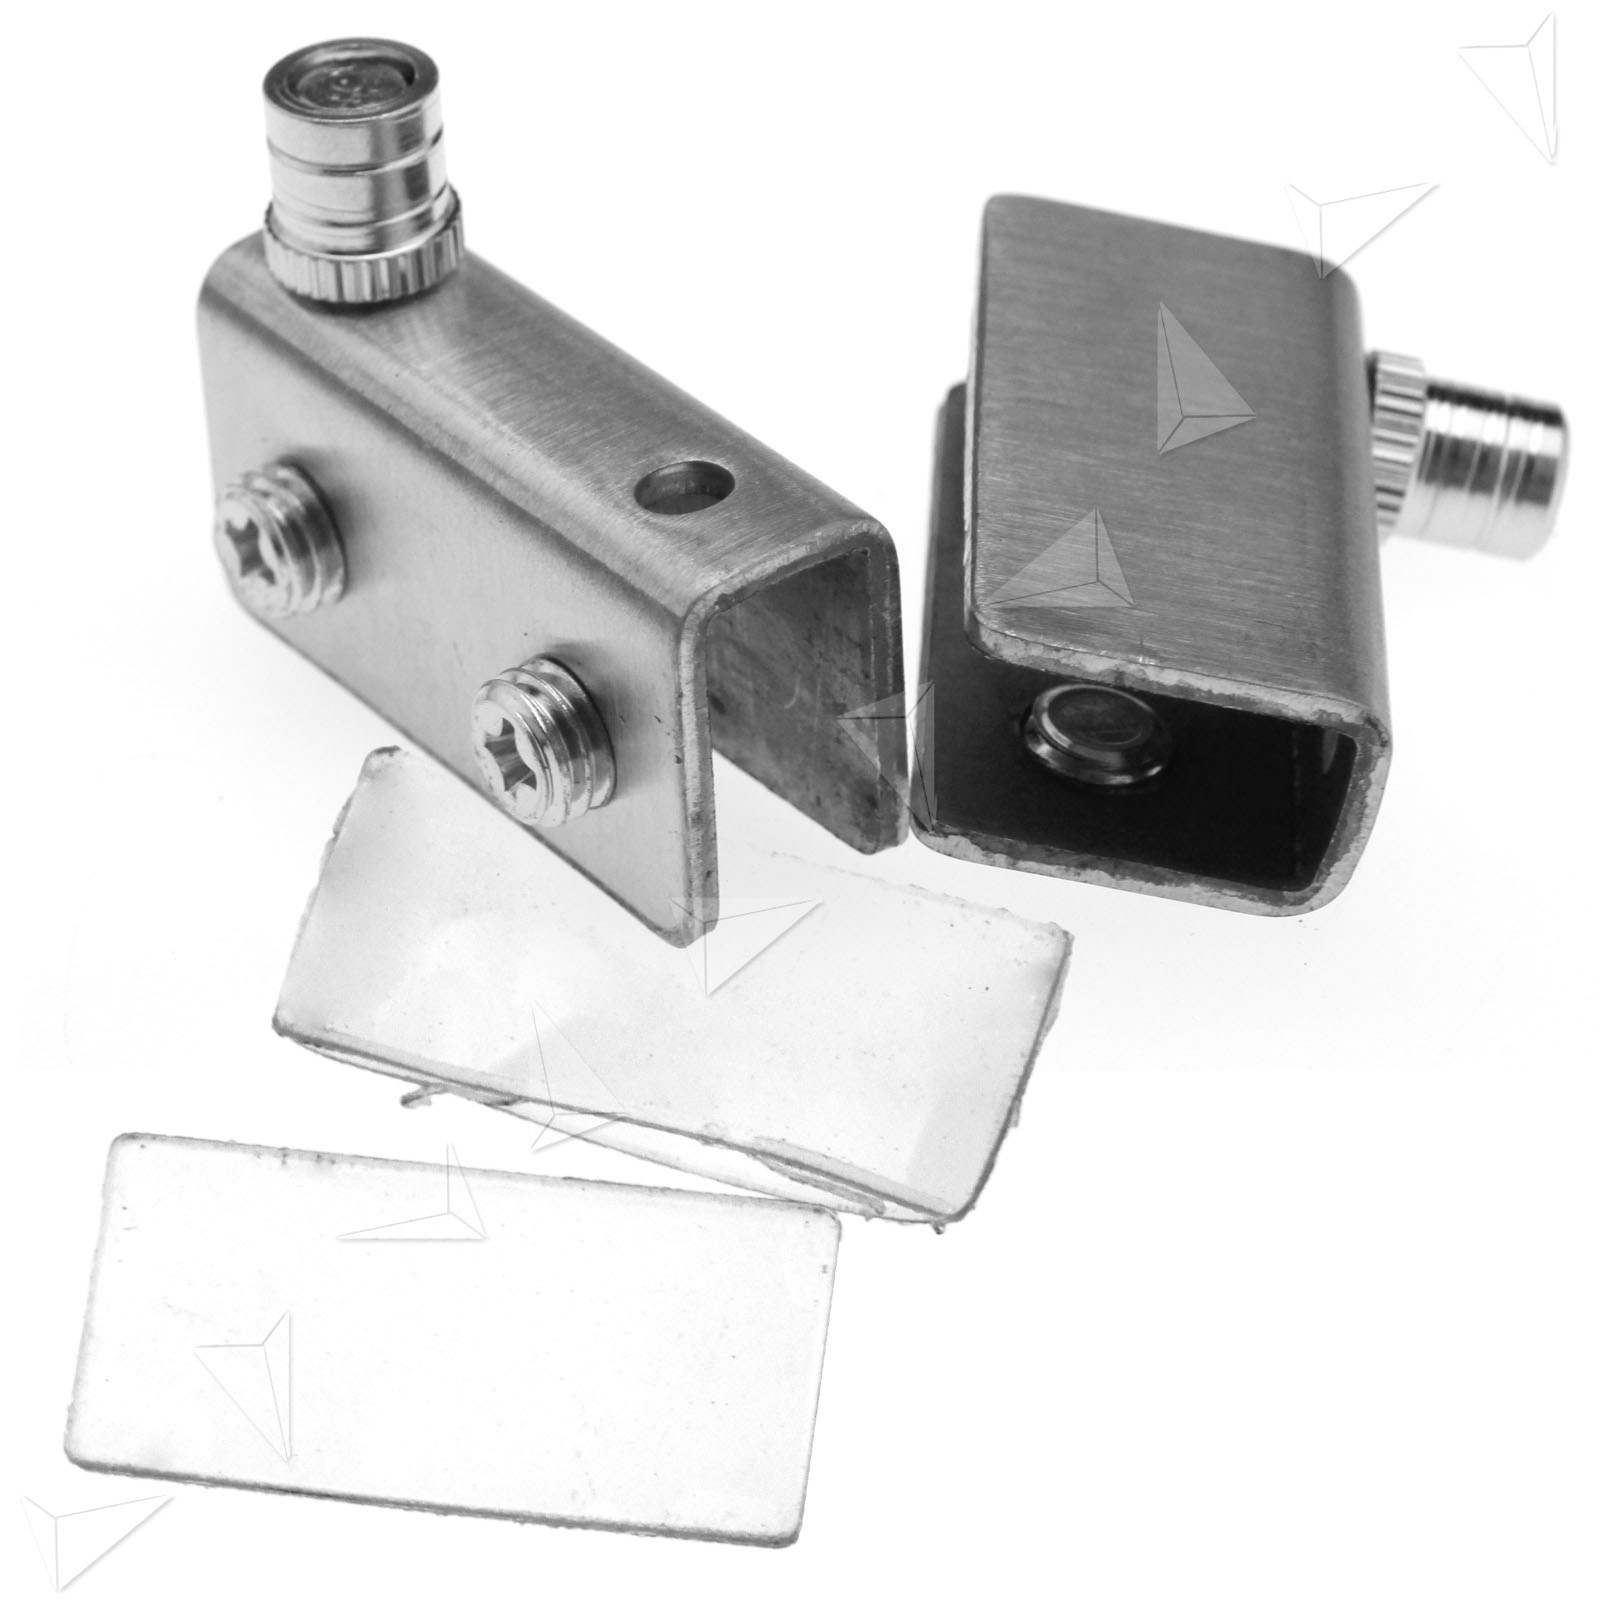
    I don't mind messing around trying to figure stuff out on my own, but with the price of lumber, I'd like to have an idea of what to do before I start cutting anything. Another issue is that the left side of the compartment is not straight, vertically, but I don't want to mess with that - the cabinet is fine and sturdy. I just want to make a door. Something like the ones pictured. (And can someone tell me how to get pictures to post rightside up??)
    Attached Images Attached Images
    Last edited by Chess Baloo; 07-12-2021 at 6:35 PM.

  2. #2
    Join Date
    Jan 2021
    Location
    Chesapeake VA
    Posts
    39
    Something like the doors on these...
    Attached Images Attached Images

  3. #3
    Quote Originally Posted by Chess Baloo View Post
    Something like the doors on these...
    You might want to consider making an overlay door and just ignore the bowed side panel. Using your router table and a piece of rectangular scrap machine half lap joints for the door corners and rout a rabbet to fit the plexi (current size ?).

    With your trim router and a simple jig you could cut a rectangular hole in that upper right section and install on of these https://www.amazon.com/POWERTEC-7105...90411364&psc=1.

    Dan

  4. #4
    Join Date
    Jan 2021
    Location
    Chesapeake VA
    Posts
    39
    Quote Originally Posted by Dan Cameron View Post
    You might want to consider making an overlay door and just ignore the bowed side panel. Using your router table and a piece of rectangular scrap machine half lap joints for the door corners and rout a rabbet to fit the plexi (current size ?).

    With your trim router and a simple jig you could cut a rectangular hole in that upper right section and install on of these https://www.amazon.com/POWERTEC-7105...90411364&psc=1.

    Dan
    A "half lap joint" - I just looked that up and I think that will be doable. Thanks!

    And I definitely want to put in a switch like that...the face on that top right compartment now pulls off - I did that last week so that I could access the power cable easier and put in a switch. I didn't think about putting the switch right there on the front but that actually makes more sense than on the side. Thanks for the link!

    Hmm...don't think I want that one though. Looks like I'd have to cut the plug off of my brand new router - definitely not doing that. There are others that I can just plug into. I will check them out.
    Attached Images Attached Images
    Last edited by Chess Baloo; 07-12-2021 at 9:32 PM.

  5. #5
    I would suggest omitting a door to avoid heat buildup in the router space.

  6. #6
    Join Date
    Jan 2021
    Location
    Chesapeake VA
    Posts
    39
    Quote Originally Posted by Kevin Jenness View Post
    I would suggest omitting a door to avoid heat buildup in the router space.
    I will have dust collection out the back, and small holes in the plexiglass. This seems to be a pretty common setup so not sure that heat buildup will be an issue, but I will keep that in mind. Thanks.

  7. #7
    The challenge you've got is you can't buy the stock used to make the rails and stiles of the doors depicted in those pics off the shelf at a lumber yard or home center (probably 3/4" thick, more or less, and 1-1/4 to 2 " wide) and you don't yet have the tools to mill up wood yourself to produce whatever widths and thicknesses are needed, which is the gateway functionality to "fine" woodworking, even if it's just doors on a router table. This is a dilemma pretty much every hobby woodworking faces at the start. My advice is to approach this as a chance to explore what's possible with the things you do have, operating in the belief you can make something functional but with the expectation you may replace it later as your skills and tool collection grow.

    A few options for now:

    -- Go to the molding or project wood section of the lumber yard or home center and see what is available off the shelf and whether any of it can be made to work, with some creativity, for your door rails and stiles. For example, my lumber yard sells pine molding that is 3/8" thick and around 1-1/4" wide; two layers could be laminated into rail/stile stock. You could join this stock with half laps made using the router table as previously suggested.

    -- Devise a way to safely rip the rail/stile stock out of clear pine or poplar 1x stock, or Baltic birch plywood, using your circular saw and a rip guide and some way to secure the board. This is not going to produce furniture grade results and you need to be careful as narrow rips are not the forte of a handheld circular saw.

    -- Consider making the door frame out of a single piece of plywood, whereby you use your jig saw to rough out the opening in the center, then clean it up with passes with a handheld router running along a straightedge guide. (Resist the idea of using the router table for this operation until you understand how to avoid dangerous situations where the router bit self feeds the work.)

    PS: I suggest ignoring that the left side of the compartment is out of plumb and thus puts the opening out of square. Make the door square, to fit the narrower width, and hinge it on the right side.
    Last edited by David Stone (CT); 07-12-2021 at 9:47 PM.

  8. #8
    Join Date
    Jan 2021
    Location
    Chesapeake VA
    Posts
    39
    Quote Originally Posted by David Stone (CT) View Post
    The challenge you've got is you can't buy the stock used to make the rails and stiles of the doors depicted in those pics off the shelf at a lumber yard or home center (probably 3/4" thick, more or less, and 1-1/4 to 2 " wide) and you don't yet have the tools to mill up wood yourself to produce whatever widths and thicknesses are needed, which is the gateway functionality to "fine" woodworking, even if it's just doors on a router table. This is a dilemma pretty much every hobby woodworking faces at the start. My advice is to approach this as a chance to explore what's possible with the things you do have, operating in the belief you can make something functional but with the expectation you may replace it later as your skills and tool collection grow.
    Oh I definitely am not expecting to have something that belongs in the "fine woodworking" category. But yes I consider this to be one of those learning projects, and I expect that there will be many of those LOL.


    Quote Originally Posted by David Stone (CT) View Post
    A few options for now:

    -- Go to the molding or project wood section of the lumber yard or home center and see what is available off the shelf and whether any of it can be made to work, with some creativity, for your door rails and stiles. For example, my lumberyard sells pine molding that is 3/8" thick and around 1-1/4 wide; two layers could be laminated into rail/stile stock. You could join this stock with half laps made using the router table as previously suggested.

    -- Devise a way to safely rip the rail/stile stock out of clear pine or poplar 1x stock, or Baltic birch plywood, using your circular saw and a rip guide and some way to secure the board. This is not going to produce furniture grade results and you need to be careful as narrow rips are not the forte of a handheld circular saw.

    -- Consider making the door frame out of a single piece of plywood, whereby you use your jig saw to rough out the opening in the center, then clean it up with passes with a handheld router running along a straightedge guide. (Resist the idea of using the router table for this operation until you understand how to avoid dangerous situations where the router bit self feeds the work.)

    PS: I suggest ignoring that the left side of the compartment is out of plumb and thus puts the opening out of square. Make the door square, to fit the narrower width, and hinge it on the right side.
    That is very appealing. I had not thought of that. I might just try that first. Thank you. (And yes I definitely have a lot to learn about the router direction feed.)

  9. #9
    Join Date
    Jan 2010
    Location
    Tampa Bay, FL
    Posts
    3,925
    I built one of the modified Norm Abrams type, specifically for my needs with a plexiglass door with holes in it. The door gets scratched up in time, BTW.

    That being said, if I had to do it over again, I'd just build one out of wood. There really is no need to see inside the cabinet. If you need to - open the door.

    Oh and yes, the switch is an important safety feature.
    - After I ask a stranger if I can pet their dog and they say yes, I like to respond, "I'll keep that in mind" and walk off
    - It's above my pay grade. Mongo only pawn in game of life.

  10. #10
    Join Date
    Oct 2015
    Location
    SW Florida
    Posts
    139
    Quote Originally Posted by Alan Lightstone View Post
    ...I'd just build one out of wood. There really is no need to see inside the cabinet. If you need to - open the door....
    This would be my suggestion as well. A simple flat panel door will do nicely for now. As your skill set and tool selection broadens, you can always replace it with something "nicer" if you feel the need. And by the way, welcome to the hobby.
    Last edited by David Lageman; 07-13-2021 at 12:00 PM.
    A wannabe woodworker!

  11. #11
    Quote Originally Posted by Chess Baloo View Post
    ...and small holes in the plexiglass...
    If you are planning to drill those holes yourself, please be aware that you will want a special drill bit for acrylic. Standard bits have too shallow a tip angle and almost always star-crack the hole. Acrylic bits have a relatively sharp tip angle. They aren't any more expensive than regular bits but you may have to search for them. Best of luck with your project.

    Erik
    Ex-SCM and Felder rep

  12. #12
    Join Date
    Jan 2021
    Location
    Chesapeake VA
    Posts
    39
    Quote Originally Posted by Erik Loza View Post
    If you are planning to drill those holes yourself, please be aware that you will want a special drill bit for acrylic. Standard bits have too shallow a tip angle and almost always star-crack the hole. Acrylic bits have a relatively sharp tip angle. They aren't any more expensive than regular bits but you may have to search for them. Best of luck with your project.

    Erik
    Thank you for reminding me! I have worked with plexiglass and it is definitely tricky. I made my own spice rack when I couldn't find what I wanted.

  13. #13
    Join Date
    Apr 2018
    Location
    Cambridge Vermont
    Posts
    2,289
    If you are looking for simple then simply using some glass door hinges is all you need. Just use the kind that has two screws on the back of the hinge that pushes against a metal plate to hold the plexiglass in place. They are cheap so when you are up to it you can make something nicer down the road.


Posting Permissions

  • You may not post new threads
  • You may not post replies
  • You may not post attachments
  • You may not edit your posts
  •