Page 1 of 2 12 LastLast
Results 1 to 15 of 25

Thread: New to me Hand Tool friendly Red Grandis Box Builds

  1. #1
    Join Date
    Feb 2011
    Location
    Carlsbad, CA
    Posts
    2,230
    Blog Entries
    2

    New to me Hand Tool friendly Red Grandis Box Builds

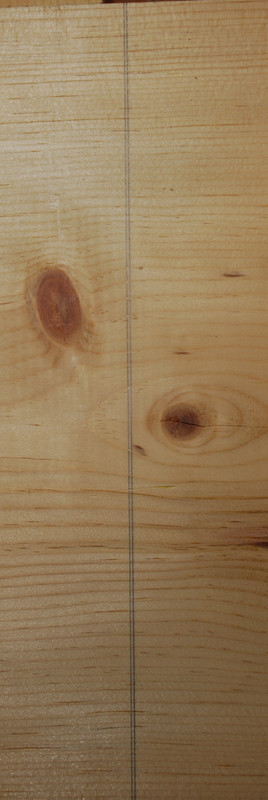
    Want to share my experience building a couple small boxes out of a timber that is new to me – Red Grandis. I’ll will try to include in the post screenshot of online reference (no guarantees I suck with technology). I was told the tree was initially created in Australia as a variant of the native eucalyptus and commercial supplies are sustainably plantation grown in South America. It looks/feels to me like lumber that 15 years ago I would’ve called “Philippine mahogany”. Looks like a lighter color version of traditional Honduran mahogany – uniform grain that planes, saws and chisels easily. Cost at my local San Diego lumberyard (T H&H) was ~$5/BF which is significantly less than mahogany and Sapelle they sell, roughly comparable in cost to cherry.

    Sorry the screen shot of on Line Reference didn't make it.


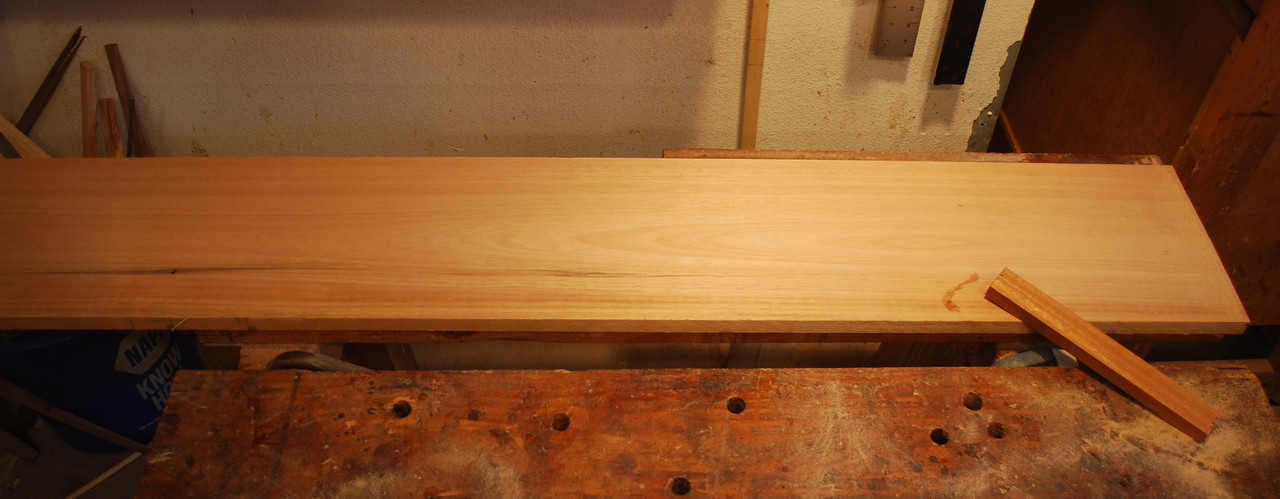
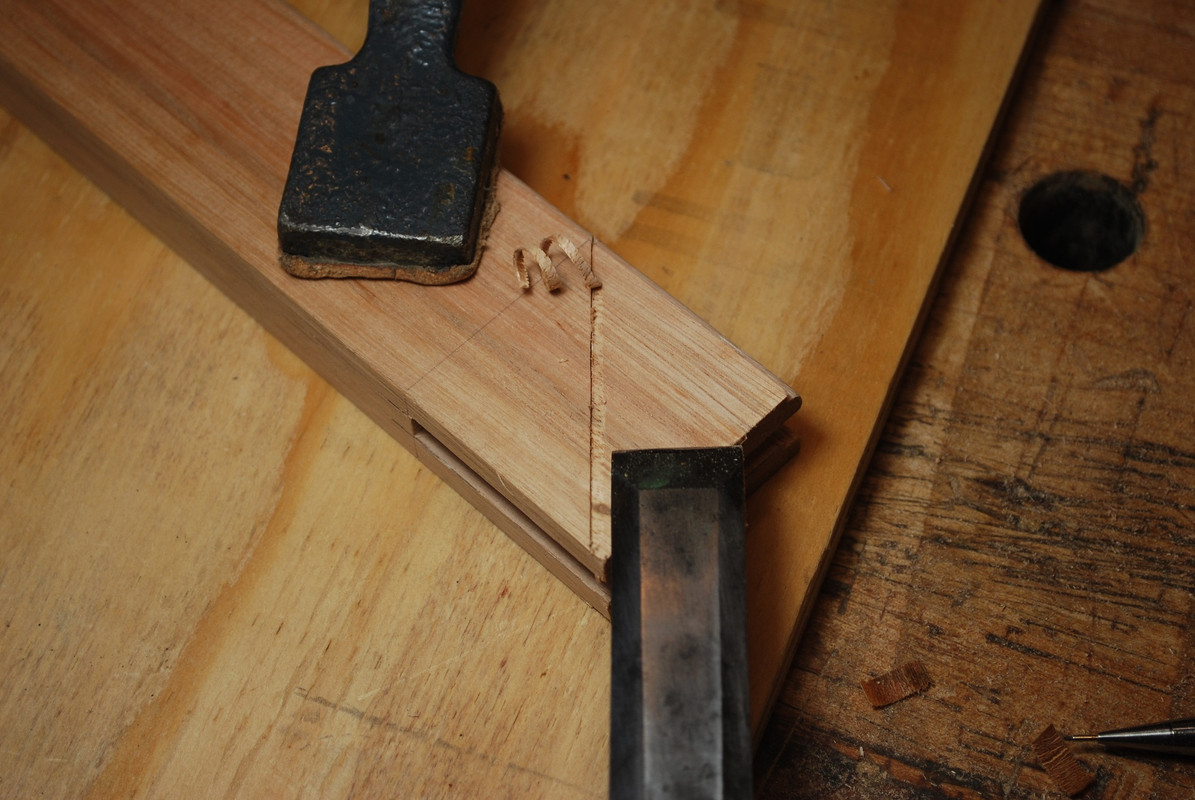
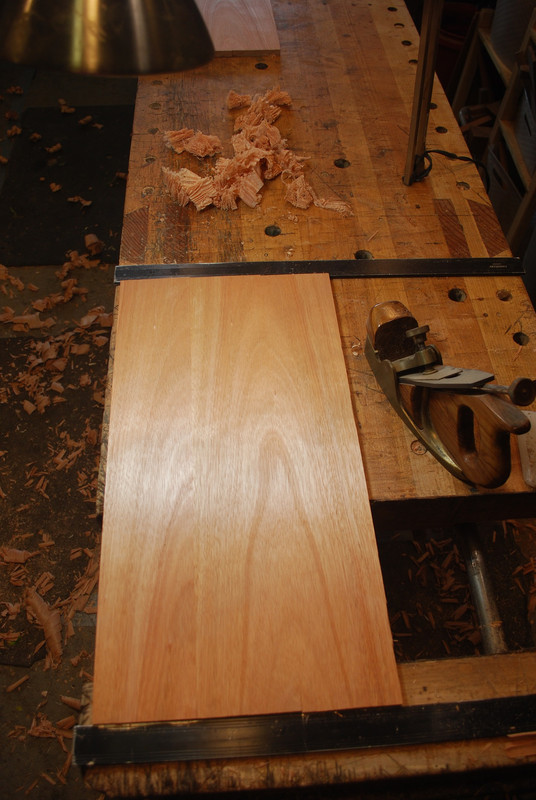
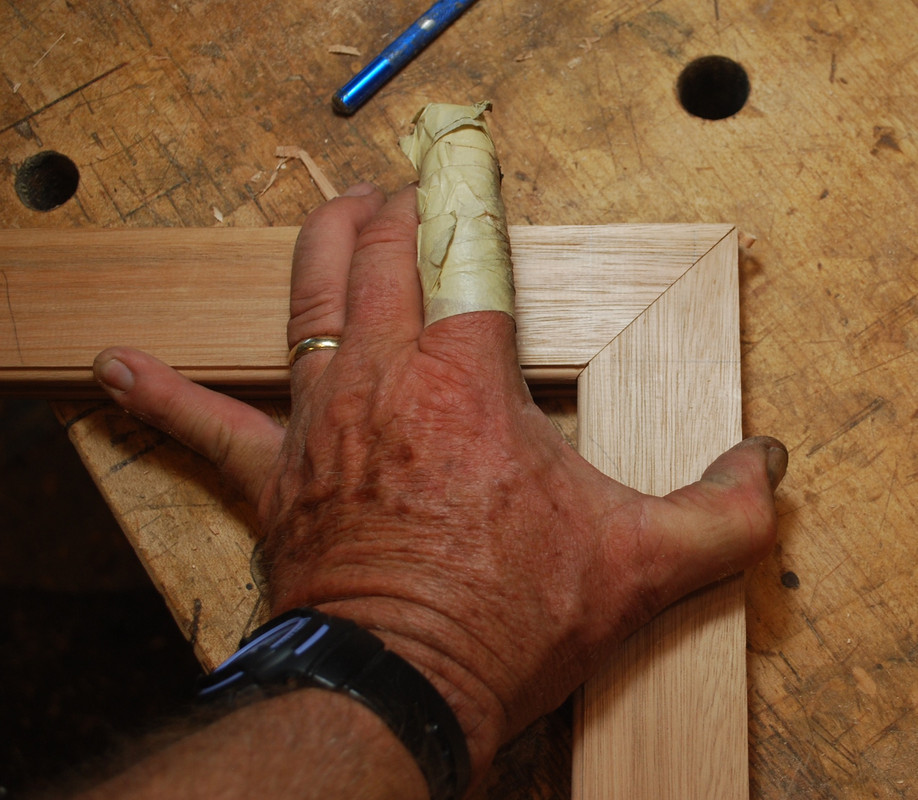
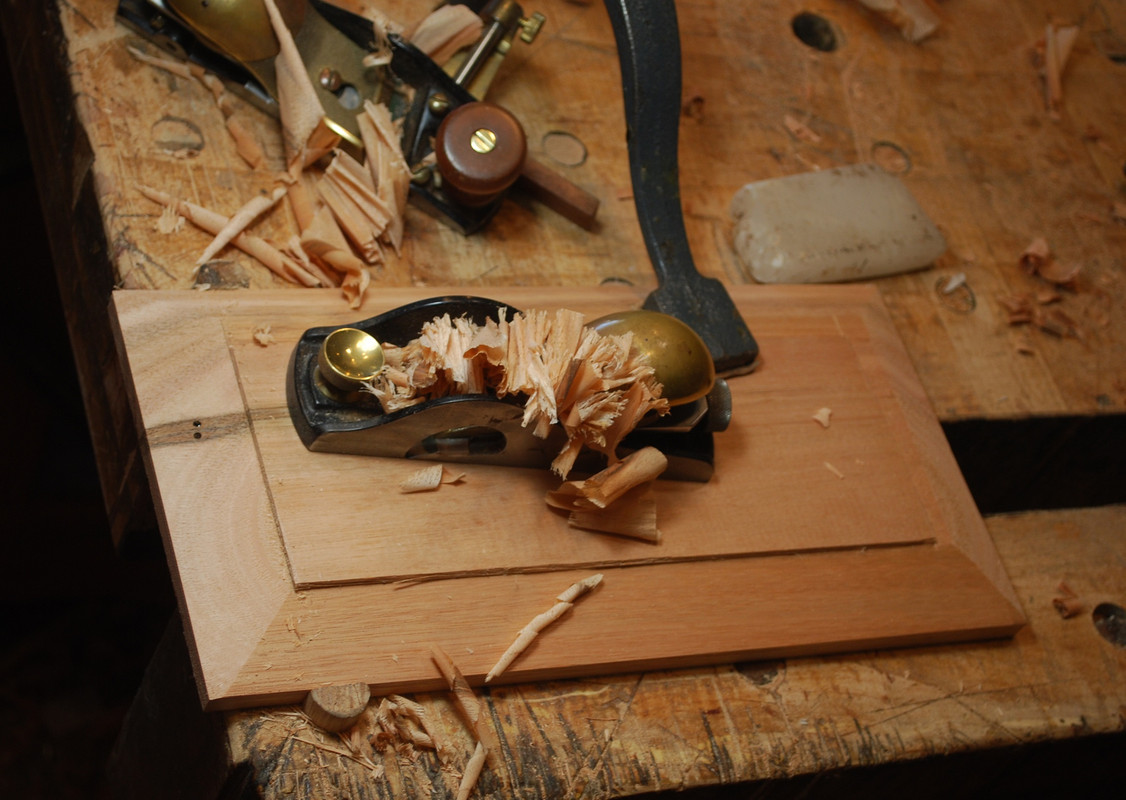
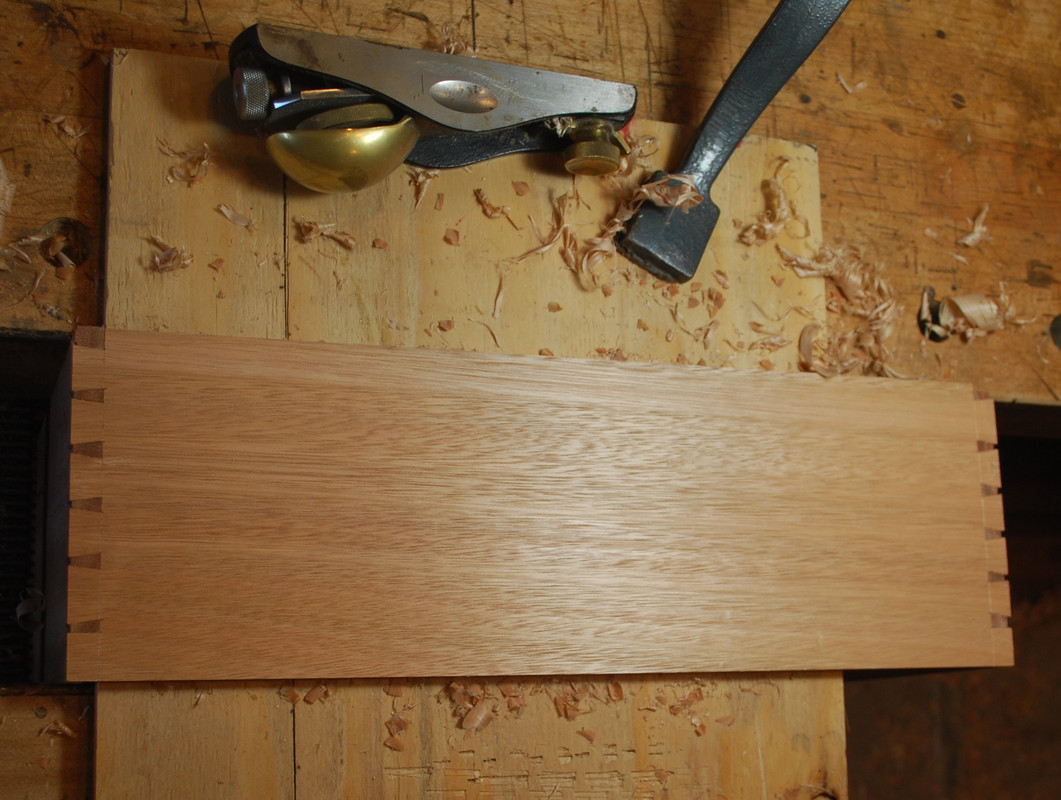
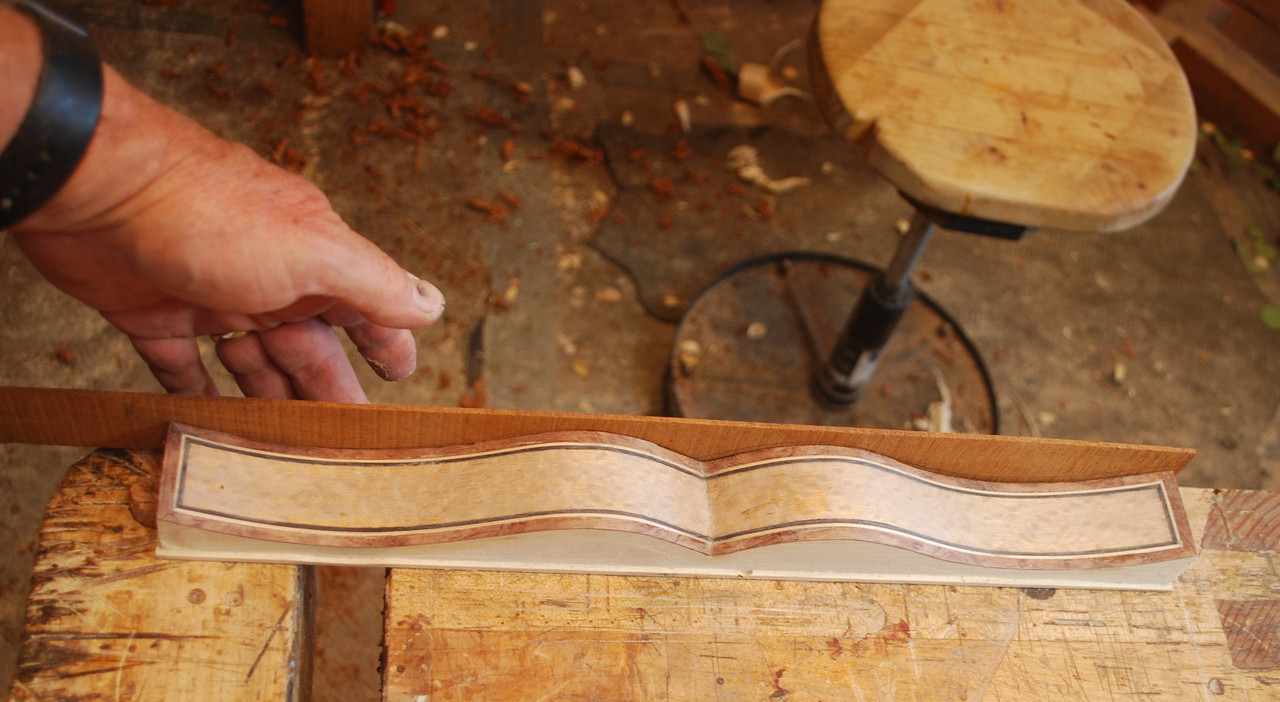
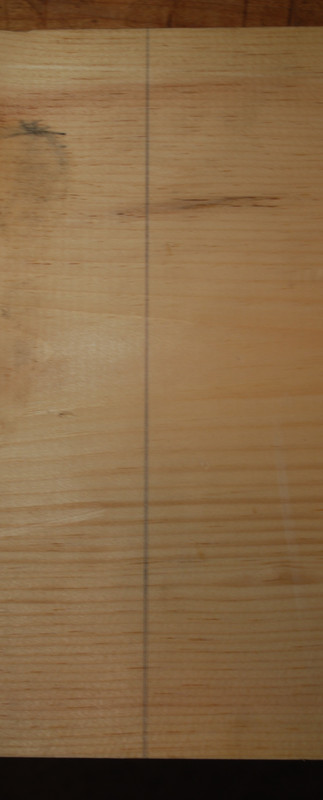
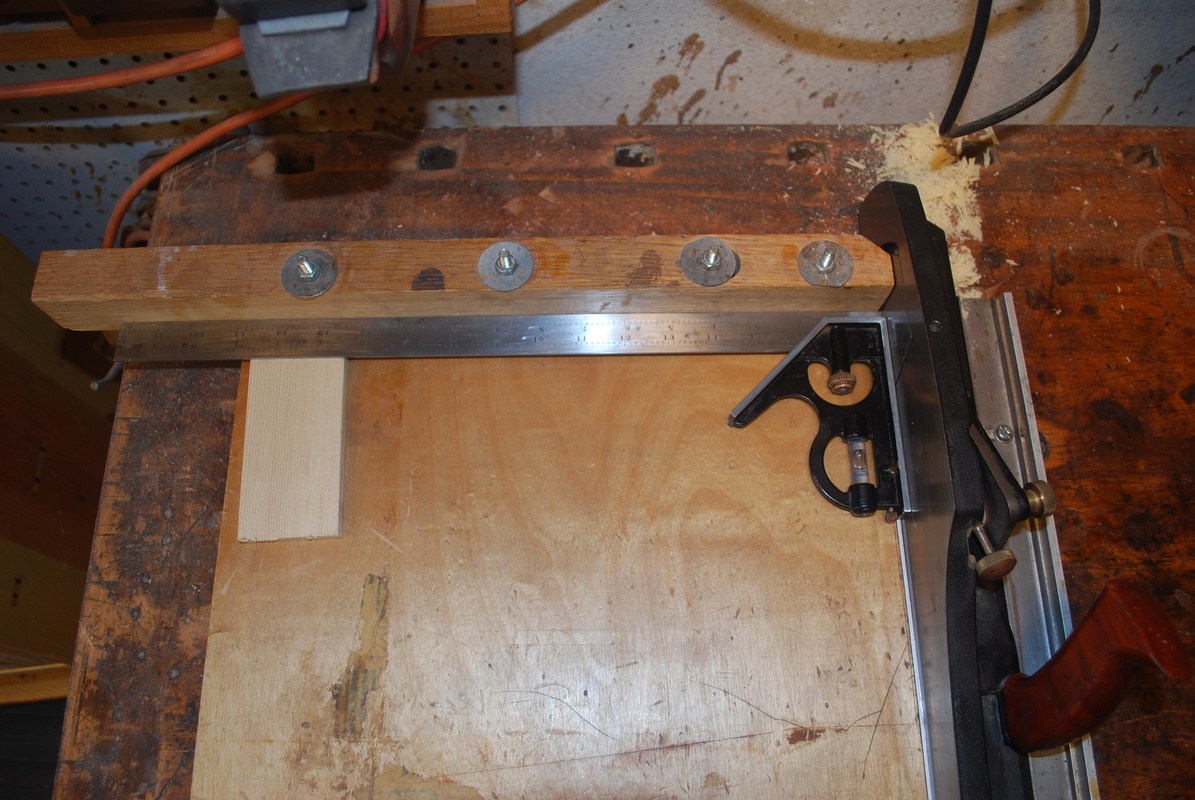
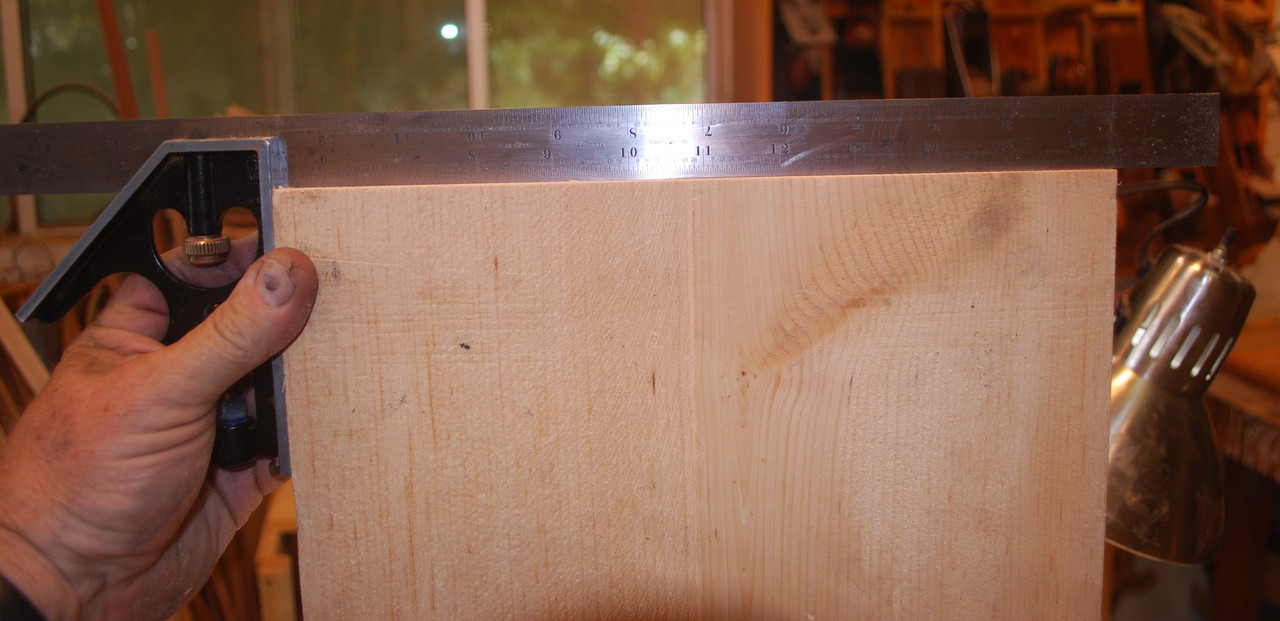
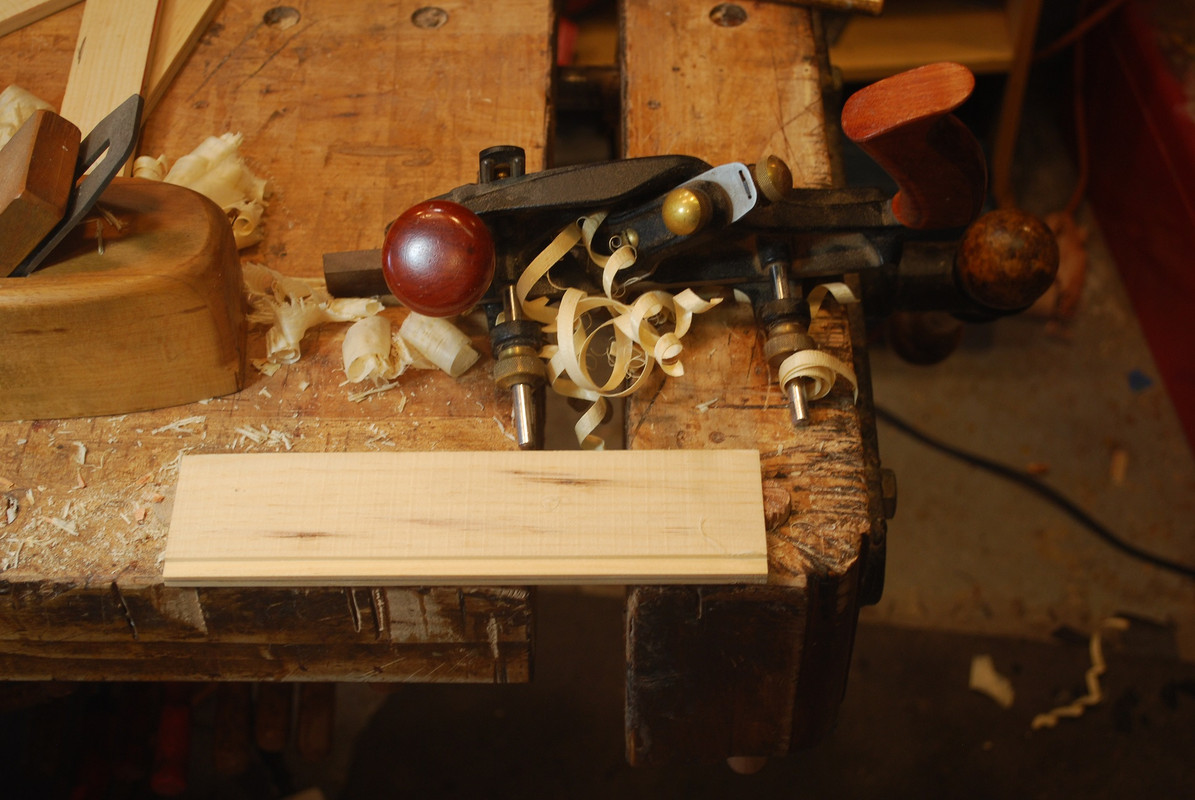
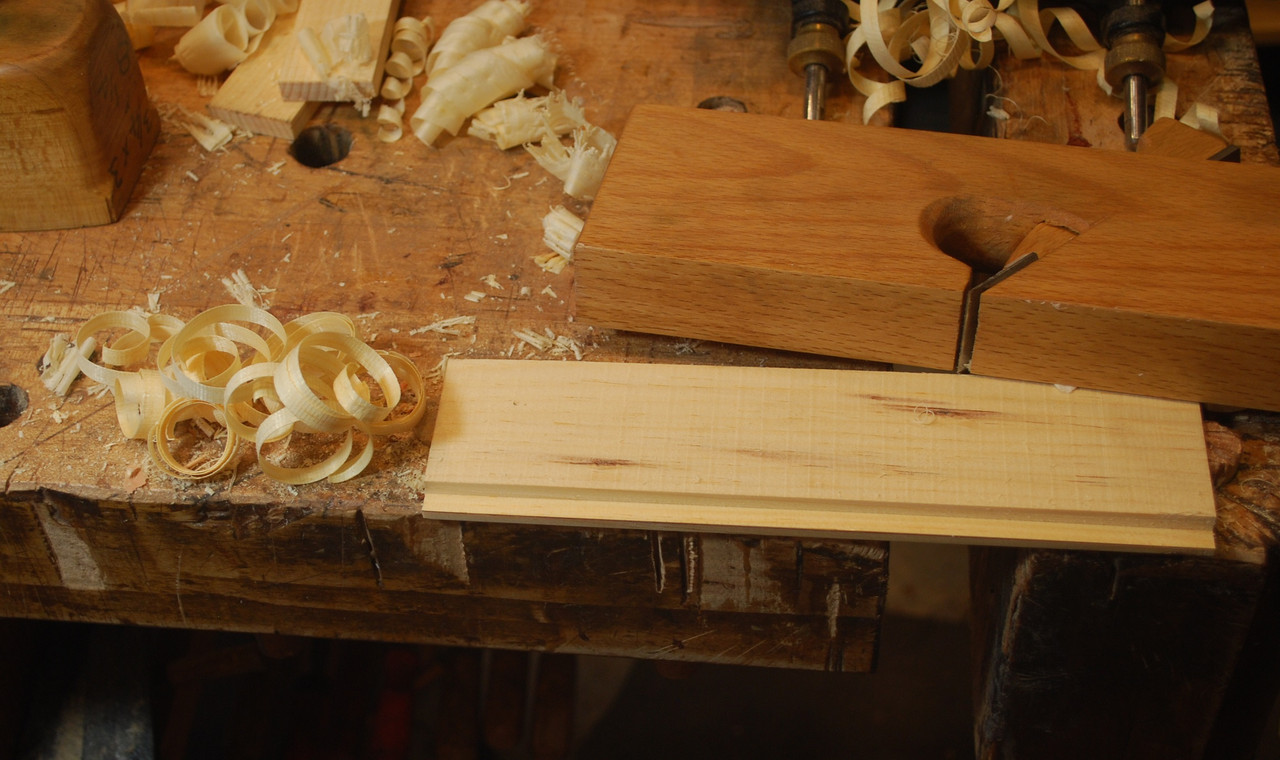
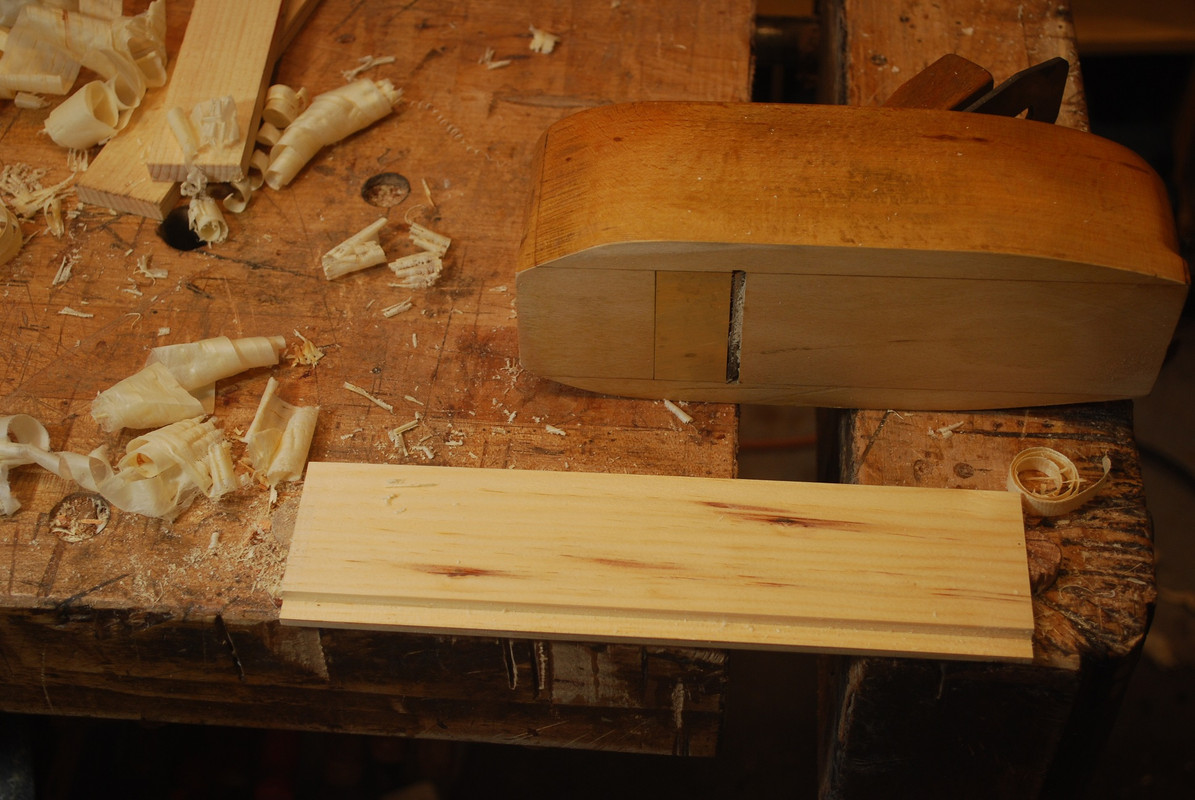
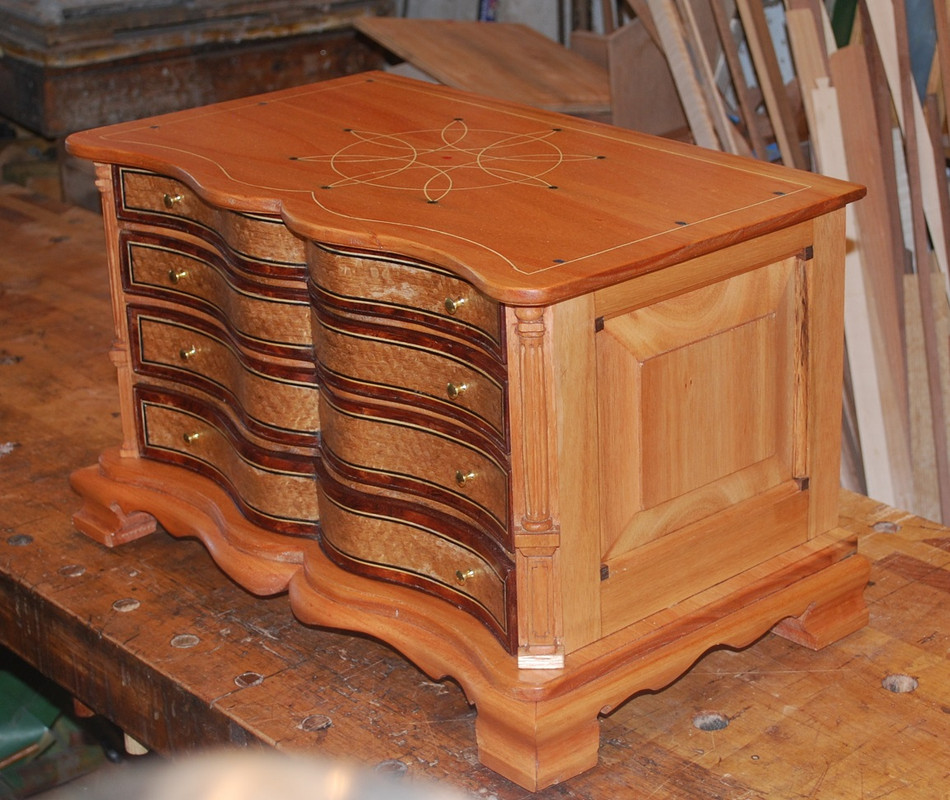
    Timber in the racks was up to 10 inches wide and uniformly in great shape with virtually no knots, checks or waning edges. It was a pleasure for me to use in all regards – planed great, solid structure that held the edges of joinery etc. without chipping, and worked well with all types of edge tools. Here’s some pictures of planing, joinery etc. building a small box for a sailing buddy.
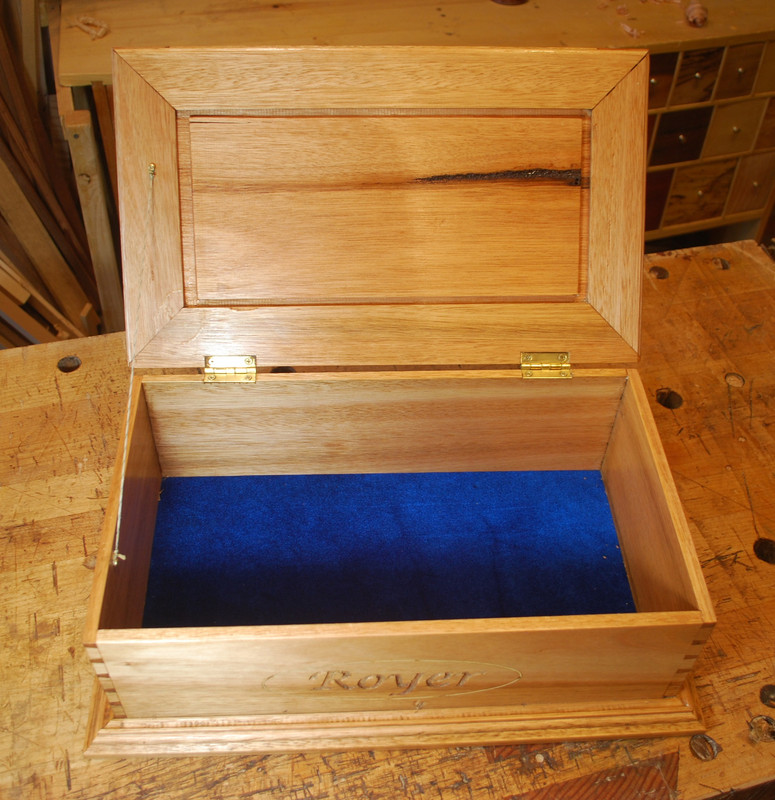
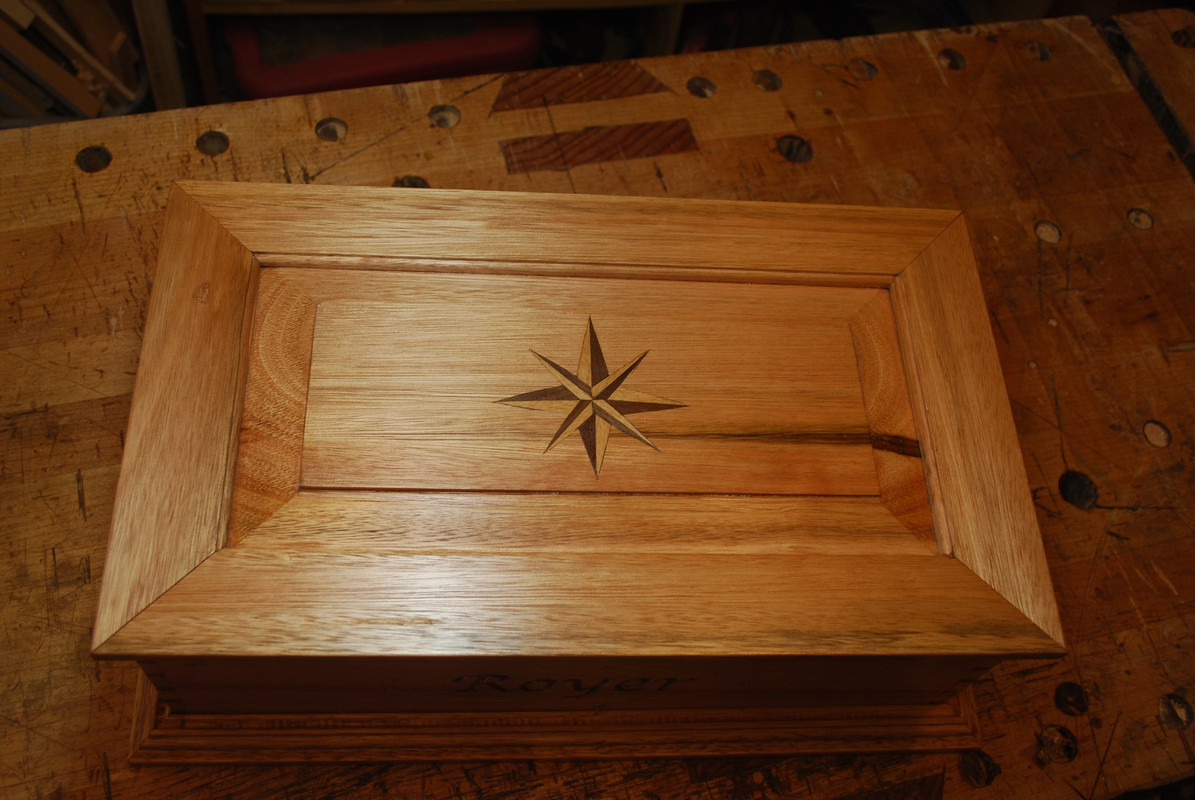
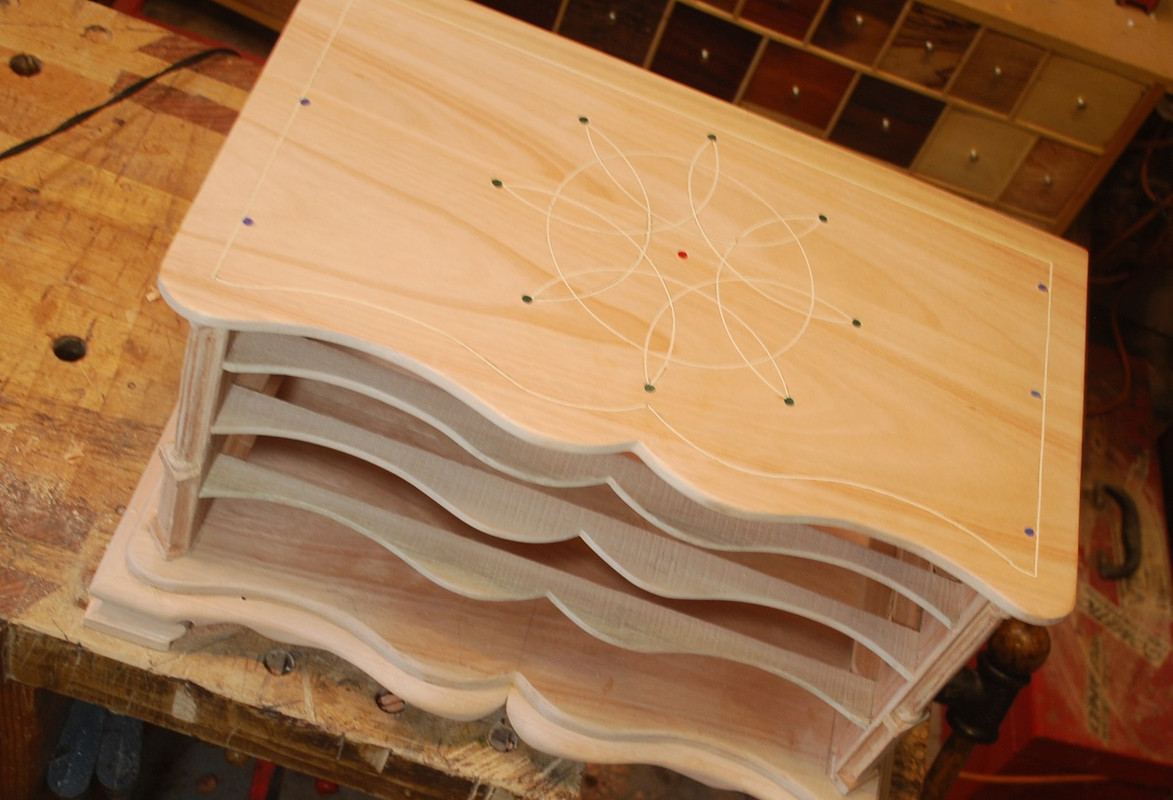
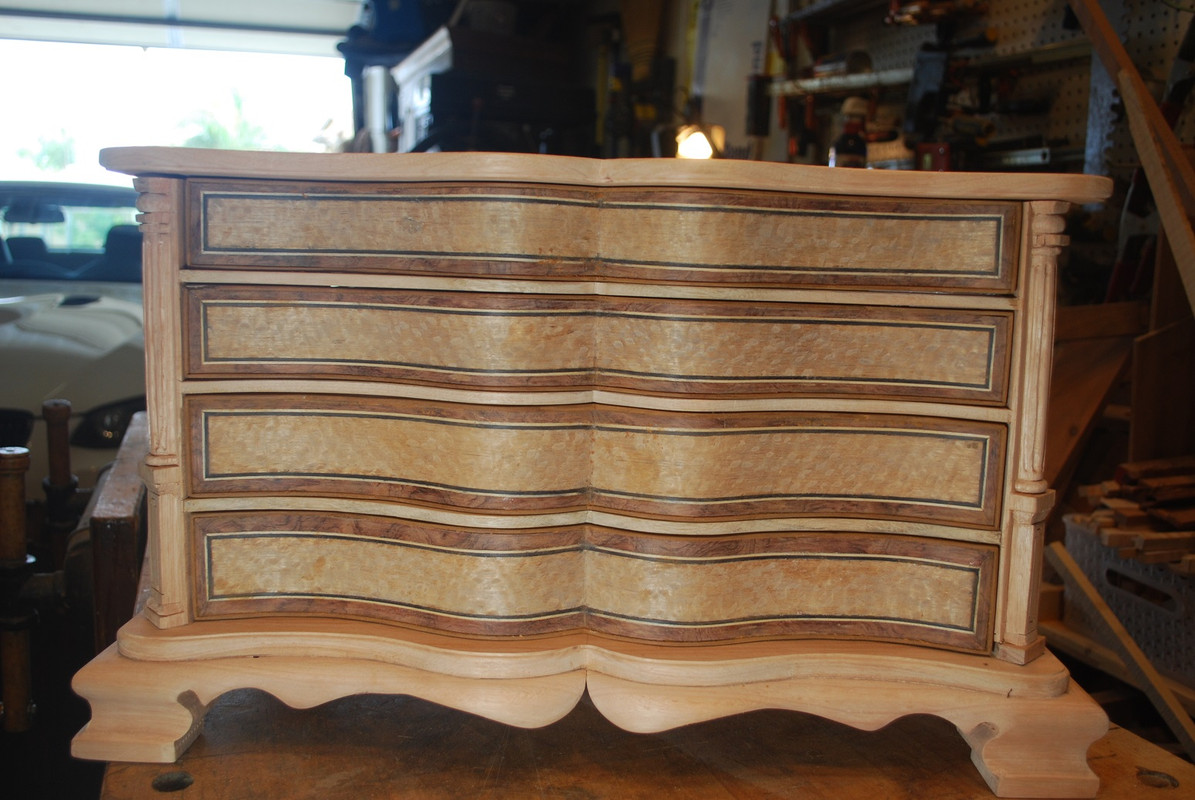
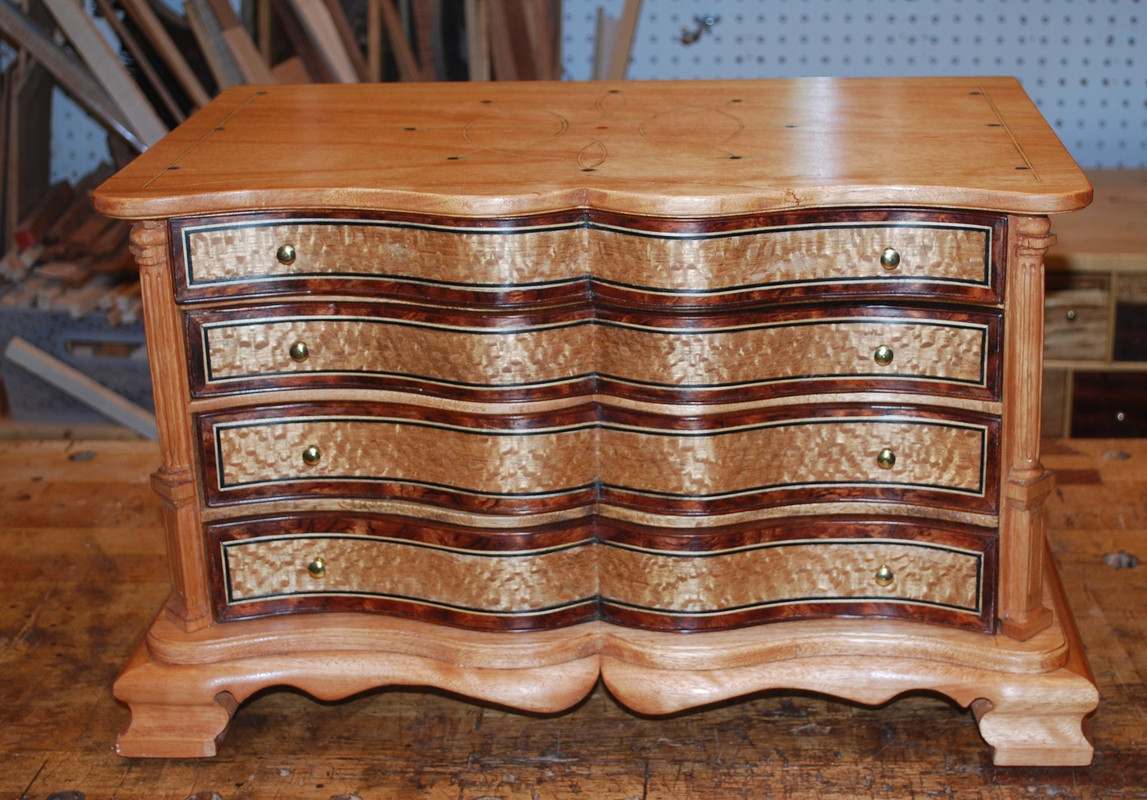
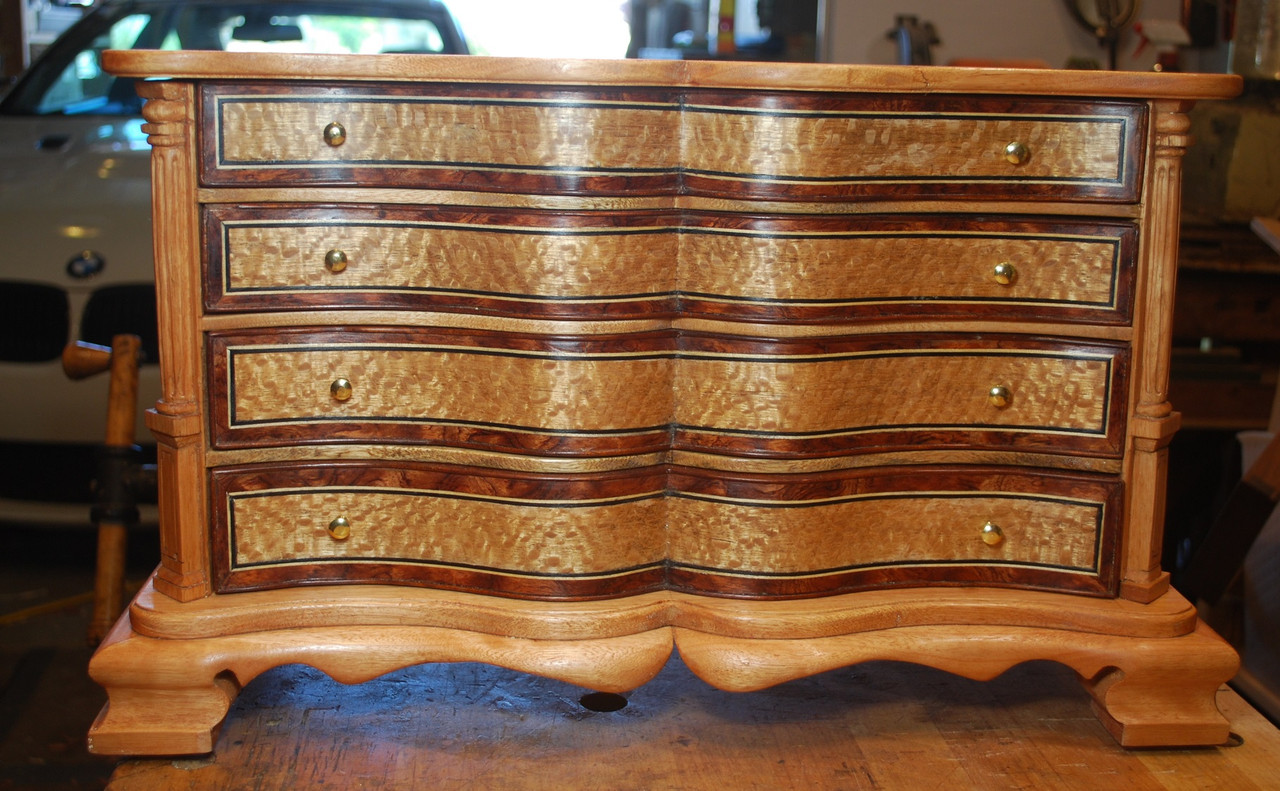
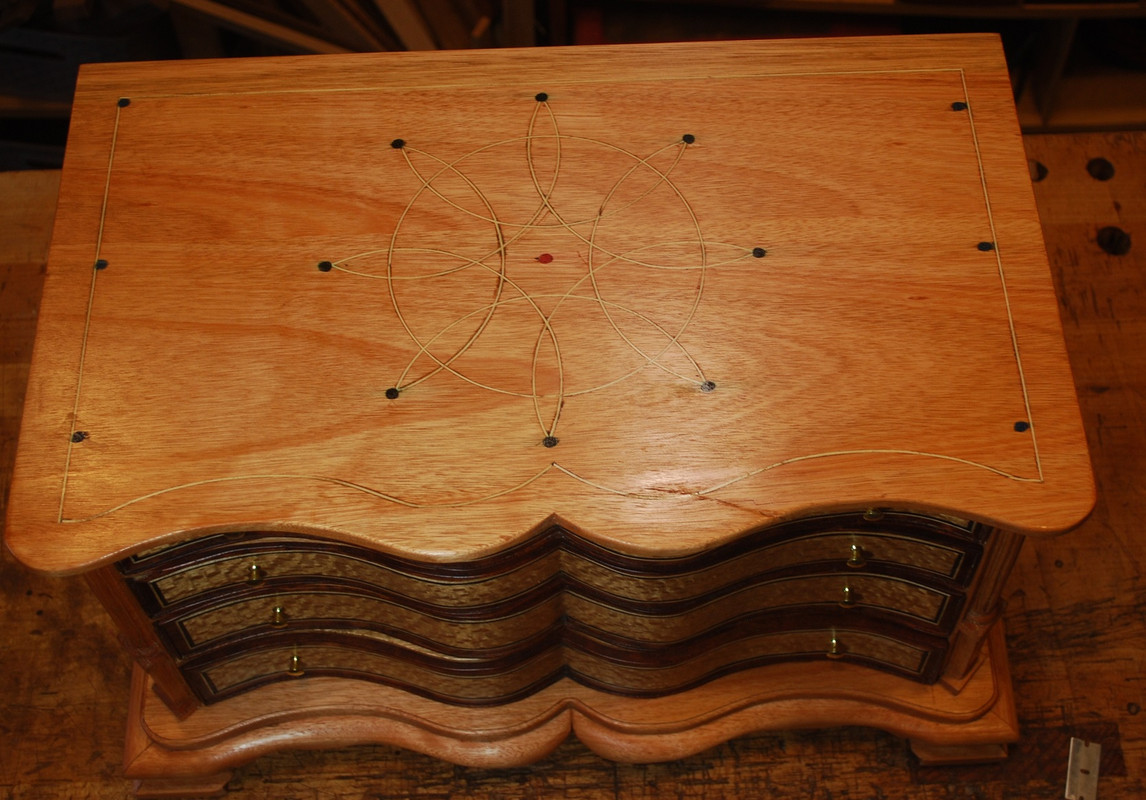
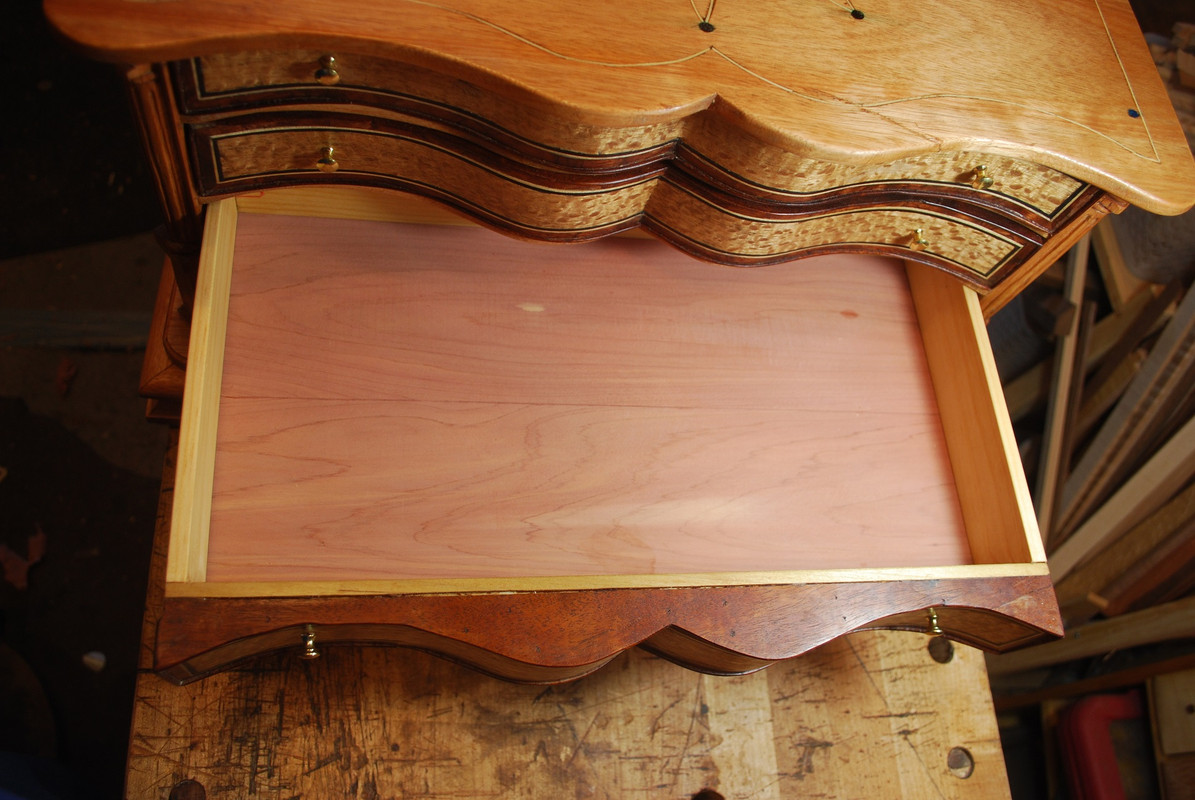
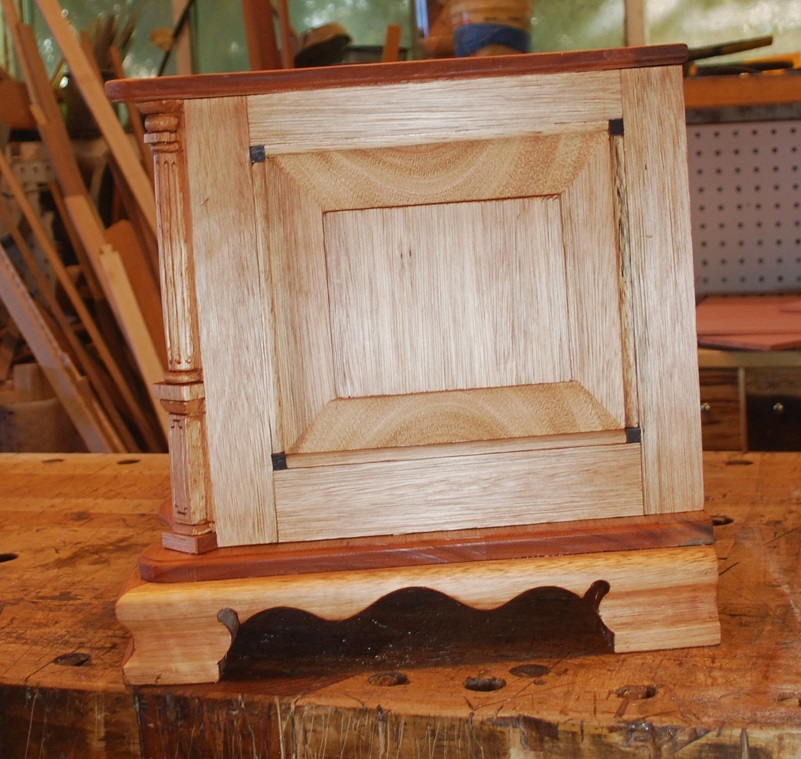


    Here’s a couple pics of the finished gift box intended to keep his tablet and phone from sliding off the top of the navigation table.


  2. #2
    Join Date
    Feb 2011
    Location
    Carlsbad, CA
    Posts
    2,230
    Blog Entries
    2
    As I mentioned is on my other posts, I have been firmly and repeatedly instructed by the Boss that there’s absolutely no room for any more furniture, so consequently I’m reduced to building smaller boxes/chests. We really got no place to put them so I guess my plan is to try and sell them on Etsy? That seems like a pipe dream.

    This is a 20 x 12 x 12 chest with serpentine front. Here’s a picture of Holly string inlay on the top. Over time I am involved to using thicker stringing because I think it bends a little easier and shows up a better. I use the Lee Valley string inlay tools. The fenced cutter wasn’t able to follow the curve of the front profile so I did it freehand. Started with the template to establish the one initial side of the groove with an X-Acto knife and then use the small chisel and handheld cutting tool to establish the other side of the groove.


    A couple takeaways from my string inlay experience:

    • Commercial veneer softening liquid is super helpful in bending the stringing. The brand I use is “Pro glue veneer softener” from a company called Vac U Clamp.

    • Cutting the cross grain grooves can be really finicky. My best results are using the Lee Valley cutter on the compass point to lightly establish the groove and then further refined and cleaned out with X-Acto knife and the LV inlay chisel cutter tools. Trying to establish and completely plow out the group using cutter on the compass point it’s really easy to rough up the borders of the groove, which is tough to eliminate with final scraping/planning.

    Drawer fronts are basswood for easy shaping. I was able to do most of the work on the bandsaw and finish up with spoke shaves, scrapers, files etc. Here’s the dry fit of the drawer fronts.


    Here’s veneer I got from my local Rockler for the drawer fronts.


    I forgot to take pictures of most veneering process – sorry my bad. In the past with the curved drawer fronts like this I have cut the veneer in 2 pieces and butted them together at this central concave curve.
    This time I was able to bend a solid piece of veneer (using veneer softener). The glue up the lace wood field I used Tite bond, veneer hammer and tape. To attach the bordering string inlay and darker Bubinga I used superglue because it was fast and easy to hold the small pieces in place while they dry. Chisel and guide block work for cutting the miters. Here’s pictures of the veneer drawer fronts.


    Last edited by Mike Allen1010; 07-08-2021 at 6:41 PM.

  3. #3
    Join Date
    Feb 2011
    Location
    Carlsbad, CA
    Posts
    2,230
    Blog Entries
    2
    Next was adding 1/8” thick mahogany cock beading. I like the look of cock beading to highlight the fit and finish of drawer fronts in their openings. However when it comes to curved cock beading like this I’m not sure the time/effort is worth the results. I also glue the cock beading with superglue for the same reasons. For me to get tight miters a little bit of clamping is always necessary.


    Here’s the completed drawer fronts dry fit into openings.


    As I started to mill/dimension the pine drawer sides/backs I noticed my cross cuts where disturbingly out of square. I hate when that happens! To cure the problem I went back to basics: checking my Sterritt adjustable square. Probably hard to see but these lines are converging towards the far end.


    I disassembled/clean the square and was surprised by the amount of dried glue on the reference edges. After the cleanup the next test was much better.


    Finally I use the square to adjust my shop built shooting board and was rewarded with square results. Thus my OCD was satisfied.


    Because the four drawers are shallow, I simply rabbit the front/sides to accommodate the aromatics Cedar drawer bottoms. When rabbiting my process is to establish the groove with my fenced rabbit plane. Because its skewed blade and fence are more of a hassle to sharpen, I then moved to a shop made simple rabbit plane that’s easier to sharpen. Last step is finish planing the inside of drawer components.


    Last edited by Mike Allen1010; 07-08-2021 at 6:42 PM.

  4. #4
    Join Date
    Feb 2011
    Location
    Carlsbad, CA
    Posts
    2,230
    Blog Entries
    2
    Here’s some pictures of the finished chest.


    You might be wondering about the ¼” Walnut squares in the corner of the frame and panel carcass side construction. I screwed up mitering the internal moldings of the frame pieces and had to add the Walnut to hide the unsightly gaps.


    Thanks for looking. I’d love to hear any my fellow Neander’s experience with Red Grandis. I’m a big fan of the way it works with hand tools and definitely plan to use it in future projects. I think I might try and diet a little darker more “mahogany” color next time. I opted not to with this just because didn’t want to discolor the Holly inlay.

    Thanks for looking – all the best, Mike

  5. #5
    Join Date
    Feb 2014
    Location
    Christchurch New Zealand
    Posts
    22
    Extremely well done you should be very proud.

  6. #6
    Join Date
    Sep 2007
    Location
    Longview WA
    Posts
    27,437
    Blog Entries
    1
    Very nice Mike.

    jtk
    "A pessimist sees the difficulty in every opportunity; an optimist sees the opportunity in every difficulty."
    - Sir Winston Churchill (1874-1965)

  7. #7
    That's another beautiful piece Mike. Love the veneer and stringing. Especially like the fluted columns.
    Well done!
    "All that is necessary for the triumph of evil is that good men do nothing."

    “If you want to know what a man's like, take a good look at how he treats his inferiors, not his equals.”

  8. #8
    Nice work-looks great!

  9. #9
    Join Date
    Mar 2013
    Location
    North Alabama
    Posts
    548
    Excellent work. Thank you for sharing it.
    Chuck Taylor

  10. Really nice, great job.

  11. #11
    Nice work, thanks for sharing

  12. #12
    Join Date
    Mar 2015
    Location
    SE Michigan
    Posts
    3,225
    Ok, Mike, now you’re just gettin’ wicked good. The curves, the choice of woods (that veneer just really sparkles) the freehand inlay, the carving...all great skills on their own, combined make for a stellar looking outcome. Congrats! Very, very, nice work.

  13. #13

  14. #14
    Join Date
    Feb 2011
    Location
    Carlsbad, CA
    Posts
    2,230
    Blog Entries
    2
    Thanks guys for the kind comments. Josh really appreciate you posting the link to the wood database on Red Grandis- very interesting.

    If you look at the front of the top in the picture above, you'll see there's a mark/scar. I was shifting some lumber around in the shop and 8' tall piece of 8/4 red grand is fell on top of the chest – I hate when that happens! 
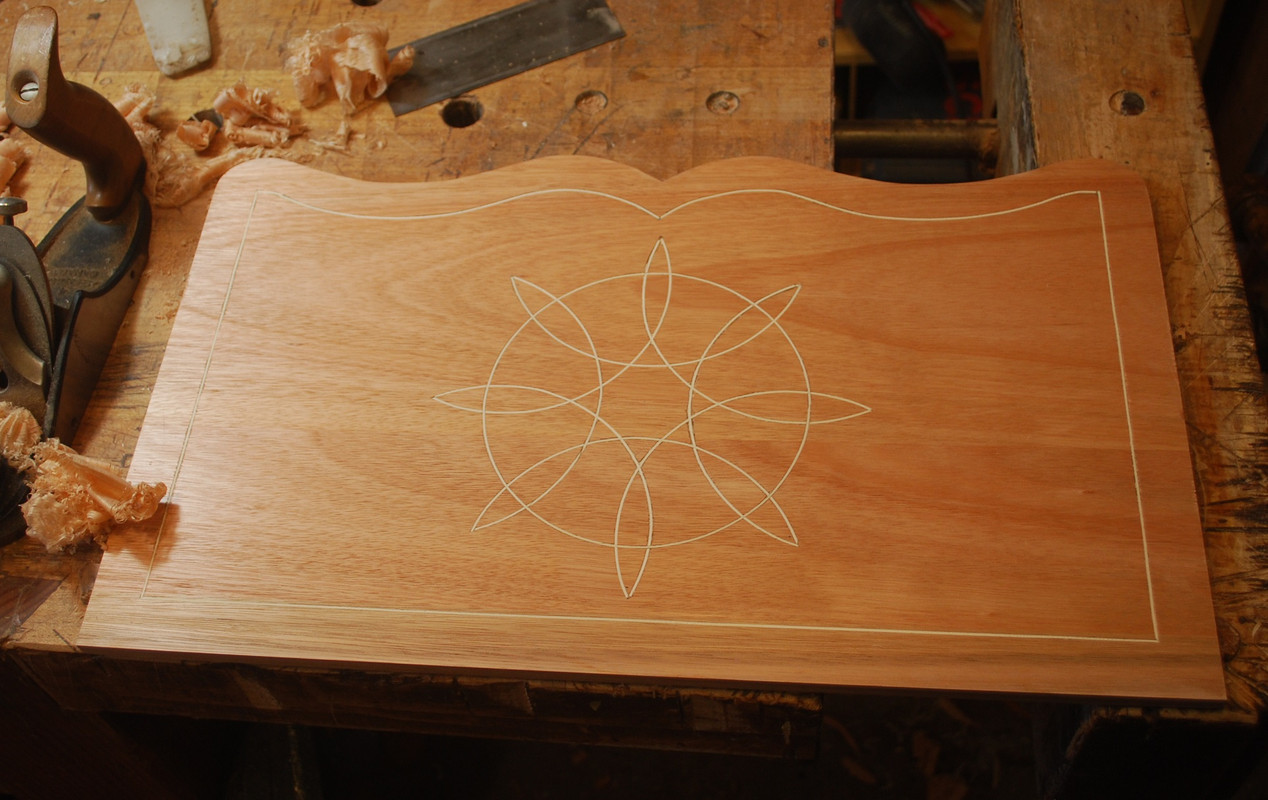
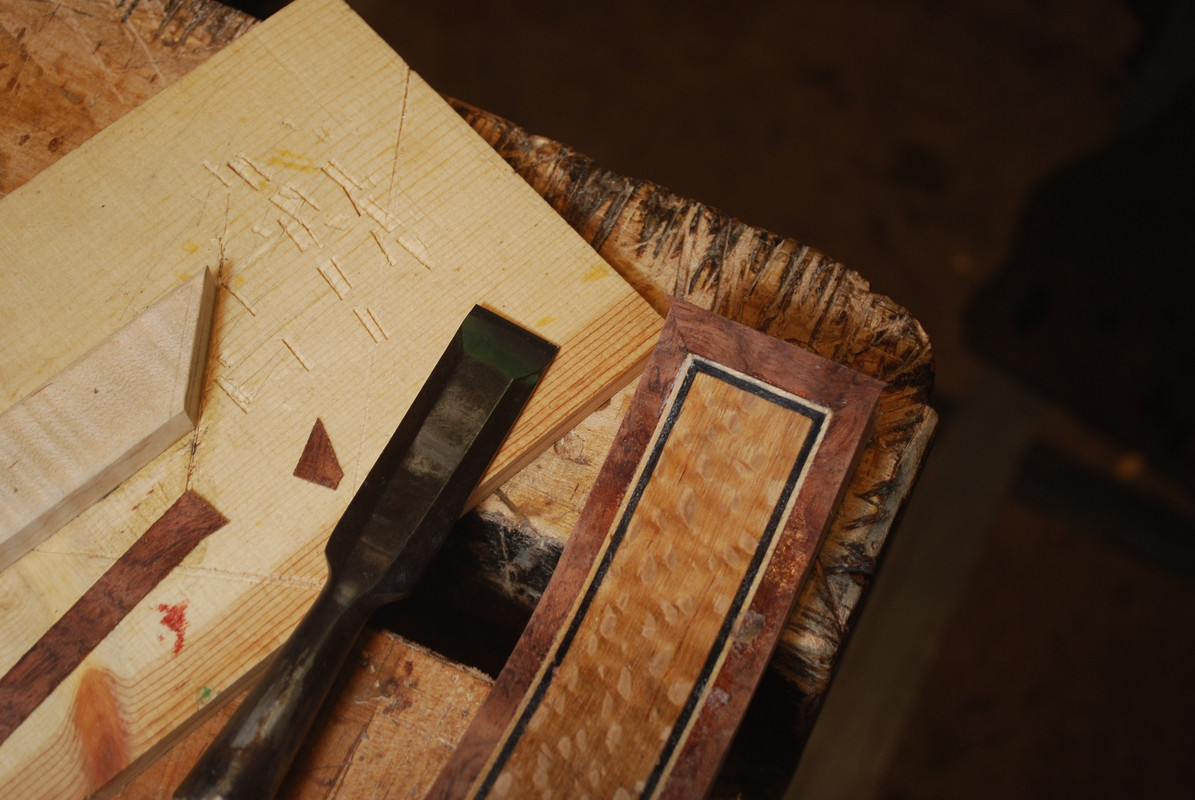
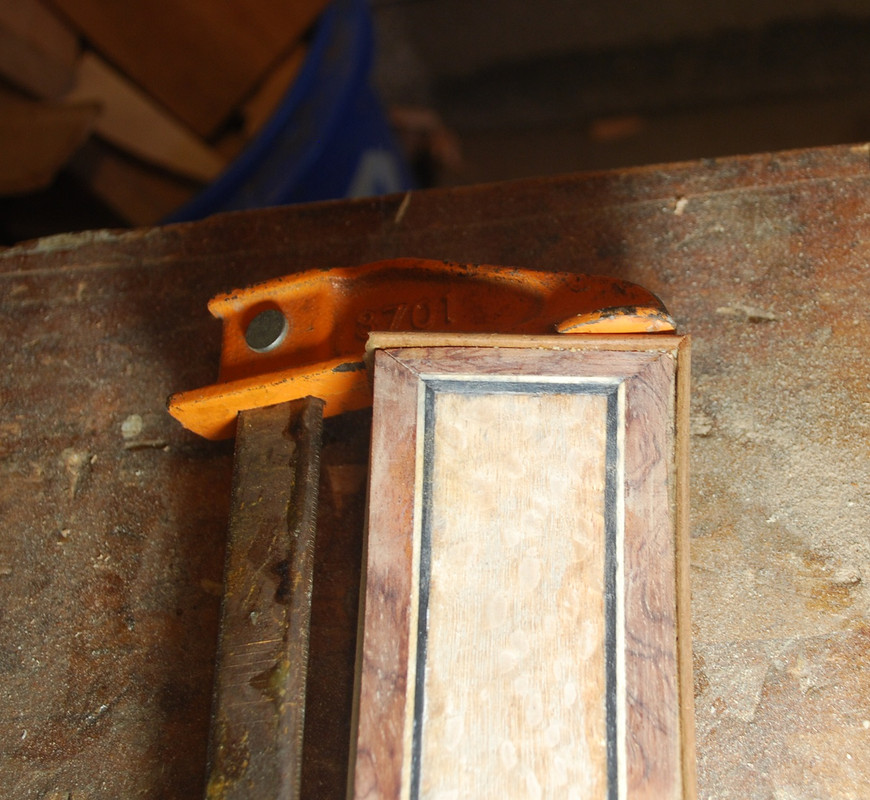
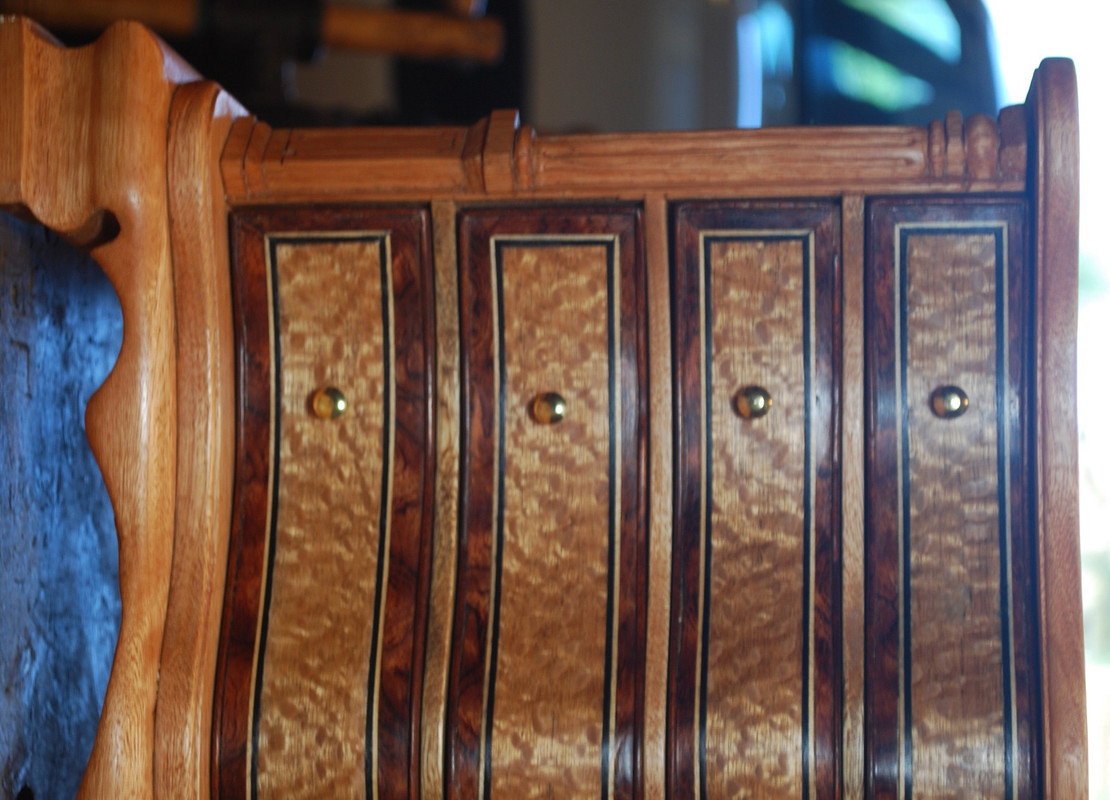
Didn't even realize until a few minutes later. Again superglue and clamps were helpful for the repair, but the scars still there. Next time need to be more careful!

    Have a great weekend, Mike

  15. #15
    Join Date
    Feb 2012
    Location
    Hammond, Indiana
    Posts
    84
    Outstanding!

Posting Permissions

  • You may not post new threads
  • You may not post replies
  • You may not post attachments
  • You may not edit your posts
  •