Results 1 to 14 of 14

Thread: Drawer #2 - The Skeleton Drawer :O

  1. #1
    Join Date
    Feb 2004
    Location
    Perth, Australia
    Posts
    9,491

    Drawer #2 - The Skeleton Drawer :O


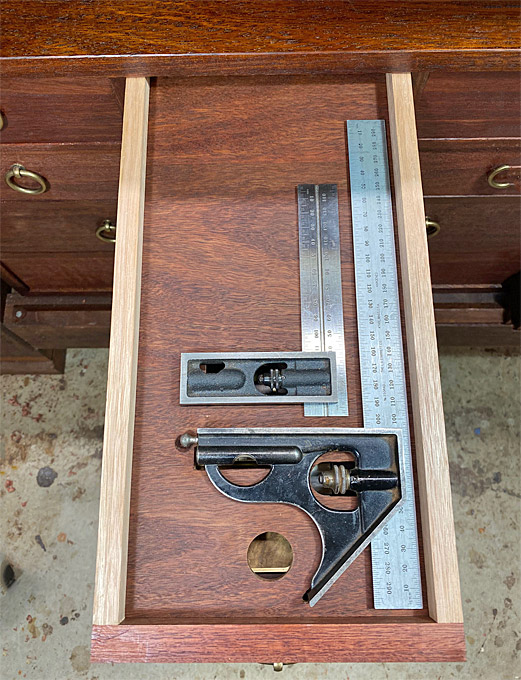
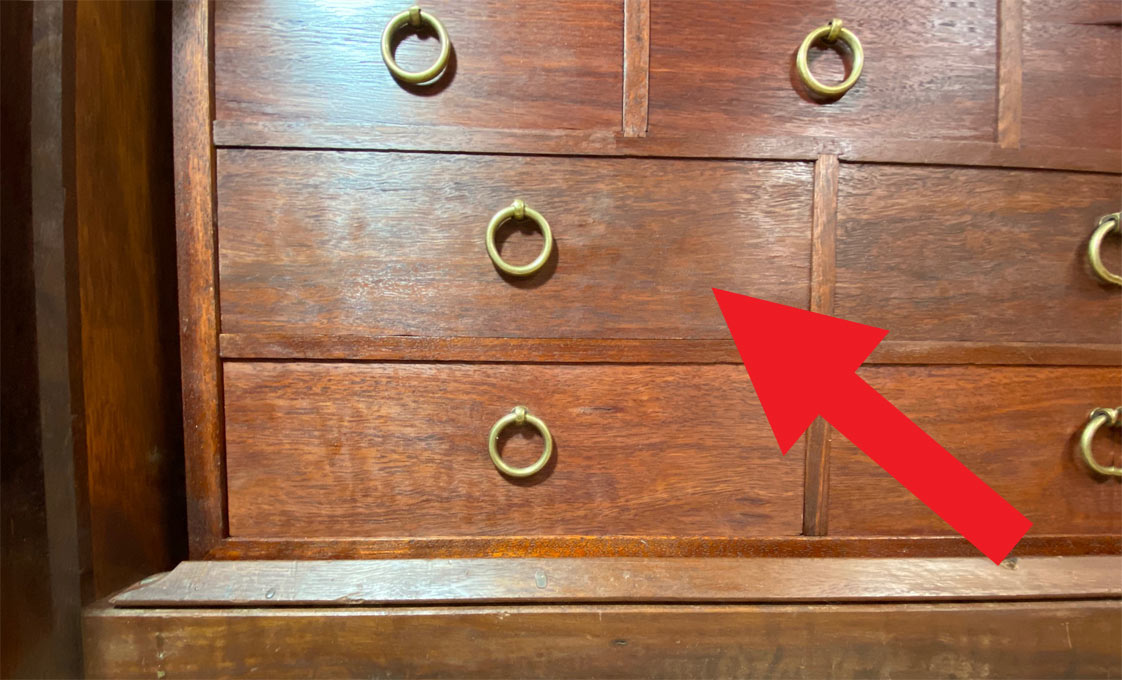
    Here is the second drawer to be filled ...


    Why "Skeleton Drawer"? Well, it does not contain dark secrets, buried bodies, or other clandestine material


    It is just the name I have given to the drawer design since, unlike Drawer #1, which hid a jewellery layer, this discloses all from the outset.


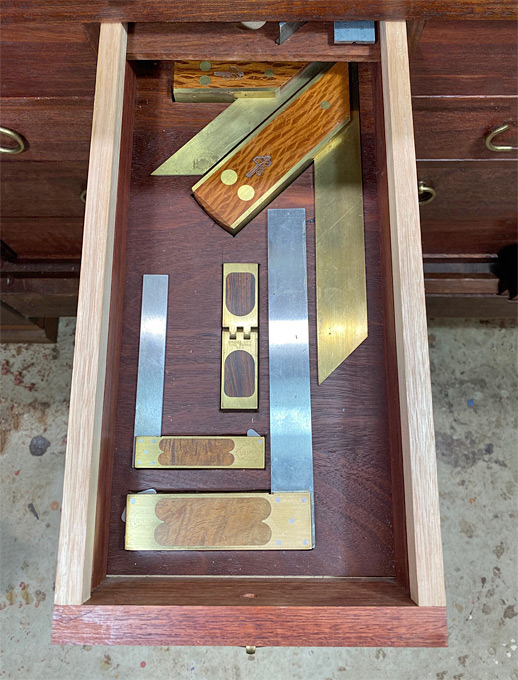
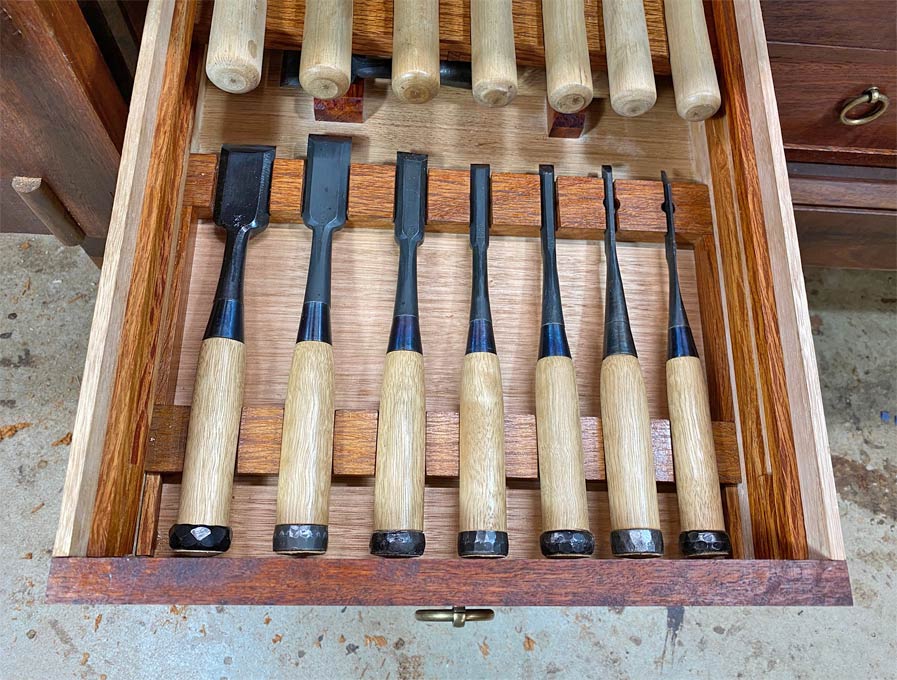
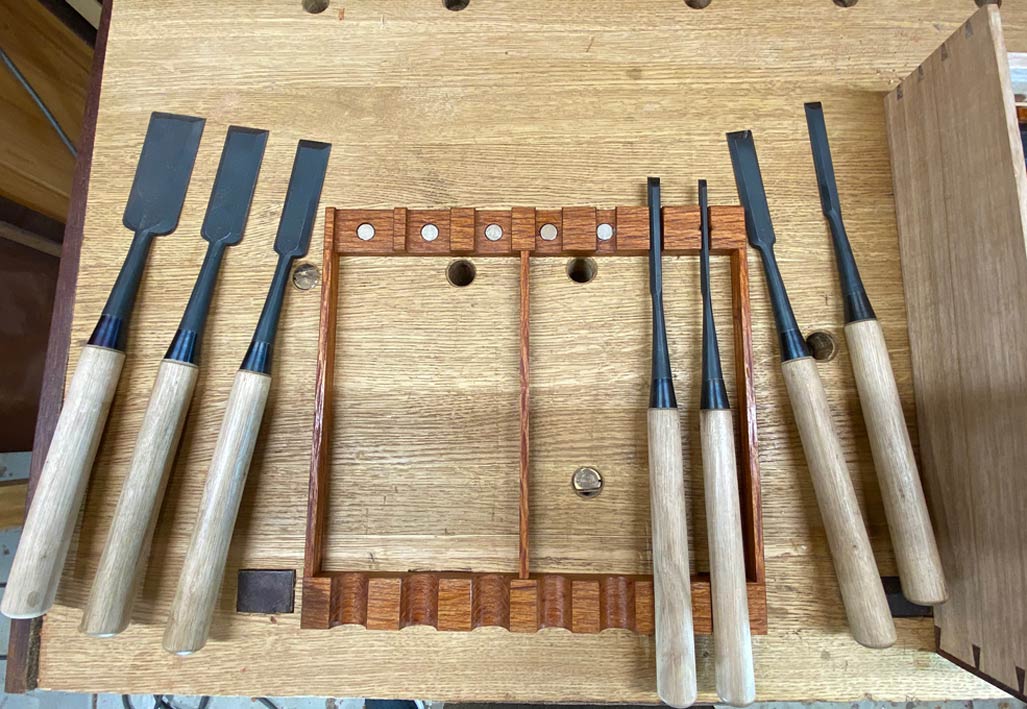
    The drawer holds my Kiyohisa chisels: paring slicks and bench oire nomi. It is important to be able to find, and extract them easily when working at the bench.


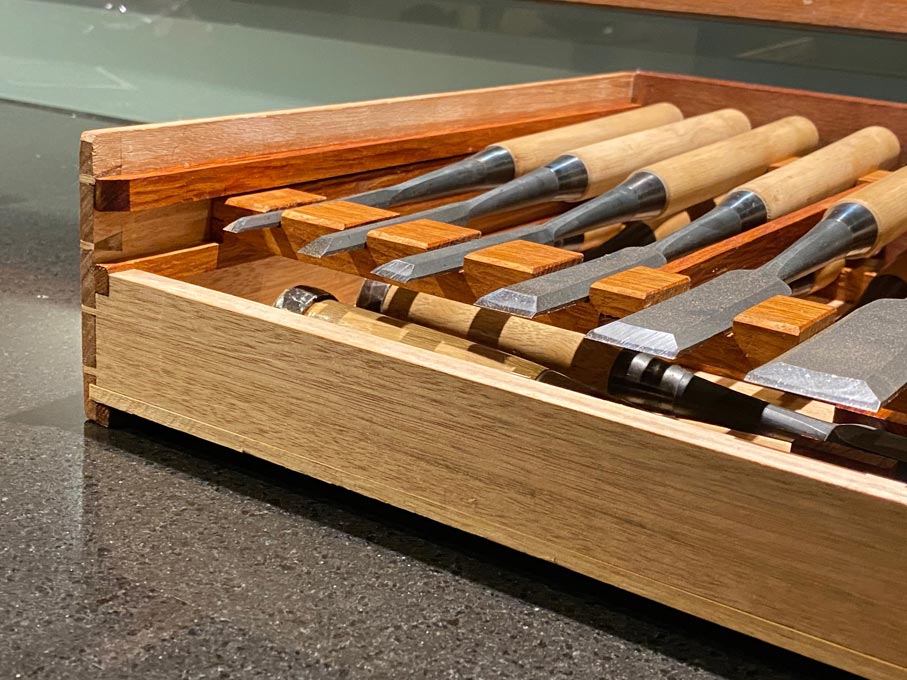
    The paring chisels lie in the upper level ...


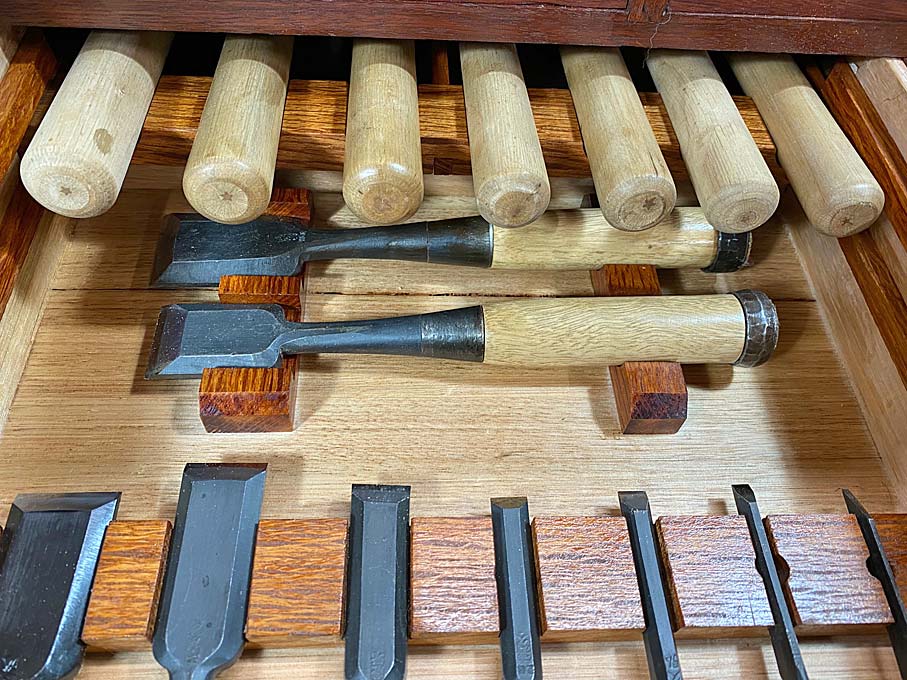
    These slide into the cabinet and, below, are the oire nomi (3mm through 30mm) ...


    There are two others at the rear, a second 30mm and a 36mm ...


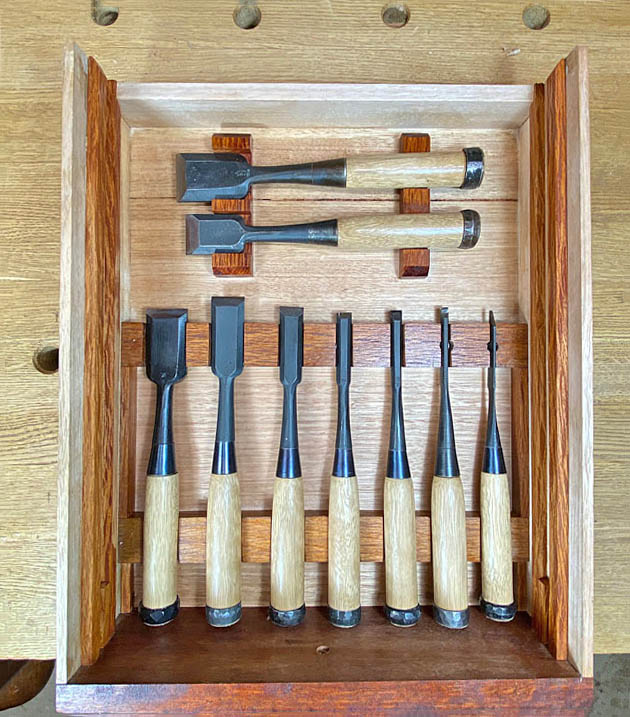
    This is a clearer presentation ...


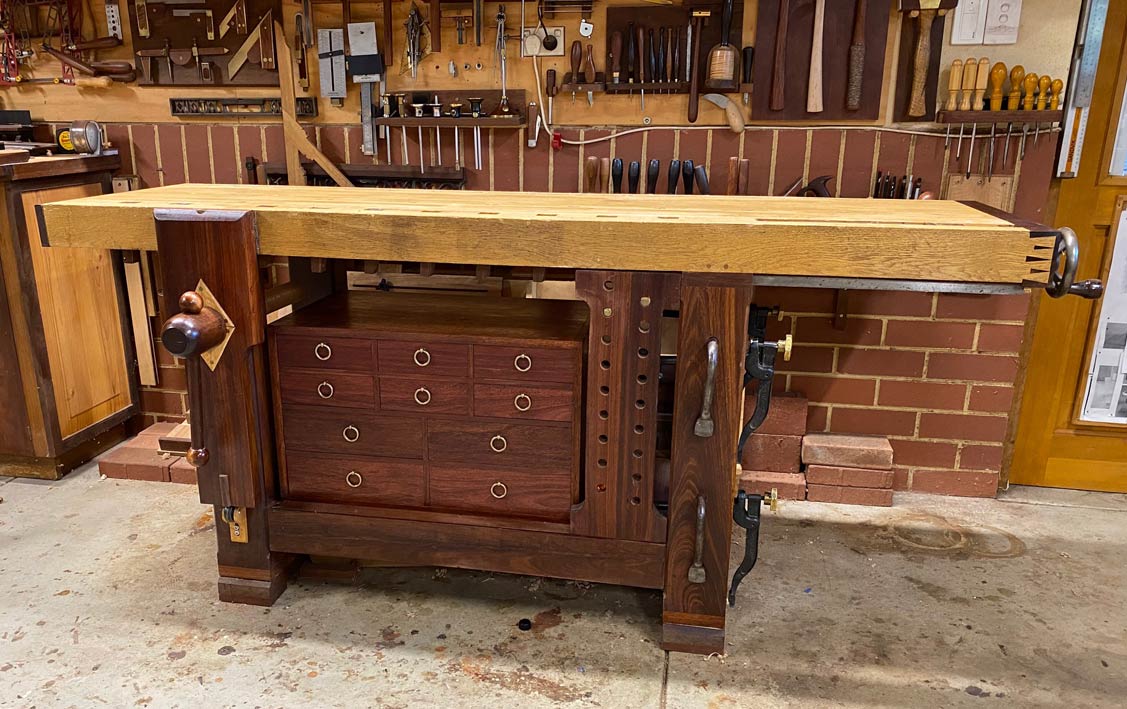
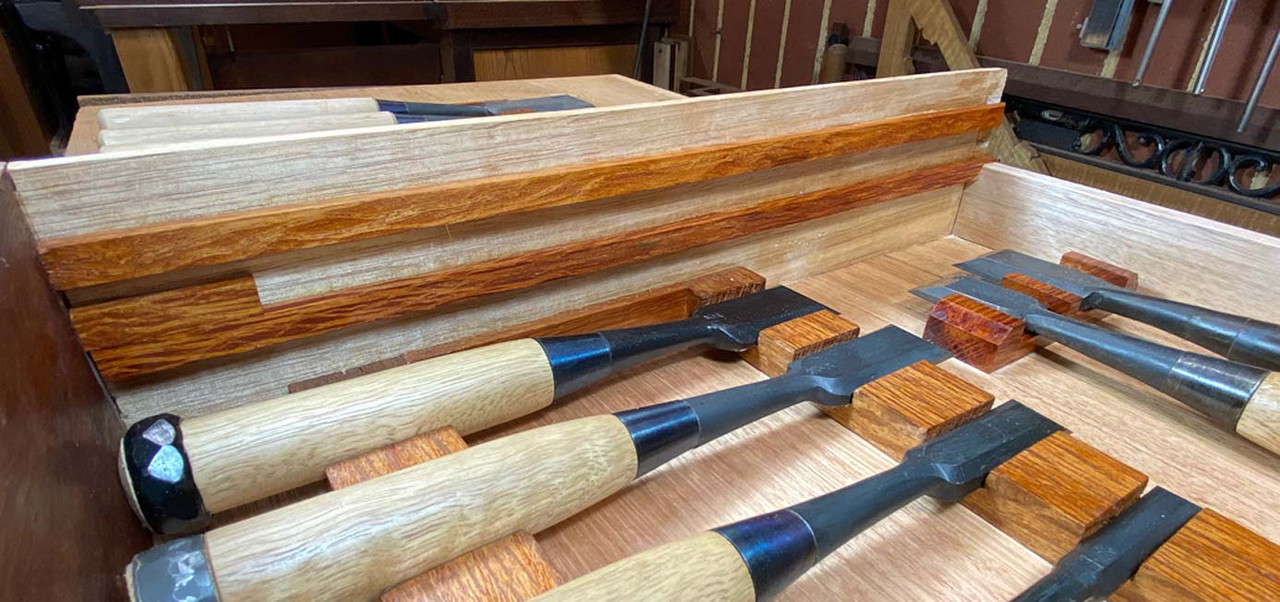
    The chisels lie on shaped rests. The blades lie on rare earth magnets, which prevent them moving from the rests when the drawer is opened and shut, or the top layer extended into the cabinet ...


    The wood used for the rests and the slide is West Australian Sheoak ...


    The rear of the drawer, the drawer back, has been cut away above the second dovetail. This is how the the top layer slides into the cabinet ...


    I trust you are finding this fun as well


    Regards from Perth


    Derek

  2. #2
    Join Date
    Mar 2012
    Location
    Mid coast Maine
    Posts
    479
    Derek, your work is stunning as usual. Yes I am finding this fun. I really like the idea of having a top layer slid into the cabinet, pure genius. I will be using that feature when I build the toolbox into my bench.
    Jim
    Ancora Yacht Service

  3. #3
    Join Date
    Nov 2014
    Location
    Baton Rouge, LA
    Posts
    126
    Derek,
    I am not a planner. Seat of the pants kind of guy. You seem to plan much more than me. Did you not think of these sliding trays prior to building the drawers? Does it pain you at all to cut the backs off after making the drawers? You do it much more neatly than I ever could. How are you removing the backs?

    Gary

  4. #4
    Join Date
    Sep 2007
    Location
    Longview WA
    Posts
    27,427
    Blog Entries
    1
    Great fun for all and a bunch of good ideas for future builds.

    jtk
    "A pessimist sees the difficulty in every opportunity; an optimist sees the opportunity in every difficulty."
    - Sir Winston Churchill (1874-1965)

  5. #5
    As you are finding out, the easy part of the build is the cabinet with the drawers. The hard part is figuring out what and how to fit each piece in each drawer. And after that remembering which drawer and which layer what you want is. And after that, wishing you would have laid it out with different things in different drawer.

    As you can see I am still working on it. I don't think I will ever get done as I wish you better success than I am having.

    DSC03679.jpg DSC03680.jpg
    Tom

  6. #6
    Join Date
    Jan 2019
    Location
    Fairbanks AK
    Posts
    1,566
    I am enjoying this one because I am happy with my current chisel collection. My layout tools deserve respect, but none of those pieces have any sentimental value to me or particular resale value.

    Is the spacing on the top tray wide enough that you can comfortably use the crosspiece as a handle to slide the upper tray back and forth? Do the magnets have a pretty stout grip? If you were going to move shop, would you just stack the drawers on your benchtop, move the case onto the truck, reinstall the drawers in the case and drive away?

  7. #7
    Join Date
    Feb 2004
    Location
    Perth, Australia
    Posts
    9,491
    An explanation is needed for the sawing of the drawer backs at this stage, as well as the direction of the chisels and the supports they have in place.


    I must admit that I had not planned at the outset to fit as many tools as I now am. The motive changed from ‘reducing the tools on the wall’ to ‘thinning out the herd, and finding a place for as many as possible in anticipation of downsizing in a couple of years’. Consequently, planning went out the window.


    In designing the holders for the chisels, I learned that it would be best not to make the base under the sharp end enclose the sharp tip, or butt up against a wall. The reason is that the sharp edge begins to chew away whatever it touches. This is one reason why the blades face the rear and the ends are open. It is another reason why the paring chisels are the top layer (another is that this arrangement requires less tray to be pushed back) - now they face into the open cabinet rather than a drawer back. The drawers could have done with being 1” deeper. The slicks fit, but only just.


    This is the reason why the bench chisels are not facing the back of the drawer. I did consider it. I also did consider whether I should include the two other chisels at all. In the end my decision to do so was simply that they are going to have relatively little use, so could be tucked away, but in any case are actually easier to reach and extract than the photos suggest. If I ever cut myself, even once, they get moved immediately!


    As it stands ... lays ... the main oire nomi and slicks are easy to access: lift out a slick, or slide forward that tray and lift out a oire nomi. If any one is interested in a similar arrangement, I think that they will end up with the same plan. Or, better still, have more, but shallower, drawers.


    Regards from Perth


    Derek
    Last edited by Derek Cohen; 04-18-2021 at 9:33 AM.

  8. #8
    Join Date
    Dec 2016
    Location
    South West Ontario
    Posts
    1,503
    In my commercial work I take great delight in making a drawer 1&1/2” deep if that is all that’s needed. The customer has usually never seen purpose made drawers before. One huge benefit is it keeps the drawer for its original purpose as nothing else fits! I build in dividers for the same purpose.
    Your drawers take this to the next level, only the one tool will fit in ‘that’ space. You can do this when your collection is permanent, a cause for celebration for sure.
    You may wish you had a greater variety of drawer sizes for speed of access.
    ​You can do a lot with very little! You can do a little more with a lot!

  9. #9
    Join Date
    Feb 2004
    Location
    Perth, Australia
    Posts
    9,491
    A slight change of plan. This was driven home by the current drawer I am working on, where it became apparent that attempting to fit too many tools into the cabinet is really missing the goal I originally set out to achieve.


    So it is time to backtrack: rather than cram in items, I want the tools I enjoy using most.


    The extra two chisels in the drawer have been moved out. I have just to remove the holders ...


    This does not really change the functionality of the drawer, as it was easy to access the oire nomi and the slicks before, but now it just feels less crowded.


    The drawer with the squares has had a small alternation. The Veritas square has been moved out (I replaced the cut-out section with solid), and a finger hole added to make it easier to slide the tray ...


    This now is less complicated. The tray below is as easy to access.


    Simplicity rules


    Regards from Perth


    Derek

  10. #10
    Join Date
    Sep 2008
    Location
    N. Idaho
    Posts
    1,621
    Derek,

    Looks good and will be interested to hear how you like the arrangement after you've worked with it for a while. Especially curious about the magnets. Thanks for sharing and keep 'em coming if you can.

    Best,
    Chris
    "You can observe a lot just by watching."
    --Yogi Berra

  11. #11
    Join Date
    Jan 2019
    Location
    Fairbanks AK
    Posts
    1,566
    Curious about the magnets too. My limited experience matches Derek's in that chisel tips chew away at whatever they touch.

  12. #12
    Join Date
    Dec 2010
    Location
    South Coastal Massachusetts
    Posts
    6,824
    Quote Originally Posted by Tom Bussey View Post
    How is the plastic fixed to the drawer bottom?

  13. #13
    Join Date
    Feb 2011
    Location
    Carlsbad, CA
    Posts
    2,229
    Blog Entries
    2
    Derek, beautiful work as always. I’m really enjoying both how you are organizing the storage of individual tools in the drawers and also appreciating your hand tool kit, which is impressive to say the least. I can’t help thinking about the joy you will bring to some future hand tool woodworker generations from now when they discover your very real treasure chest of tools!

    Cheers, Mike

  14. #14
    Join Date
    Feb 2004
    Location
    Perth, Australia
    Posts
    9,491
    Thanks all of you for the kind words and continued support. I do hope that the remaining drawers - whenever they get done, some now, some later - bring you pleasure and ideas.

    Regards from Perth

    Derek

Posting Permissions

  • You may not post new threads
  • You may not post replies
  • You may not post attachments
  • You may not edit your posts
  •