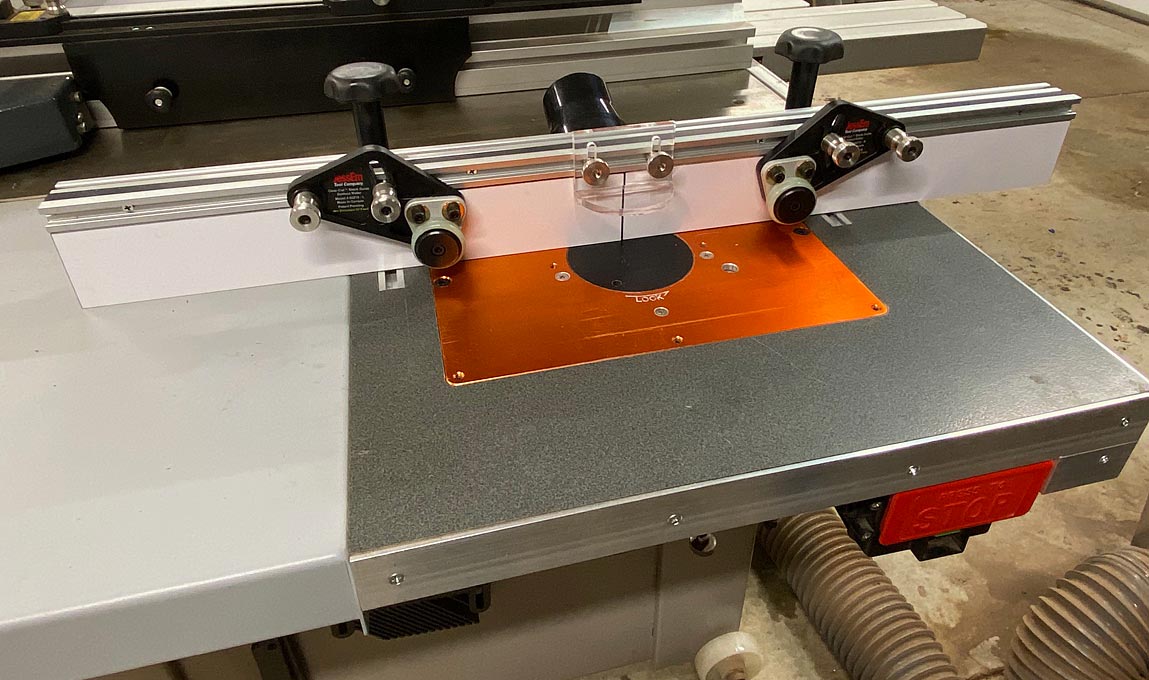
There doesn't seem to be much in the pre-made world in the way of router fences made for a table saw extension wing. Years ago I made and there's a lot I really love about it but it's made entirely of laminated MDF and the seasonal changes in the wood create snags when feeding through.
I was just wondering what those of you who have a router mounted in a table saw wing did for the router fence?

 Reply With Quote