Any in-obvious advantages to building a router table cabinet myself over purchasing a rolling tool stand and adding storage to it (or vice versa) other than cost?
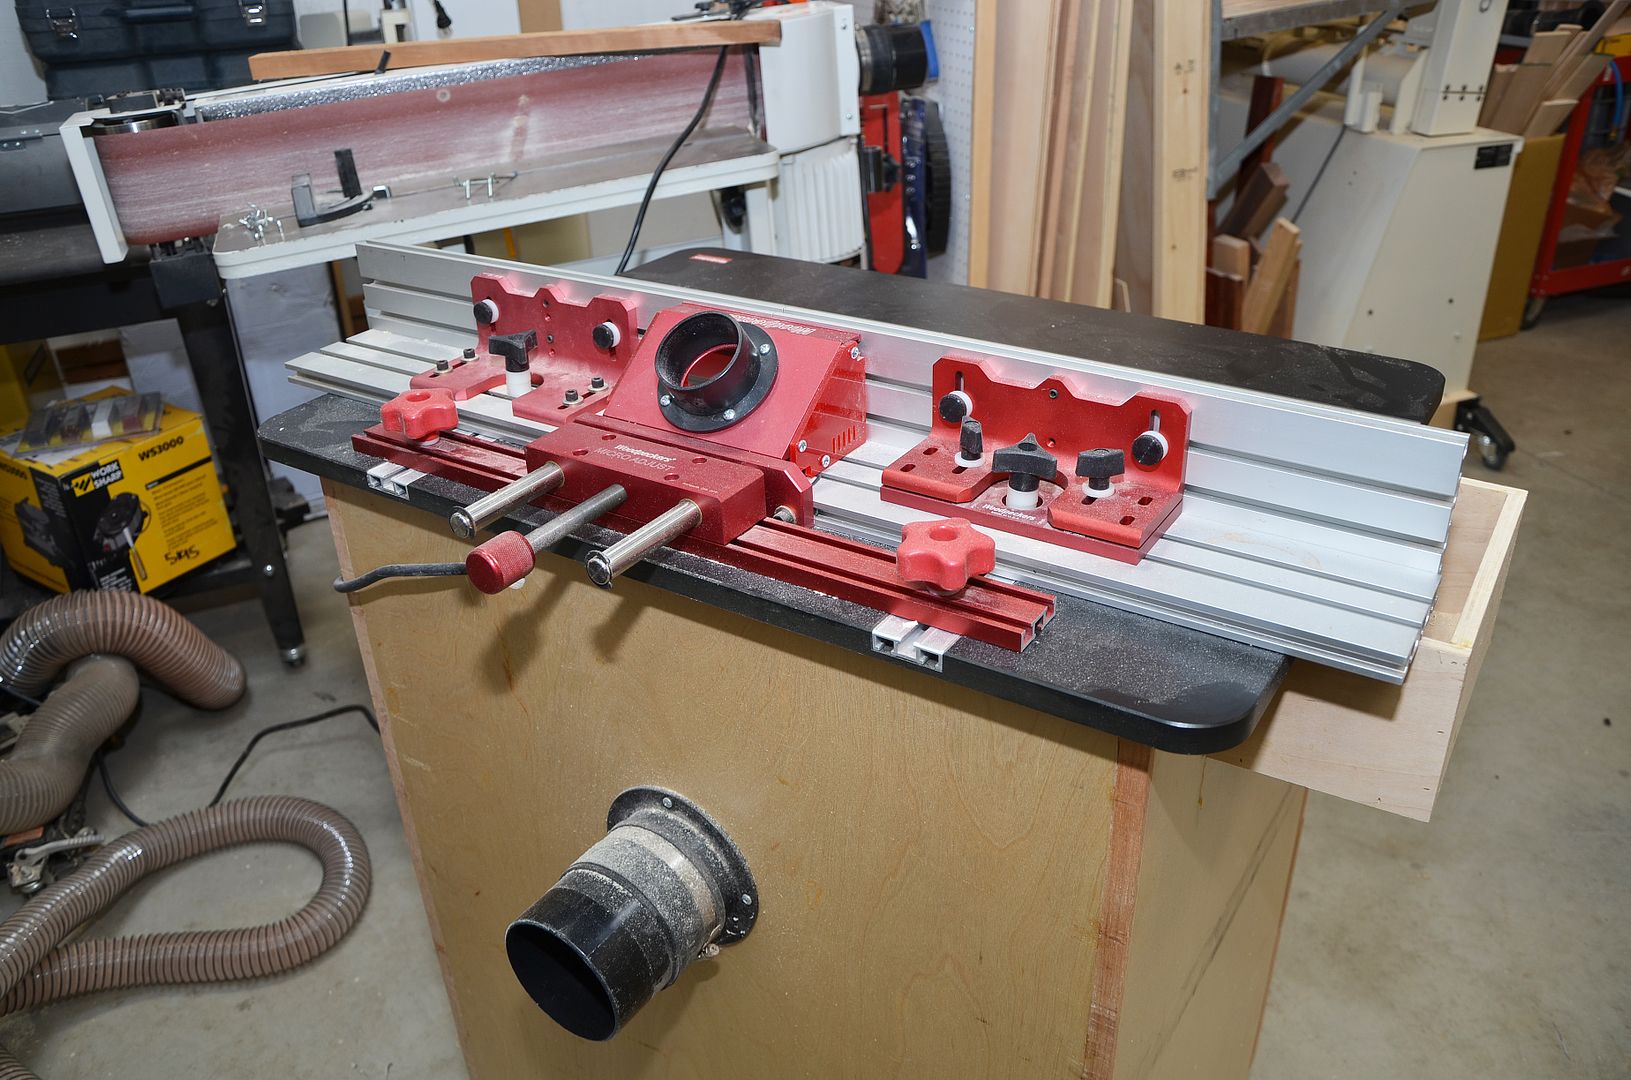
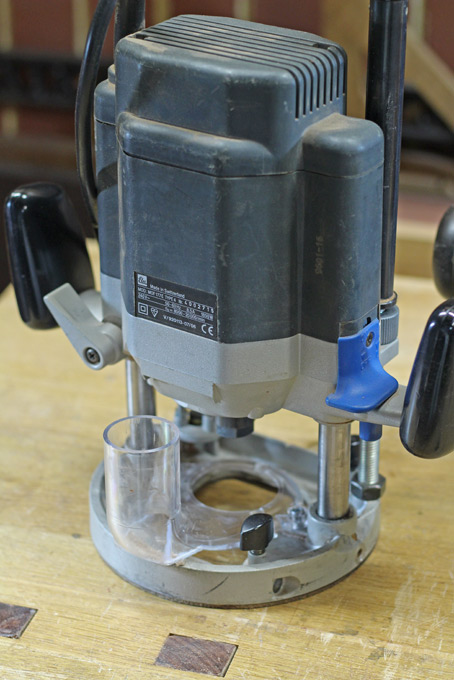
Ive been making due with one of those little trim router clamp-on tables for a while (which has worked remarkably well, btw) but I really need to graduate to a full sized one. I have enough mdf & laminate scrap for the table and plan on purchasing a lift. On the fence (pardon the pun) on whether to build or buy a fence.
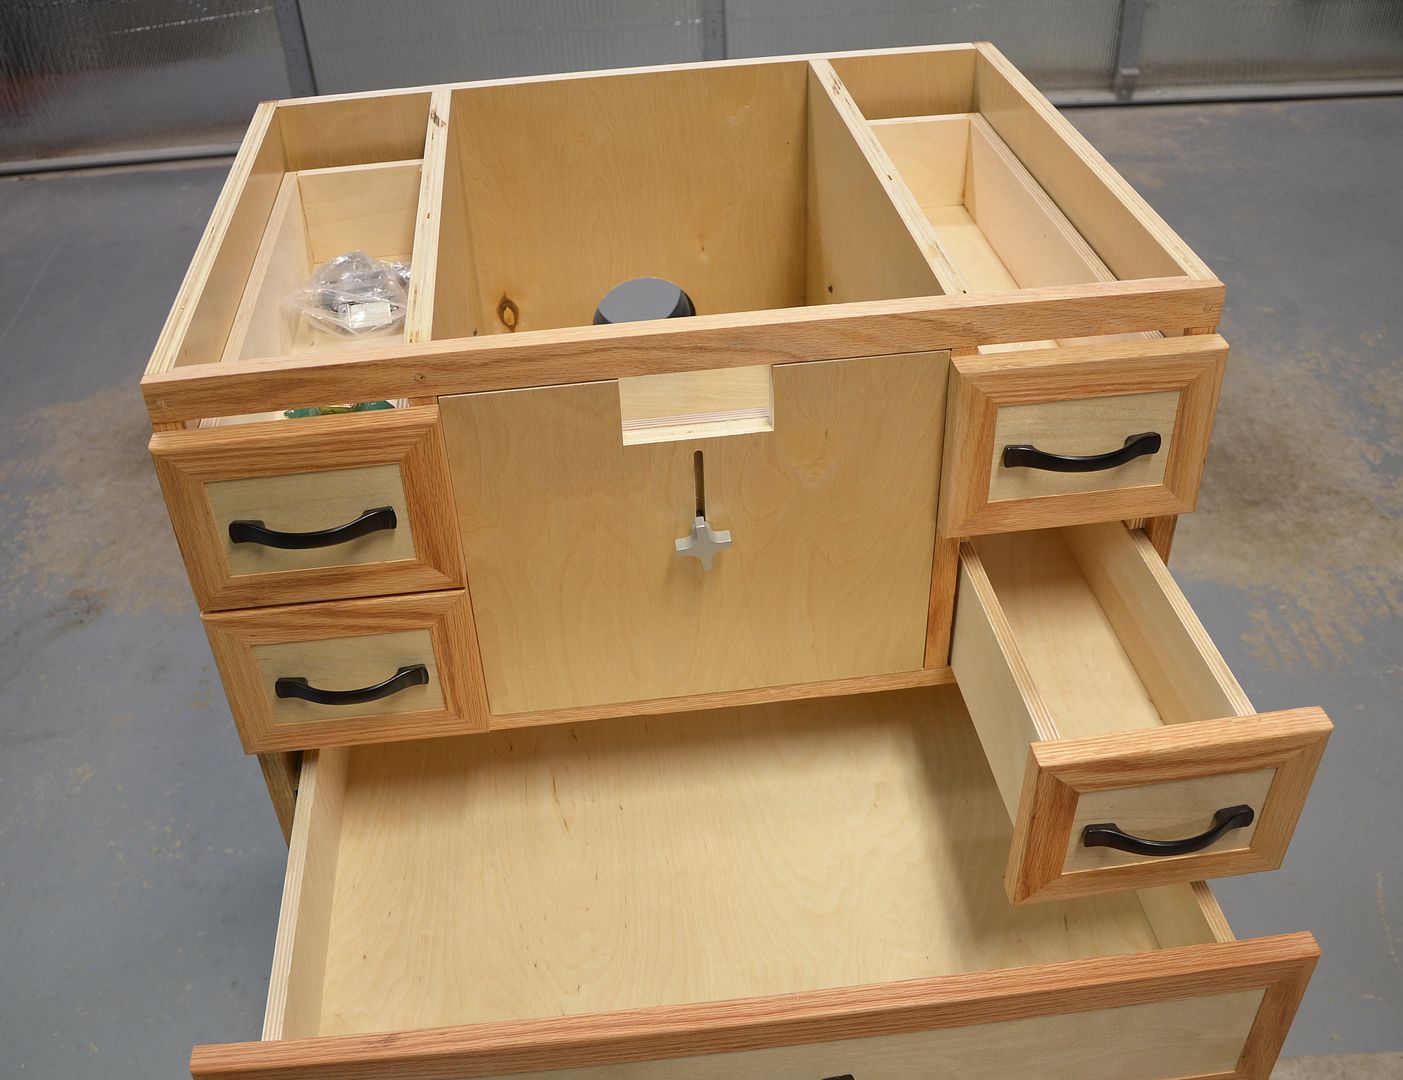
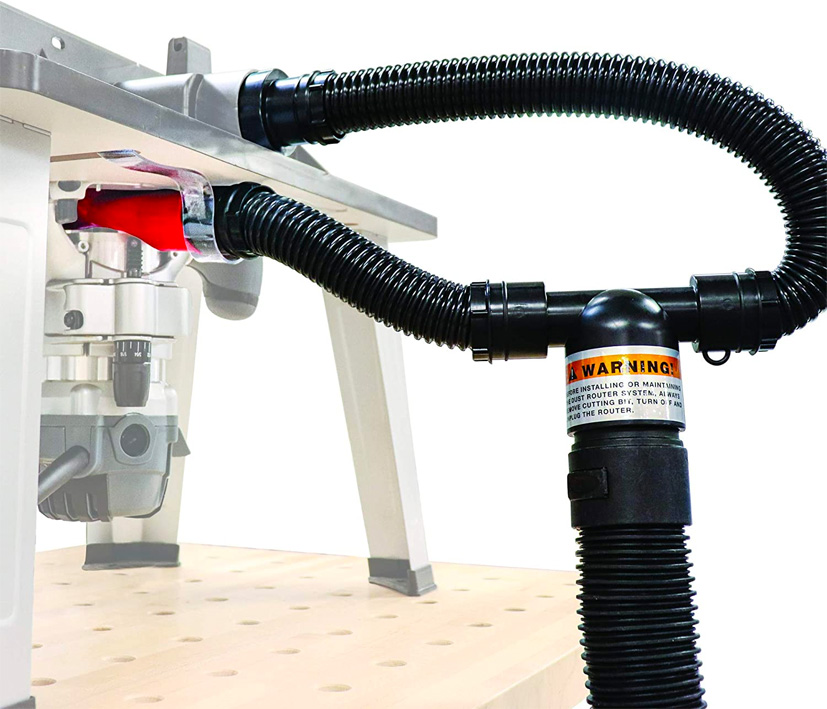
The ultimate goal is to have a dust collection box for the router/lift and storage under the table. Im leaning towards buying a tool stand just to get up & running quicker as work, other projects and a tendency for analysis-paralysis might stall a ground-up build.
Thanks, in advance!

 Reply With Quote