Results 1 to 5 of 5

Thread: Router Table Adventure

  1. #1
    Join Date
    Feb 2004
    Location
    Perth, Australia
    Posts
    9,491

    Router Table Adventure

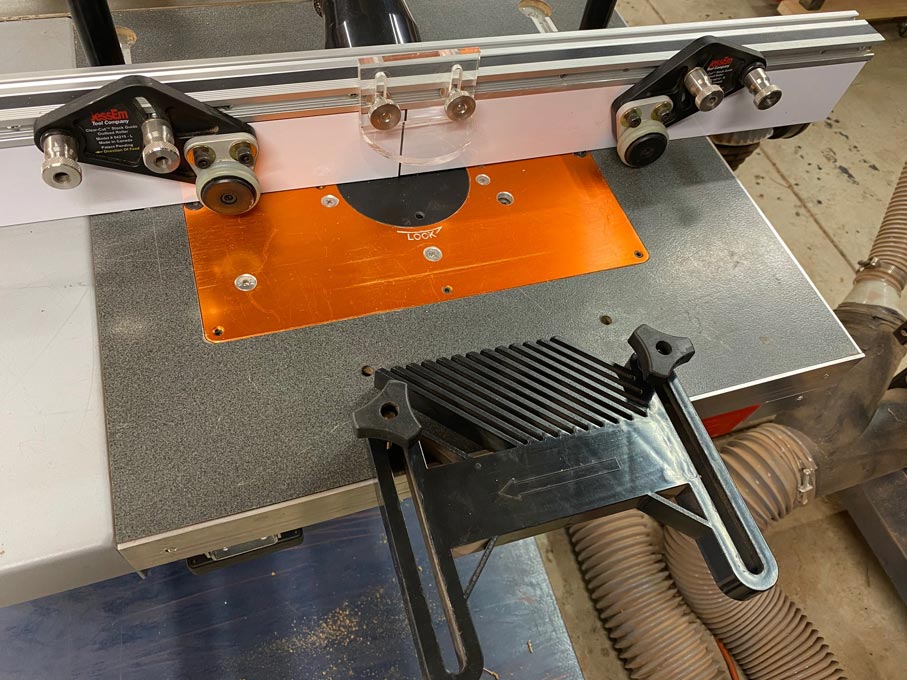
    I have just completed another router table: http://www.inthewoodshop.com/Powered...Adventure.html


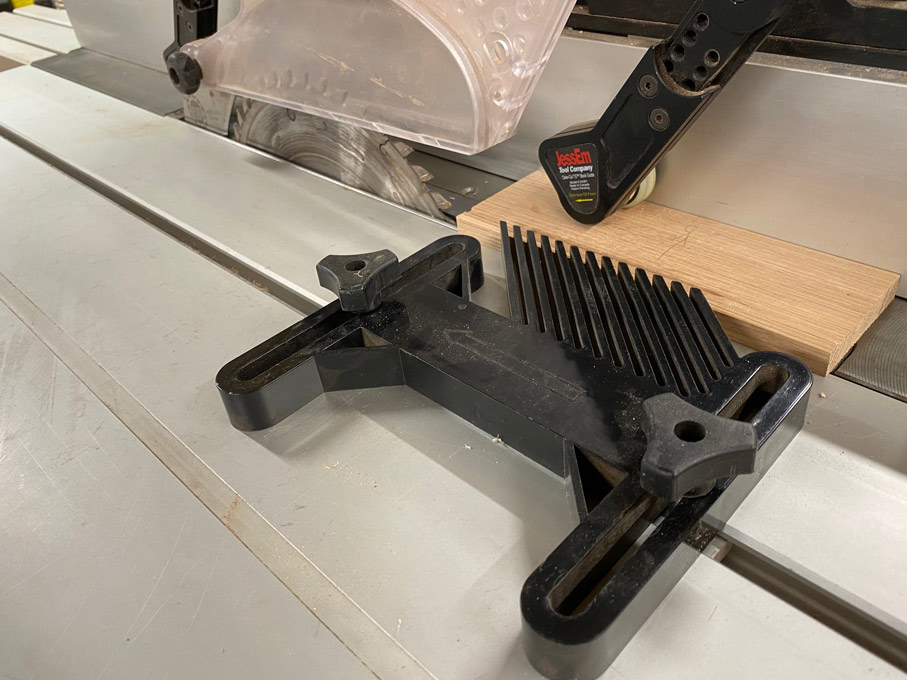
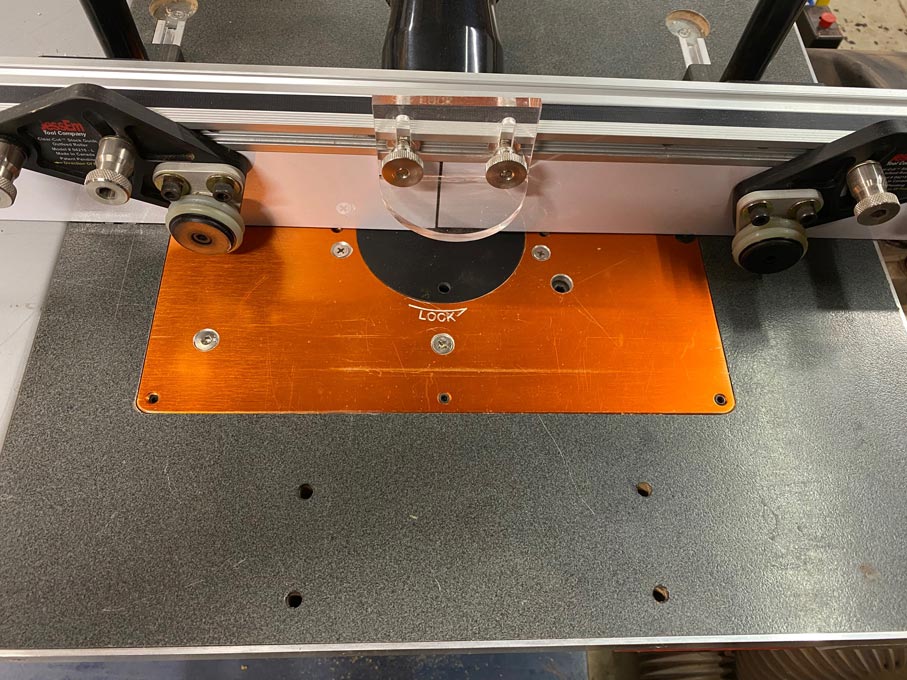
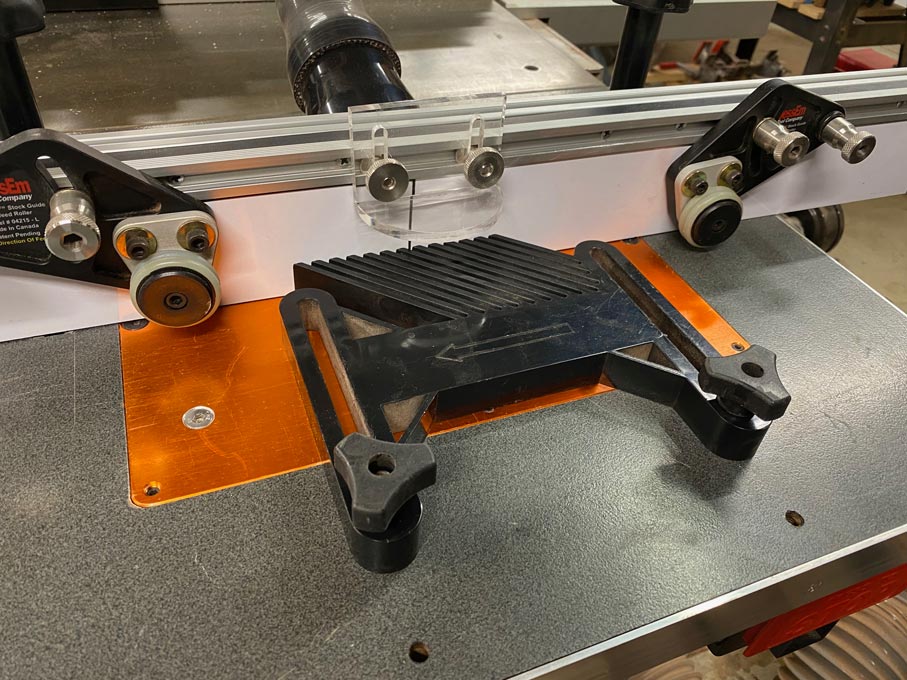
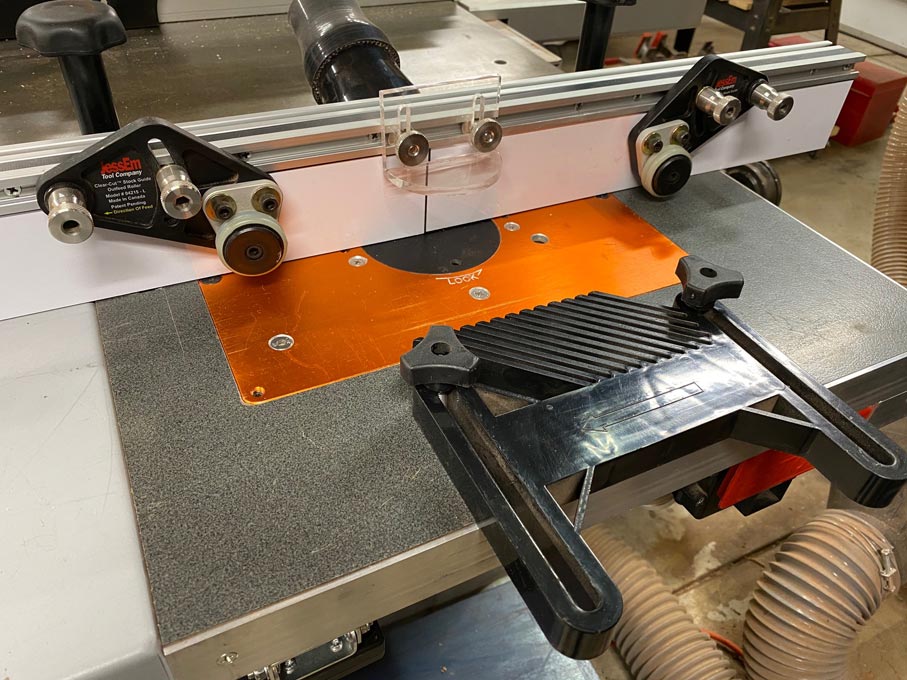
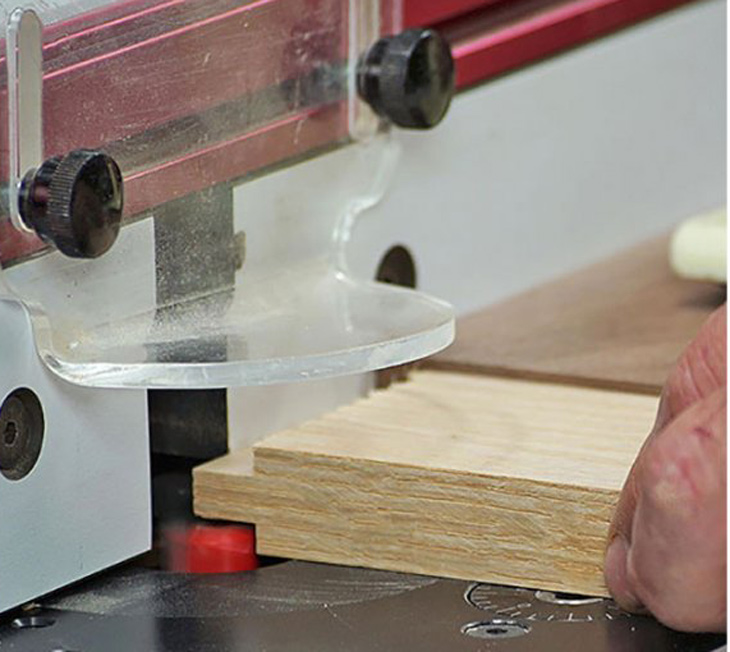
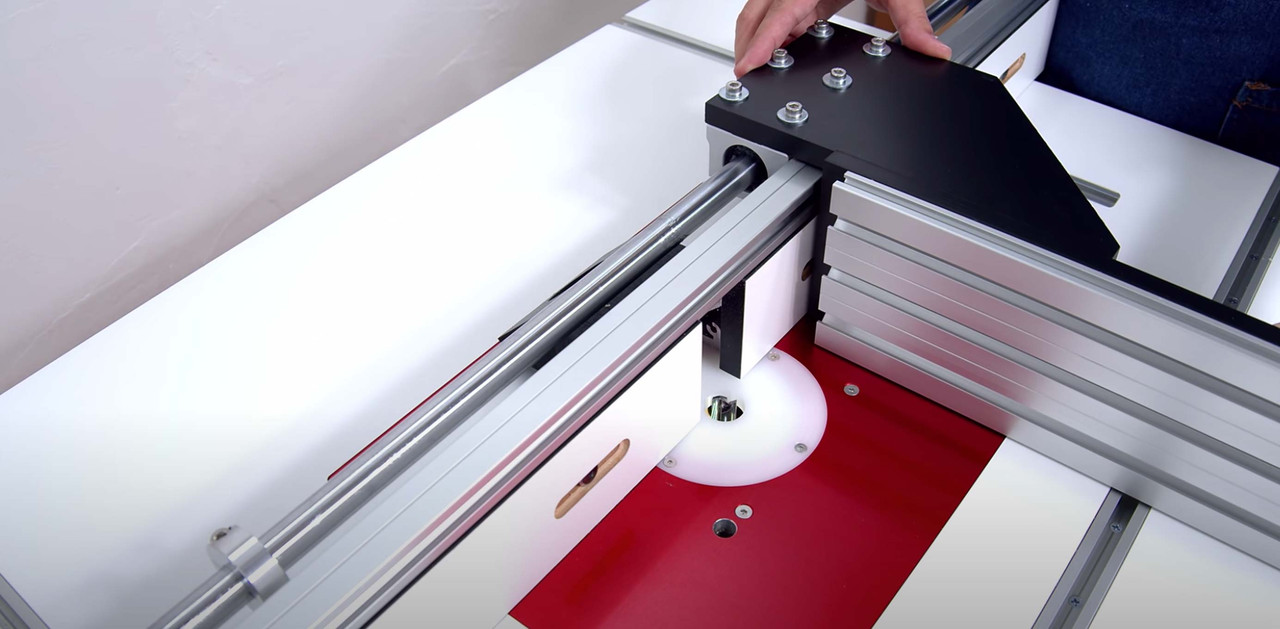
    This is built into the outfeed of my table saw. It features a number of interesting items: fully-functioning fence, JessEm guides, Router Raizer, Wixey digital gauge, and amazing dust collection!

    The aim was to build a router table with good features, and at a reasonable cost. To do this, there is no expensive router lift, and the fence is shop-made.

    I hope it offers up some ideas for others.

    Regards from Perth

    Derek

  2. #2
    Join Date
    Mar 2003
    Location
    San Francisco, CA
    Posts
    10,319
    How do change a bit? Do you have a shaft extension below the chuck?

  3. #3
    Join Date
    Feb 2004
    Location
    Perth, Australia
    Posts
    9,491
    Jamie, the Muscle Chuck extends the collar high enough to change above the table.


    Regards from Perth

    Derek

  4. #4
    Join Date
    Feb 2004
    Location
    Perth, Australia
    Posts
    9,491
    No mitre gauge track!!?


    I do think that a router table is a wonderful resource. However, a good router table does not need to be complex. In fact, I much prefer the KIS principle. My first router table was simply a piece of MDF with a hole for the bit. The fence was a 2x4 clamped alongside. It did good work. While this latest router table has many bells and whistles, it is still relatively simple compared to many.

    This is my solution for a mitre track ...

    There are two reasons to have a mitre track. The first is to attach a feather board. As I mentioned earlier, the JessEm guides do the task of holding the workpiece both down and against the fence. If the JessEm is not sufficient, I can still attach a feather board.

    I was using a feather board on the table saw today to size drawer backs ...


    The feather board can do double-duty at the router table. I drilled and tapped four bolt holes in line with the centre of the table ...


    The feather board can slide back-and-forth when bolted this way. It can reach to the fence ...


    The forwards holes are where a mitre track would go. This is as far back as it would extend if in a mitre track ...


    However, the second set of holes allow for a wider range ...


    The second reason for a mitre track is to use a mitre gauge to either rout out tenon cheeks, or joints such as cope-and-stick frames or box joints. There are alternate solutions for these.

    The main issue I have with the mitre gauge method is that it requires that the fence be parallel to the mitre track. Fences are rarely so in my experience. The closest I came to this was when I had a router table in a previous table saw, and it shared the table saw fence (which tracked parallel to the blade). This is not the case now. The fence rides unequally in tracks, and one side is moved to fine adjust the setting. In short, a mitre track is useless.

    To make a tenon cheek, or cope the end of a stretcher for a cope-and-stick joint, simply use a backing board against the fence ...


    This will not make box joints. In reality, for myself, it is unlikely that I would ever make box joints. I just cannot see a need. The closest is a dovetail joint, and I prefer doing these with hand tools. Still, were I to make a box joint, the accessory of choice would be a linear fence. These are easy-enough to build ...


    Here is an excellent video on building a linear fence ....


    Regards from Perth

    Derek

  5. #5
    Great stuff (as always) Derek, many thanks

    [I think you accidentally forgot to include the link to the excellent video on building a linear fence]

Posting Permissions

  • You may not post new threads
  • You may not post replies
  • You may not post attachments
  • You may not edit your posts
  •