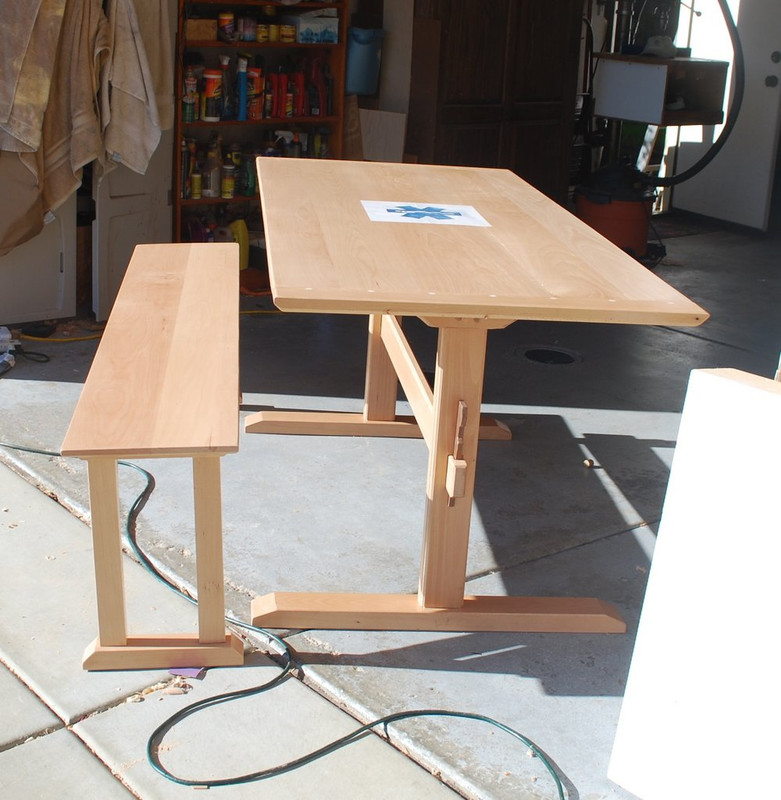
This is a build thread of a beech Trestle style picnic table and benches build. My sister asked me to build this for my nephew who is graduating from paramedic school. My first project in beech which I chose because it was affordable and I hope tough enough to survive in an outdoor environment without being too massive/heavy. Im going for a fairly light look that can be readily moved around.
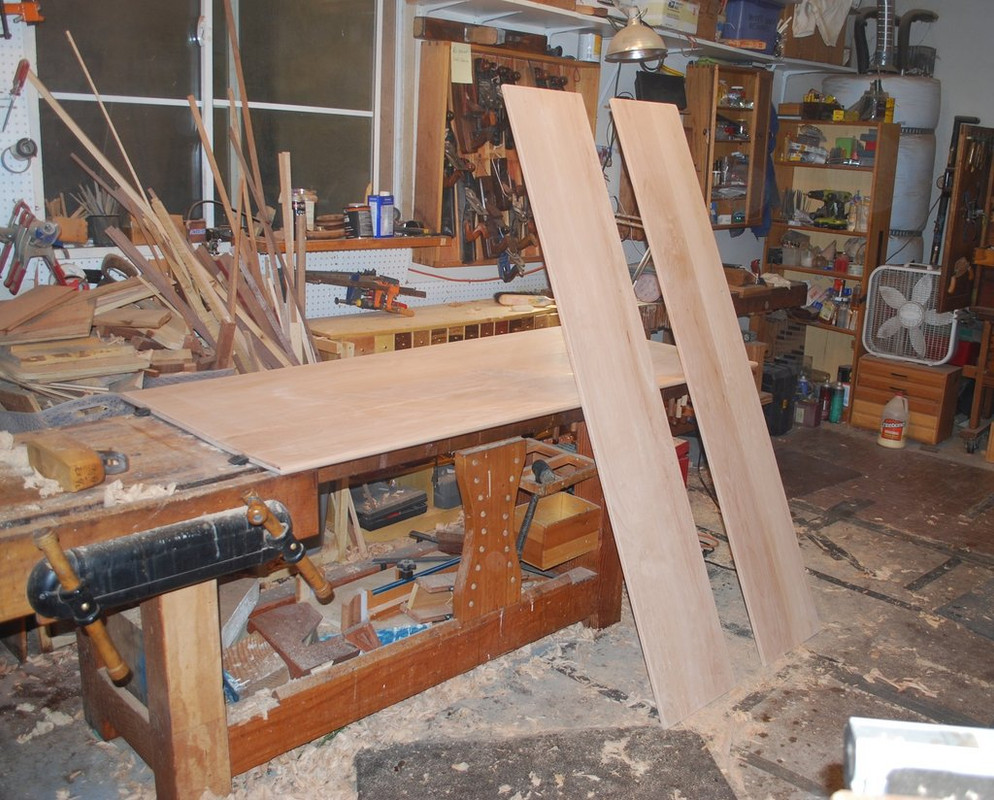
Heres a picture of the glue up of tabletop and benches.
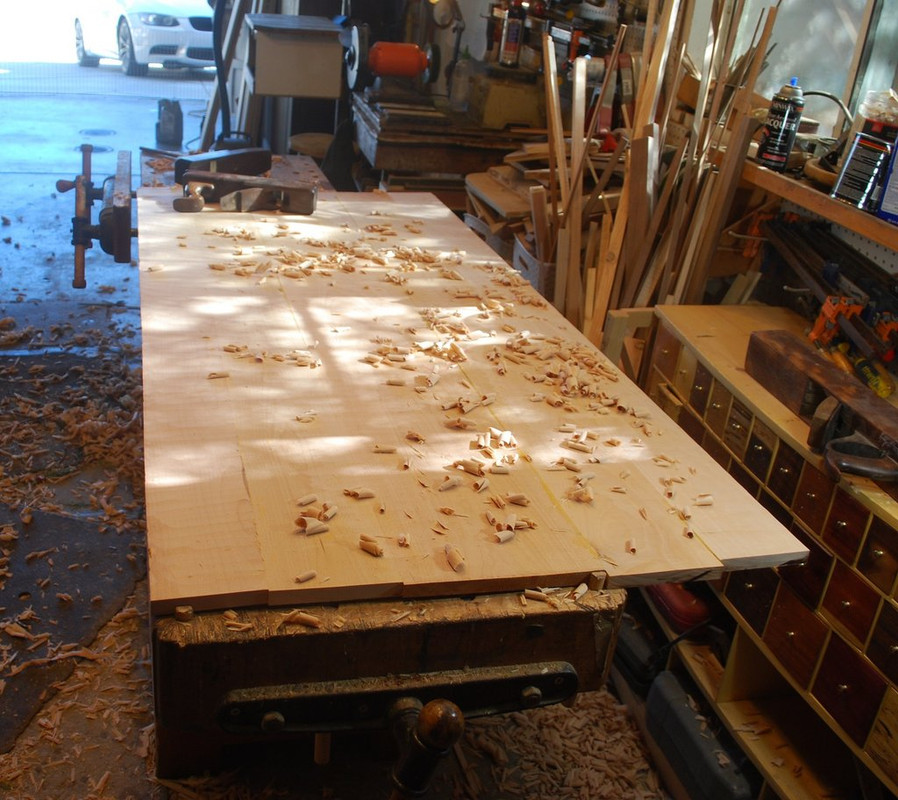
As my boys would say, surfacing the tabletop was a real Mission! This beech is hard and not super hand tool friendly definitely a work out with lots of visits to the sharpening stones.
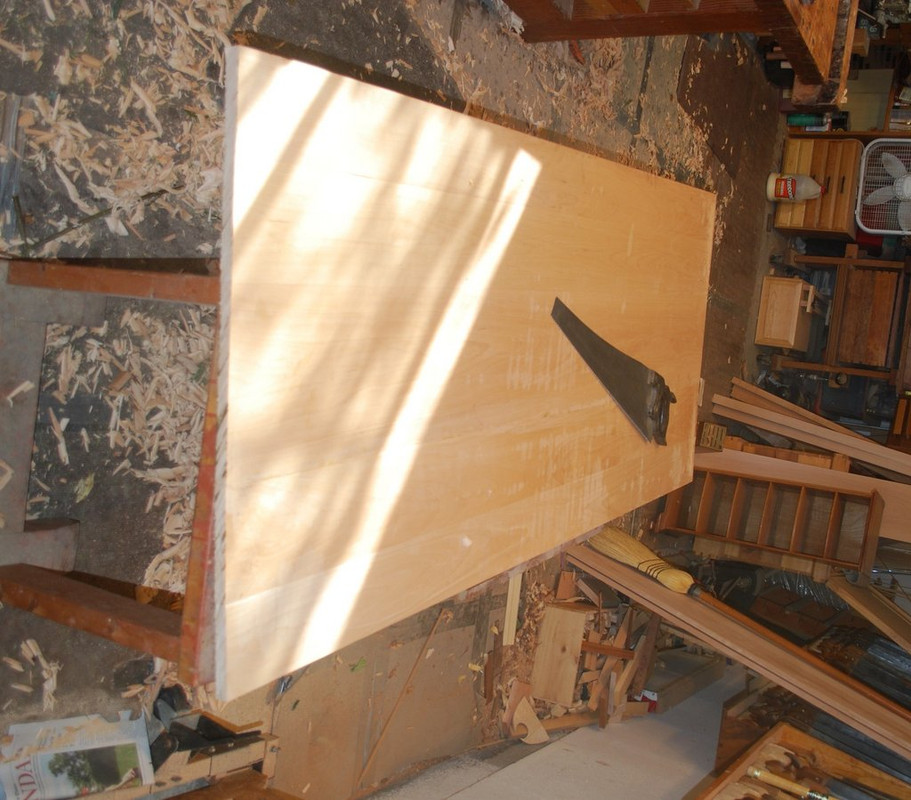
Sawing to final dimensions was a fun hand tool task. Honestly Im not sure else you would do this with power tools I guess track saw?
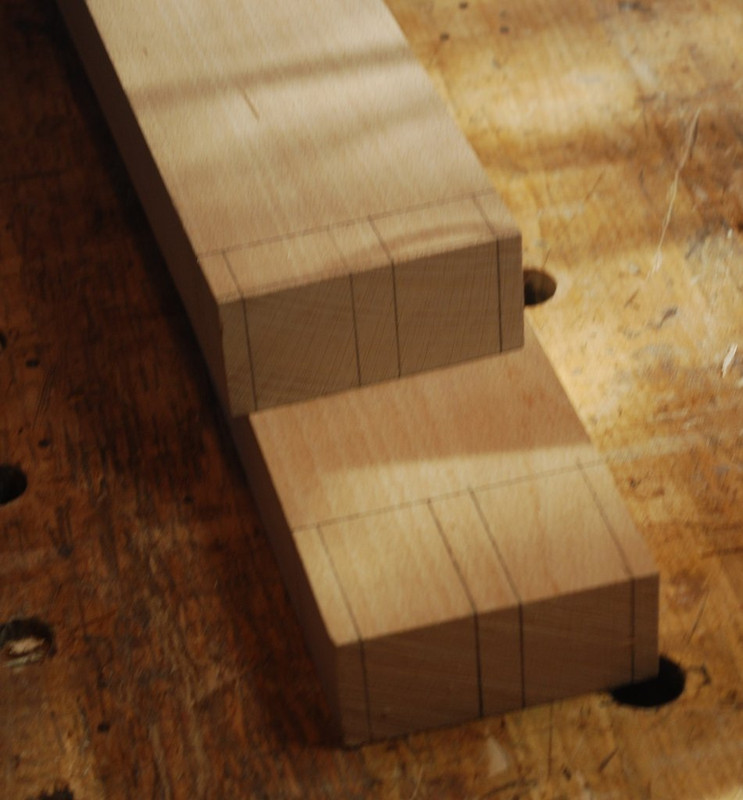
Sawing tenons for bench legs and 10/4 stock was no joke. I used a shop built, 9 PPI backsaw that worked well. When sawing joinery and thick stock I subscribe to the timber framer school of saw selection bigger is usually better.
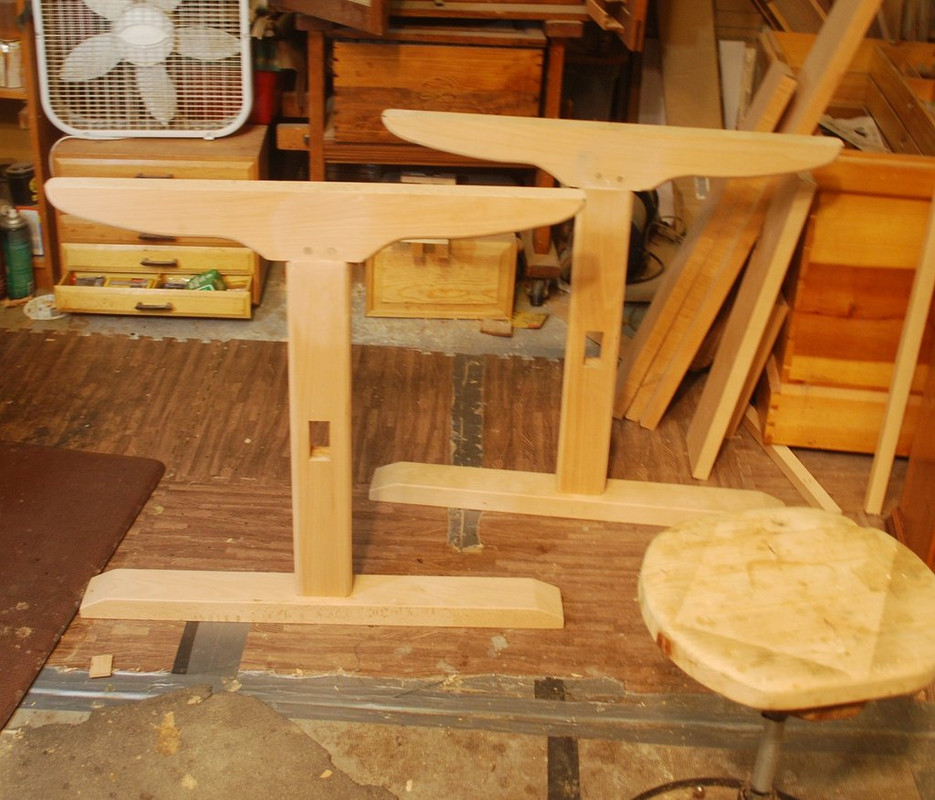
Sawing bevel edges on feet for the benches.
Here are the benches assembled. Bench tops are 4/4. After assembly I decided to add another piece of 4/4 stock to the bottom for additional stiffness. My nephew was a D1 offensive lineman goes a solid 270. Maybe Ill ask him not to stand on it.
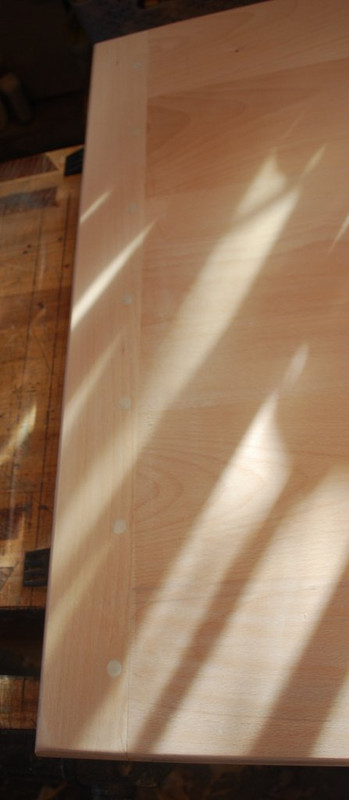
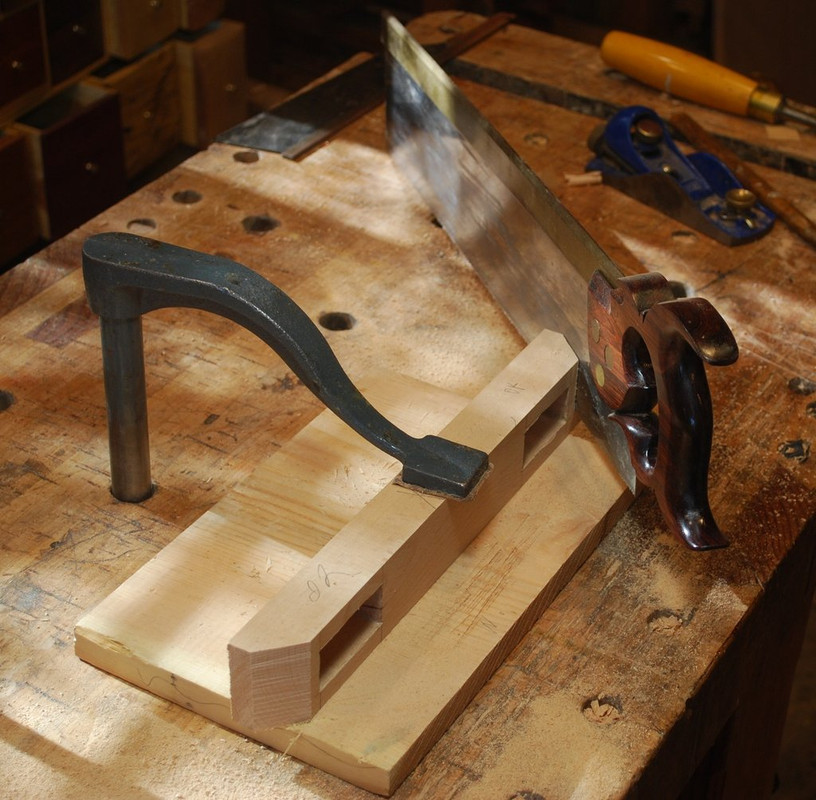
I used 6/4 stock for the breadboard ends on the tabletop. I wanted the additional thickness to keep everything flat and I think visually it adds a little more balance/character to the table top. As much as I love my hard, sharp Japanese mortise chisels, when it comes to levering out chips IMHO nothing beats an old-fashioned pig sticker.
Gluing up the breadboard ends on the tabletop maxed out my supply of pipe clamps.


 Reply With Quote