Page 1 of 3 123 LastLast
Results 1 to 15 of 39

Thread: Is there an easy way to trim hardwood glued to plywood edges?

Hybrid View

Previous Post Previous Post   Next Post Next Post
  1. #1
    Join Date
    Nov 2014
    Location
    Nebraska
    Posts
    94

    Is there an easy way to trim hardwood glued to plywood edges?

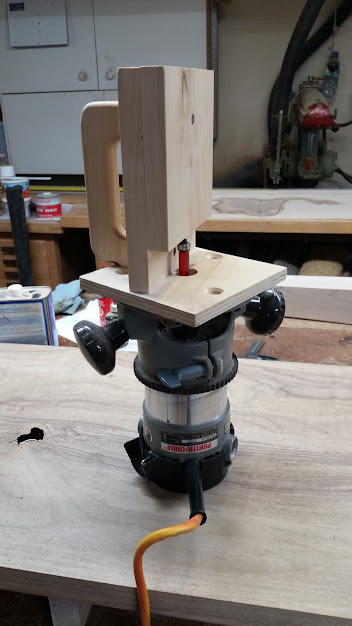
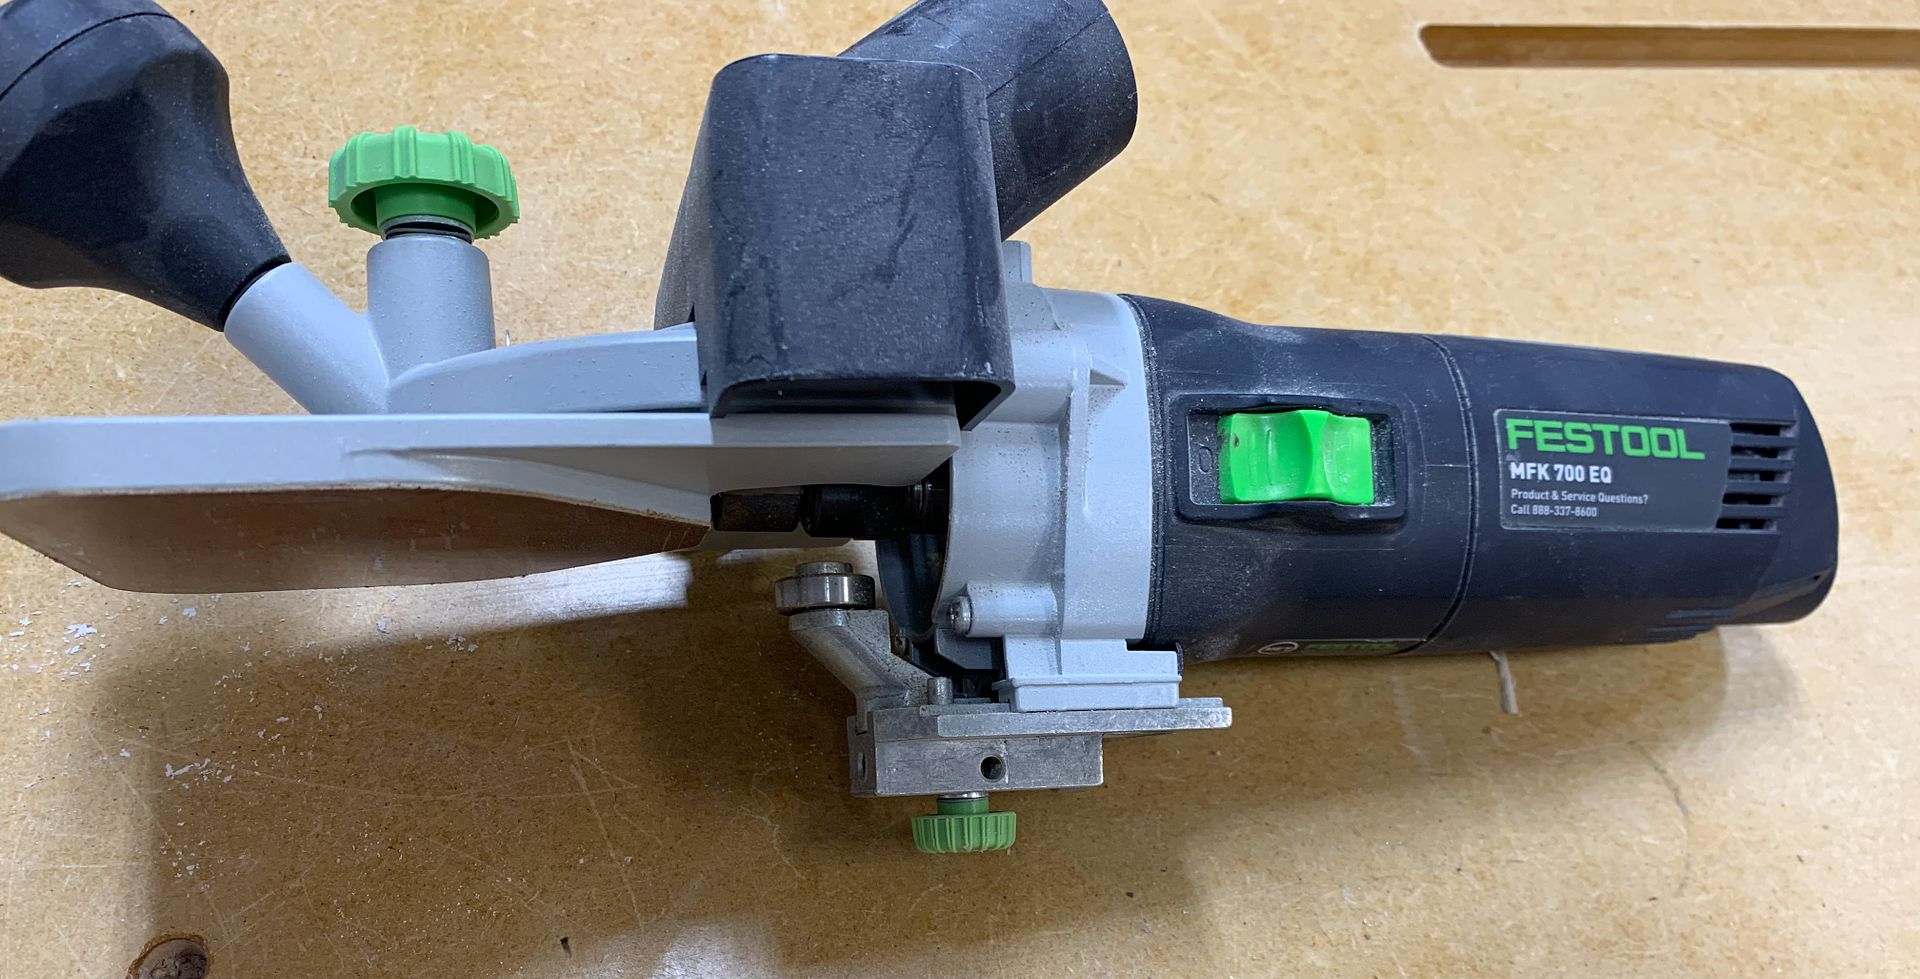
    I'm struggling with edging plywood, and hoping someone can give me some guidance. I have several projects going that use walnut veneered plywood. I glued walnut strips onto the edges so I could hide the plywood edge. I made my walnut strips 1/4" thick and 7/8" wide, so I could trim it flush after gluing it on, then add a small corner radii. My first idea was to trim it with a flush trim router bit, and I struggled to hold the router square on the 3/4" thick plywood. Then I had the idea to sand it flush with my drum sander. This worked a little better than the router, but it wasn't great, because any slight warp in the plywood, and the drum sander sands right through the veneer. Then I made a right angle block to clamp to the panel to help support the router and keep it square while using the flush trim bit. I haven't used this yet, but it seems fiddly to say the least. Is there an easy fool proof way to trim the overhang off the edges and get it as close to flush with the plywood sides?

  2. #2
    Join Date
    Apr 2010
    Location
    Nashville, TN
    Posts
    1,544
    I have had good results by setting up 2 pieces of the plywood together with space in between for the router bit. The 2 pieces can be spaced to support the router trimming each edge but not so far apart it falls between them.

    Finish with an ROS careful not to sand the veneer much.

  3. #3
    If you want to do it right lipping tool is the one but it costs coin. There are other set ups you can do on a shaper or table saw. Lipping tool once set up is fast and accurate.

  4. #4
    Join Date
    May 2014
    Location
    Alberta
    Posts
    2,162
    Cut the strips narrower. Like about 1/16" at the most wider than your edge and use a card scraper.

  5. #5
    Join Date
    Dec 2010
    Location
    WNY
    Posts
    9,775
    Woodsmith magazine had a very useful jig to hold a router parallel to the surface of the sheet goods. I can't find a picture of the one I made at the moment, but I can take one if you are interested. It took an hour or two to make it, but I've had it now for at least 10 years and it works great. Because it's hand held it allows you to climb cut, too, which eliminates tear out.

    John

  6. #6
    Join Date
    Feb 2007
    Location
    Piedmont Triad, NC
    Posts
    795
    Table saw cuts close enough to sand.

    ShelfTrim1.jpgShelfTrim2.jpg
    "Only those who have the patience to do simple things perfectly will acquire the skill to do difficult things easily.”
    Friedrich von Schiller (1759-1805)

    "Quality means doing it right when no one is looking."
    Henry Ford

  7. #7
    Join Date
    Apr 2006
    Location
    Phoenix AZ Area
    Posts
    2,505
    Quote Originally Posted by Tony Joyce View Post
    Table saw cuts close enough to sand.

    ShelfTrim1.jpgShelfTrim2.jpg
    In my experience today's hardwood veneers are so thin it's impossible to send hardwood edging flush. I vowed to never again use commecial hardwood veneered plywood. Instead I saw my own veneer and vacuum bag it to baltic birch. That ply in the picture looks like from 30 years ago or it's custom.

  8. #8
    Join Date
    Feb 2007
    Location
    Piedmont Triad, NC
    Posts
    795
    Quote Originally Posted by Joe Jensen View Post
    That ply in the picture looks like from 30 years ago or it's custom.
    I hadn't thought about it til I saw your post, but you're probably right about the age of that plywood.
    It may be over thirty years old. This was seconds or culls from a company that made plywood for Hatteras Yacht.
    My dad used to buy a truck load at the time. We had an 18' flat bed at that time. I sorted it as I unloaded it and kept the best for myself.
    I've got Mahogany, Teak, Afromosia and odd pieces of other species. Lots of 1/4" & 1/2" with other thicknesses from 1/8" to 1".
    Good times. Anyway it makes nice shop cabinets.

    As side note I have a 40 X 80 building lined with 1/2" teak, ain't that a hoot. It was cheaper at that time than buying liner.

    Thanks for reminding me about this.

    Tony
    "Only those who have the patience to do simple things perfectly will acquire the skill to do difficult things easily.”
    Friedrich von Schiller (1759-1805)

    "Quality means doing it right when no one is looking."
    Henry Ford

  9. #9
    Join Date
    Oct 2004
    Location
    SoCal
    Posts
    866
    I have a PC trim router baseplate that has two levels. The lower level sits on your workpiece for control and the upper, cantilevered level sits high enough for the router bit to clear the wood. I have what looks like a spoilboard bit set to the width of a business card above the reference surface. Works a treat but it took me over an hour to get the bit height exactly correct Hasn't been changed in the last 5+ years) bit it is noisy and dusty.

    The other method I've used is a fenced rabbet block plane, although a regular block can be used. This method is faster to set up (unless you have a router jig ready to plug in & go) and gets the job done quickly and quietly. Since you can remove material at as little as .001" per pass, the block plane method can be more accurate.

    IMO & YMWV

  10. #10
    Join Date
    Nov 2014
    Location
    Nebraska
    Posts
    94
    Michael, fantastic idea on the second piece of plywood spaced out. I’ll give it a try.

    Warren, I’ve never heard of a lipping tool, but I’m going to check it out.

    Mike, great idea with the card scraper. After getting these strips glued on, I immediately regretted the amount of stock I left. I used rockler bandy clamps to hold the edging in place, and it worked really good. With less overhang material, I think it still would have been fine. I have a couple smaller planes I considered trying to use to flush it up, but I chickened out due to my inexperience.

    John, I would love to see a picture or 2 when you have time to snap them.

    Thank you to all of you. You have restored my enthusiasm about getting this done.

  11. #11
    Join Date
    Dec 2010
    Location
    WNY
    Posts
    9,775
    OK, here are a couple of photos. The key is to make sure the outer edge of the router bit is in the same plane as the shoe that rides on the panel, or just a smidgeon shy.


    John

  12. #12
    Join Date
    Jul 2016
    Location
    Lebanon, TN
    Posts
    1,722
    I use a Festool MFK700EQ for exactly this. A Festool version of John's setup above.


  13. #13
    Join Date
    Nov 2009
    Location
    Peoria, IL
    Posts
    4,564
    I also made up a version like John's, but used a laminate trimmer to keep it lightweight.

  14. #14
    Join Date
    Nov 2009
    Location
    Alaska
    Posts
    711
    Depending on the size of the piece I intend to trim, I will generally migrate towards my router table and flush trim bit. I have an Incra jig for cutting DT's on the table, and it's perfect for clamping the piece to, and keeping it 90 deg to the table.

    But....after seeing John TenEyck's jig below, I'm totally stealing his idea and making that jig.

    Quote Originally Posted by John TenEyck View Post
    OK, here are a couple of photos. The key is to make sure the outer edge of the router bit is in the same plane as the shoe that rides on the panel, or just a smidgeon shy.


    John

  15. #15
    Join Date
    Jul 2016
    Location
    Lebanon, TN
    Posts
    1,722
    The Festool MFK700 is limited.

    A guy, Paul (I think) who goes by Half-Inch-Shy on YouTube, did do a video on what to do to modify the MFK base to allow a bit more capacity, but I think it was only to 3/4".

Posting Permissions

  • You may not post new threads
  • You may not post replies
  • You may not post attachments
  • You may not edit your posts
  •