


This is the 14th chapter in the Underbench Cabinet build. The thread has become quite long, and now needs to have a fresh start. Note that this is not the usual dovetailing article - hopefully, it brings forth your techniques.
Bill and I have been discussing drawer-making. We have different approaches since our target audience is a different group. Bill is better aligned with production work, aiming to build a drawer as quickly as possible. He is less concerned with aesthetics (although his work always looks exceptionally good) and more focussed on finding shortcuts to increase speedier construction. My work is aimed at being the best I can, with a focus on traditional construction completed to as near perfection as I can muster (which sounds grander in words than in practice!).
I argue that my drawer-making is quite speedy. The speed comes from minimising unnecessary tasks by planning ahead. This is not immediately apparent in that I use techniques that appear to add extra work. In actual effect, they reduce errors and thereby reduce the time required to tune or repair joinery. My aim is to get it as right as possible - immediately. One example if this is that I do not check whether the drawer is square after glue up ... because the drawer will dry in the drawer case, and so fitting the drawer case is what is important.
Now the issue about fitting the drawer case is that this is only possible if the dovetailing is a flush fit, and ready to go into the drawer case. It is expected to be a tightish fit, which will need to receive just a small amount of final tuning. The level of expertise involved here is not really that high; it is more about the approach. I believe anyone can do the same, and this is the motivation to write this chapter. I am sure that Bill will likely do the same ... I look forward to learning from his approach, adding technique to my own.
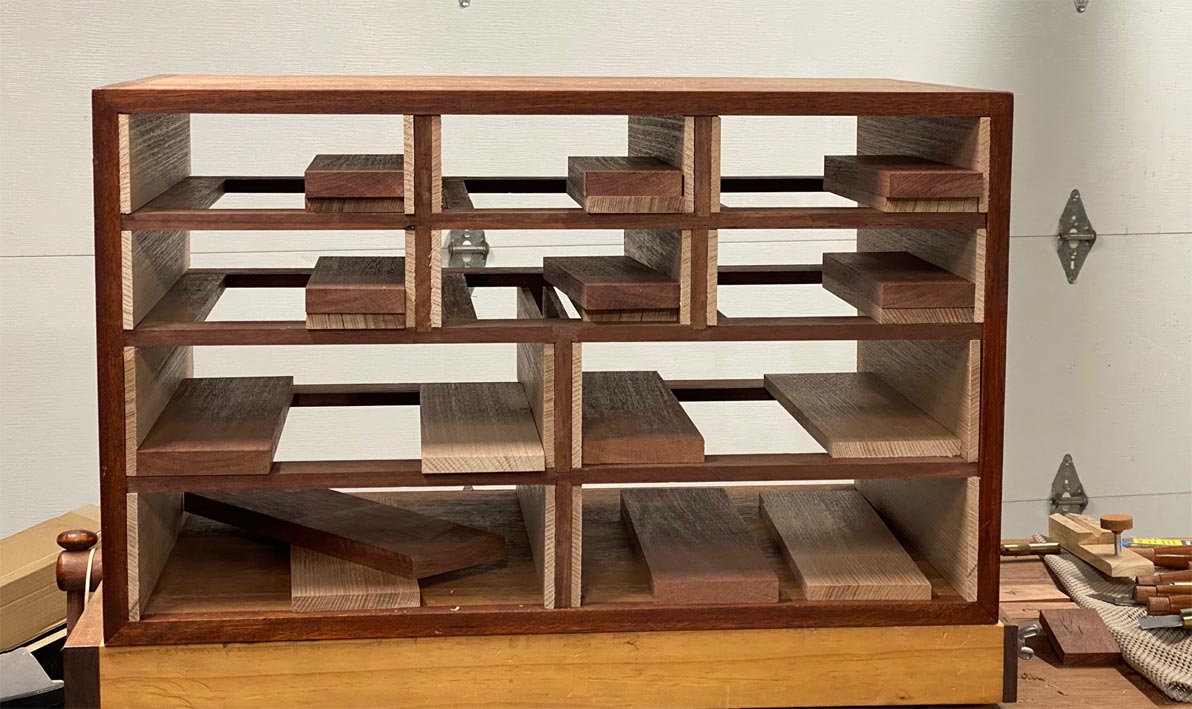
The discussion started when Bill questioned why I had cut all the drawer parts (sans the drawer bottom) for this cabinet ...
Bill makes one drawer at a time. He does this as he is concerned the wood will move .. warp or twist .. if it is allowed to rest. My argument is that speed comes from massed repetition: returning to saw all the parts separately is slow. I do not fear the drawer sides moving as I use quarter sawn timber for drawer sides, which is very stable. The wood here is Tasmanian Oak (which is actually an Australian Eucalyptus).
The drawer-making process is divided into three stages: first comes the (half-blind) dovetailing of the sides to the front. The groove or slips for the drawer bottom is added later.
Secondly, the drawer back is (through) dovetailed to the sides. This relies on the height of the groove, and the reason it is completed later and not up front.
Thirdly, the drawer bottom is made and inserted.
What I wish to demonstrate here is the first stage: dovetailing the front to the sides.
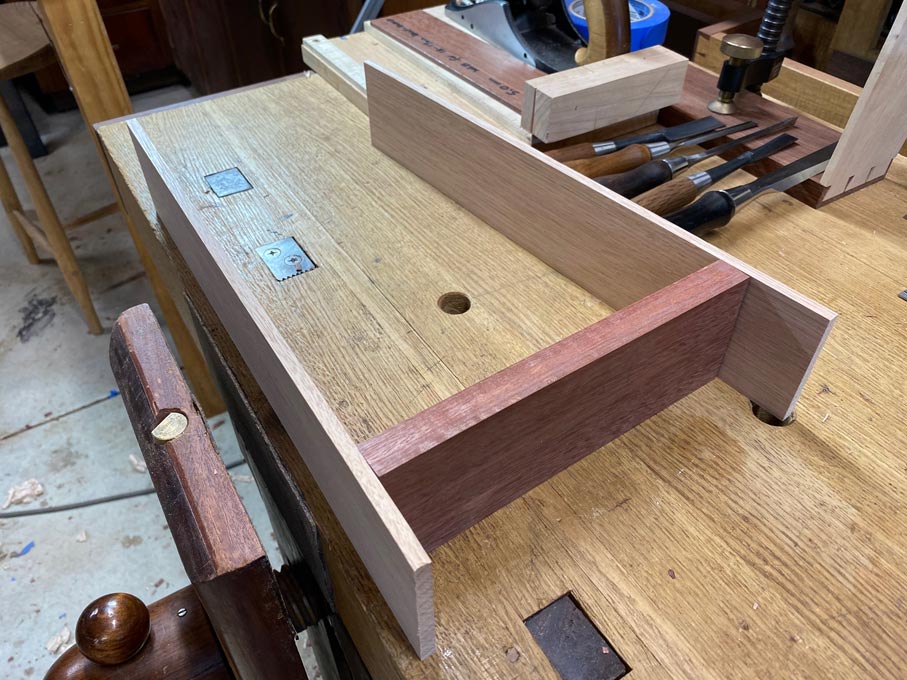
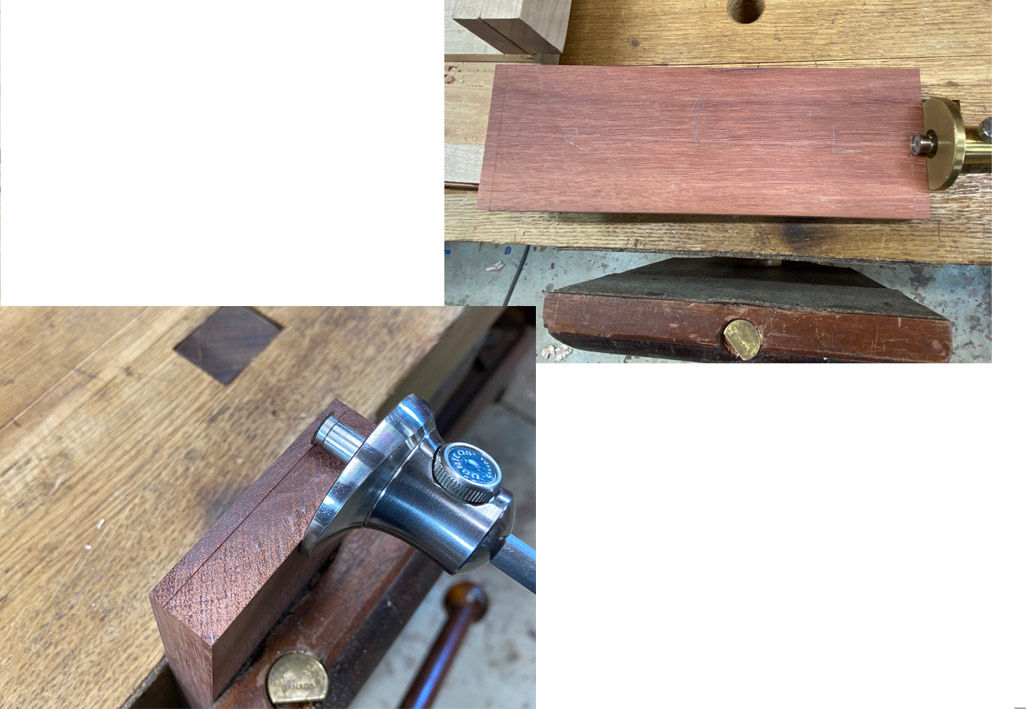
Here are the parts. The Tassie Oak sides are 1/4 (6.35mm) thick and the Jarrah front is 3/4 (18mm).
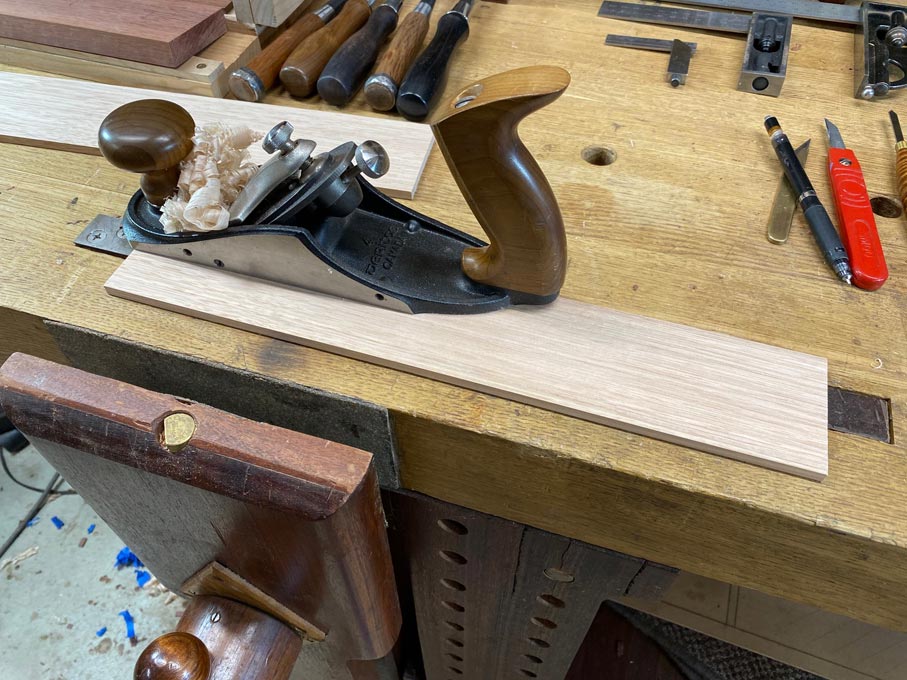
The inside face of the drawer sides is planed to remove any machine marks ...
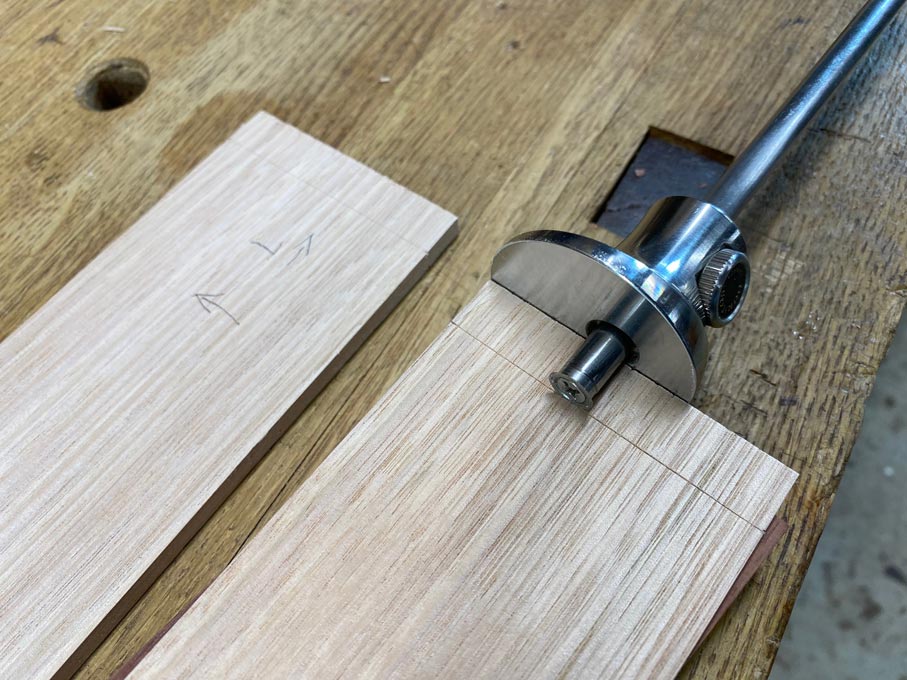
We will cut Tails First, so mark the tail board ...
To speed marking of the tails, a template (or story stick) is made. This will set out the tails for the top two rows, six drawers in all.
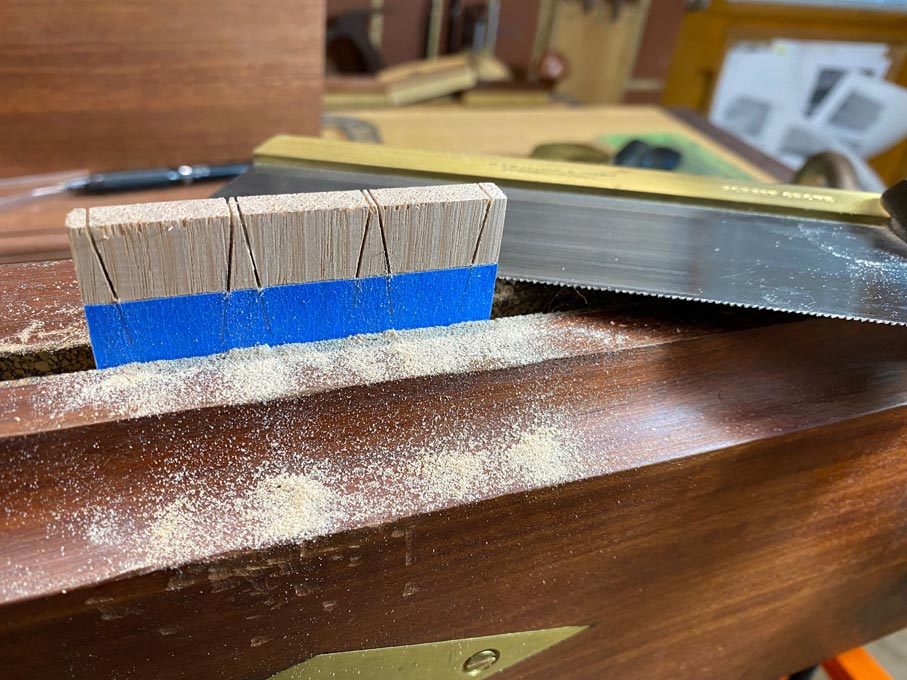
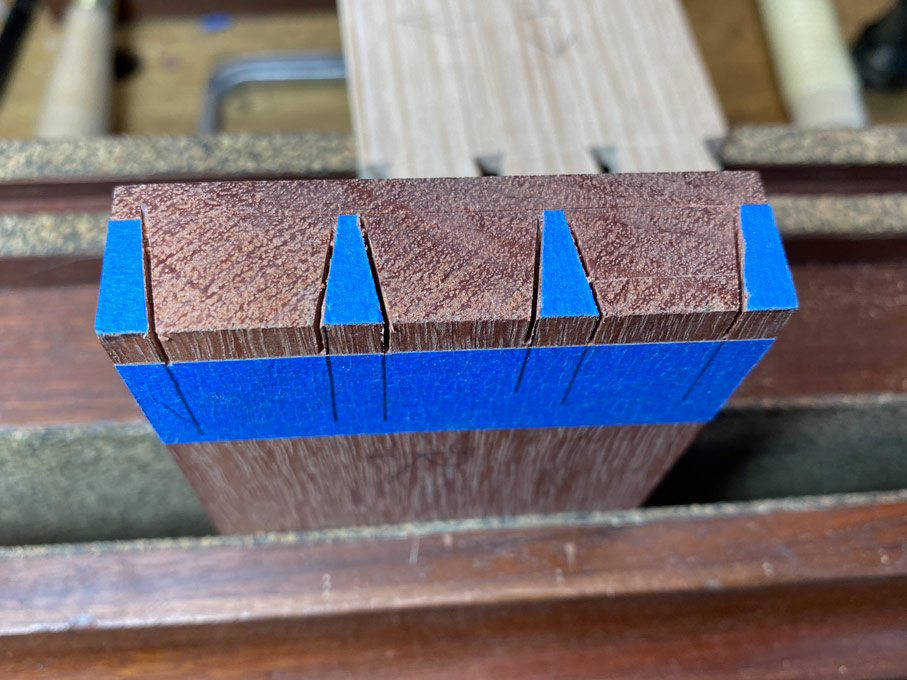
The tails are sawn. Note that there is a line of blue tape to help my ageing eyes know when to stop cutting!
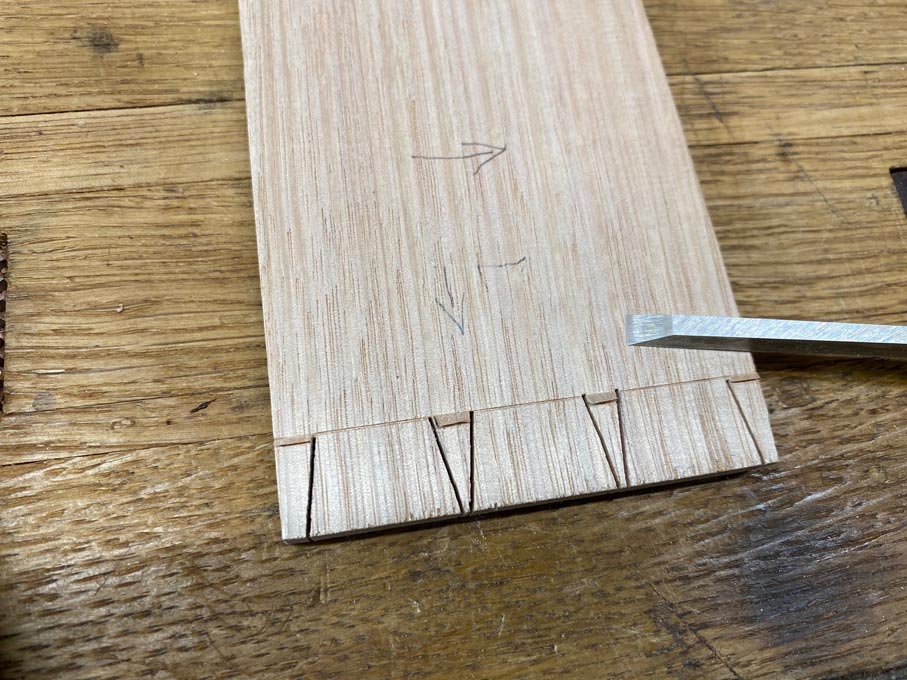
An important step is to undercut the baselines. This will increase accuracy when paring ...
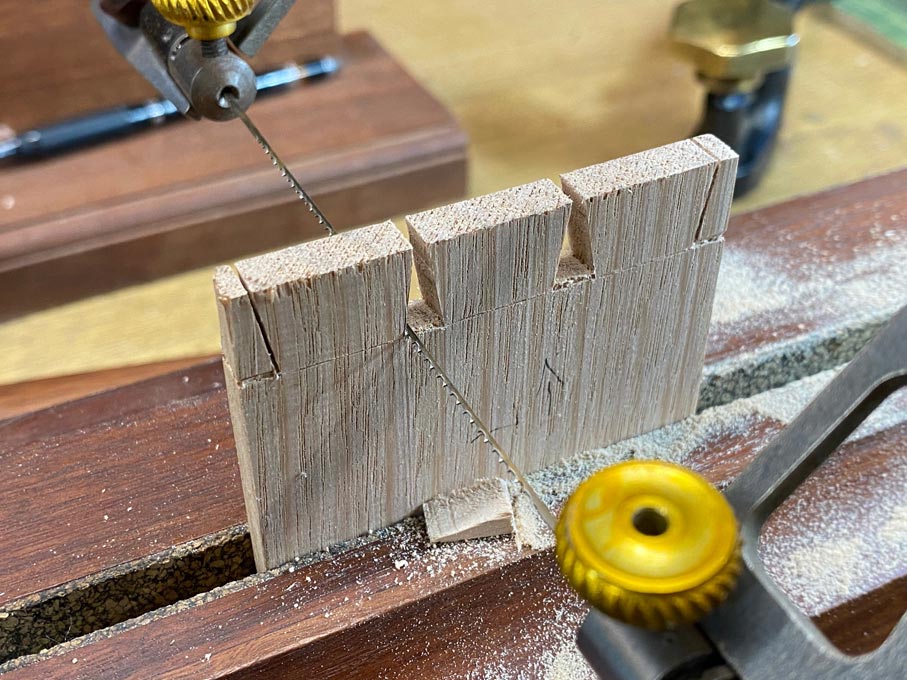
Fretsaw the waste as close to the baseline as possible. I generally leave about 1mm ...
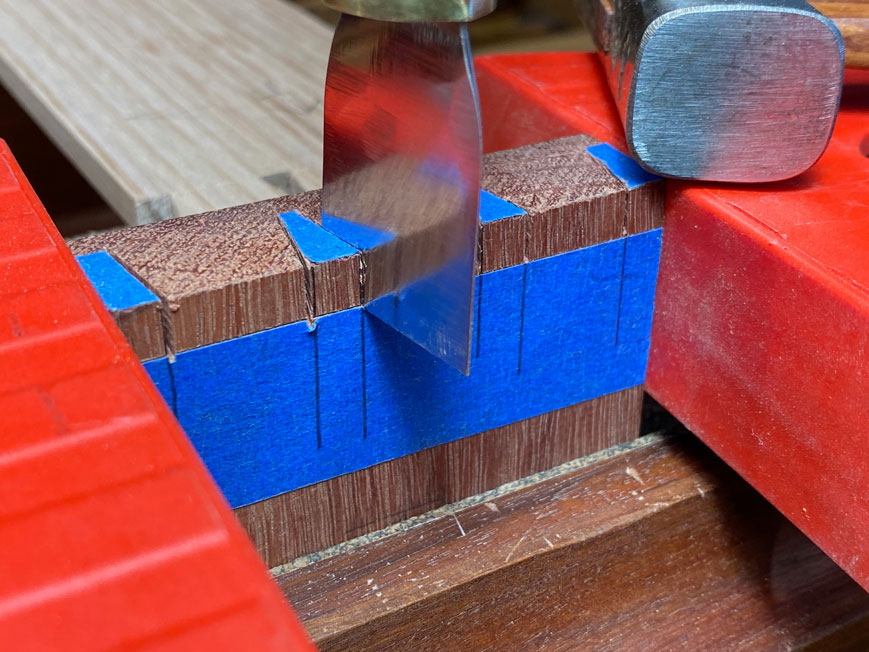
Saw away the half sockets at each side, as usual. But now possible to set the chisel in the chisel wall and use a single down stroke to sever all the waste in the internal sockets, leaving the tail board done.
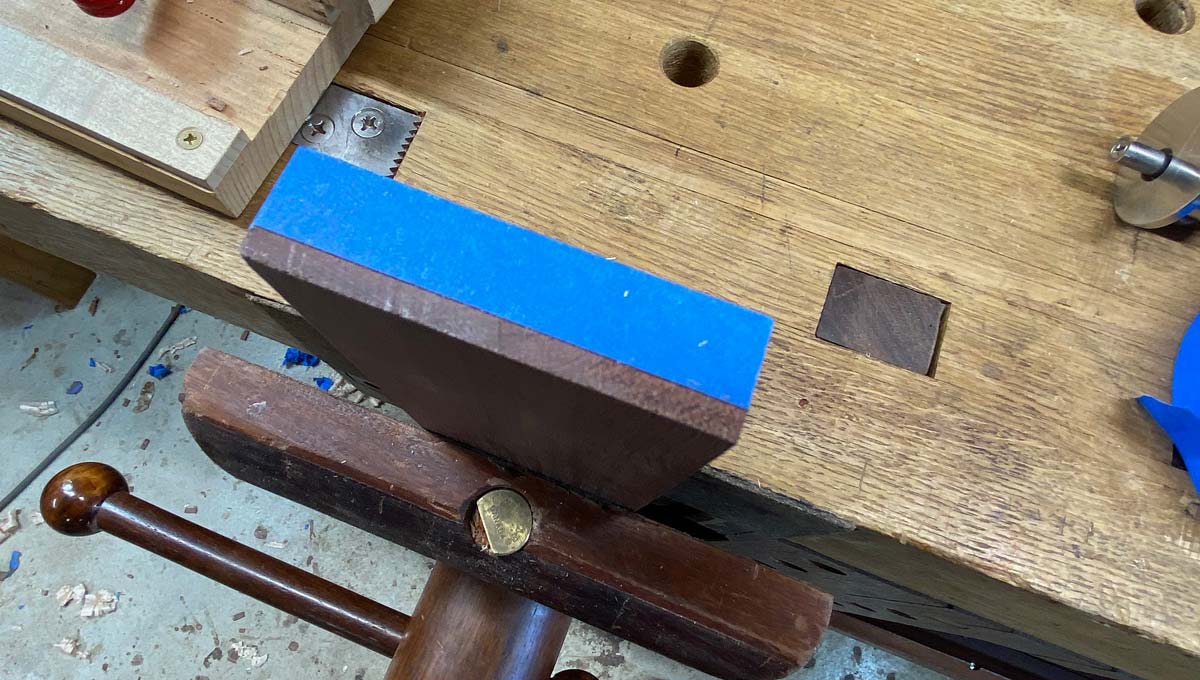
Mark the web on the drawer front. For 18-19mm drawer fronts, I keep make this 5mm wide.
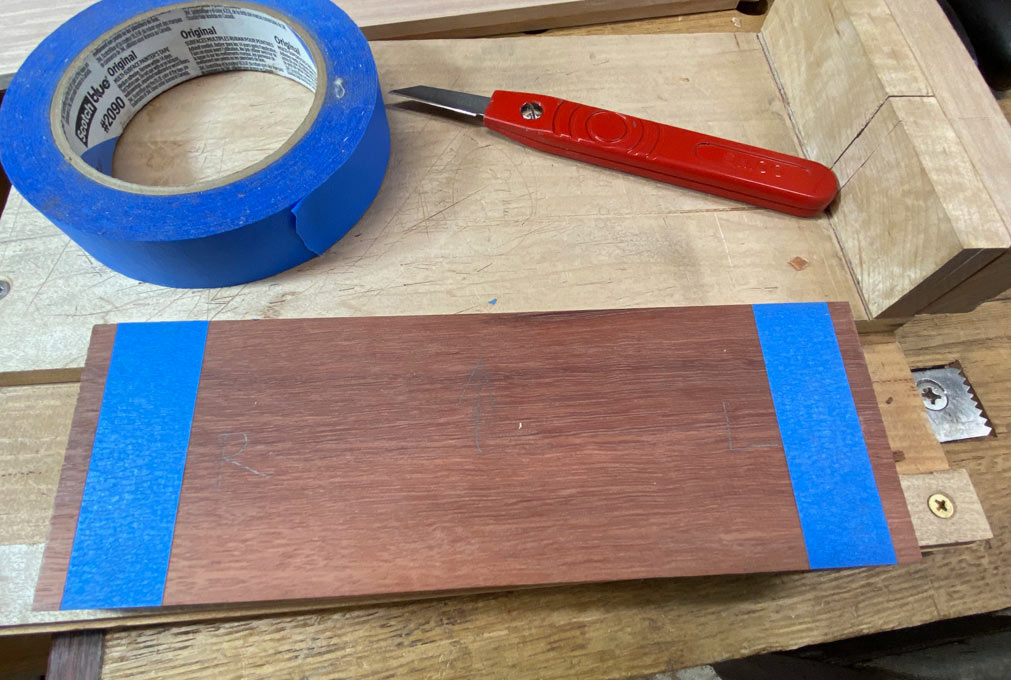
Once again, to aid visibility, blue tape is applied to underline the baseline ...
... and the pins. Here it extends to the web line ...
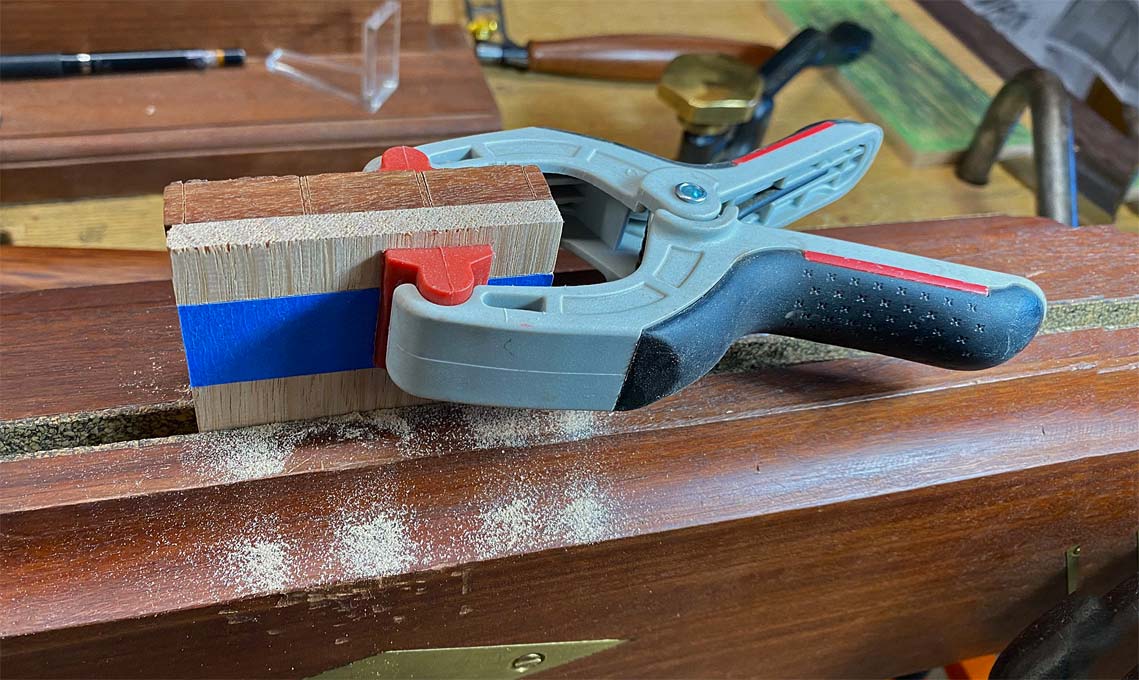
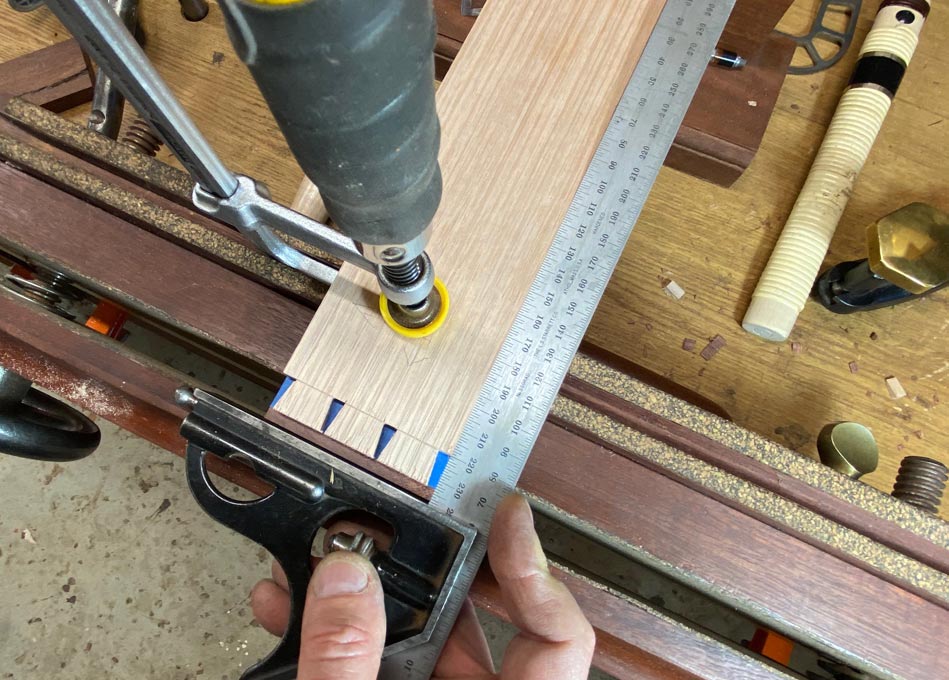
This next bit is extremely important, and can make-or-break the final result. The tails are transferred to the pin board. A single bevel knife is preferred. This will hug the wall of the socket, and slice the tape in a single stroke.
Secondly, the tail board is held firmly by a clamp, and is positioned squarely using a combination square. The square is placed along the reference edge, which is the lower edge of the drawer side. This will switch when the other side is marked out. The importance of this technique cannot be overstated: a squared joint is a prerequisite for a perfect fit. Anything that is not square will require planing, and a lot more tuning.
Below is the result of sawing to the line (is the sawing is more accurate than the dropped linesIn practice, the dropped lines are unnecessary if you have a decent sense of plumb) ....
Another time saver comes in the form of deepening the kerfs. This is my version of Tage Frids scraper method, a kerfing chisel.

 Reply With Quote