Page 1 of 3 123 LastLast
Results 1 to 15 of 32

Thread: Shop Project: New Drill Press Table

  1. #1
    Join Date
    Mar 2003
    Location
    SE PA - Central Bucks County
    Posts
    65,885

    Shop Project: New Drill Press Table

    I've been meaning to "refresh" my DP table for a long time now and some recent threads kinda brought that back into focus. Small projects seem to be more approachable right now due to motivation and distraction it seems. Just to set the tone, here's a before and after. The remainder of these posts will show the process.

    IMG_8756.jpg IMG_8762.jpg

    I started this project on the computer since I would be using my CNC machine to cut a piece of left-over plywood into the required components. There is the actual table top, which incorporates tee-track for hold-down as well as a second layer for strength and to provide a platform for the removable inserts under the tooling. A half-dozen inserts were easily able to be cut from the same piece of material. (and I have another small piece that I can stock up on more...it's easy and quick to cut them)

    As part of the design process, I selected the tee-track hardware first so I would have the exact dimensions required for the recesses in the top of the table. This included planning things so that the intersecting pieces would not require any additional track on the left and right side of the table. I happened to choose the PowerTec track off Amazon as they had exactly what I wanted and I could get the intersection kits separately. Another brand I was considering didn't sell the intersection kits separately from track and the cost would have been higher combining combinations, as it were. I only needed two intersection kits and one piece of 48" track, although I opted to buy two pieces of track "just in case" as well as it's handy to have some available.

    IMG_8743.jpg

    My Big Yellow Shop Assistant was very happy to do the hard work...

    IMG_8744.jpg

    ...and the fit was just what I wanted--very snug.

    IMG_8745.jpg

    After a bit of sanding, the components were ready for assembly

    IMG_8746.jpg

    Glue and screws from the bottom did the deed after I marked off where the tee tracks would be to insure no interference. The 20mm grid on my bench insured that the two pieces were in exact registration while fastening them together.

    IMG_8747.jpg IMG_8748.jpg
    --

    The most expensive tool is the one you buy "cheaply" and often...

  2. #2
    Join Date
    Mar 2003
    Location
    SE PA - Central Bucks County
    Posts
    65,885
    It was time for some final sanding and a quick application of some leftover Waterlox to the wood surfaces. That was allowed to dry overnight.

    IMG_8749.jpg IMG_8750.jpg

    The inserts were cut with a slight allowance so that they would slip into the table without forcing...these were later hit with a little blue dye and some spray shellac just for fun. Yes, they are round inserts. No, they will not spin around with a drill bit because the replaceable throat is offset from center, just in case you were wondering.

    IMG_8751.jpg

    Assembling the tee tracks to the table consisted of installing the intersections first, "encouraging" them to seat fulling with a small "impactful persuasive device" with a block of PVC material and then installing some #6 screws to add extra insurance that they wouldn't ever move again. I chose not to use the screws that came with the track...they were both silver and phillips head. I felt the black looked better and I don't like phillips head screws at all.

    IMG_8752.jpg IMG_8753.jpg

    Once both intersections were installed, it was possible to measure the exact lengths for the rest of the track system. The track was cut upstairs with my miter saw after marking each piece.

    IMG_8755.jpg

    The old table was used to identify the mounting points through the OEM cast iron DP table to save time

    IMG_8757.jpg

    That worked well, but the new top interfered with the table raising crank handle on the DP, so a scrap of 1.25" Exera raised things up just enough to clear. I little measuring allowed for transfering the mounting points to this additional platform.

    IMG_8758.jpg
    Last edited by Jim Becker; 12-30-2020 at 10:52 AM.
    --

    The most expensive tool is the one you buy "cheaply" and often...

  3. #3
    Join Date
    Mar 2003
    Location
    SE PA - Central Bucks County
    Posts
    65,885
    The table could then be mounted to the tool "permanently". I will likely get some slightly longer lag bolts in for better holding power in the Extera.

    IMG_8759.jpg

    From this angle, you can clearly see that the center line for drilling is offset from the center of the table inserts. That insures the insert will not spin with the tooling and also makes it easy to get a fresh surface under the drilling point as it inevitably gets damaged slightly over time. I usually have scrap blocking under a workpiece, but sometimes that's either forgotten or not possible. (I actually buggered it a hair in the following process for retrofitting the fence... )

    IMG_8760.jpg

    For the moment, I'll be using the existing simple fence. Since the tee-track is spaced differently from the original routed in tee-slots in the old table, it only required drilling two holes.

    IMG_8761.jpg


    And....now it can be put to work for existing and future projects. While it's not a "yuge" change from the previous, the extra tee track across the table will come in handy for work holding from time to time.

    IMG_8762.jpg
    Last edited by Jim Becker; 12-30-2020 at 11:09 AM.
    --

    The most expensive tool is the one you buy "cheaply" and often...

  4. #4
    Join Date
    Jan 2010
    Location
    Tampa Bay, FL
    Posts
    3,928
    Jim:

    Great job. You solved my pet peeve with virtually every commercial drill press table in that they all need a left-right T-track to hold small pieces. I've done this myself in the past, modifying Woodpeckers tables, but your is much nicer looking. And I'm sure will work great.
    - After I ask a stranger if I can pet their dog and they say yes, I like to respond, "I'll keep that in mind" and walk off
    - It's above my pay grade. Mongo only pawn in game of life.

  5. #5
    Join Date
    Mar 2003
    Location
    SE PA - Central Bucks County
    Posts
    65,885
    Thanks, Alan.

    I feel a need to mention that while I used my CNC machine to do the cutting and grooves, the same work can be done with a normal router, either with a table or with a guide. Zero in your groove depth and width on scrap first.
    --

    The most expensive tool is the one you buy "cheaply" and often...

  6. #6
    Jim,

    You'll be happy with your table for years to come. The cast iron tables that most drill presses come with are far from ideal for woodworking.

    I went with a square insert for two reasons.
    The first being it will not spin, although I am not sure that a round insert will spin in practice. It might if the fit is too loose I suppose.
    The second is I can make extra square inserts more quickly on a miter saw than I can turn one on my lathe.
    I made my table entirely with a router and some jigs for those folks that are thinking about making their own.

    IMG_1199.jpg

    Best Regards,

    Phil

  7. #7
    Join Date
    Jul 2010
    Location
    State College, PA
    Posts
    377
    Nice table, Jim!

    When I wanted to add a cross-wise tee track, I did it like this:

    E3D1EFB1-8C1A-4640-B01B-8967453ECE10.jpg

  8. #8
    Join Date
    Mar 2003
    Location
    SE PA - Central Bucks County
    Posts
    65,885
    Thanks, Philip. It's true that rectangular/square inserts are easier to make quickly. While I did go with round, I have a half dozen of them and can always run more on the CNC should I ever need more. The original table still had the original insert in it...for over 20 years. LOL No spin risk as noted, however, since the centerline of the quill is offset from the center of the insert.

    Jay, that's a very clever way to add additional clamping capability or even special fixtures! Thanks for sharing it.
    --

    The most expensive tool is the one you buy "cheaply" and often...

  9. #9
    Join Date
    Jul 2016
    Location
    Lebanon, TN
    Posts
    1,722
    Nicely done, although would we expect anything less.

    I learnt something about the round inserts.

    I currently have the Woodpeckers drill press table, waiting for the new dust collection fence for it, but if I didn’t have the WP, I’d be copying your setup here.

    Great write up.

  10. #10
    Join Date
    Mar 2003
    Location
    SE PA - Central Bucks County
    Posts
    65,885
    I learned the round insert offset thing from our friend Derek Cohen...and did so here at SMC.
    --

    The most expensive tool is the one you buy "cheaply" and often...

  11. #11
    Join Date
    Sep 2019
    Location
    Lafayette, CA
    Posts
    844
    Looks very nice, Jim. It reminds me of mine, with two layers of 3/4 Baltic birch. I attached my wood table to the cast iron original by running two T-tracks on the bottom of the new table (so the double thickness came in handy). Unlike yours, mine doesn't have the left-right T-track, but I have frequently seen how having one would be convenient. I usually rig up some longer boards to clamp the small work down, but yours will need far less fiddling.

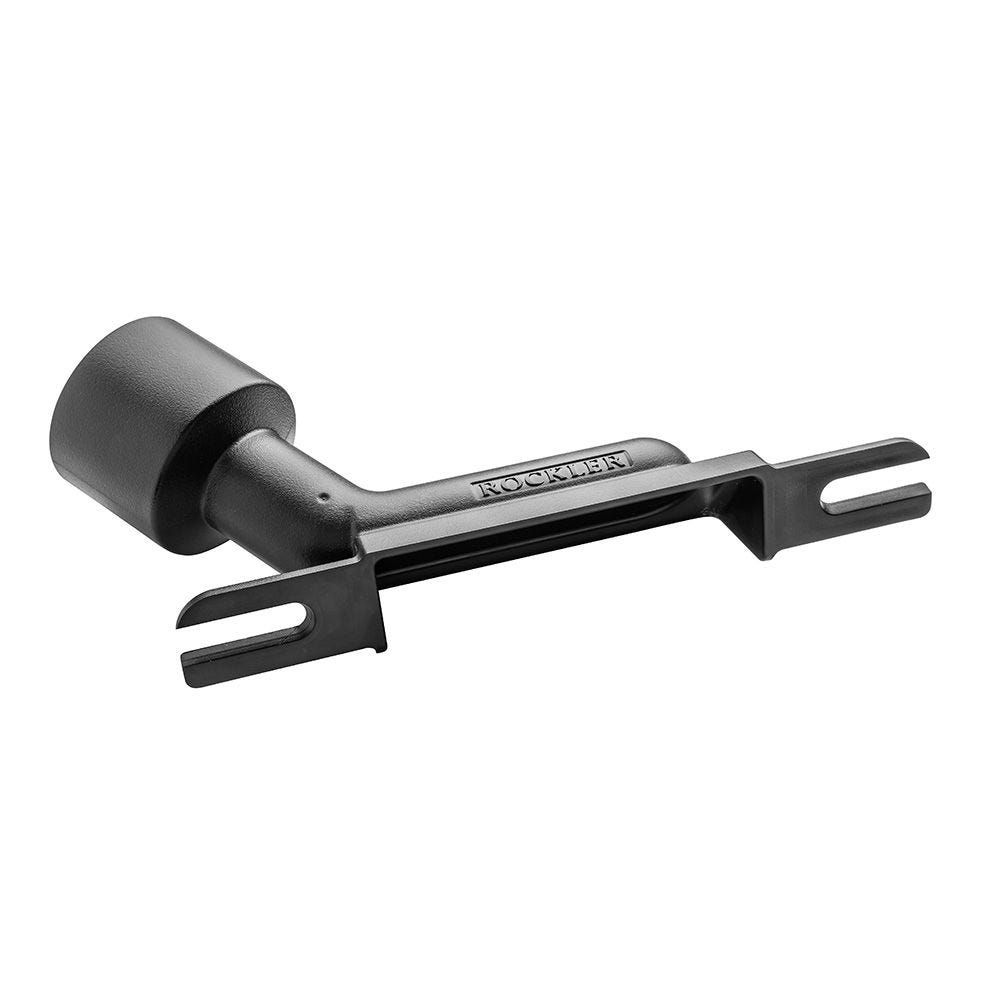
    Enjoy the new convenience! Look into Rockler's dust port for the fence (another ginormous photo):


  12. #12
    Join Date
    Mar 2010
    Location
    Somewhere in the Land of Lincoln
    Posts
    2,563
    Nicely done Jim. It should work well and last you a long long time. In my opinion it's better than any you could buy. Thanks for sharing.

  13. #13
    Join Date
    Mar 2003
    Location
    SE PA - Central Bucks County
    Posts
    65,885
    Rob, honestly, the left-right tee track was a major impetus for this little project...to add that little bit of extra flexibility. The metal tee tracks will also provide for smoother adjustment of the fence as well as any clamping, etc. It's not a major upgrade, but a nice one, nonetheless.
    --

    The most expensive tool is the one you buy "cheaply" and often...

  14. #14
    Join Date
    Jan 2010
    Location
    Tampa Bay, FL
    Posts
    3,928
    Quote Originally Posted by ChrisA Edwards View Post
    Nicely done, although would we expect anything less.


    I currently have the Woodpeckers drill press table, waiting for the new dust collection fence for it, but if I didn’t have the WP, I’d be copying your setup here.

    Great write up.
    Not to hijack the thread, but the Woodpecker dust collection fence I just received works impressively well. This might be because its just a few feet away from a central vac I hooked it too, but nonetheless works very well.
    - After I ask a stranger if I can pet their dog and they say yes, I like to respond, "I'll keep that in mind" and walk off
    - It's above my pay grade. Mongo only pawn in game of life.

  15. #15
    Join Date
    Mar 2006
    Location
    SoCal
    Posts
    22,512
    Blog Entries
    1
    Nicely done Jim. A good DP table is a joy every time you use it. I have my square insert off center but, need to convert to round. In these idle times I have been catching up on odd-jobs like this and your thread has brought this item into the light again. thanks,
    "A hen is only an egg's way of making another egg".


    – Samuel Butler

Posting Permissions

  • You may not post new threads
  • You may not post replies
  • You may not post attachments
  • You may not edit your posts
  •