Page 1 of 2 12 LastLast
Results 1 to 15 of 20

Thread: FWW Mail Box Build (Inlay, Proud DT’s)

  1. #1
    Join Date
    Feb 2011
    Location
    Carlsbad, CA
    Posts
    2,230
    Blog Entries
    2

    FWW Mail Box Build (Inlay, Proud DT’s)

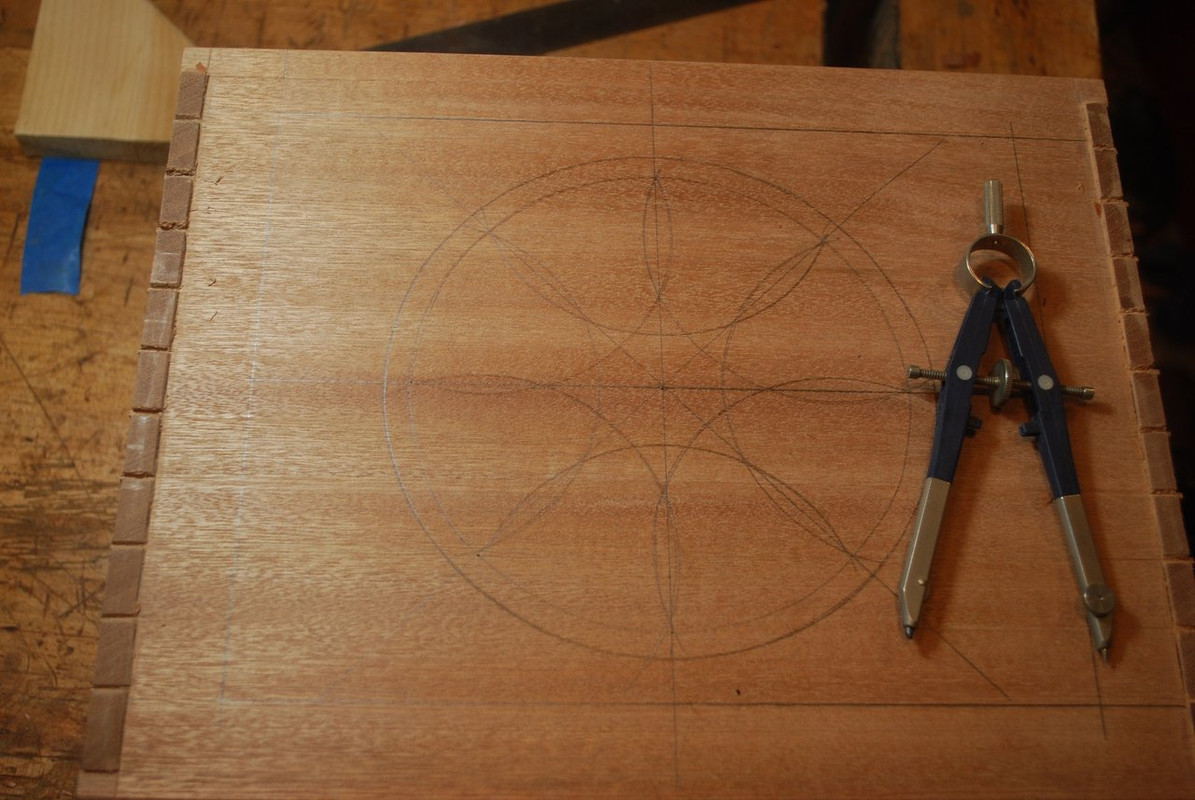
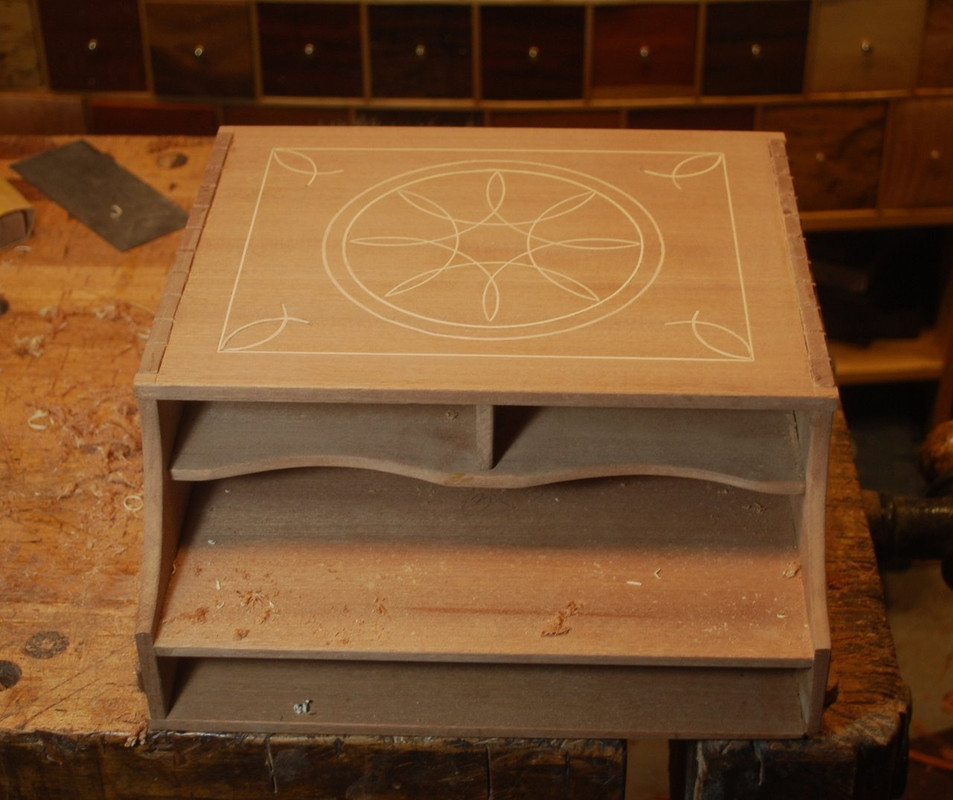
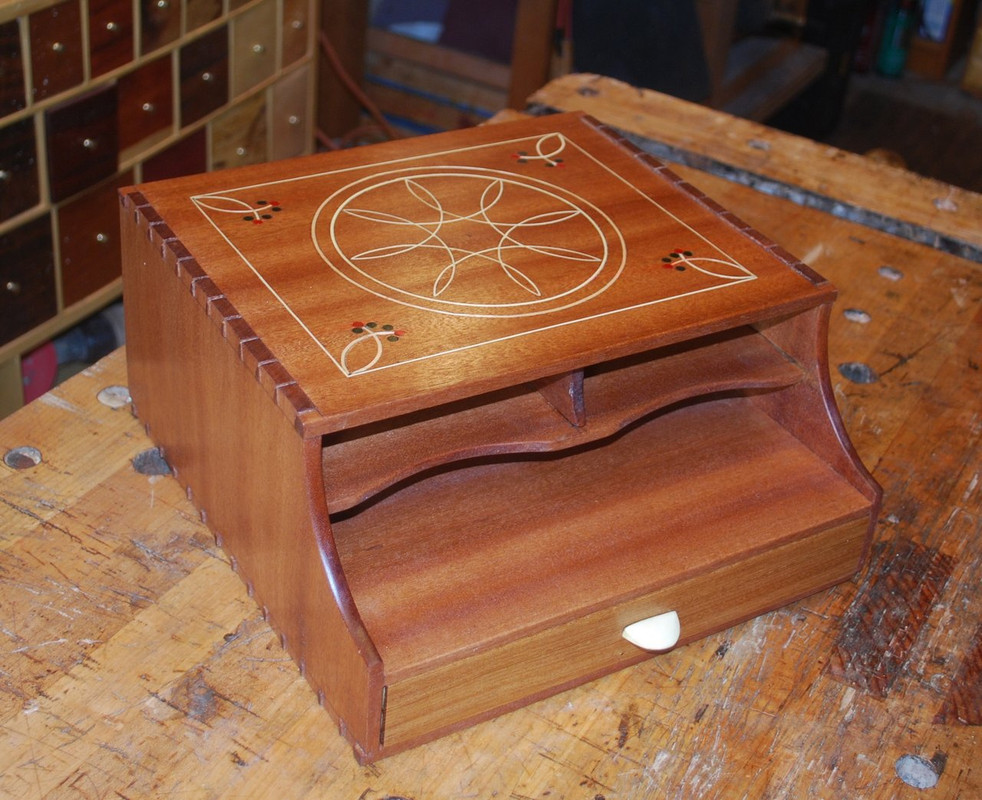
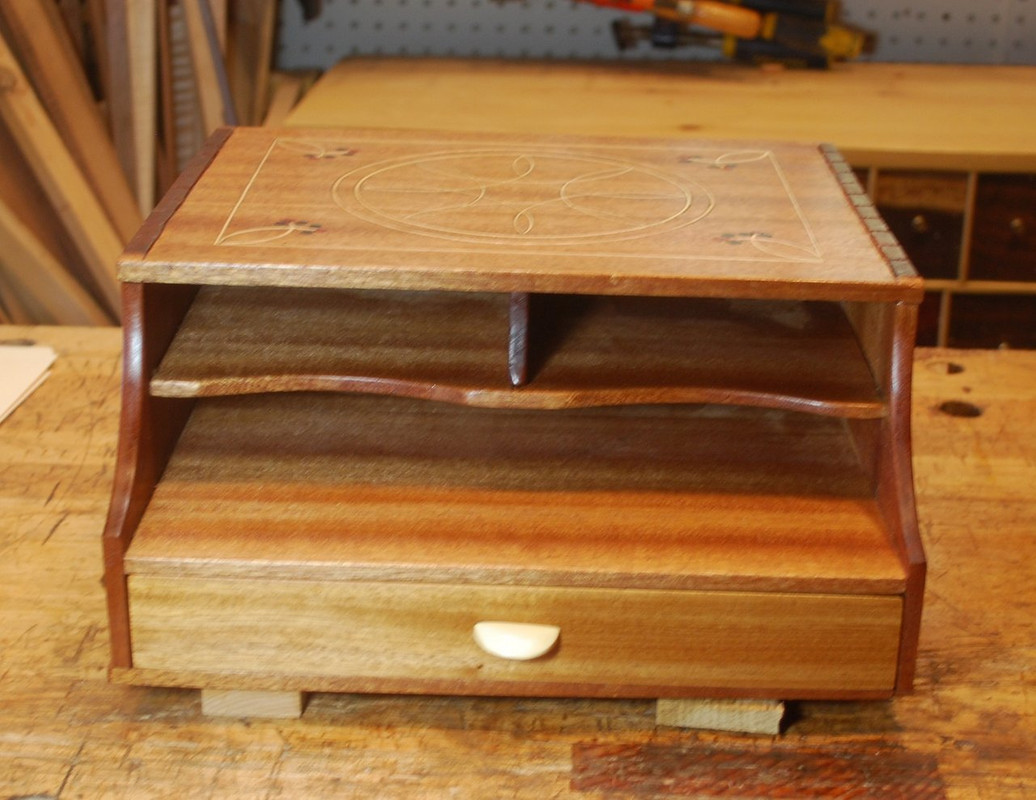
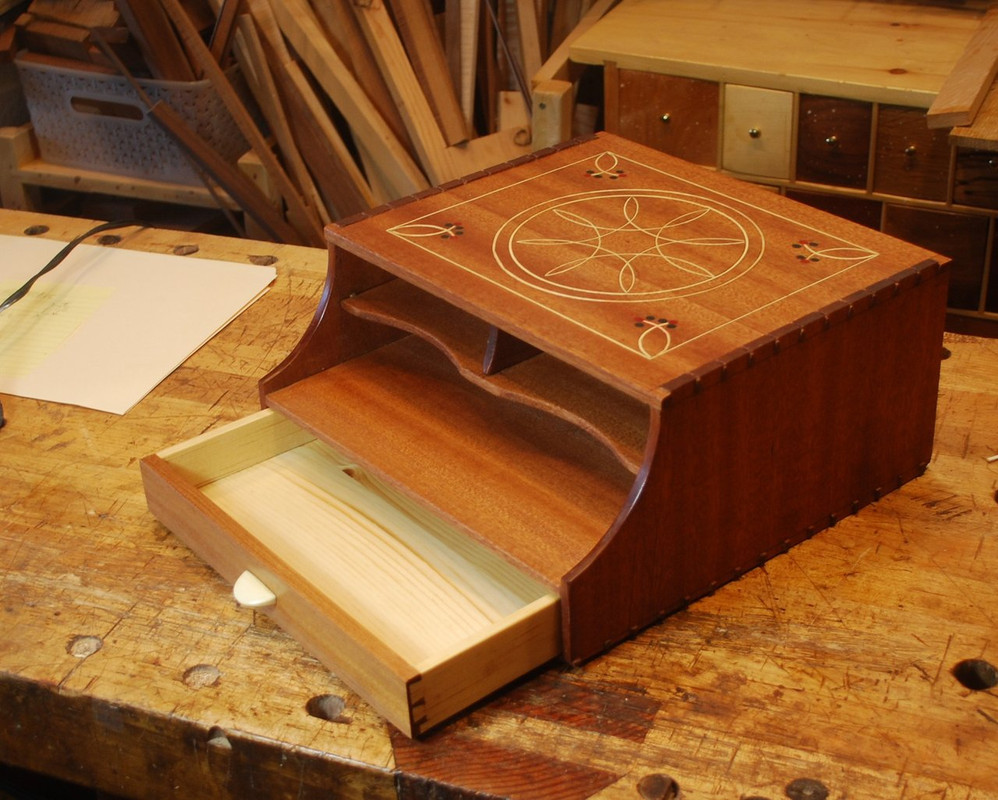
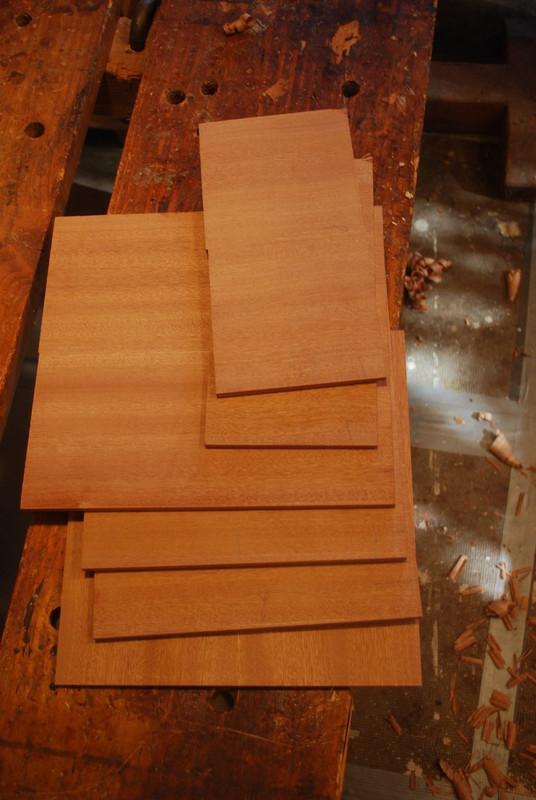
    This is a build thread for a small mahogany, dovetailed box for organizing mail featured in a recent Fine Woodworking Magazine article. The design features “proud” dovetails, something I’ve never done before thought so thought I might share some pictures and descriptions.

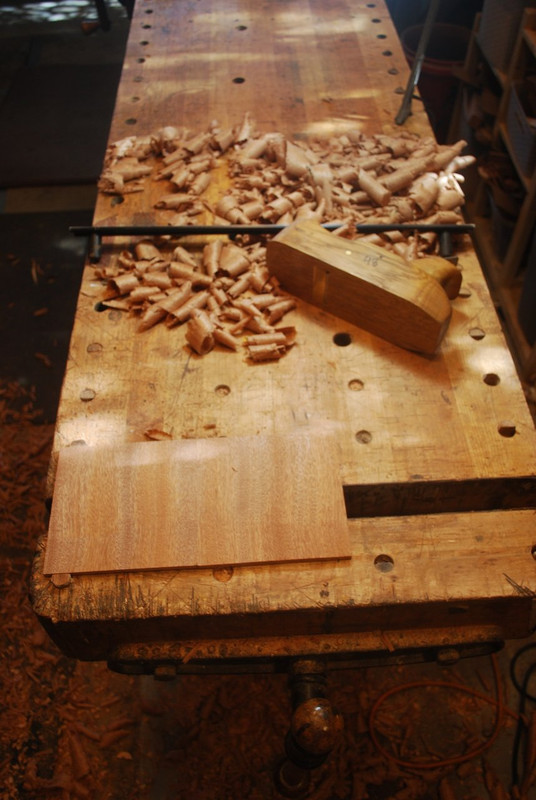
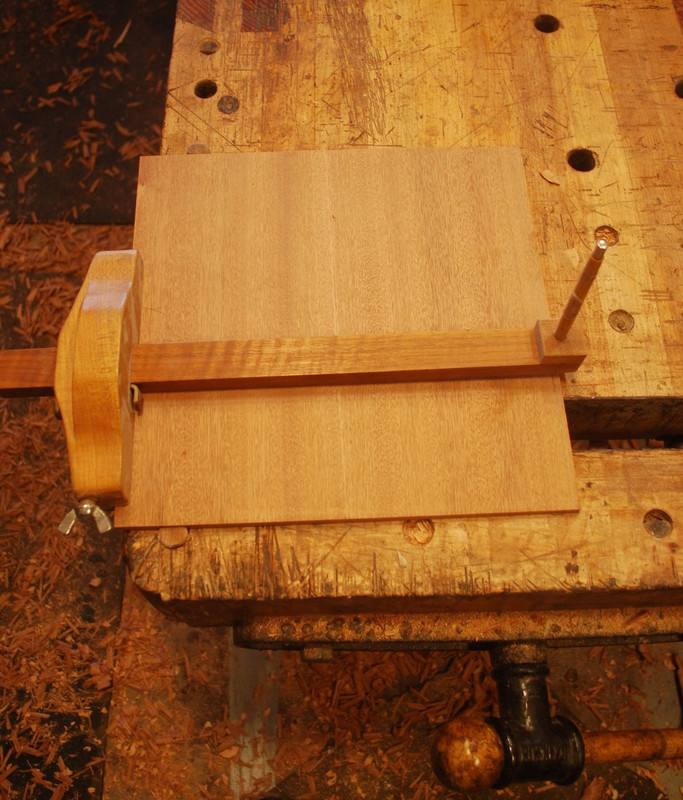
    I made the carcass out of approximately 3/8 thick stock. Work holding for planing thin material like this is always a challenge for me. The Veritas planing stops are helpful, but I’m looking for something thinner – maybe I can repurpose a hacksaw blade or something?


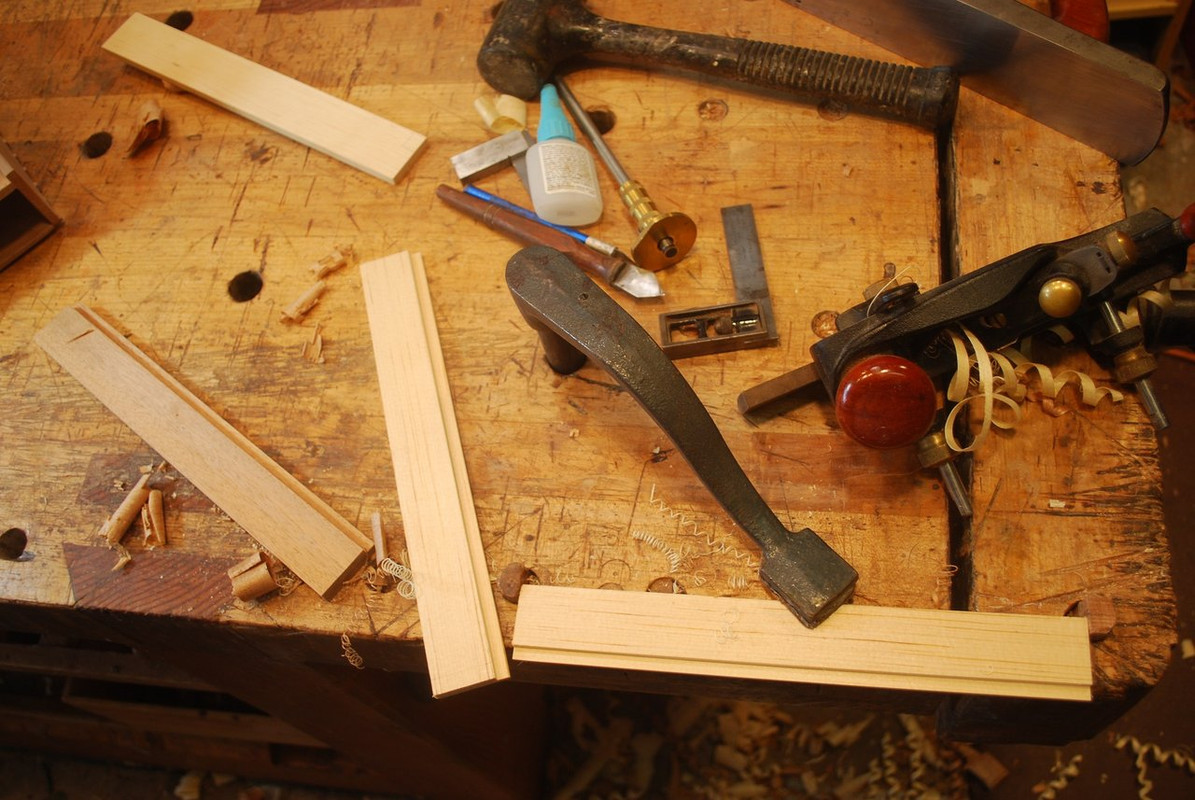
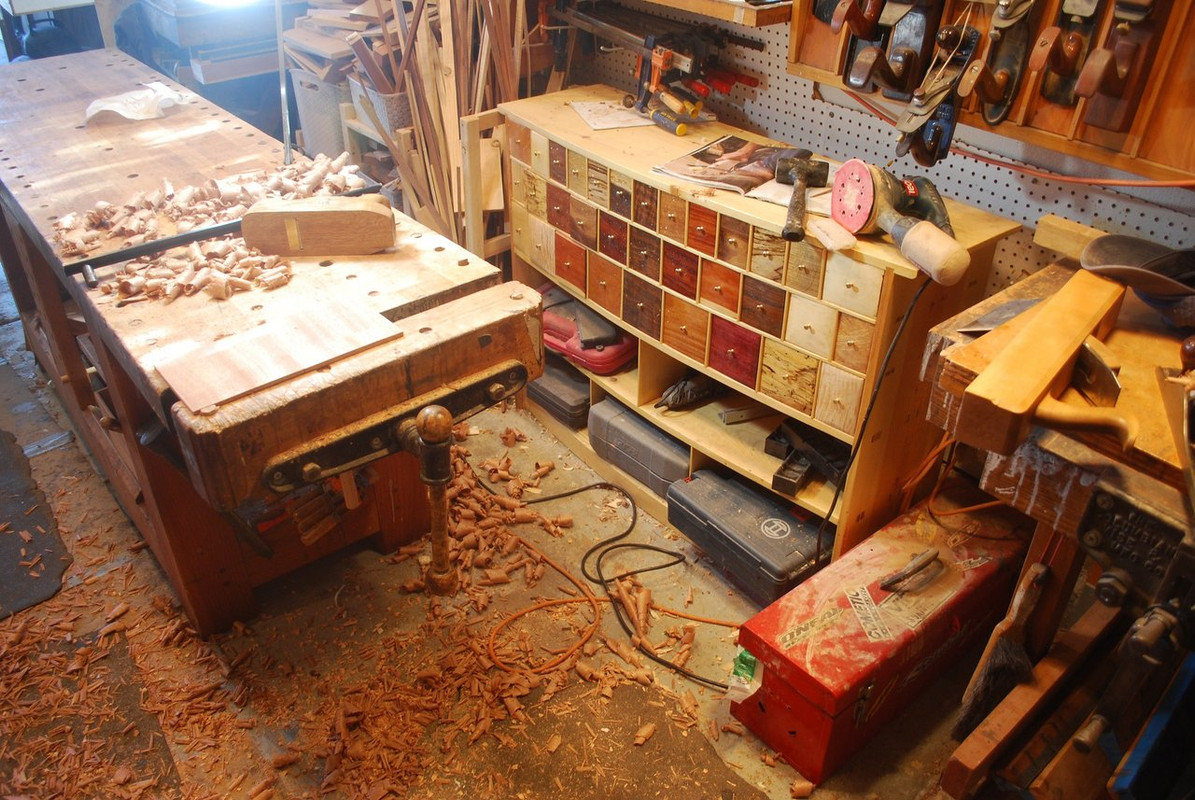
    Horizontal storage space is always at a premium in any shop. My current configuration has a storage cabinet and a second bench (original one I started with 40 years ago) within easy reach of the tail vice of my 8’ Roubo shop built bench. Handy for me to layout several planes within easy reach for surfacing panels.


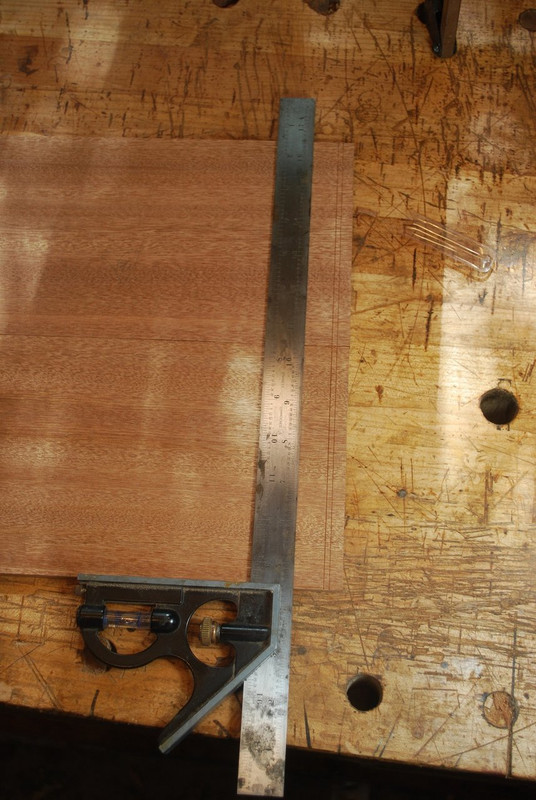
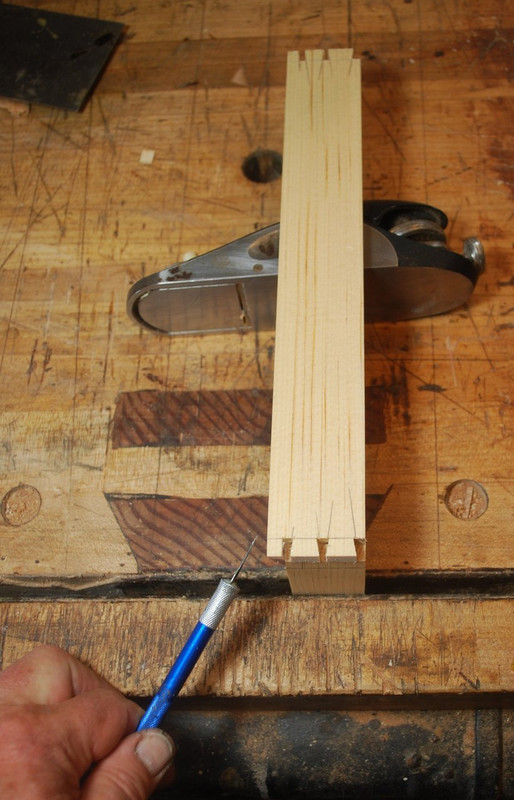
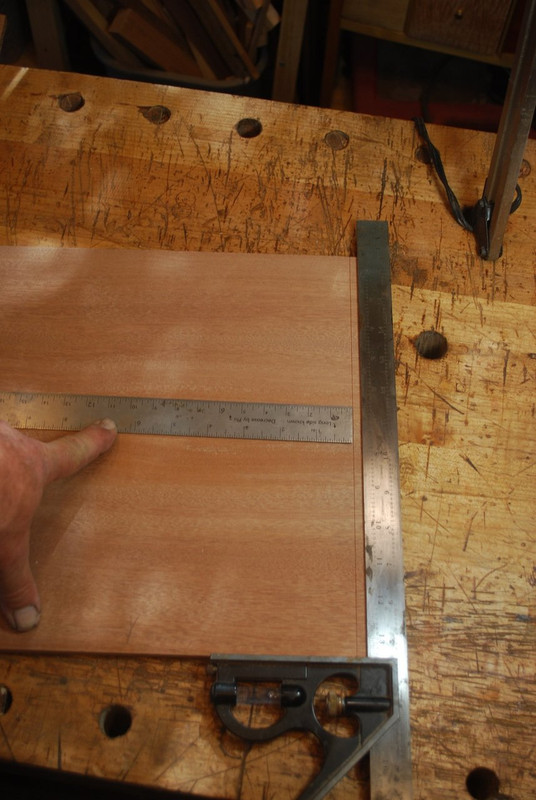
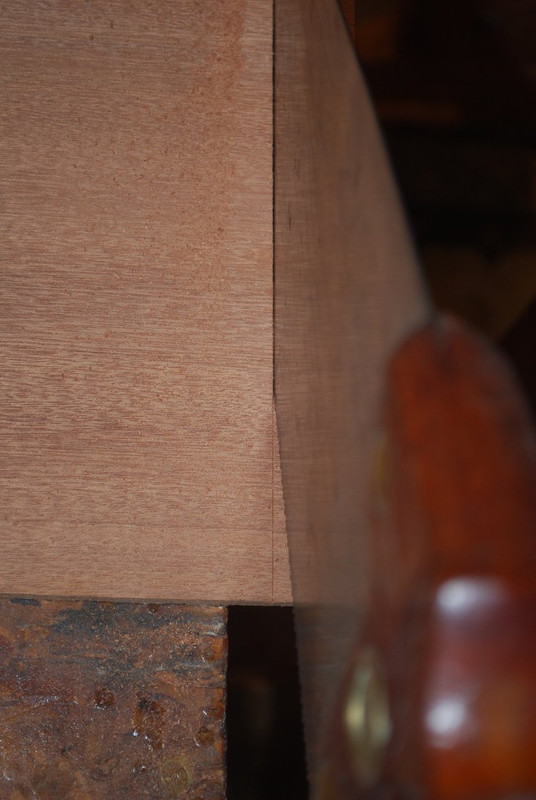
    Having a standard order of operations is helpful for me in dimensioning stock; my preference is surfacing, establishing a reference edge, crosscutting to final length, and finally ripping to final width. This allows me to plane the end grain vertically in my twin screw/sliding dead man front of a vice without worrying about spelching the far edge as it will be ripped off anyway. Some pics:


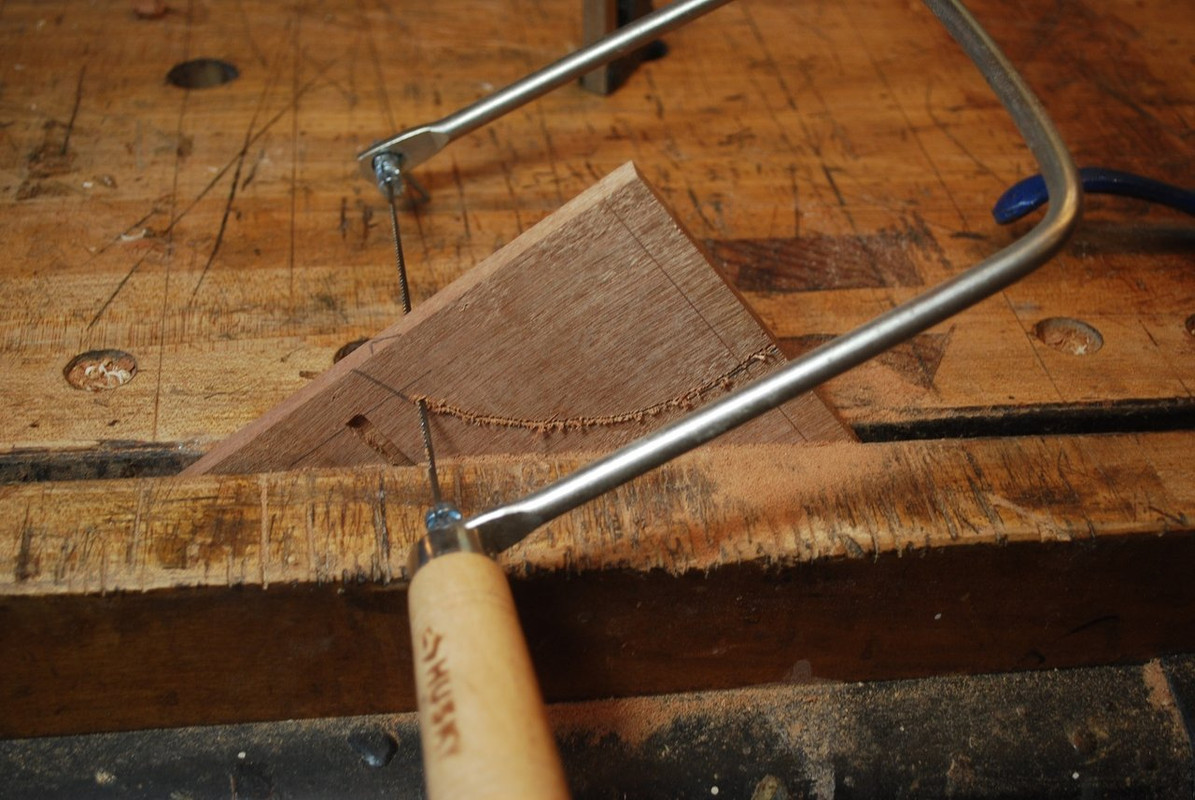
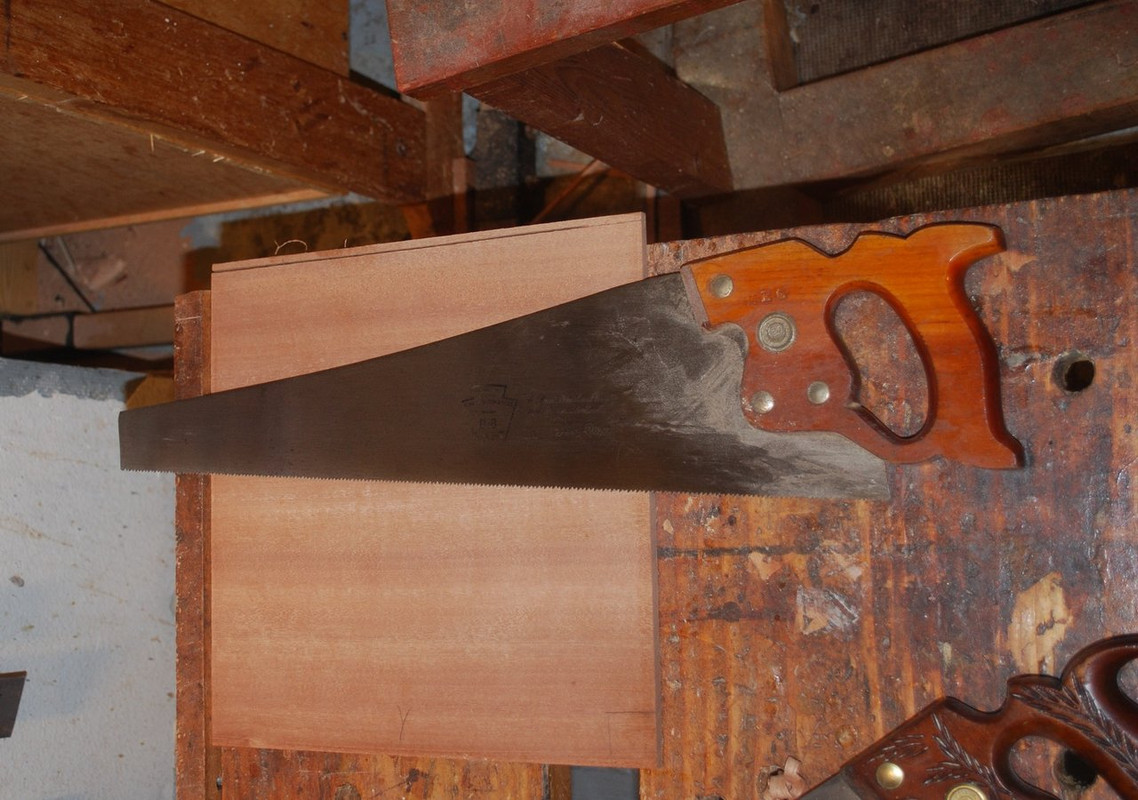
    For sawing thin panels like this I prefer shorter/lighter panel saws. For me, just quicker and easier than full-size saws.


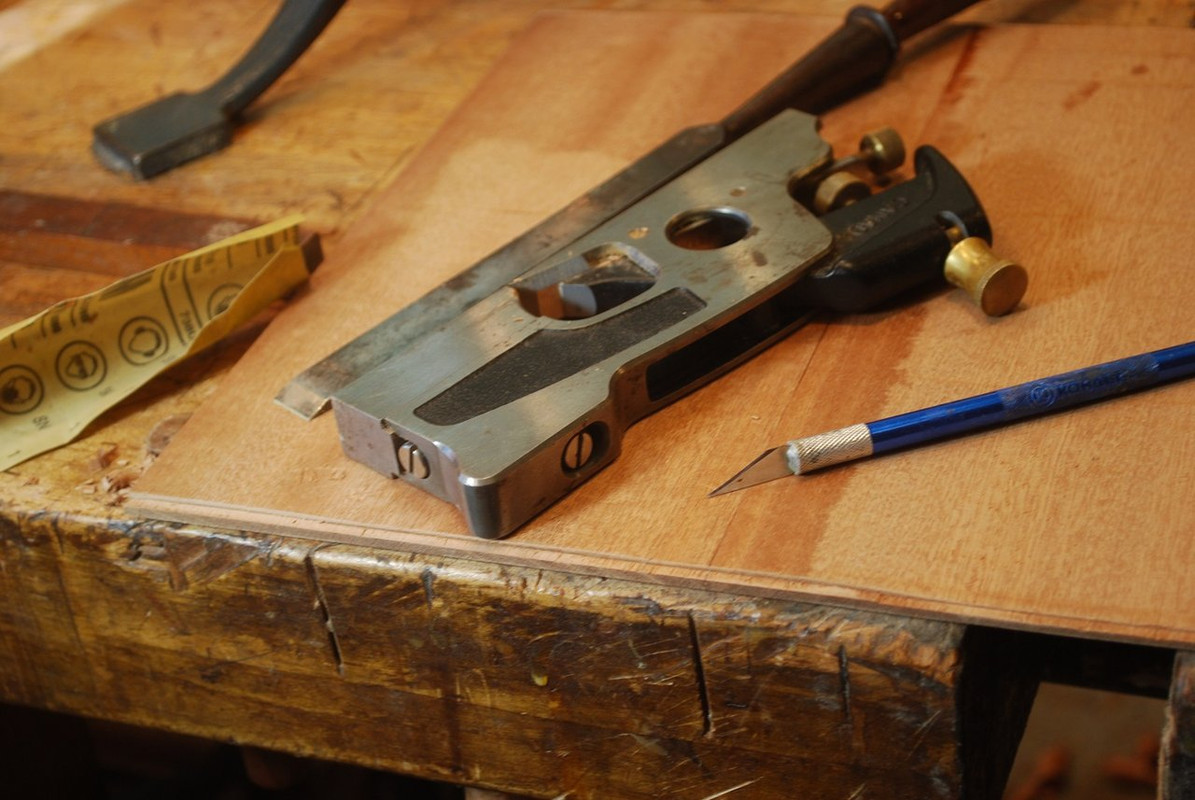
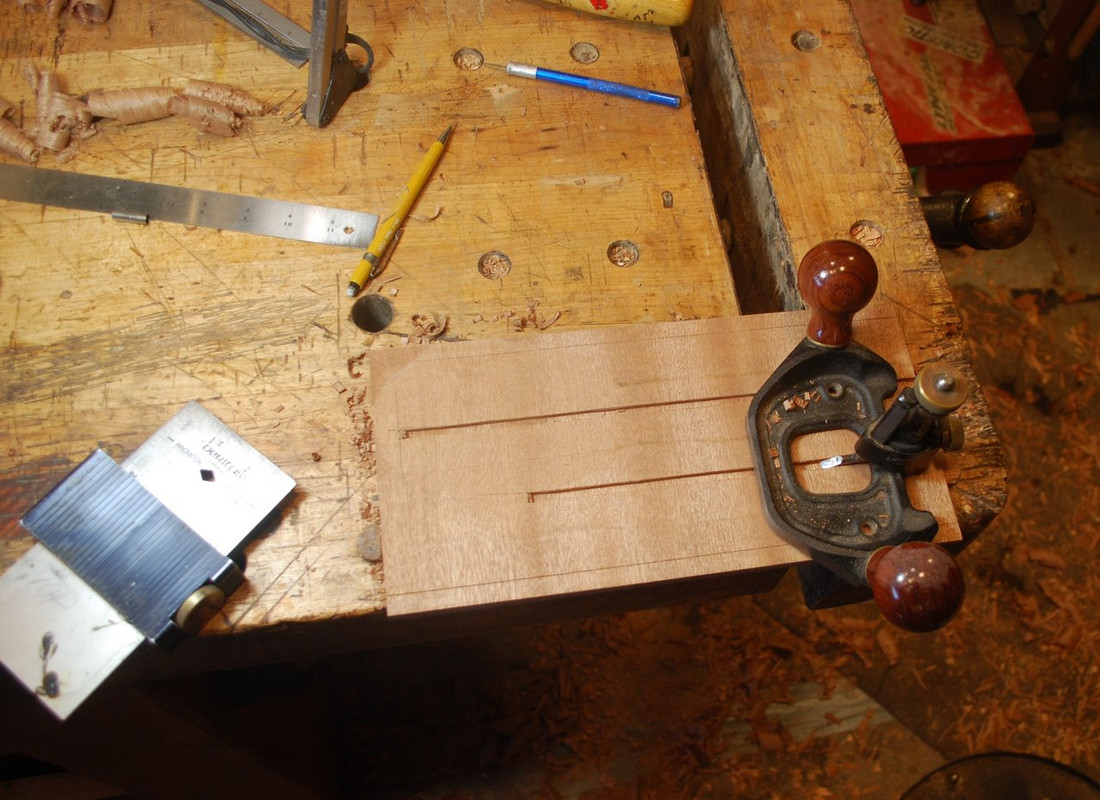
    Making stopped dadoes to capture horizontal shelves. For small work like this, I find pairing chisel and router plane easier than the electric trim router because somehow I always end up not putting the dado in exactly the right place.


  2. #2
    Join Date
    Feb 2011
    Location
    Carlsbad, CA
    Posts
    2,230
    Blog Entries
    2
    Planing the rabbit to capture the carcass back. I have several different fenced rabbit planes that all work great. However it takes me more time to sharpen these fenced skew blade planes and get them set up with just the right amount of blade projection beyond the knicker so that you get a nice square rabbit, without splintering the finished edge, I like to just establish the rabbit with the fenced rabbit plane and then move to easier to sharpen/set up unfenced rabbit plane.


    Sawing some curves into the carcass sides and ripping top to final dimension after sawing/chopping carcass dovetails. I waited because I wasn’t exactly sure of final width of pins/tails.


    To create the 1/8” thick by 3/16” wide tenons that will join shelves to carcass sides, it was more reliable for me to use Exacto knife and unfenced rabbit plane, just because the dimensions were so small.


    Laying out scalloped front edge of shelf; over the years I’ve made up a series of curved templates of different radius is which I think are helpful for this job.


    Gluing up dovetails for the carcasses that are intended to be about a 1/8” proud after assembly. Because I wouldn’t be able to simply plane off any excess glue, I use painters tape to try and minimize squeeze out.


    Probably old hat for most, but I pare the inside shoulders of the tails to ease assembly.


    Before assembly, I added string inlay for the top. Here you can see the layout. This pencil layout helps me see where the grooves are supposed to go, although rarely turns out that way. For me most critical element of string inlay is getting thickness of stringing to accurately fit the width of the groove- too thin and you leave gaps, too thick and you can’t get the sting to fill the bottom of the groove- more likely to plane completely through it during final surfacing.


    I use the LV inlay tools and recommend getting the small hand held chisel and cutting tool that match the width of the cutter on the fenced tool. My most common mistake is pushing too hard on the groove cutting tool and moving it off the central pivot point resulting in groove of inconsistent width. Frankly, if you have the patience, when making curved grooves, best to use fenced tool to lightly score the initial grove and then deepen it with Exacto and LV hand tools.


    The back is ¼” thick stock, to make the frame and panel construction work in this thin of materials, I simply made 1/8” rabbit around edges of the panel and left it proud of the frame. I think it looks OK.


  3. #3
    Join Date
    Feb 2011
    Location
    Carlsbad, CA
    Posts
    2,230
    Blog Entries
    2
    Last was drawer construction and Holly pull.


    Finish was my go to- Watco oil/varnish and shellac. I originally intended this as a holiday gift but it somehow found its way into our kitchen and is already over flowing. If I did it again I would consider increasing the size to better accommodate the actual volume of mail we all seem to get, especially this time of year.


    Thanks for looking, all the best for great holidays to all!
    Mike
    Last edited by Mike Allen1010; 12-10-2020 at 9:48 PM.

  4. #4
    Join Date
    Nov 2019
    Location
    Big Bend/Panhandle, FL
    Posts
    122
    Mike,

    Wonderful work as usual. The inlay work is très beau avec une exécution exquise

  5. #5
    Mike,

    As always beautiful work. I can hear your wife when you showed it as a gift say "nope it's mine".

    ken

  6. #6
    Graceful lean stuff. The same piece with thick "strong like bull" lumber would look nutty with spider-spun inlay. Scale is
    as important as workmanship. Light weight construction makes cherished and wisely used art.

  7. #7
    It's always a pleasure to see you work Mike. Another beautiful piece!
    "All that is necessary for the triumph of evil is that good men do nothing."

    “If you want to know what a man's like, take a good look at how he treats his inferiors, not his equals.”

  8. #8
    Join Date
    Mar 2015
    Location
    SE Michigan
    Posts
    3,225
    Great work, Mike. As tedious as it is, I find stringing work to be one of the most fun parts of a project. I guess mail boxes are like saw tills; once you build it, you realize it ain’t big enough! Curious, Mike, are you freehanding the curves? I’ve found the Steve Latta tool helpful, although in a pattern such as your’s it would take a lot of set up to get the pivot point for each curve.

  9. #9
    Would you please detail your watco/varnish finish. Whenever I read varnish I'm curious what exactly is meant. Thankyou. Beautifully done work, I'm very impressed with your skill.

  10. #10
    Thanks Mike! The photos are both artful and instructive. Truly inspiring.

  11. #11
    Join Date
    Feb 2011
    Location
    Carlsbad, CA
    Posts
    2,230
    Blog Entries
    2
    Quote Originally Posted by ken hatch View Post
    Mike,

    As always beautiful work. I can hear your wife when you showed it as a gift say "nope it's mine".

    ken
    Ken you’re right I was surprised Sherrie wanted it. Quite a change from the early years when the LOML’s typical reaction to my furniture projects was “ this will be perfect for the charity bazar, etc.”. Seemed like my early stuff all somehow ended up anywhere but in our house. Probably for the best!

    Cheers, Mike

  12. #12
    Join Date
    Feb 2011
    Location
    Carlsbad, CA
    Posts
    2,230
    Blog Entries
    2
    Quote Originally Posted by Mel Fulks View Post
    Graceful lean stuff. The same piece with thick "strong like bull" lumber would look nutty with spider-spun inlay. Scale is
    as important as workmanship. Light weight construction makes cherished and wisely used art.
    Thanks Mel, I appreciate your insight- thoughtful and well said.

  13. #13
    Join Date
    Feb 2011
    Location
    Carlsbad, CA
    Posts
    2,230
    Blog Entries
    2
    Quote Originally Posted by Phil Mueller View Post
    Great work, Mike. As tedious as it is, I find stringing work to be one of the most fun parts of a project. I guess mail boxes are like saw tills; once you build it, you realize it ain’t big enough! Curious, Mike, are you freehanding the curves? I’ve found the Steve Latta tool helpful, although in a pattern such as your’s it would take a lot of set up to get the pivot point for each curve.
    Hey Phil, I use the LV cutter with pivot point ( versus the fence) to cut all the curved grooves. Actually doing the layout with compass locates the pivot points for the arcs when you use the cutter. Geometry for this design is pretty straightforward: perpendicular lines for center of circle, then bisect those right angles (like navigational compass cardinal directions). Pivot points for the “star like” curves are where the 8 cardinal direction lines cross the inner circle. Best to cut these arc before you fill the circles so the point doesn’t mar the surface.

  14. #14
    Join Date
    Dec 2014
    Location
    springfield,or
    Posts
    644
    Mike
    Beautiful work!
    Dumb question, what keeps the string in place and how durable is it? I would assume the tack from finish locks it in?

    In regards to durability can you set stuff on top without worry of it knocking the string loose?

  15. #15
    Join Date
    Sep 2007
    Location
    Longview WA
    Posts
    27,468
    Blog Entries
    1
    Very nice Mike.

    jtk
    "A pessimist sees the difficulty in every opportunity; an optimist sees the opportunity in every difficulty."
    - Sir Winston Churchill (1874-1965)

Posting Permissions

  • You may not post new threads
  • You may not post replies
  • You may not post attachments
  • You may not edit your posts
  •