Page 1 of 2 12 LastLast
Results 1 to 15 of 19

Thread: Direction of outfeed table

  1. #1
    Join Date
    Apr 2004
    Location
    Comfort, TX
    Posts
    557
    Blog Entries
    1

    Direction of outfeed table

    I have seen outfeed tables where they are tangential, i.e. they are not as wide as the table saw but are longer, and I have seen outfeed tables that are about the width (or wider) than the table saw. I understand that if going the width of the TS, one might have less opportunity for storage area vs tangential. Thoughts?
    Tim in Hill Country of Texas

  2. #2
    Join Date
    Nov 2013
    Location
    Waterford, PA
    Posts
    1,237
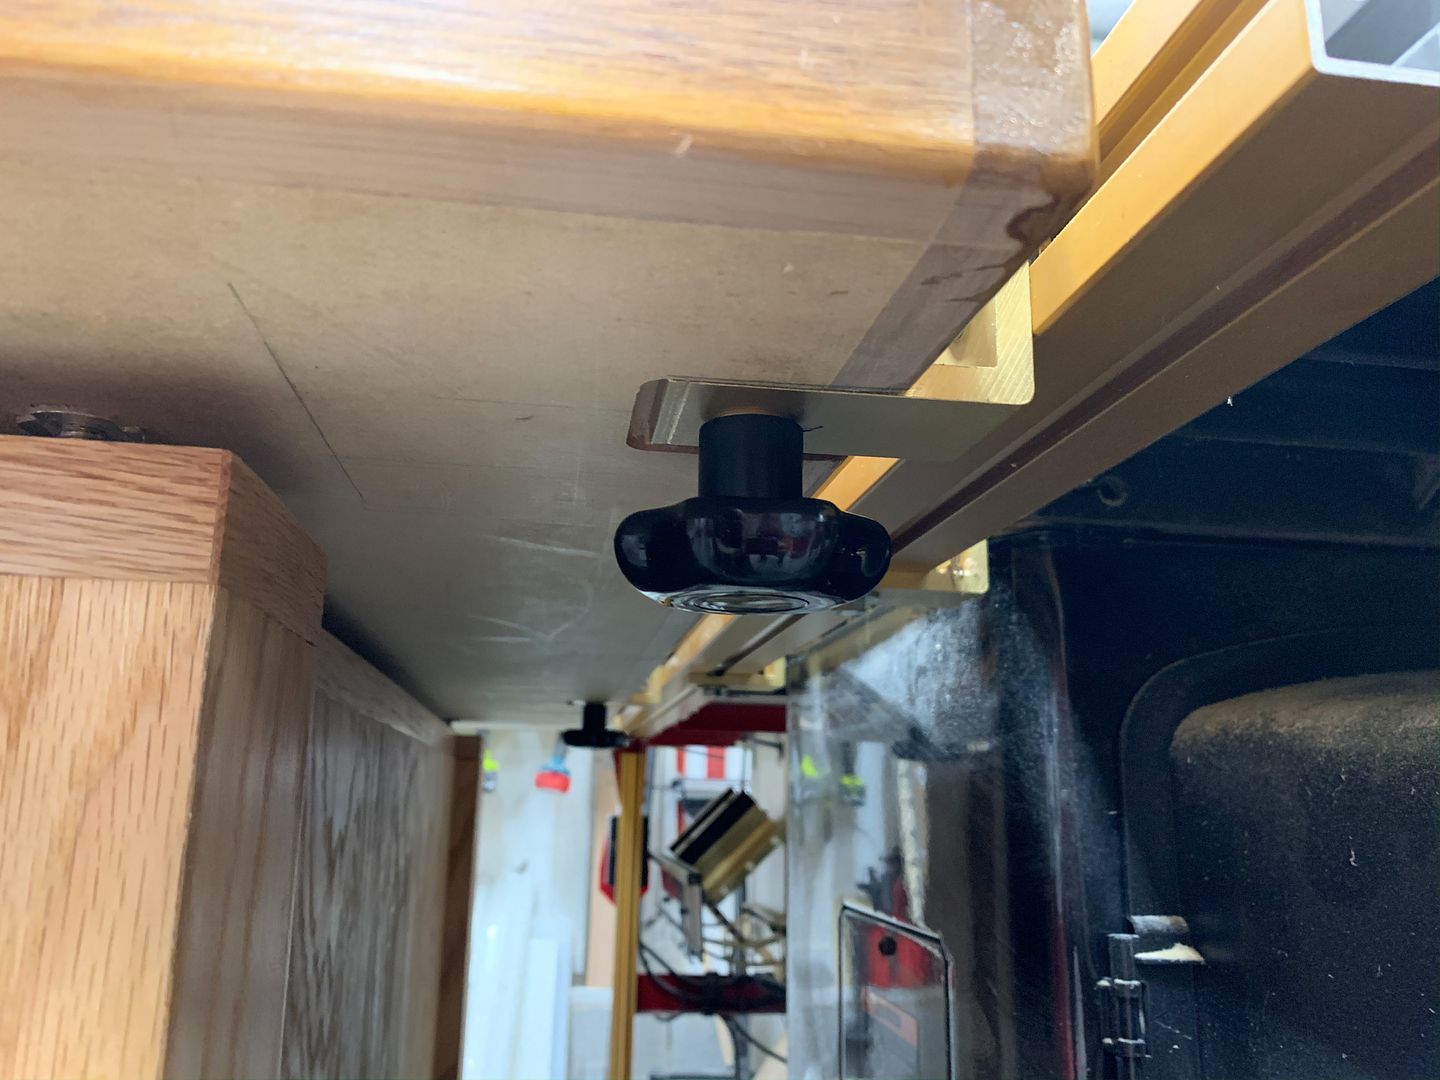
    Mine is parallel with the back of my saw, but not quite as wide, mostly because I have 64" rails for my saw and didn't want to give up that much floor space behind it. I put shallow storage on each end of the table with wide drawers on the long side. On the back side the top overhangs the base so I can snuggle it up close to the saw. I'm happy with it, but now that it is loaded, it is HEAVY.

  3. #3
    Join Date
    Dec 2006
    Location
    Mesa, Arizona
    Posts
    1,798
    Tim -- I've used both styles of outfeed tables. I've even 'L' shaped outfeed tables. Which is best depends on a lot of factors -- primarily the type of work you'll be doing with the table saw. If you're doing a lot of long rip cuts, you'll want an outfeed table that can fully support the work as it comes off the saw. If you seldom make such cuts, but do frequently use the table saw break down sheet goods, you might find a wide table more useful. With such cuts, you often need to support the offcut as it comes off the table. Most of the tables I just mentioned were in the furniture mill where I used to work.

    For home shop use, I find a rectangular outfeed table on wheels to be the answer. If I'm making long rip cuts, I orient the table so it's long axis is aligned with the cut line. (This is usually the orientation I keep the table in.) If I need width more than length, I lower the wheels to raise the table off the floor and spin it 90 degrees so that it's short axis is aligned with the cut line and lower the wheels so the table rests solidly on the shop floor. This works in my shop with my style of work. It might not work as well for others. Note: My outfeed table is also my workbench and my assembly table. It's the hardest working piece of furniture in my shop. In my small shop, there isn't room for a table that is only used as an outfeed table.
    David Walser
    Mesa, Arizona

  4. #4
    Join Date
    Jan 2010
    Location
    Tampa Bay, FL
    Posts
    3,925
    I built mine as a rectangular cabinet, most of the width of the table saw (I have a router table on one end). It is long enough so that I can easily handle 7' long boards / sheets. It has oodles of deep storage in large drawers, as well as an elongated drawer to hold multiple router bits. Works quite well.
    - After I ask a stranger if I can pet their dog and they say yes, I like to respond, "I'll keep that in mind" and walk off
    - It's above my pay grade. Mongo only pawn in game of life.

  5. #5
    Join Date
    Jun 2019
    Location
    Mid-Michigan
    Posts
    271
    The width of the outfeed table should be dictated by how wide you go with sheet goods, understanding that you don't need to fully support them out to their edge. About 36" to the right of the blade is plenty of you have a need to rip up to half the length of a 4X8 sheet.

    The depth has more to do with how much floor space you are willing to give up to it. remember, you can always add an additional outfeed support for those times when you are ripping lengths greater than 4' or so.

    My outfeed table is the re-purposed top from my old contractor saw mobile base, about 24" deep by 48" wide. I never had a permanent outfeed table before and having it now is an absolute dream. More than half a sheet of plywood is a bit too much for me to manage on the TS alone, but my smallish outfeed table has made half sheets and/or long lengths pretty routine.
    Last edited by Marc Fenneuff; 11-20-2020 at 9:27 PM.

  6. #6
    My outfield table is 3' x 7' and doubles as my assembly table. It is on wheels, so I can use it in either direction. I have a hinged bridge on the Unisaw that sits on a ledge on the outfeed table. Normally I have it parallel to the saw, because it fits the layout of my shop better and works for 90% of what I do. It handles sheet goods in both directions and can rip up to 10 feet, which is the longest I normally need to do. Every once in a while I need to rip something really long, say 16', for that I can turn the saw and put the table 90 degrees and open the door. I only do that if necessary though, since it involves rearranging most of the shop.

    IMG_8049.jpgIMG_8050.jpgIMG_8051.jpg
    Last edited by Andrew Seemann; 11-20-2020 at 10:16 PM.

  7. #7
    Join Date
    Mar 2003
    Location
    SE PA - Central Bucks County
    Posts
    65,842
    In my mind, the best "direction", relative to the longer dimension, is whichever way best supports the kind of work that the surface will be expected to support. So if you do a lot of longer stock ripping, then having the support longer in that direction is going to be beneficial. If there is more crosscutting, then the opposite might be true. For some folks the ideal situation might be a surface that's movable independent from the table saw so it can be in either direction...having an actual flat floor is helpful for that scenario. When I had my cabinet saw, the outeed solution (which was foldable) was, more or less, squarish, so the support was equal in both directions, but not the full width of the saw.
    --

    The most expensive tool is the one you buy "cheaply" and often...

  8. #8
    Join Date
    Jan 2008
    Location
    1.5 hrs north of San Francisco, CA
    Posts
    842
    My outfeed table is 4'x7', oriented left-right, with a 2' "bridge" between the saw and the actual table.

    That provides 6' of support behind the saw (for about 14' rip, counting saw top behind blade). The "bridge" lifts out to allow access sround the table if needed as an assembly table.

  9. #9
    Join Date
    Jul 2016
    Location
    Lebanon, TN
    Posts
    1,720
    For my Sawstop, I made my outfeed table to provide storage and be able to be used in portrait or landscape mode, depending upon the length of outfeed support needed.

    It is on casters, but anchors to the rear fence and stays that way 99.9% of the time.

    It has a torsion box top that is height adjustable, so it can be fine tuned.

    It provides me with about 52" of outfeed support past the blade, which is enough to cut 8' without if tipping off the outfeed side.

    If I am going to rip longer pieces, I can rotate the table 90 degrees and support a 12' length without additional support.


  10. #10
    Join Date
    Jul 2016
    Location
    Lebanon, TN
    Posts
    1,720
    I also did this to keep my tools handy and give me a bit of extra side support.


  11. #11
    Join Date
    Jul 2016
    Location
    Lebanon, TN
    Posts
    1,720
    Here, I detached the outfeed table and moved it down to be used as in feed support for the router in the right end of my SawStop.


  12. #12
    Join Date
    Apr 2004
    Location
    Comfort, TX
    Posts
    557
    Blog Entries
    1
    Another question relating to this, how wide do feel comfortable building your outfeed top? Obviously to minimize sheet goods a 4 x 6 is max (assuming you dont want a splice) so realistically I think 3'9" x 7'9" is max surface size. However, that is a lot of weight sitting on the base which on mine I plane to have lots of drawers on the lower areas vs open on the Paulk design (saw horses). Is there an optimal spacing for legs (four) before resorting to six legs (two added in middle) on the long sides?
    Tim in Hill Country of Texas

  13. #13
    Join Date
    Mar 2003
    Location
    SE PA - Central Bucks County
    Posts
    65,842
    How you design and construct a support grid for the top is going to determine how will it will perform "up there", but as another SMC member just found out and discussed in another thread, even a cabinet can sag. So a 6' wide construction is either going to have to have very solid support between the legs (I'd use 2-3" angle iron for that) or two additional legs in the middle.
    --

    The most expensive tool is the one you buy "cheaply" and often...

  14. #14
    Join Date
    Apr 2004
    Location
    Comfort, TX
    Posts
    557
    Blog Entries
    1
    I like the angle iron idea
    Tim in Hill Country of Texas

  15. #15
    My top (pictured earlier in the thread), is a 3' x 7' torsion box of 2 sheets of 3/4" laminate topped particle board with a grid frame of 1 1/2" fir. I have a 3" x 3" angle iron going across the bottom of the front although with the strength of the top, I'm not sure if it is really necessary. The cabinet itself is 3/4" plywood and the back is 1/4" plywood. Drawers are 1/2" plywood. It rests on 2 sleepers on casters, which support it just fine. The top is more than rigid enough to put the weight on the end pieces of plywood. I've had it for about 20 years and it doesn't appear to have sagged in that time.

    I have no idea what the total weight is fully loaded with tools, I would guess no less than 300lb, and 400lb or even 500lb is more likely especially with the big machinist's vise on it. I frequently stand on it as well, in fact I used it as rolling scaffolding when I put the lights on the ceiling. The only issue I have with it is that the casters aren't very good, but I have a new set of 4" double locking ones from Grizzly i am going to put on it one of these days which should fix that.

    One thing I did on mine was offset the top to one side (the top is a little over 7 feet wide and the cabinet base is 6 feet) so that I could work on one side with my legs under it while sitting on a stool, for drafting and other sit down work. My dad built a similar bench, but left out center bank open, so he could sit and do stained glass on it.

Posting Permissions

  • You may not post new threads
  • You may not post replies
  • You may not post attachments
  • You may not edit your posts
  •