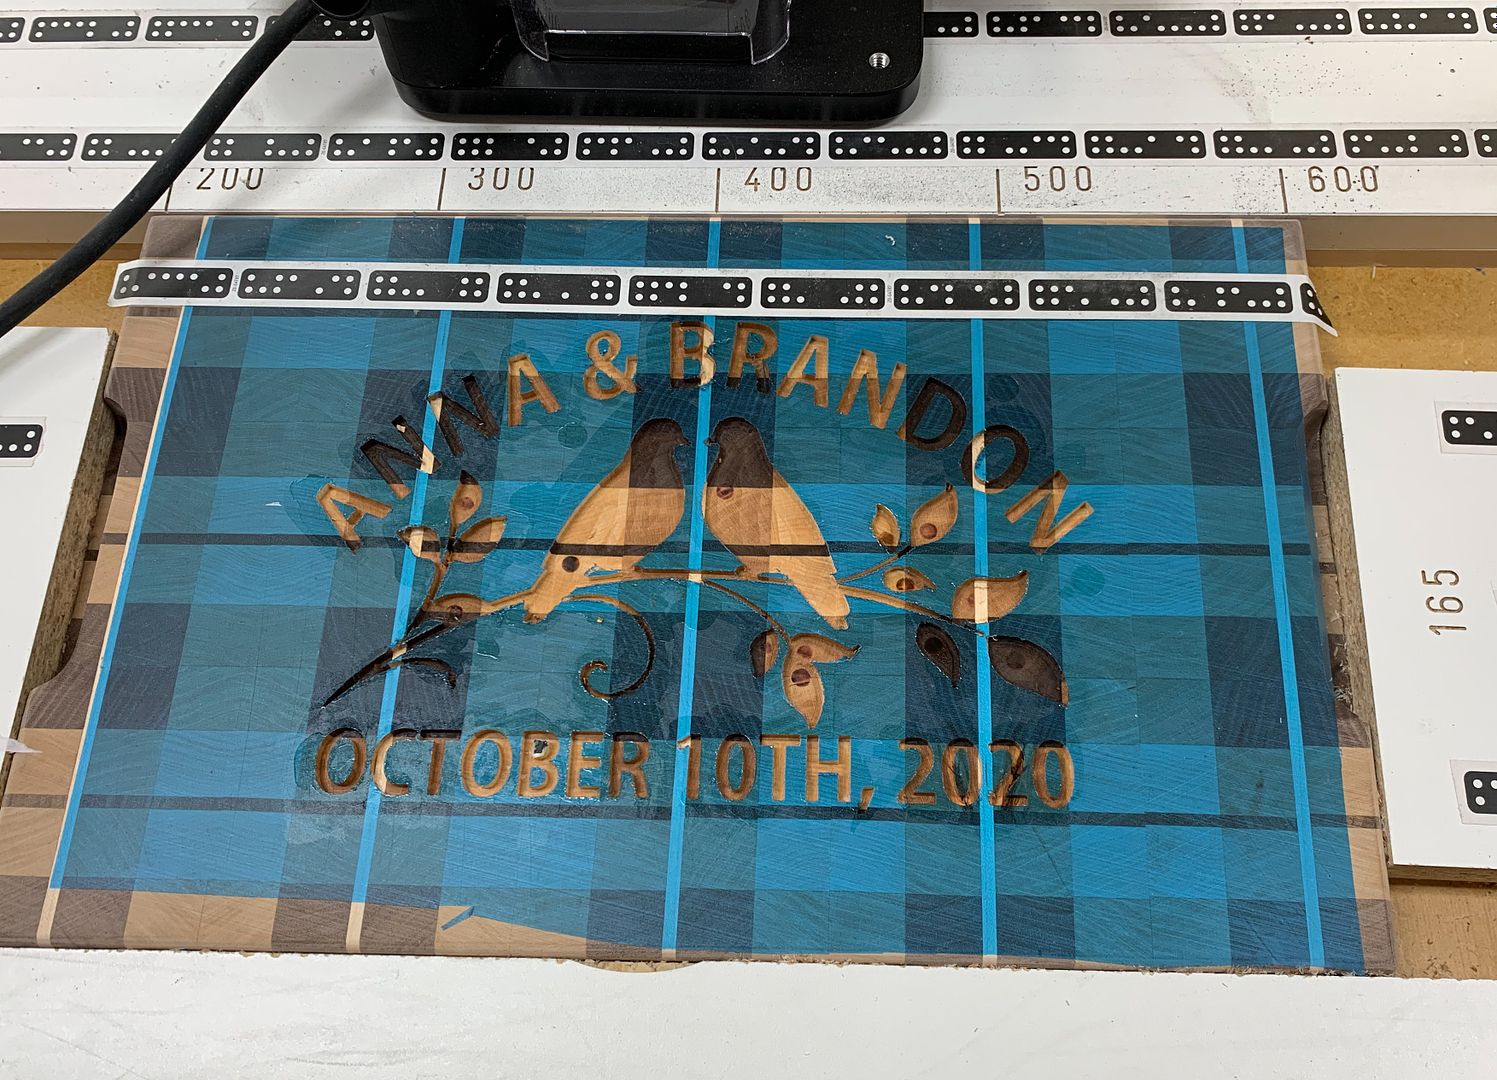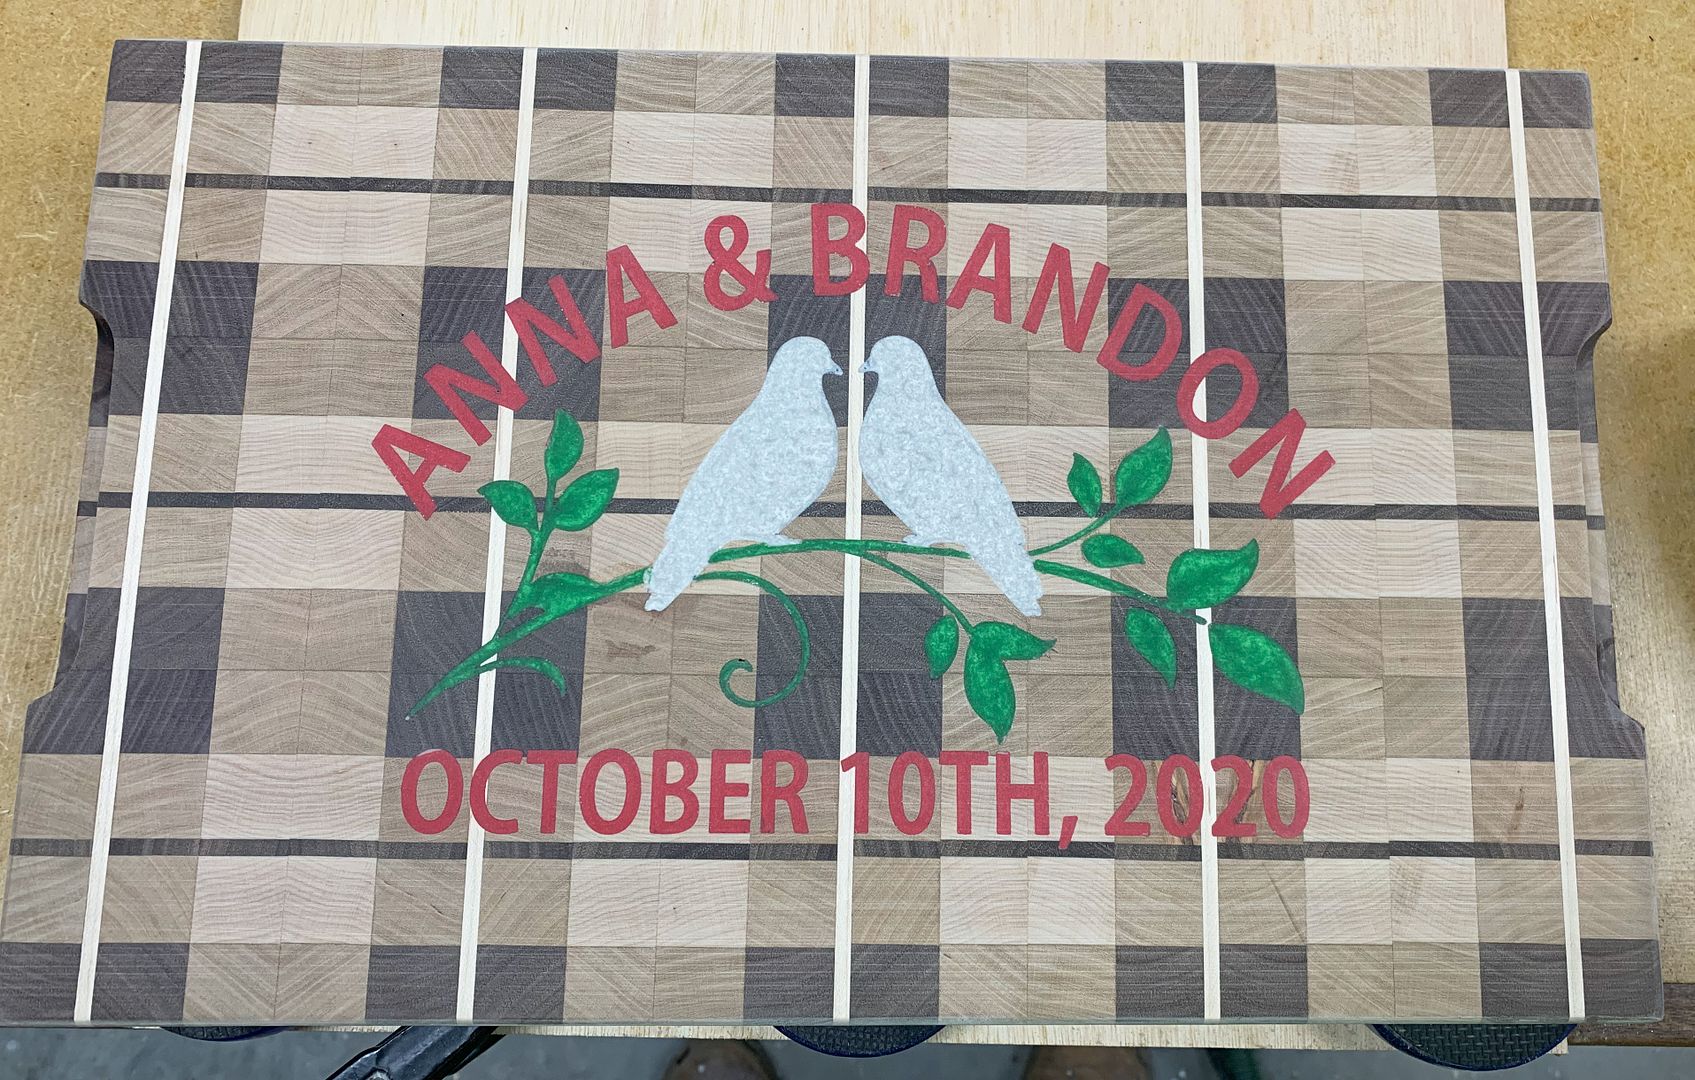

I routed out a design in a cutting board that I plan to fill with colored epoxy. I initially planned on just using one color, but now want to try and use two.
So in the grooves, about 3mm wide by 3mm deep, I need to make some temporary dams that will not let the epoxy bleed into the area where I don't want it.
After the first color is set, I need to get rid of the dams for the second color pour.
A couple of ideas, one is to use a blob of silicone where necessary, the other os to put a small pice of wood and CA glue it in place.
Thoughts, thanks.

 Reply With Quote