Results 1 to 12 of 12

Thread: Oak Top for Router Table

  1. #1

    Question Oak Top for Router Table

    TLDR; is epoxy a good method of coating oak for a router table top or are there any other suggestions?

    I was lucky enough to come by a relatively inexpensive restaurant table (butcher block style) made of oak. I've already handplaned the polyurethane (it was flaking really bad) off of the surface. Disclaimer, I'm new to wood working so I'm learning as I go, sometimes what not to do. I'm assuming it was polyurethane since it was a table but don't know that for certain.

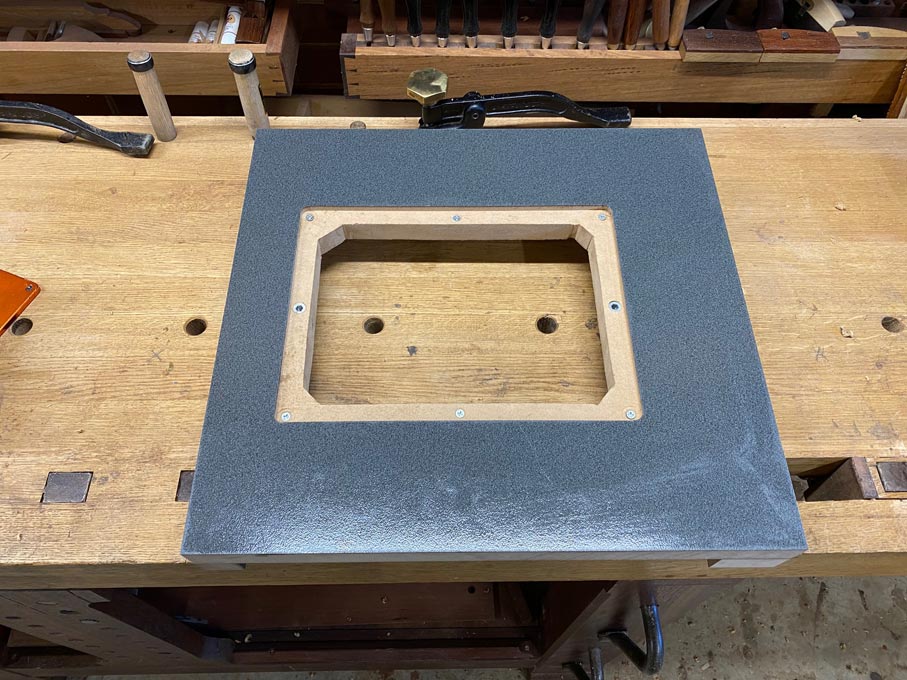
    My question is around how to treat the surface. Some of the slats had a little more tear out than the others and I've tried different angles (always tried to do ~45 deg to the grain), going with the grain and against (which was worse) - talking with others it sounds like sometimes that's just how oak is and was recommended to try a cabinet scraper or random orbital sander (I don't own and am trying to minimize purchases right now). I do have a small square dewalt hand sander I was contemplating, but I got to thinking about epoxy since there are a few different versions of it out there, I thought maybe I could use that to win the grain "fill" I need as well as the self-leveling aspect of it. Then when I'm ready to invest in the T-Track I'd come back and use the router to cut the channels (I've seen mixed feedback on how best to do this). I also thought about using a mix of oil/wax, varnish, lacquer, and shellac but am not sure what would be the best to give a smooth finish. I'm less concerned about looks and more concerned about making using the tool an enjoyable experience. I have a cast iron bench dog router plate that was gifted to me, seems easy enough to install (based on looking at many youtube videos on router plates in general) if I take my time and measure 10x

    Router fence is next once I have the table finished (before T-Track).

    Thanks in advance for any guidance on this! I don't want to ruin a table if this is an awful idea. It's ~32"x46"x1.5"

  2. #2
    Join Date
    Nov 2012
    Location
    New England, in a town on the way to nowhere
    Posts
    538
    You need to be sure the top is flat first, and a bench plane is the tool to accomplish that . Once its flat, I'd use a paste filler, applied with a plastic squeegee. Carefully sand it smooth and then a coat of shellac to seal it . I'd use multiple coats of varnish rather than epoxy; a good durable finish thats easy to maintain and renew as needed. And finish both sides and the ends to help prevent warping.

  3. #3
    Quote Originally Posted by Mark Wooden View Post
    You need to be sure the top is flat first, and a bench plane is the tool to accomplish that . Once its flat, I'd use a paste filler, applied with a plastic squeegee. Carefully sand it smooth and then a coat of shellac to seal it . I'd use multiple coats of varnish rather than epoxy; a good durable finish thats easy to maintain and renew as needed. And finish both sides and the ends to help prevent warping.
    Thanks for the suggestion Mark! Is there a difference between paste fillers and using sawdust+glue?

  4. #4
    Join Date
    Mar 2003
    Location
    SE PA - Central Bucks County
    Posts
    65,874
    Honestly...you don't need any finish on it. Whatever finish you put on is purely going to be for looks. What's most important is as has been said...making sure that repurposed table top is dead flat for your given application.
    --

    The most expensive tool is the one you buy "cheaply" and often...

  5. #5
    Join Date
    Apr 2017
    Location
    Michigan
    Posts
    2,772
    You will want it to be slick. Wax helps.

  6. #6
    Join Date
    Nov 2012
    Location
    New England, in a town on the way to nowhere
    Posts
    538
    Quote Originally Posted by Evan Mansker View Post
    Thanks for the suggestion Mark! Is there a difference between paste fillers and using sawdust+glue?
    Sawdust and glue is too coarse to use as a grain filler; paste filler is made with wood flour so its fine enough to get into the pores and it also sands much better than glue which gets gooey with the heat generated by sanding.
    And Jim is right; you don't really need to put a finish on it, just a few coats of wax will do it fine. A nice patina comes with use.

  7. #7
    I would not make any router table from solid wood. Any cupping will cause problems when machining, and it will cup. We have several large tables made from 100+ old bowling lanes that change shape seasonally.

  8. #8
    32x46 is very big for a router table in my opinion. The top of mine is about 24x24. If you have the space it won't cause any issues I can think of except it may make it more difficult to get it flat and keep it that way. You might want to look around for a shop with a wide sander to flatten the top and eliminate any tearout. It is completely possible that the grain runs in different directions in different portions of the top making planing to finished size difficult or impossible. But functionally there is no need, you can use filler. Bondo will work fine or I have been using Zar wood filler recently and it shrinks a little more but works fine.

    You can use polyurethane on the top, but do both sides regardless of how you finish, but polyurethane dries slowly. You can touch it after a few hours but it stays somewhat soft for a month (oil based). Water based dries much quicker and is as hard but is thinner. I've never used epoxy as a finish or filler, only as glue. But it seems to dry hard fairly quickly. The big thing you need on the top is not necessarily resistance to staining or water penetration but for it to be slick so you can push wood past the router. Wax accomplishes that while also providing a little protection.

  9. #9
    Join Date
    Apr 2007
    Location
    Columbus, Ohio, USA
    Posts
    3,441
    I used MDF; thick MDF.

    I went to my local big box store and purchased a cheap white counter top material that I then adhered using contact cement to attach to the top.

    I used an oak border to protect the edges of the MDF.

    I supported the underside (even though I had a thick top) with oak.

    I don't really know how much a butcher block will warp or sag, but I would be wary.

  10. #10
    Join Date
    Dec 2005
    Location
    West Lafayette, IN
    Posts
    6,530
    I’d much rather have any sheet good than solid wood for a RT. Cast iron would be ideal, but currently I have melamine with supports every 6” and screwed down, in my TS extension wing. A couple layers of msg is great too.

  11. #11
    Join Date
    Feb 2004
    Location
    Perth, Australia
    Posts
    9,494
    Wood moves with changes in the weather, and a solid wood router table top will be unreliable with regards to flatness.

    I am in the process of upgrading my router table in the outfeed of my tablesaw (Hammer K3). So I visited my local kitchen installer and was given free a chunk of laminated 30mm thick MDF. This is not just any MDF, but high pressure, waterproof MDF. It had been sitting out in the rain in the dumpster for a few days. It dried in my workshop, and was absolutely flat, flat, flat ... and no signs of water damage - ordinary MDF imitates a sponge around water.


    Prepared for the aluminium router plate (yes, it is off-centre) ...


    Early work on the router table ...


    Regards from Perth

    Derek

  12. #12
    The top of my router table is a sink cutout from a countertop made of particle board topped with laminate. I backed it with 3/4 plywood and edged it with maple.

Tags for this Thread

Posting Permissions

  • You may not post new threads
  • You may not post replies
  • You may not post attachments
  • You may not edit your posts
  •