I was wondering what is your thoughts on how the LV Custom planes blade and chip breaker is attached to each other, compared to the Baily planes?
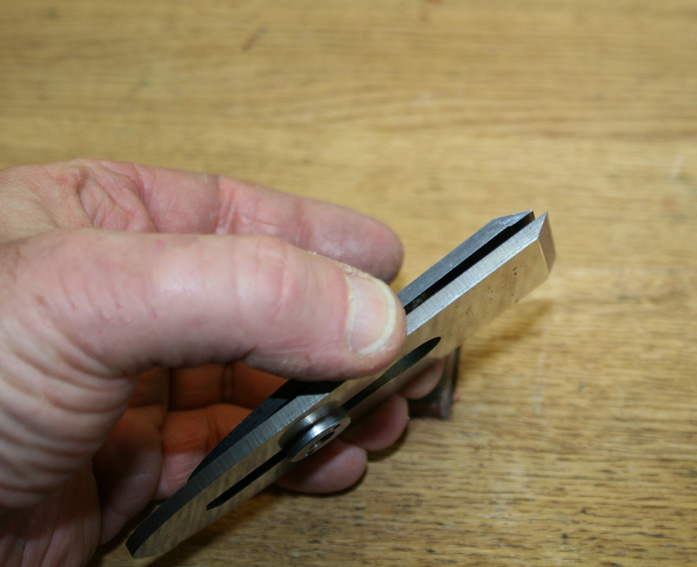
"Baily" uses a single large screw.
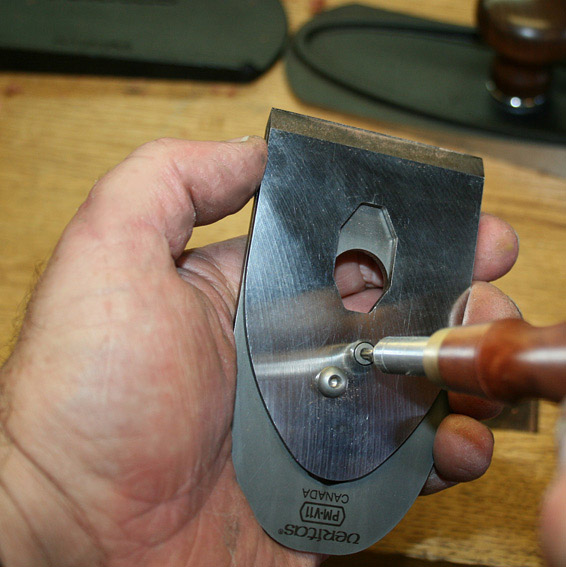
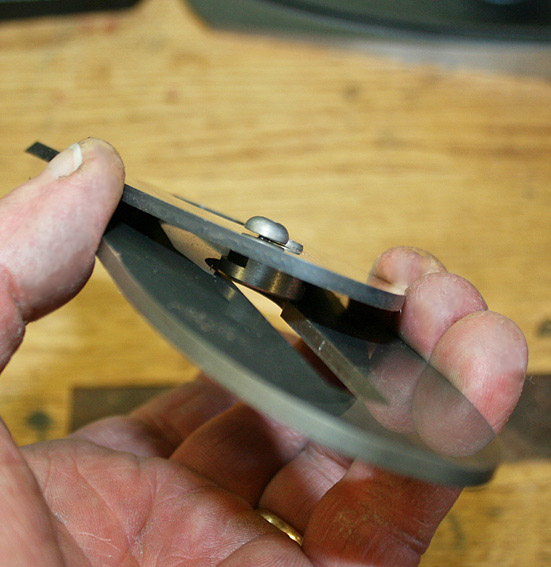
LV uses two small ones.
The large screw would seem more durable over the next 20-30-40years?
Or am I just overthinking this..

 Reply With Quote