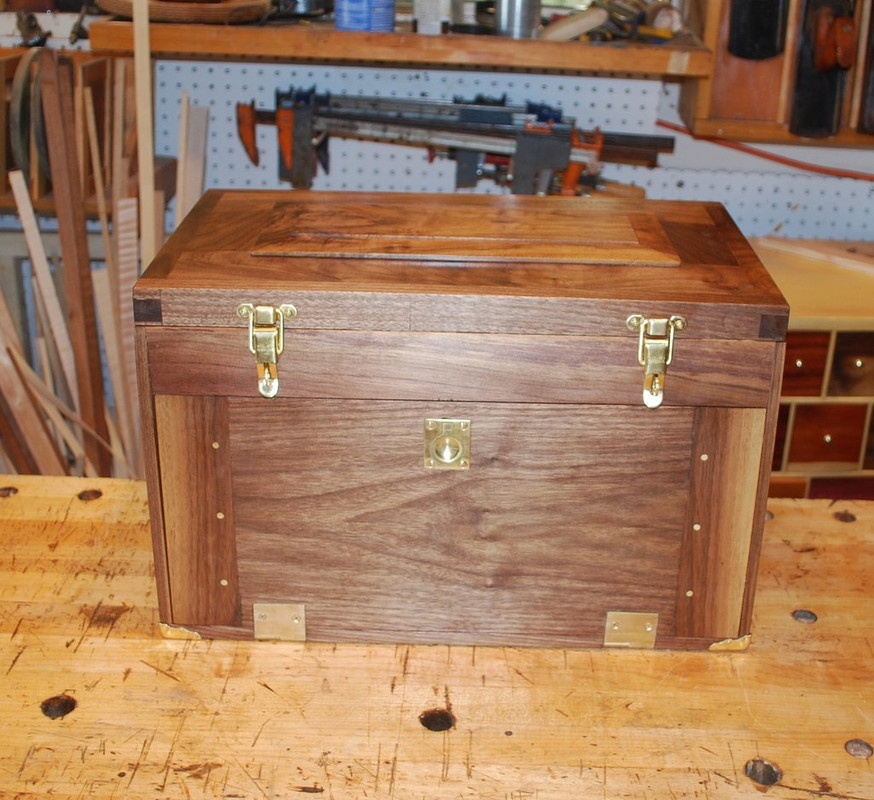
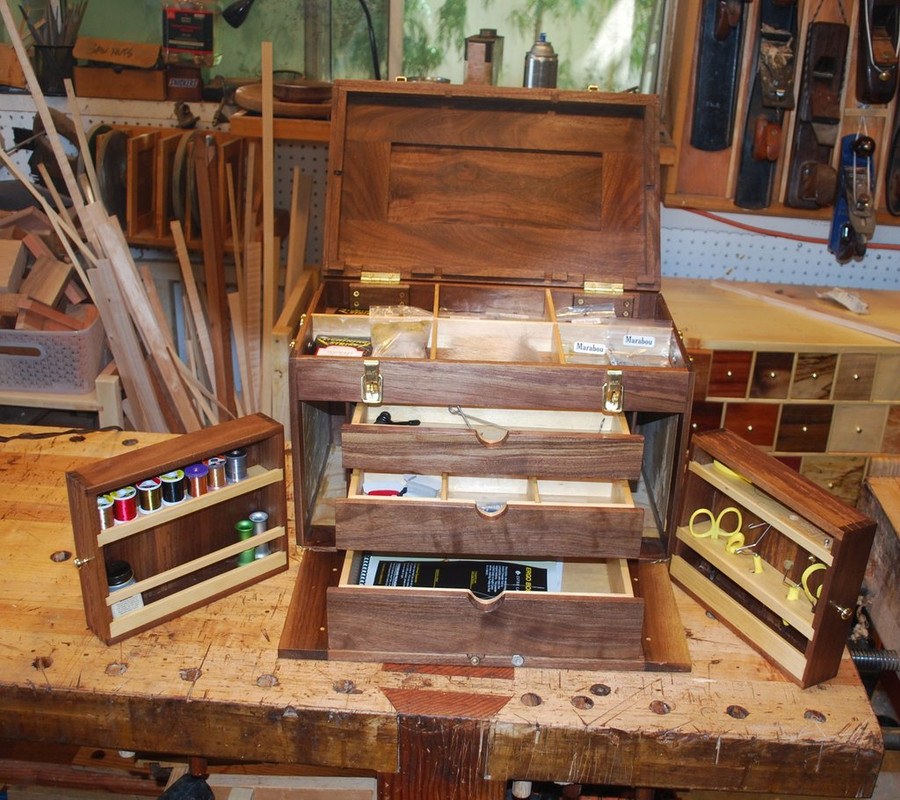
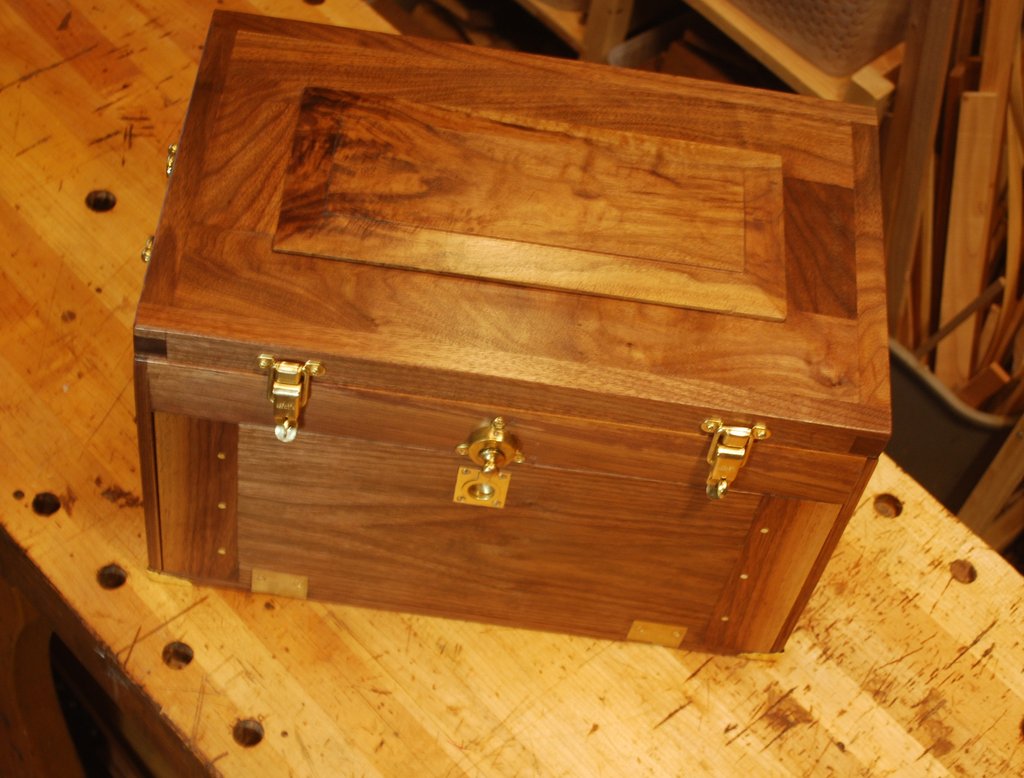
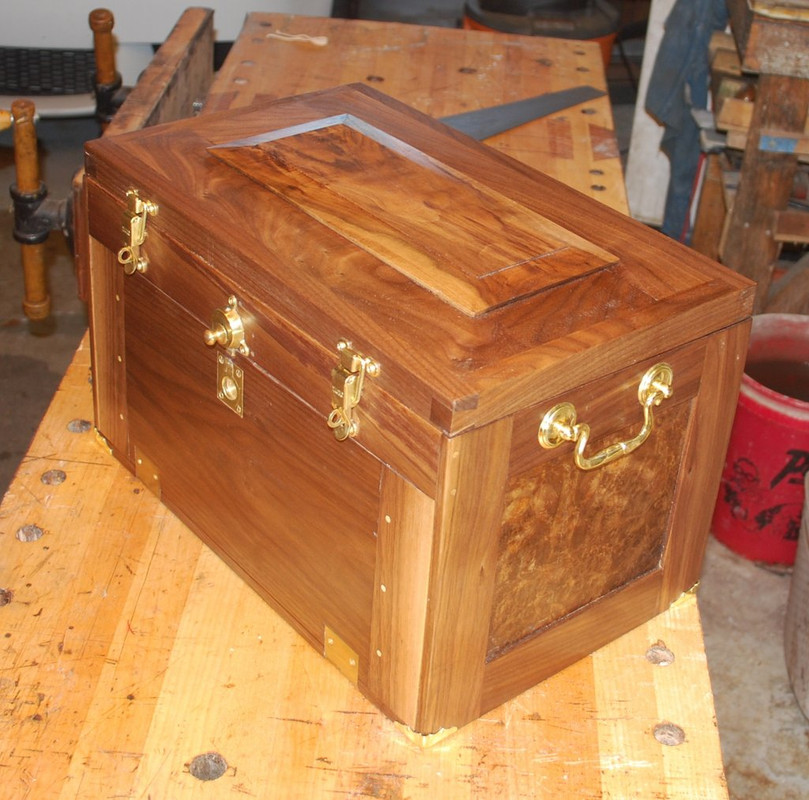
This is the second part of a fly tying station/tackle box build focused on breadboard front, top, hardware and finishing. First part of the build is in a separate post.
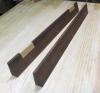
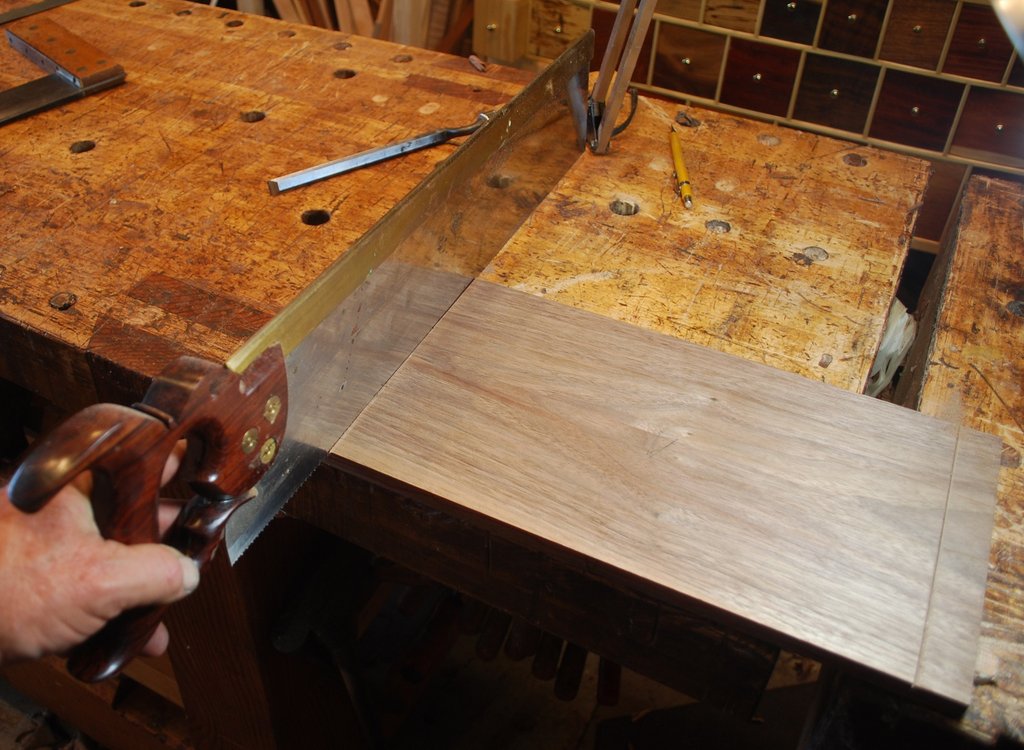
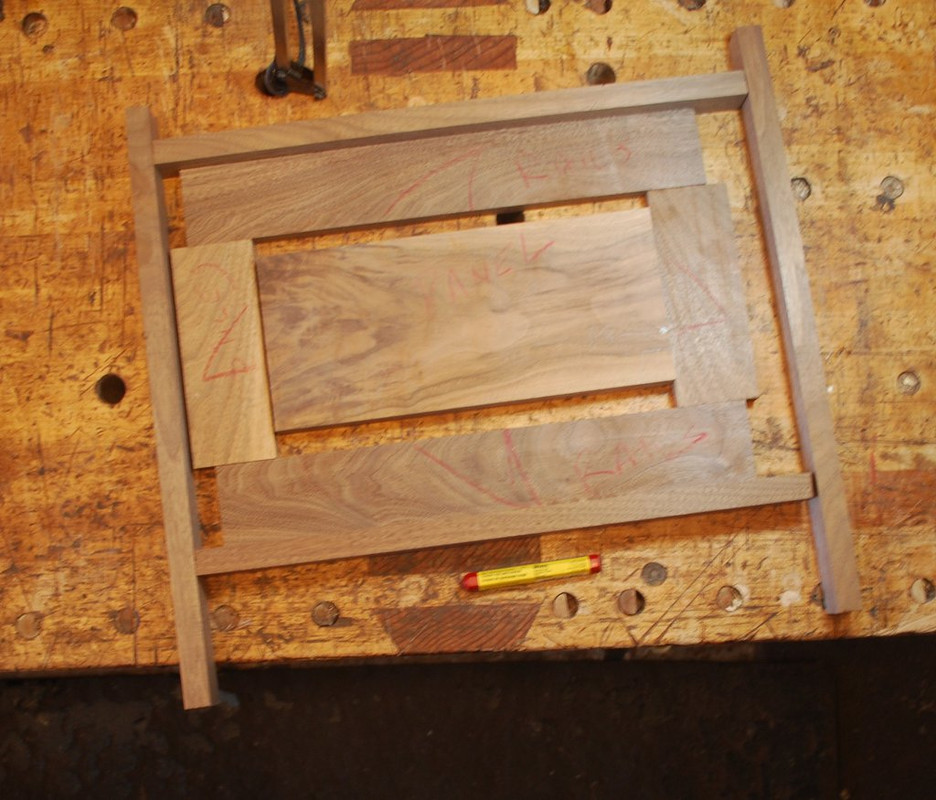
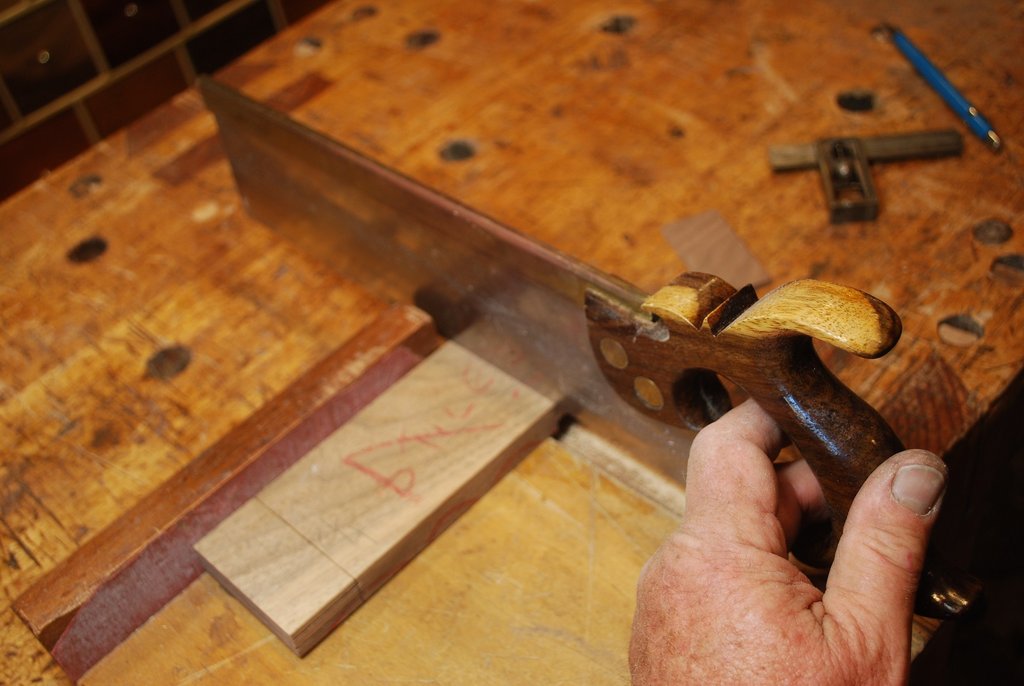
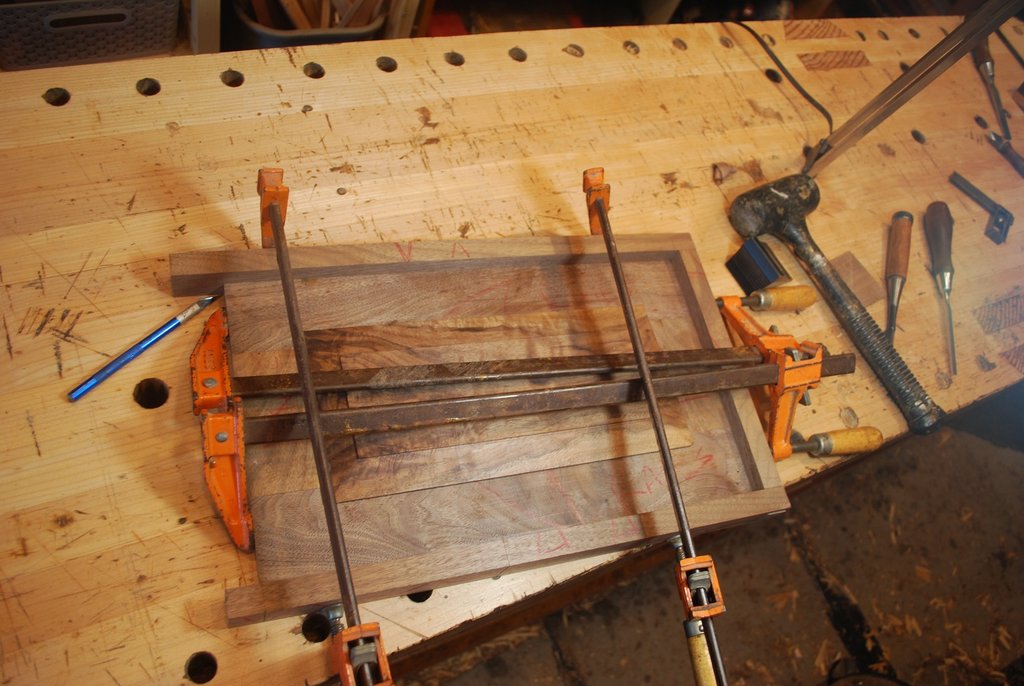
The front of the tackle box is hinged at the bottom of the case and folds down to act as a work surface. In the folded up positions, front is captured on all four sides by the carcass. I re-sawed, glued up a book matched panel for front. Here is using a long backsaw to saw the shoulders of the tenons that will hold the breadboard ends. For critical cuts on show surfaces like this, I use a paring chisel to establish the shoulder on marking knife line for the saw to ride in.
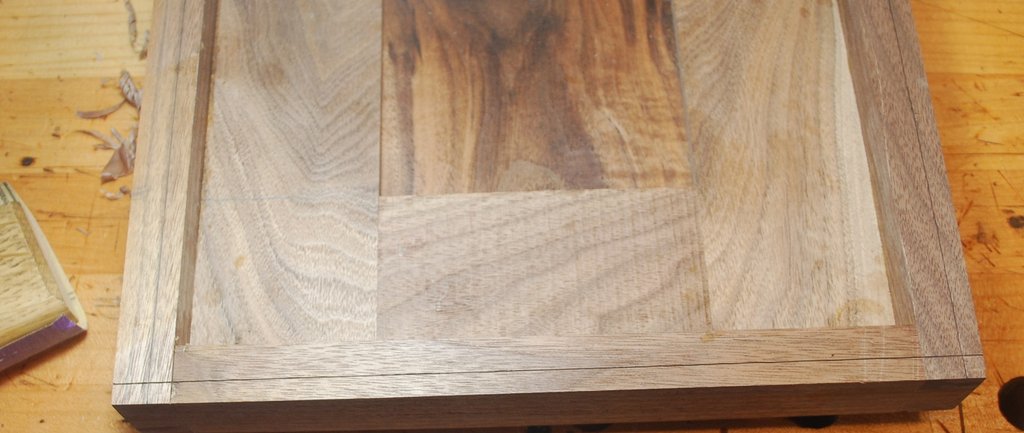
Planing cheeks of the tenons. I try and remove the bulk of the waste, shy of layout lines with shop made rabbit plane and cleanup with small, block rabbit plane. For me, tenons for breadboard ends requirement little extra attention to get uniform thickness and clean margins that will allow gap free fit at glue up.
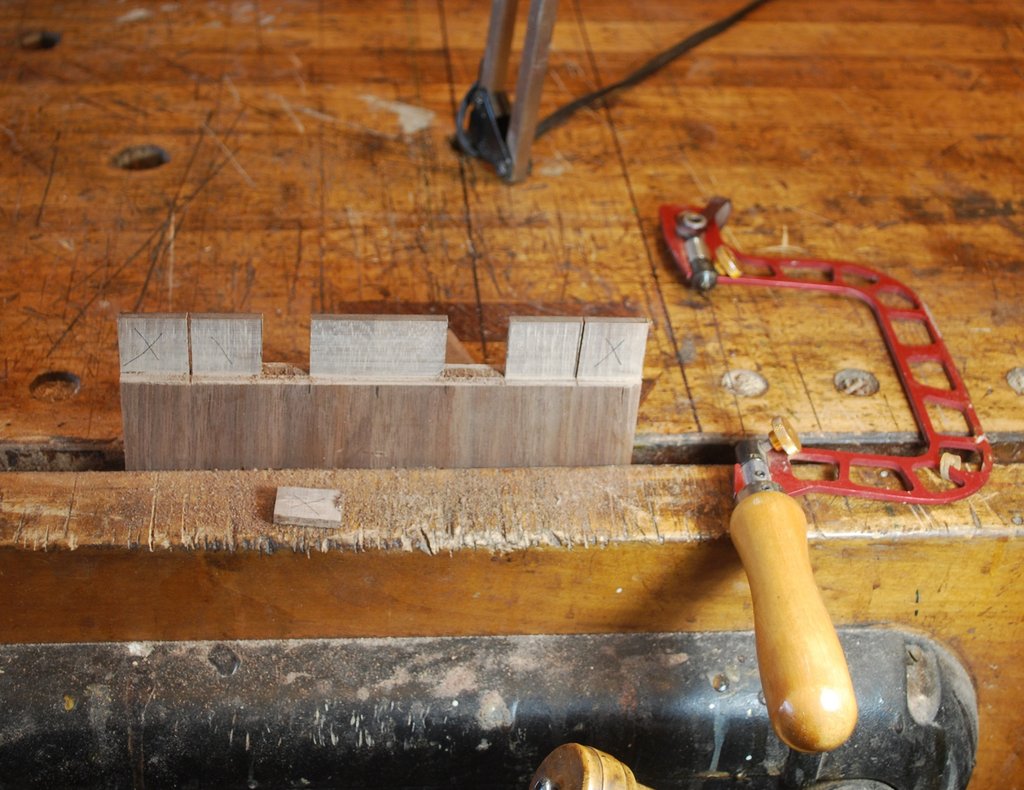
Sawing out the waste to create the tenons. Clearly marking the waste was a hard learned lesson you can guess how I learned it!
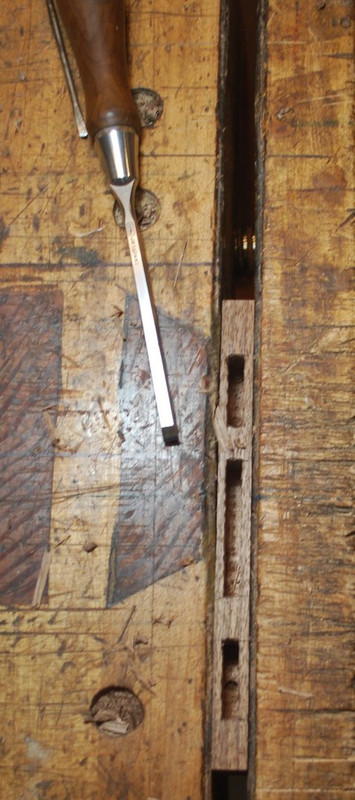
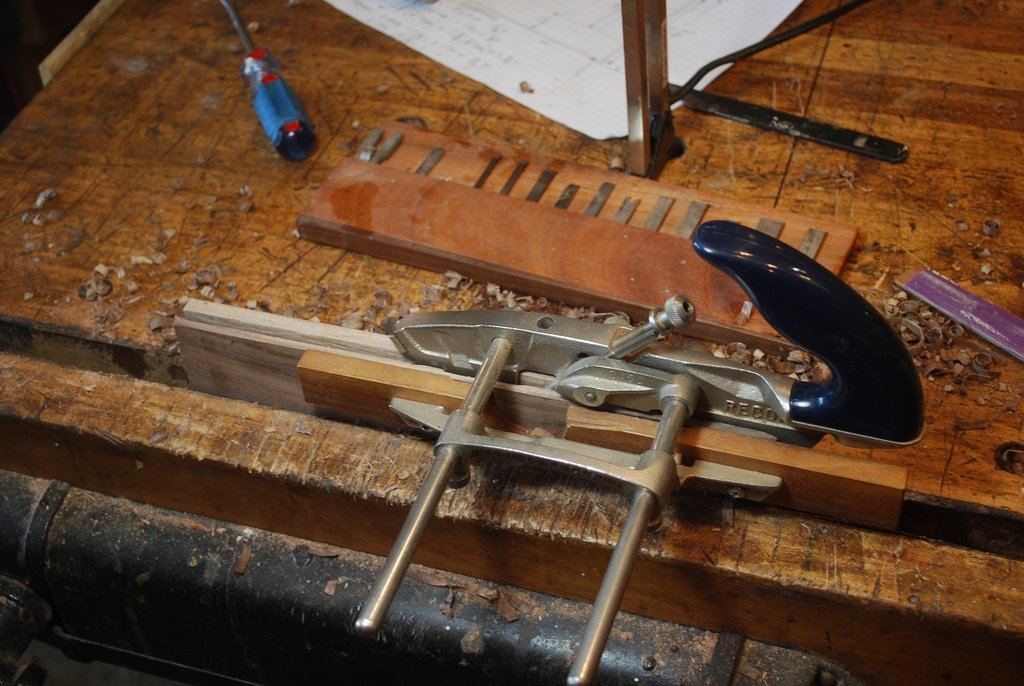
Fold-down front/breadboard ends are ½ thick which leaves little margin for error in chopping the mortises. Removing the bulk of the waste on the drill press and securely clamping the work piece help avoid disastrous potential blow out I hate when that happens!
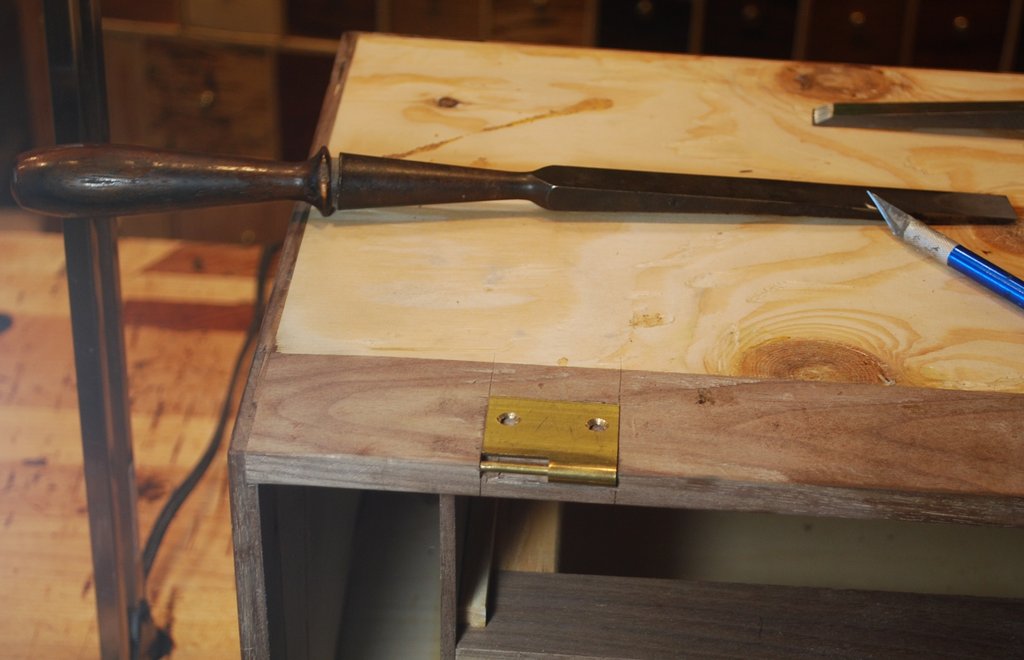
Was hard for me to wrap my head around positioning of the hinges to allow both internal fit of the front within the carcass and a flat surface level with the bottom of the chest when opened.
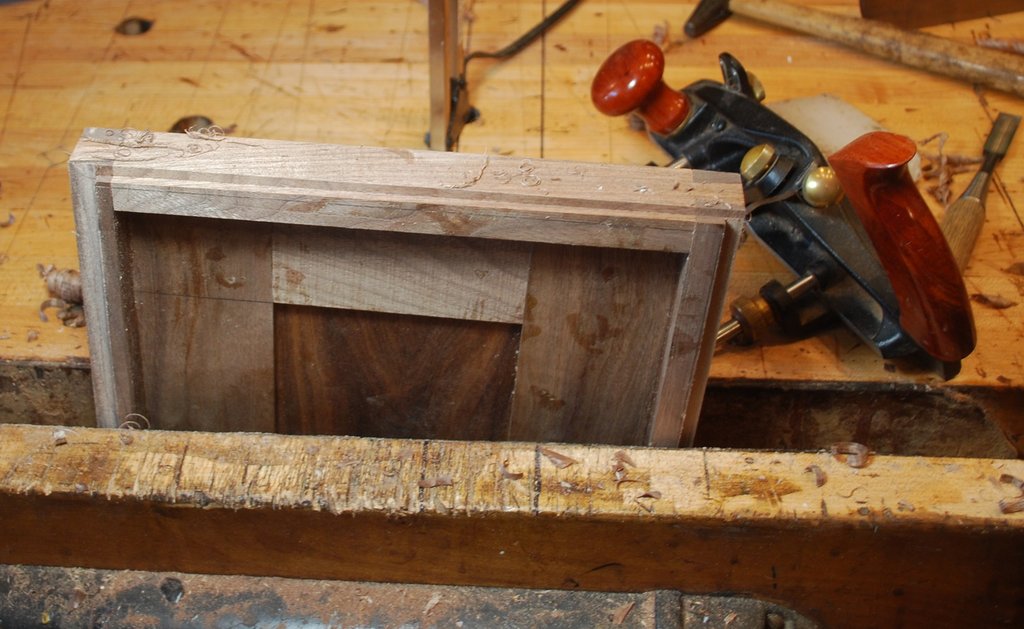
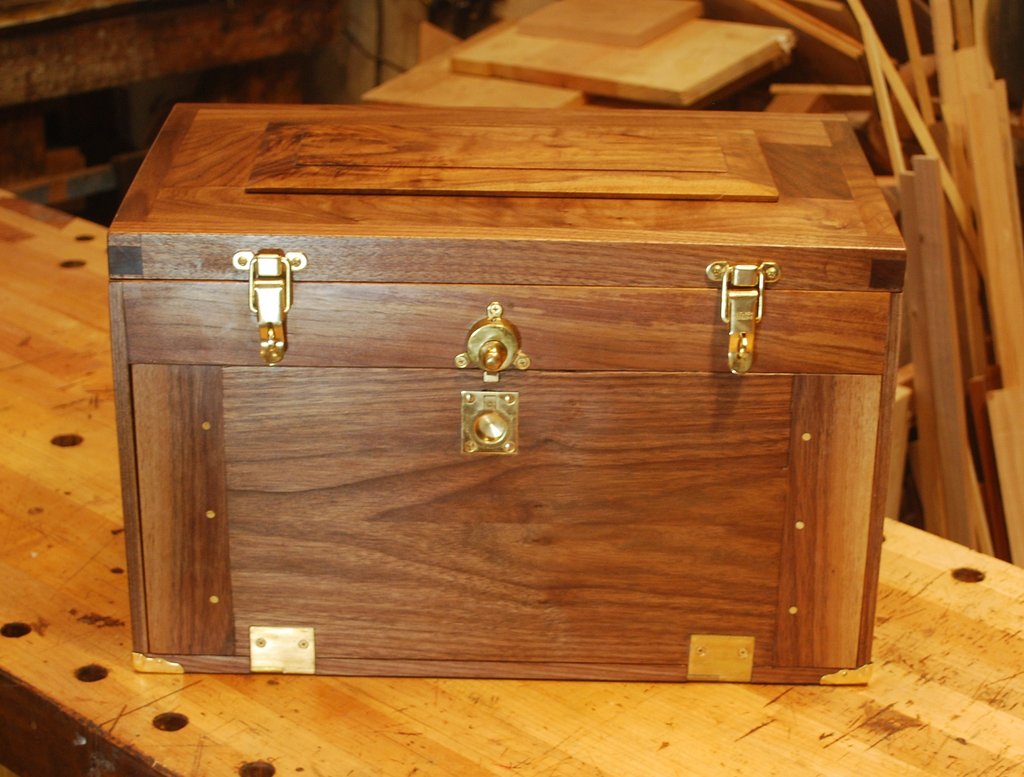
Design of the top is somewhat unique in my experience and one of my favorites for both strength and appearance. I stole this design from Chris Schwarz Anarchist Tool Chest. Basically an internal frame and panel surrounded by dovetailed aprons that will allow dust seal with top overlapping the bottom of the chest when closed.
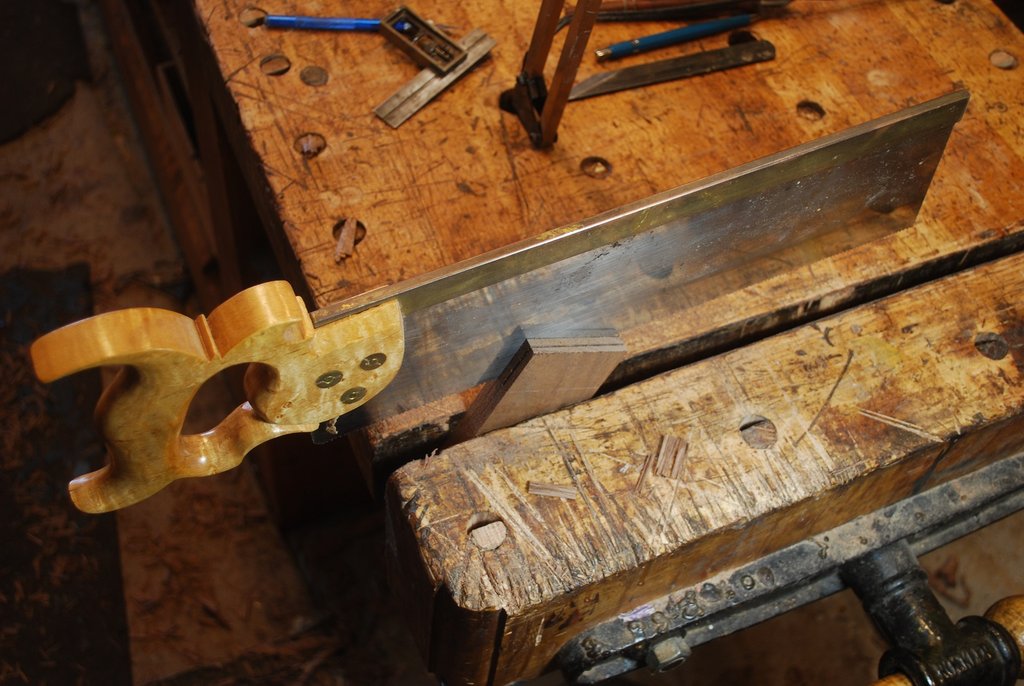
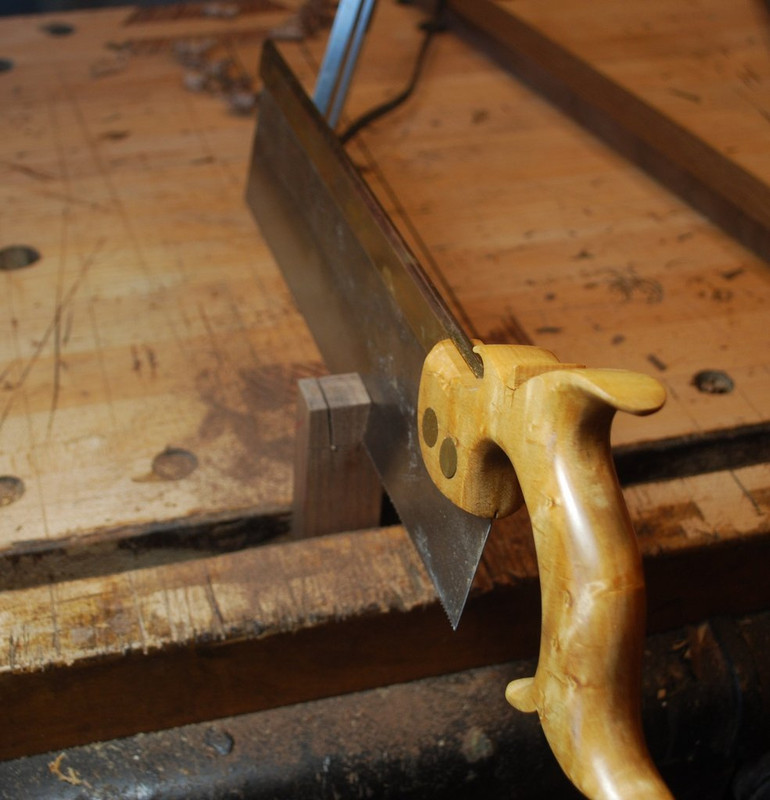
Thickness of stock for frame and panel was approximately 5/8, which means narrow M&Ts. Even though the tenons were very narrow and could have been easily created with rabbit planes, I prefer sawing with a fairly thick plated backsaw for speed and accuracy.
Sawing tennon shoulders at the bench hook with 16 PPI shop built backsaw.
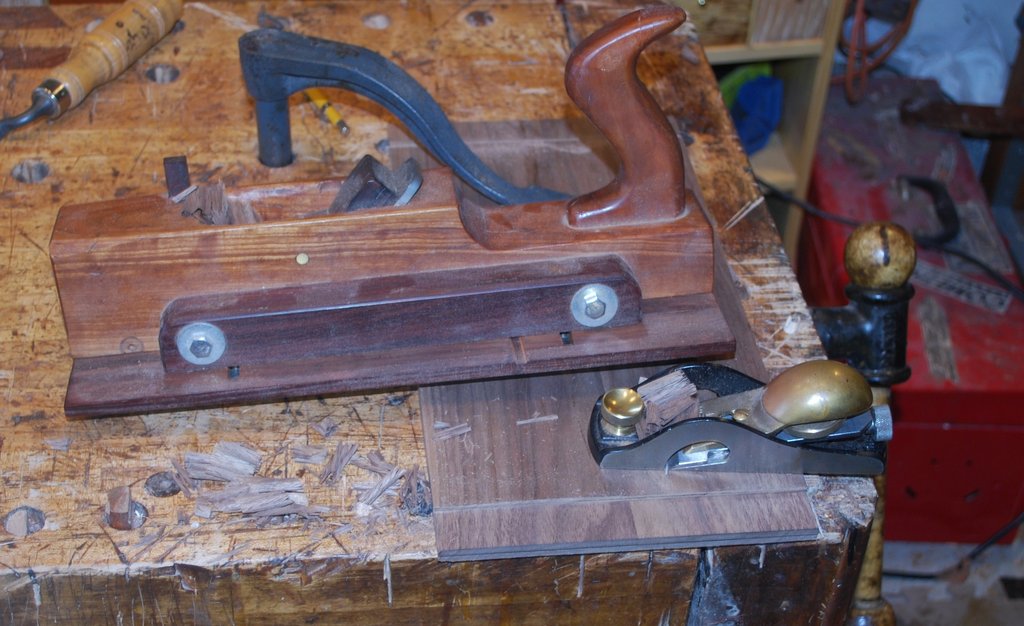
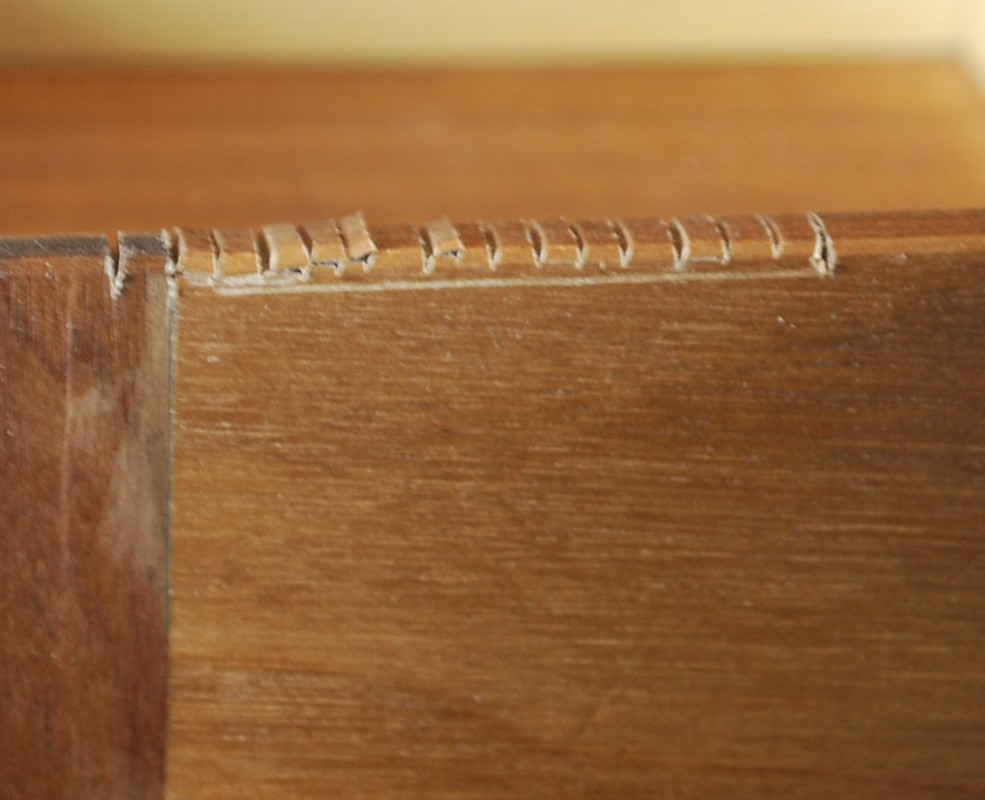
Plowing the grooves in the frame and panel with my very finicky 60s era Record plow plane. I was having all kinds of trouble until I realized primary bevel on the blade was too steep leaving no clearance - oopps!
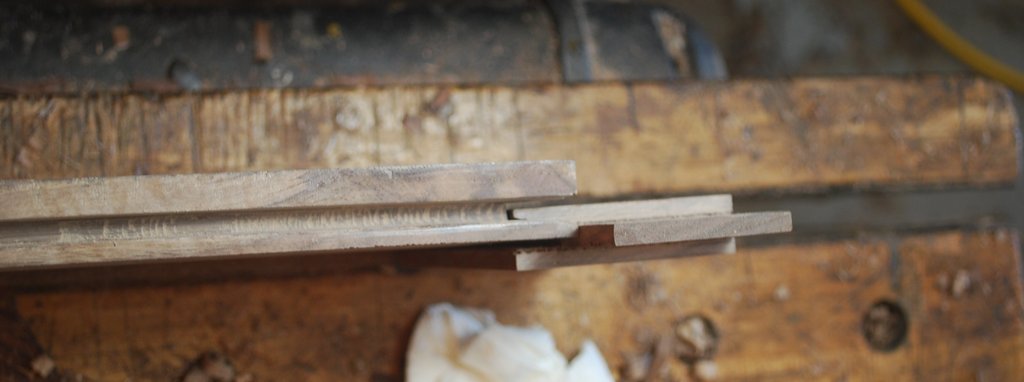
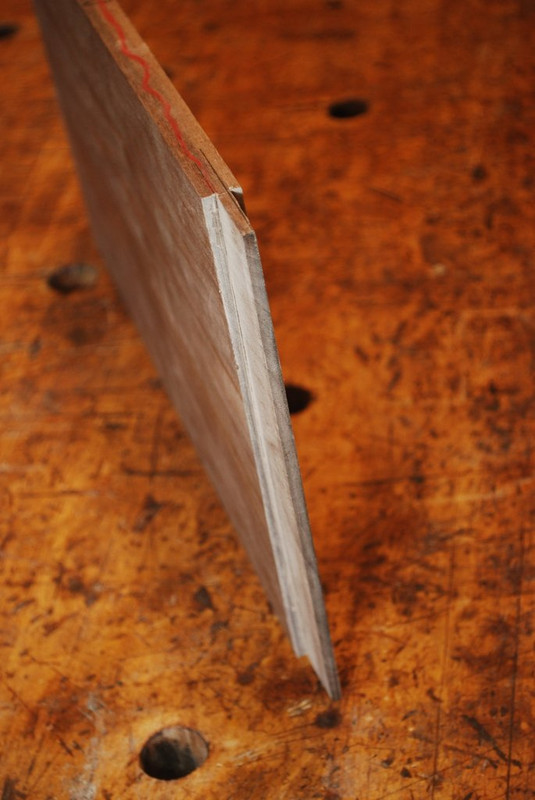
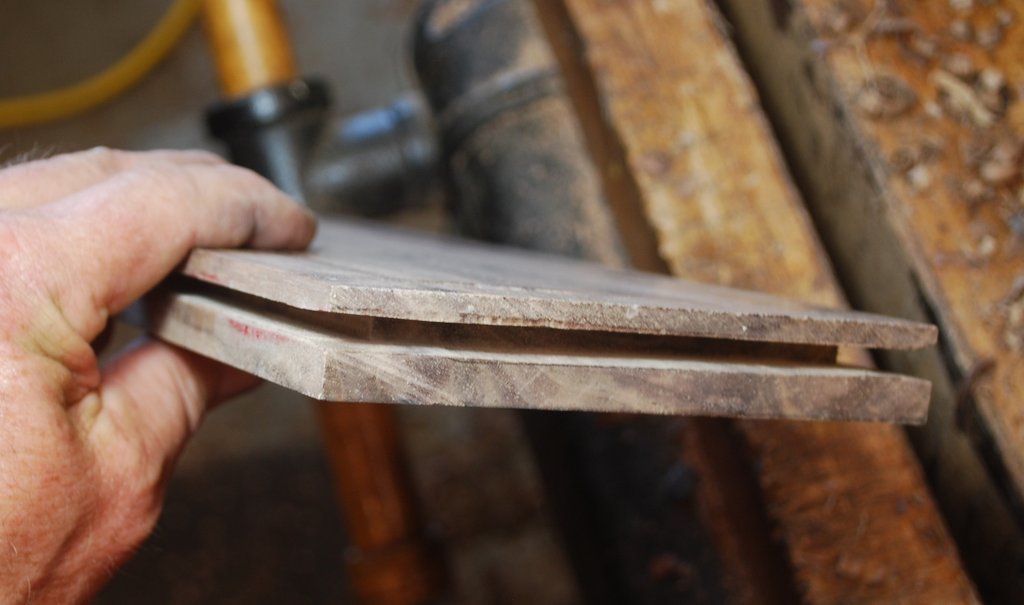
The groove is offset on the frame and panel to allow the panel to be proud above the frame. This creates extra strength because both but tongue and the top of the panel overlap the capturing groove.


 Reply With Quote
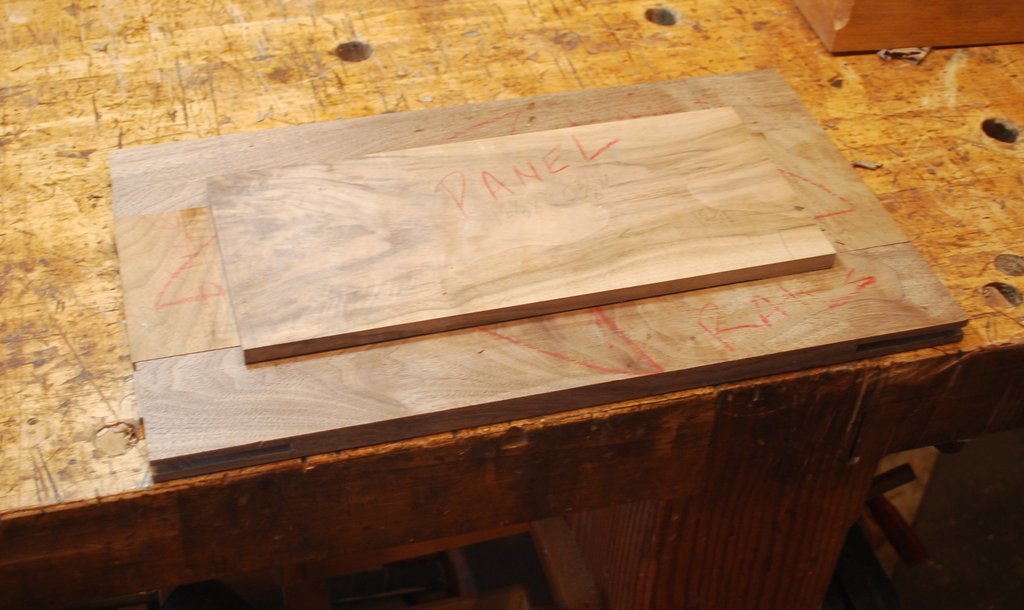


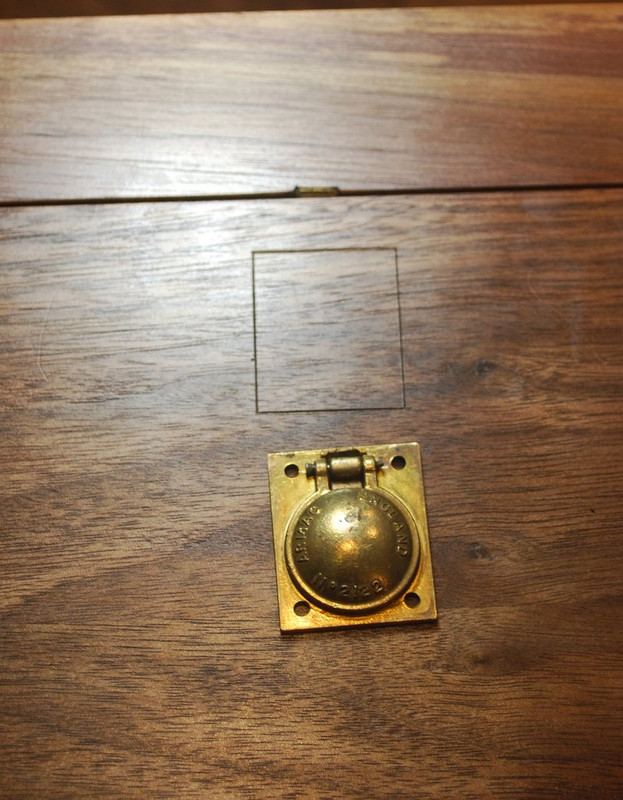
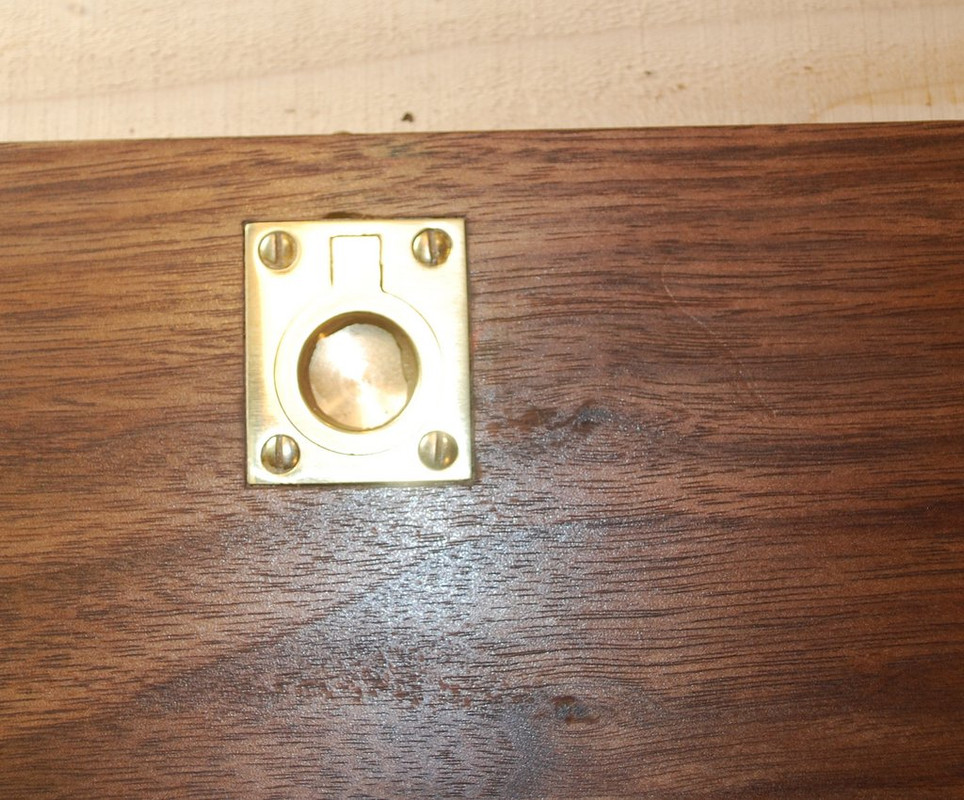
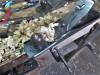
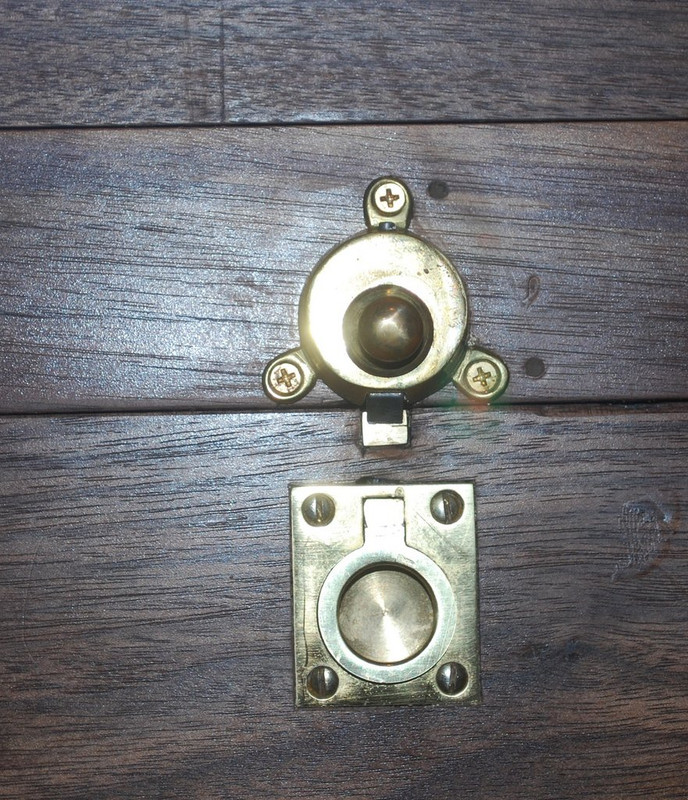
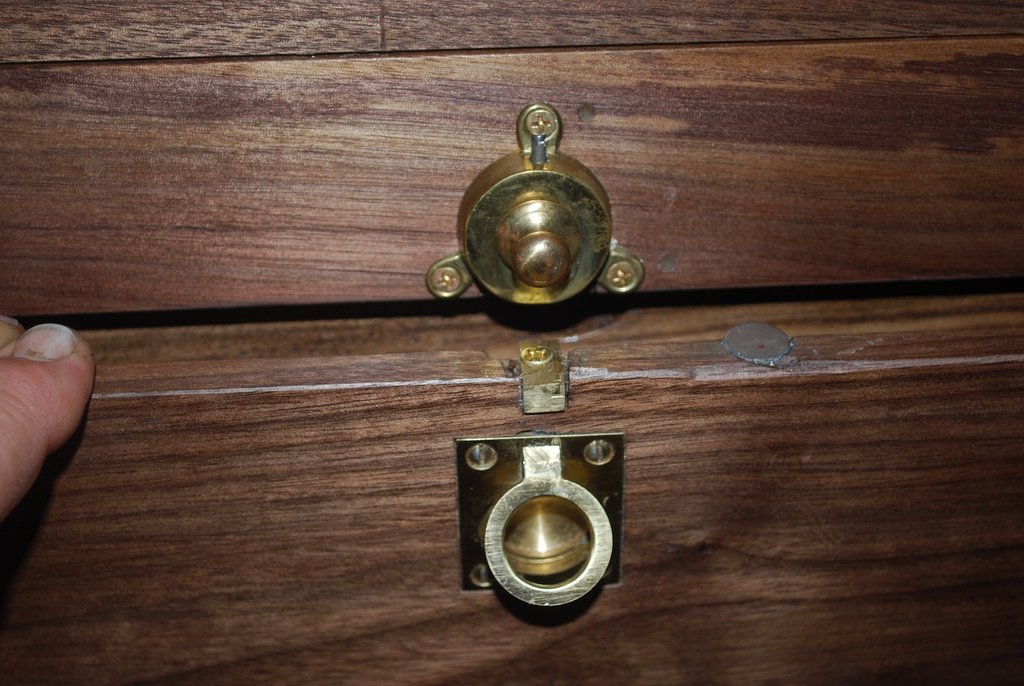
 . The bullet catch wasn’t holding the fold up front securely enough. I tried “adjusting” the catch plate with punch/hammer, superglue – no joy! Next I remove the bullet catch and added magnet and washer on corresponding front/case surfaces – had absolutely no effect.
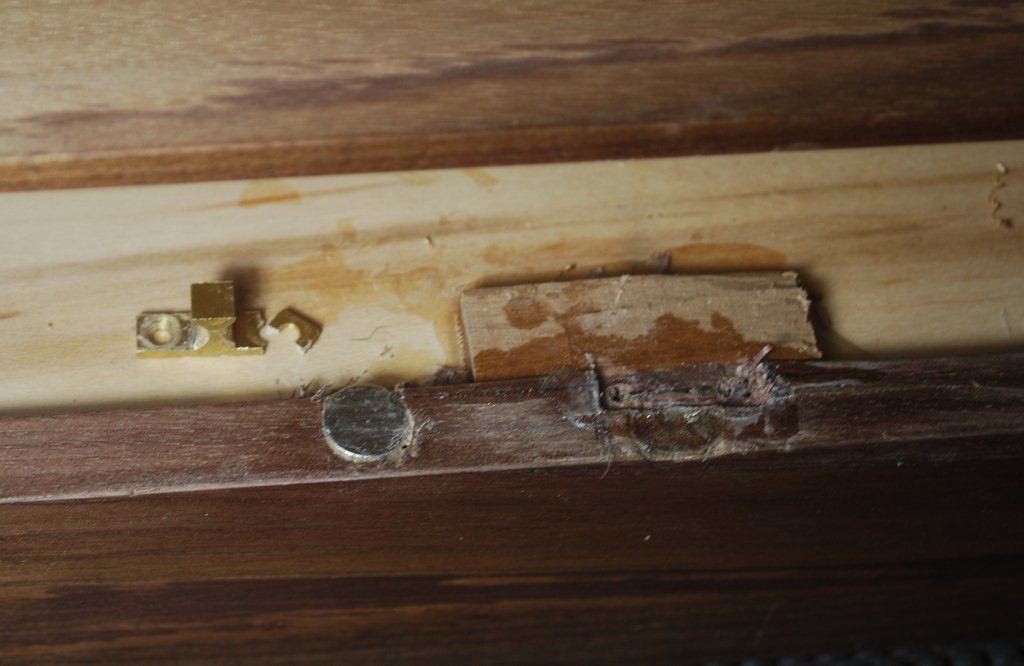

 .
.

 . Amazing work.