Page 1 of 2 12 LastLast
Results 1 to 15 of 25

Thread: Neander Tackle Box Build

  1. #1
    Join Date
    Feb 2011
    Location
    Carlsbad, CA
    Posts
    2,229
    Blog Entries
    2

    Neander Tackle Box Build

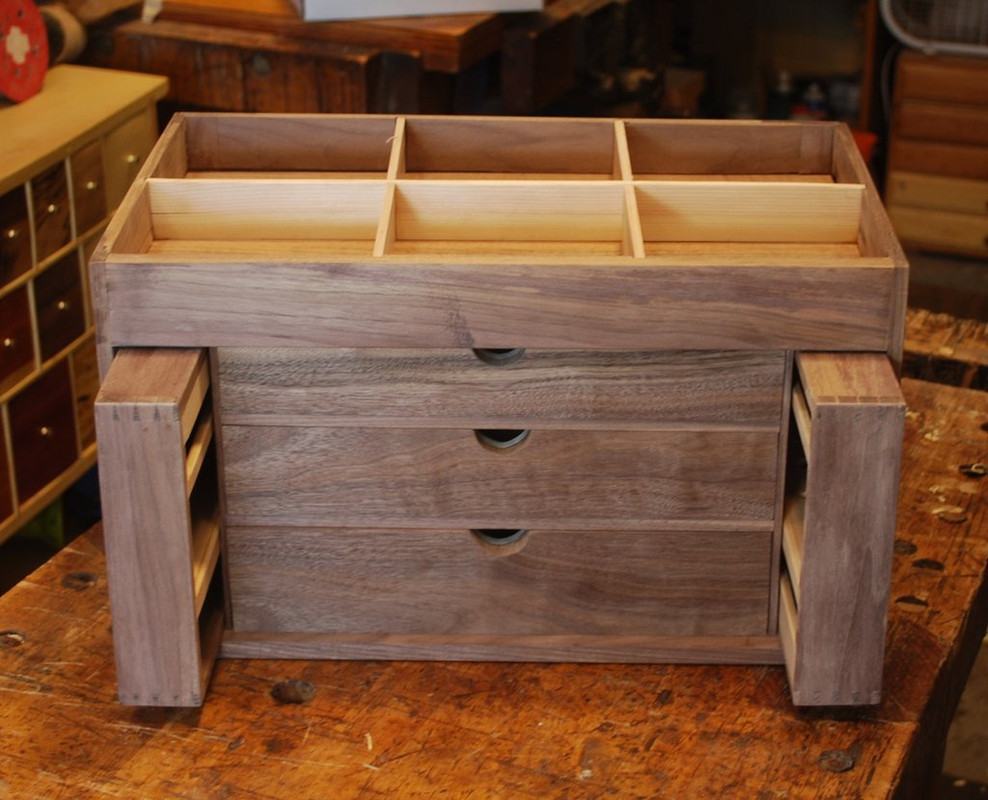
    Our 25-year-old son just got engaged to his longtime girlfriend and we are very excited for the happy couple! He is an avid fly fisherman and has a birthday coming up in July. His fiancée mentioned to me she was planning on getting him fly tying supplies and asked if I could build a tackle box/fly tying station keep everything in.


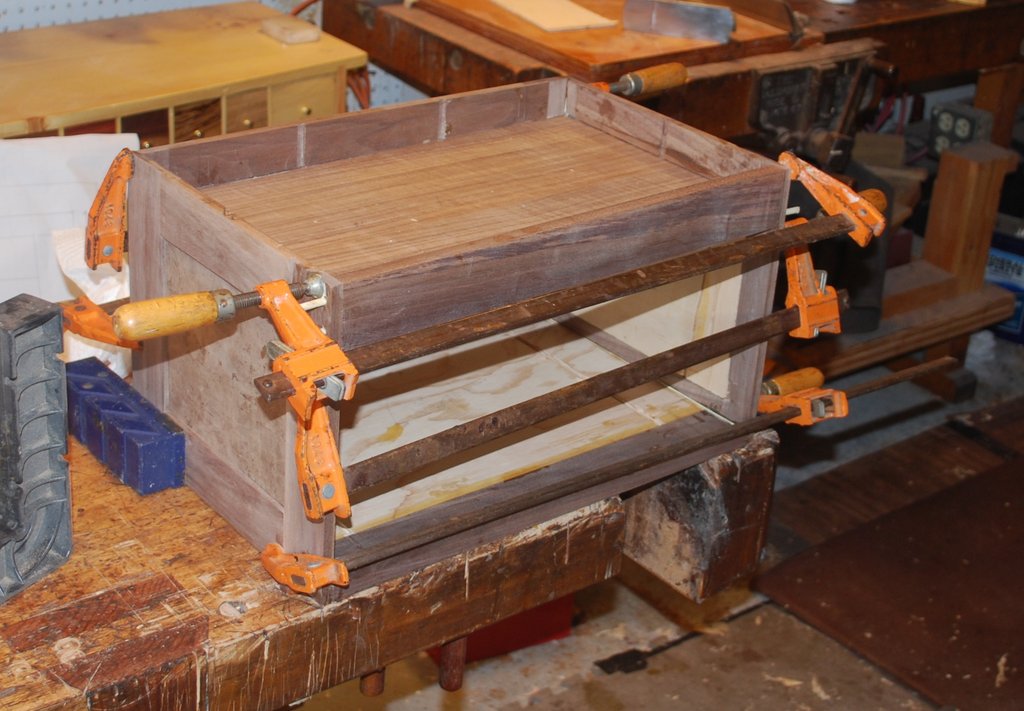
    I wanted to keep the box fairly lightweight so that he could carry it into fishing sites without too much trouble -that ended up driving a lot of the design/joinery. Rough dimensions are 18“ long x 11“ wide x 11“ tall. To maximize storage space for small items I settle on a fold-down front panel with a bank of three drawers in the middle flanked by two pullout frames to hang frequently used items. Top will also be hinged with additional storage underneath.
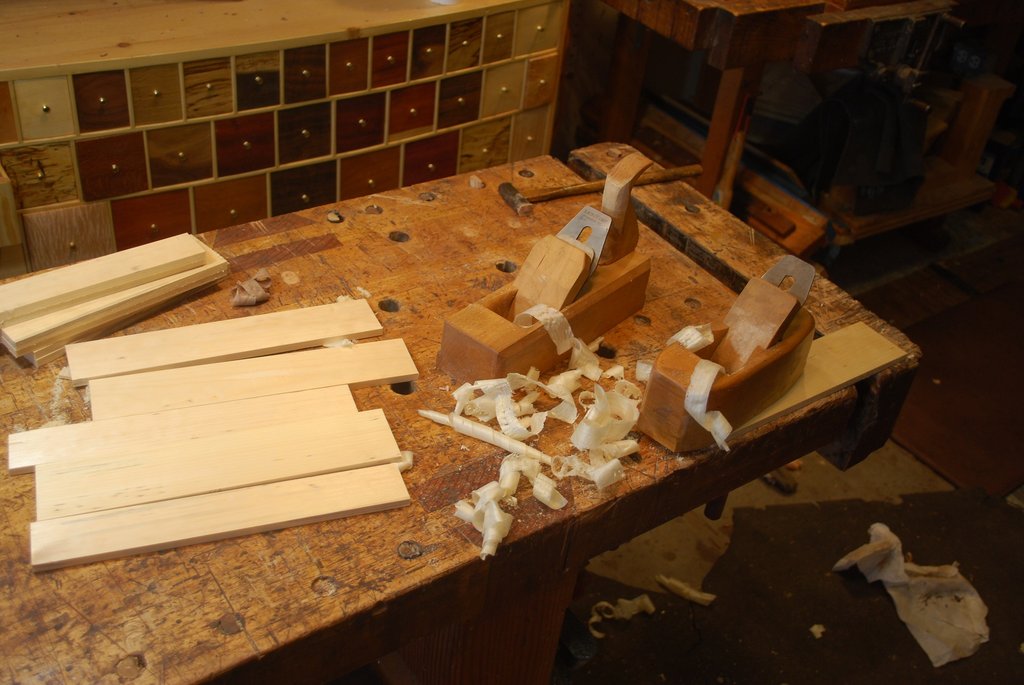
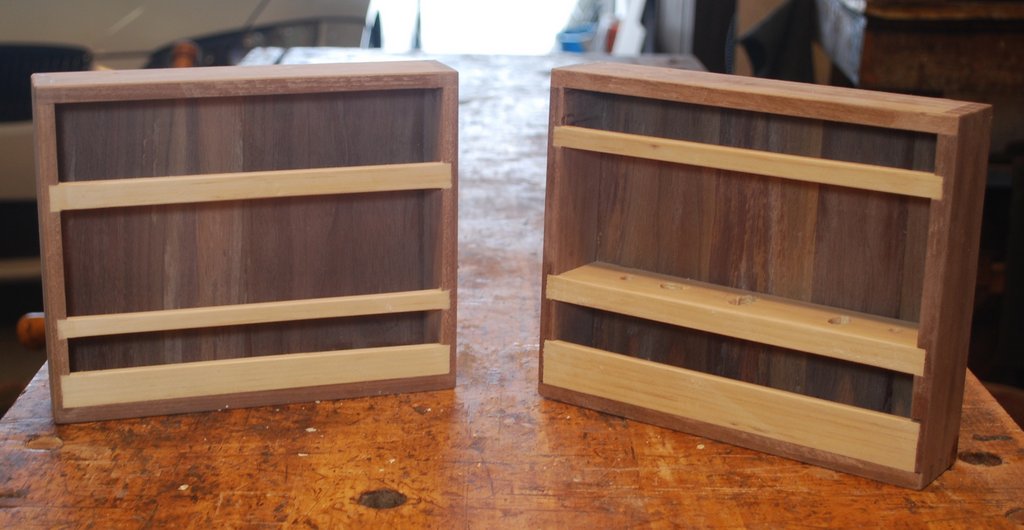
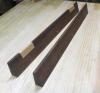

    Carcass is ½’ thick Walnut frame and veneered 1/8” plywood panels glued in place to add some rigidity/strength. Given the thinness of the stock I went with simple half lap joints to maximize glue surface area for the frames.


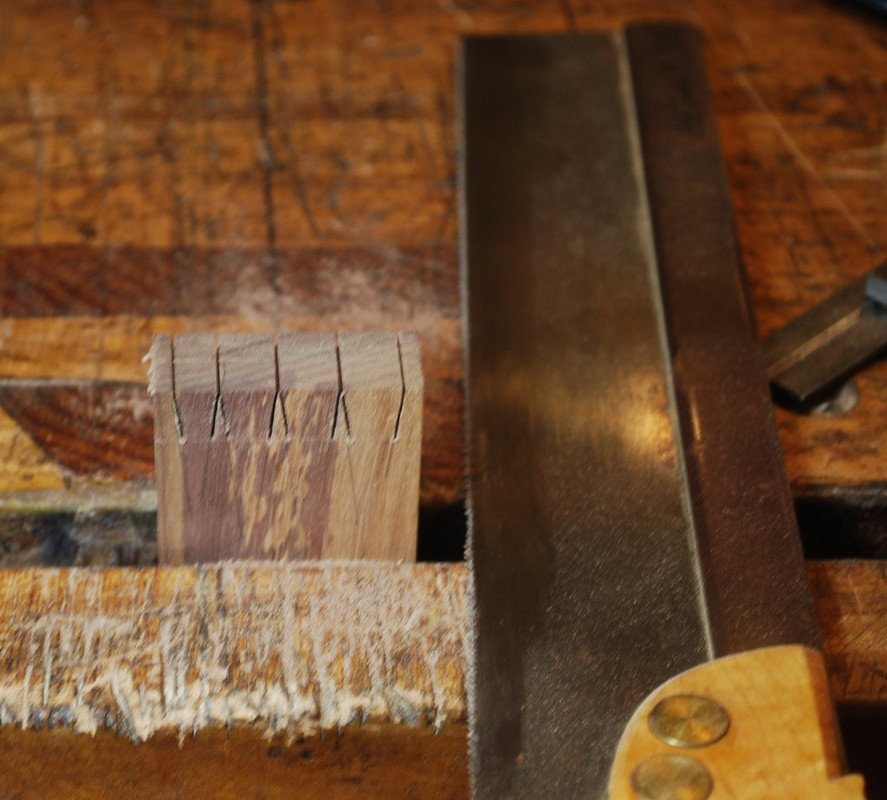
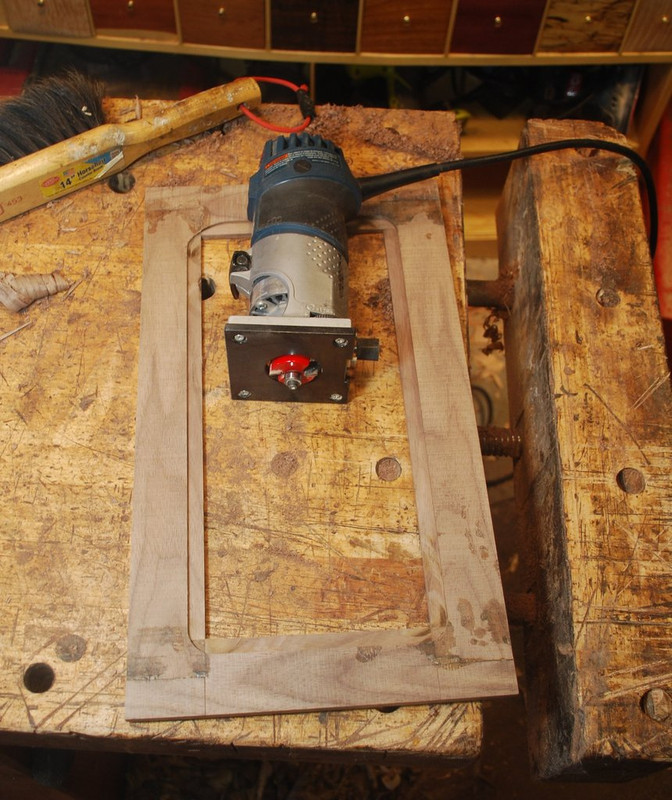
    Because frames are so thin I use electric router to create 3/16 inch deep rabbit after assembly, which minimize the chance of any disastrous splitting.


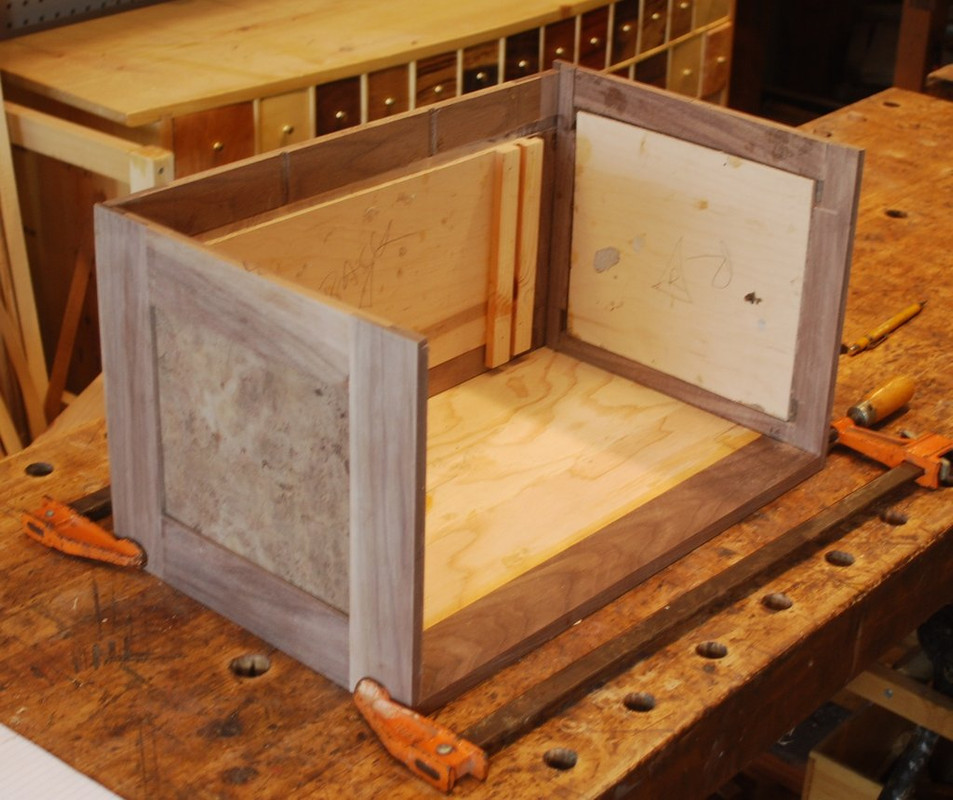
    Carcass sides, back and bottom are joined via a simple rabbit joints glued and screwed where feasible.
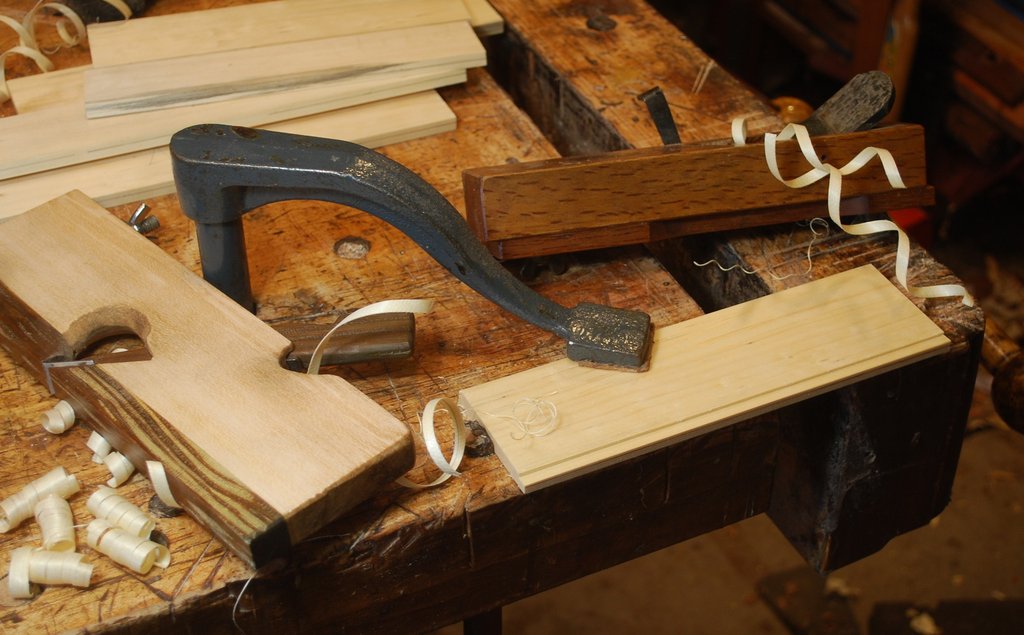
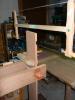


    Couldn’t really figure out a good joinery solution for the 2 inch wide fixed front panel. If I'd been thinking would have changed orientation of rails/stiles on carcass sides so would have had some end grain available for DT's - uuugh! Went with through dowels. Not very strong by itself. I’m hoping internal dividers and overlapping top will add some strength.


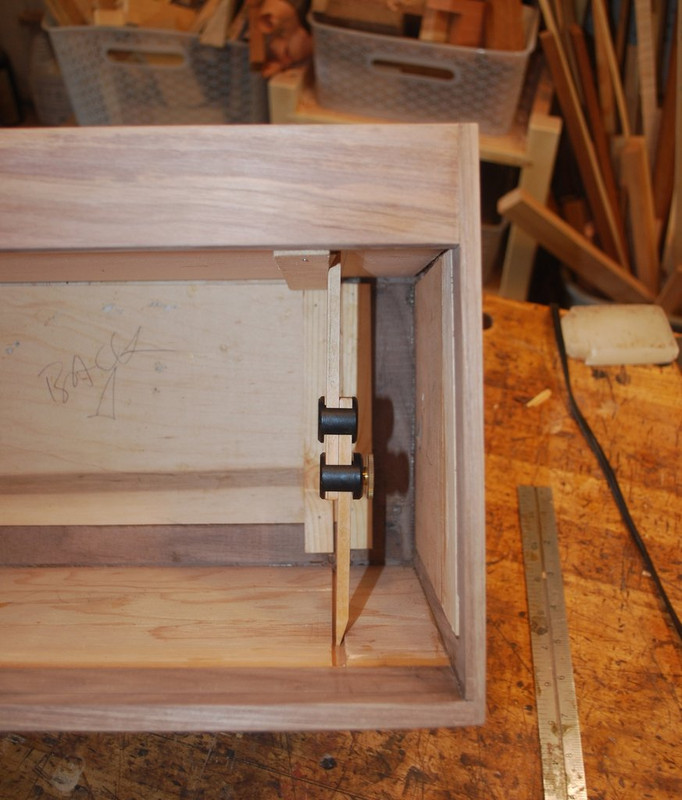
    Stop rabbits dadoes plowed four vertical internal dividers. Sliding measuring stick super helpful to get this dimension exactly right.
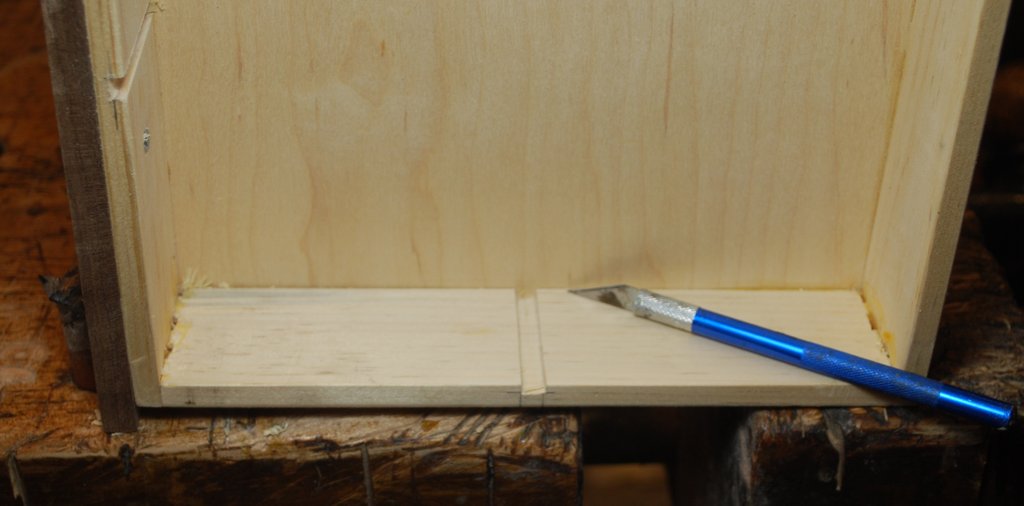
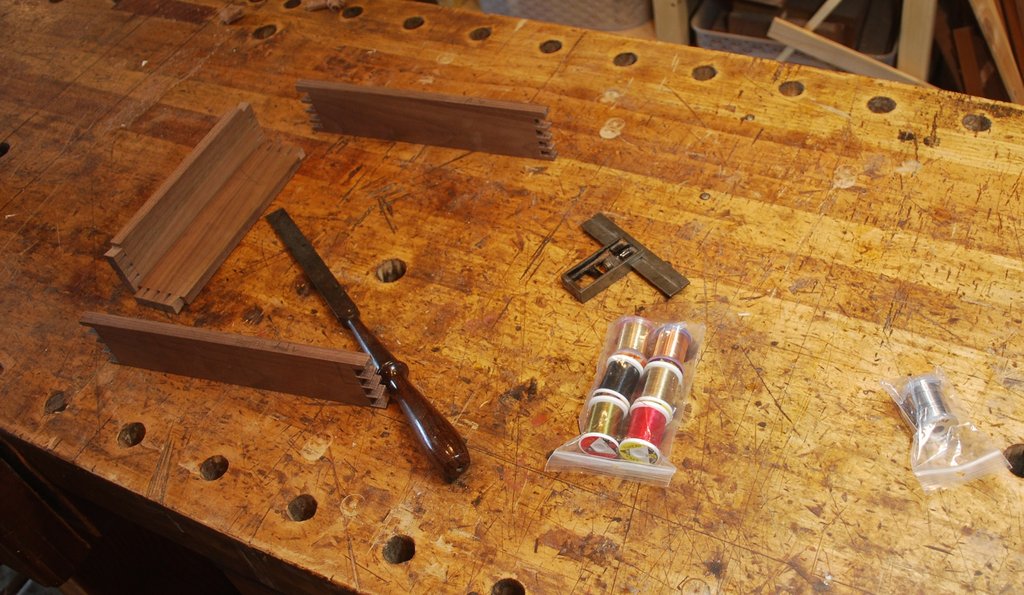


    ¼” thick vertical dividers glued in place. Because are so thin I added ¼” square drawer guides and kickers which also create a “housing” to glue horizontal drawer dividers.


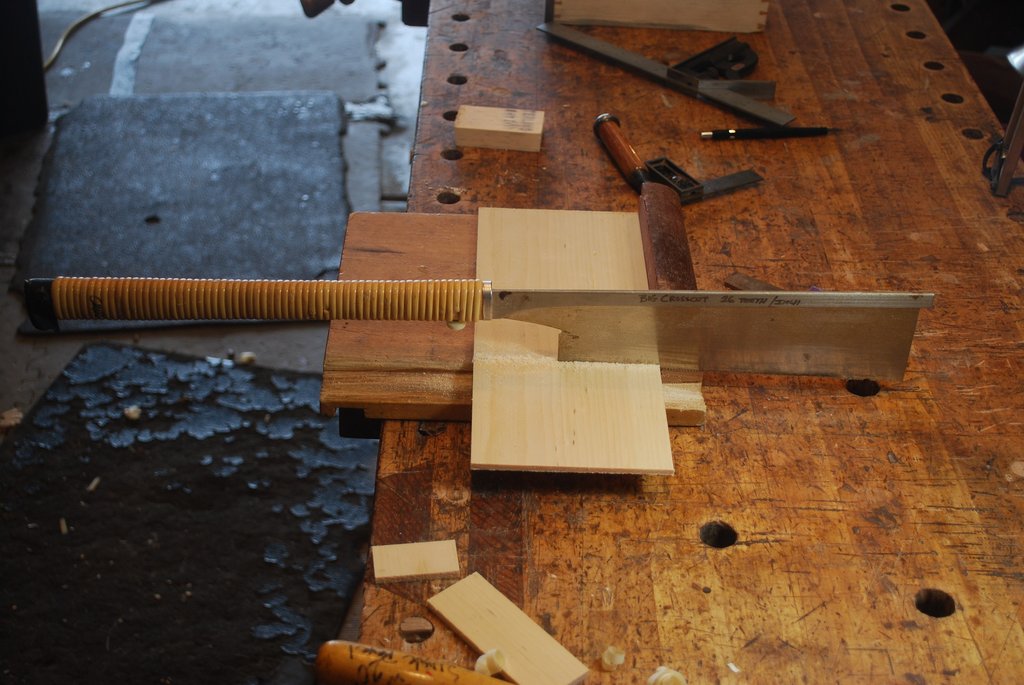
    Three graduated height drawers fronts are flush, internal fit. I always enjoy planing drawer fronts to get a nice fit in their pocket. Not sure how you do this without hand tools?


  2. #2
    Join Date
    Feb 2011
    Location
    Carlsbad, CA
    Posts
    2,229
    Blog Entries
    2
    Fun planing the “Whitewood” drawer sides and backs.


    To maximize usable depth in already shallow drawer’s plywood bottoms were rabbit it to sides and front.


    For internal dividers inside the drawers, cut shallow dadoes for one side of each divider prior to assembly. Somehow when I cut both sides of the divider prior to assembly the divider never ends up looking quite square in the drawer so I layout and cut the corresponding second dado for the dividers after assembly with chisel and knife.


    Cutting the ¼”thick Whitewood dividers to length – love using Japanese saws for sawing thin stock like this.


    Finished drawer with dividers for holding components of fly tying vice.


    For the square frames that will fit into pockets on either side of the bank drawers, I went with narrow DT’s. I’m a tails first guy so the critical operation is sawing the pins right on the marking knife line. Because this is relatively softwood, I was going for a tight fit. For me it helps to tilt the dovetail saw a little off vertical to start the edge of the saw teeth splitting the layout line.


    Fortunately I was able to layout the fly tying supplies to get an idea of how to best fit the frames with shelves/faces to keep small components like the thread and tying tools in place.


    Cleaning up dovetails on assembled frames. For me it’s worth the time to clamp a backer block in place to avoid spelching the end grain and allow planing and one direction.


    Frame backs

  3. #3
    Join Date
    Sep 2019
    Location
    Central Florida
    Posts
    102
    Awesome story and the start of a beautiful piece!

  4. #4
    Join Date
    Feb 2011
    Location
    Carlsbad, CA
    Posts
    2,229
    Blog Entries
    2
    Here’s the completed carcass, drawers and sliding frames.


    Carcass front will be hinged to hopefully and internal flush fit. Should I try and add some kind of “retaining pin” to the backs of the sliding frames so that they can’t be completely pulled out of the carcass? Might be a little neater, but I’m not exactly sure how I would do it – drill/slide a dowel from the inside?

    Next will be hinged carcass breadboard front, what I think is a cool design for the top stolen from Chris Swarz’s anarchist tool chest, and what looks like lots of hardware.

    Thanks for looking! All the best, Mike

  5. #5
    Join Date
    Mar 2015
    Location
    SE Michigan
    Posts
    3,225
    Great job Mike, he’s going to love it. I think my vote would be to not pin the sliding frames so that they can come completely out. He may want to have them out making the items more easily accessible (?). Same with the drawers. Look forward to the finished piece.

  6. #6
    Mike,

    As always well thought out beautiful work but more important you are a good Dad. Great looking couple you'll should be proud.

    ken

  7. #7
    Sometimes we see elegant boxes that have just a little too much wood in them. You are making something that has to
    have strength. And it will have the grace of a child's Disney castle ! The drawers look like they could be water tight if they
    had knobs instead of holes. Great stuff ! Good looking couple there and I'm pretty sure the photographer did not have to
    ask for the smile. All the best to them!

  8. #8
    Join Date
    Dec 2010
    Location
    South Coastal Massachusetts
    Posts
    6,824
    Small things are much more challenging - there's so little margin for error.

    Handsome piece!
    Kudos

  9. #9
    Join Date
    Oct 2004
    Location
    SoCal
    Posts
    866
    Been a long time since I considered fly fishing. I suppose it is a tackle box since it contains some but is more a very elegant, portable workstation for the flyfisher. Very impressive and well done sir/

  10. #10
    Join Date
    Mar 2006
    Location
    Austin Texas
    Posts
    1,957
    Great work again Mike. Outstanding design on separating all those moving parts and keeping the weight down. Working with thin stuff has it's own problems but not for you apparently. And I saw those woodies working that whitewood over! Good application on the sliding bar measurement. I have something similar for checking diagonal measurements on drawers and carcases, but had not thought about using a shorter version for length measurements. Thanks for sharing.
    David

  11. #11
    I'm new here, but just wanted to say that these types of posts are educational and inspirational. Thanks to all of you that take the time to do them.

    Congrats on the new addition to the family Mike.

    Fly fishing, hmmm. I've been thinking I might want to take that up in retirement. What's one more hobby to drain $$$ from the account!?!

  12. #12
    Join Date
    Sep 2007
    Location
    Longview WA
    Posts
    27,427
    Blog Entries
    1
    Interesting project your son will enjoy for years.

    Many years ago one of my coworkers told me of fly fishing. He and others would take their kits along and then use a small net to see what kind of larva were in the water to see what the fish were likely feeding on. Then they could whip up a new fly and start fishing.

    jtk
    "A pessimist sees the difficulty in every opportunity; an optimist sees the opportunity in every difficulty."
    - Sir Winston Churchill (1874-1965)

  13. #13
    Join Date
    Sep 2008
    Location
    N. Idaho
    Posts
    1,621
    Congrats to all on the engagement! And the box looks way better than the tupperware tub i've used for decades. I'm sure he'll treasure it.

    And tell your son to be careful with the flyfishing habit...mine led to grad school in aquatic entomology and a career with fish...but i hardly ever fish now!

    Looks great and will look forward to seeing more progress.
    "You can observe a lot just by watching."
    --Yogi Berra

  14. #14
    Join Date
    Feb 2011
    Location
    Carlsbad, CA
    Posts
    2,229
    Blog Entries
    2
    Quote Originally Posted by Phil Mueller View Post
    it. I think my vote would be to not pin the sliding frames so that they can come completely out. He may want to have them out making the items more easily accessible (?). Same with the drawers. Look forward to the finished piece.
    Thanks Phil for the suggestion – that's what I decided on. The grand scheme of things everything is pretty small and being able to completely remove the frames should be helpful.

    Cheers, Mike

  15. #15
    Join Date
    Feb 2011
    Location
    Carlsbad, CA
    Posts
    2,229
    Blog Entries
    2
    Quote Originally Posted by ken hatch View Post
    Mike,

    As always well thought out beautiful work but more important you are a good Dad. Great looking couple you'll should be proud.

    ken
    Thanks Ken, I sincerely appreciate the sentiment coming from you. To tell the truth, our youngest has dated some real doosies; I'm talking like restraining order crazy. This one however is a real keeper. Now I just hope he doesn't screw it up.

    Cheers, Mike

Posting Permissions

  • You may not post new threads
  • You may not post replies
  • You may not post attachments
  • You may not edit your posts
  •