
Originally Posted by
Rob Luter

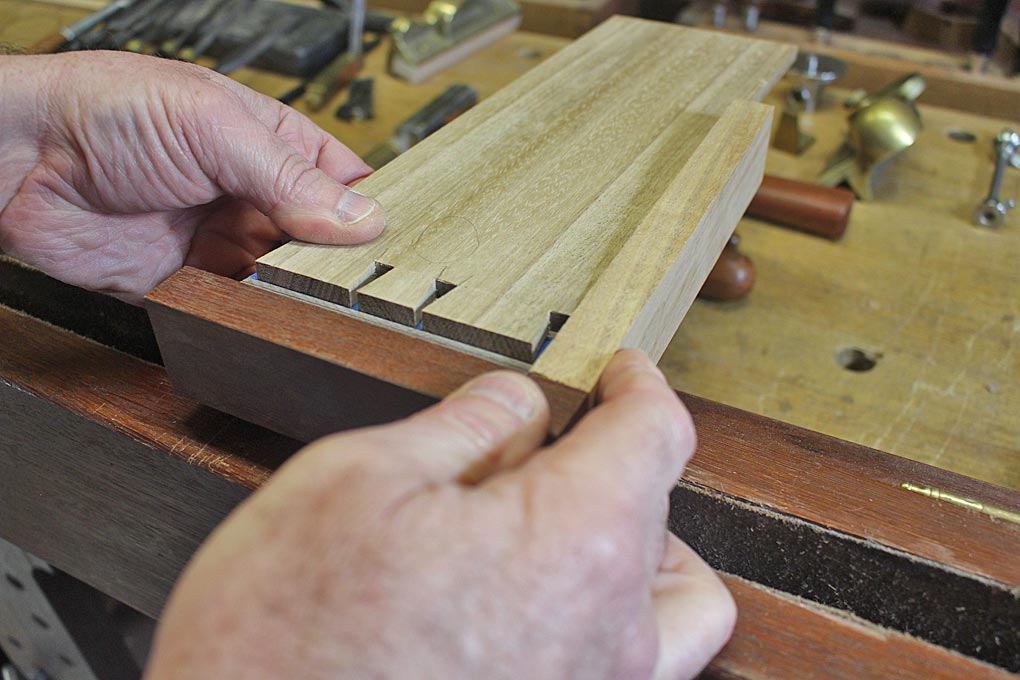
I remove most of the waste with a coping saw now. I had a couple sweet German fret saws but the blades were too fragile for the oak I normally work with, so I sold them in the great tool purge of 2019. I’m tempted to spring for a Knew Concepts saw with a high tension blade.
Originally Posted by
Frederick Skelly
Do it. You won't believe what a nice tool that is.
The Knew Concepts fret saw makes my German (and French or American fret saws) seem lame.
jtk
"A pessimist sees the difficulty in every opportunity; an optimist sees the opportunity in every difficulty."
- Sir Winston Churchill (1874-1965)


 Reply With Quote


 )
)
