Hi,
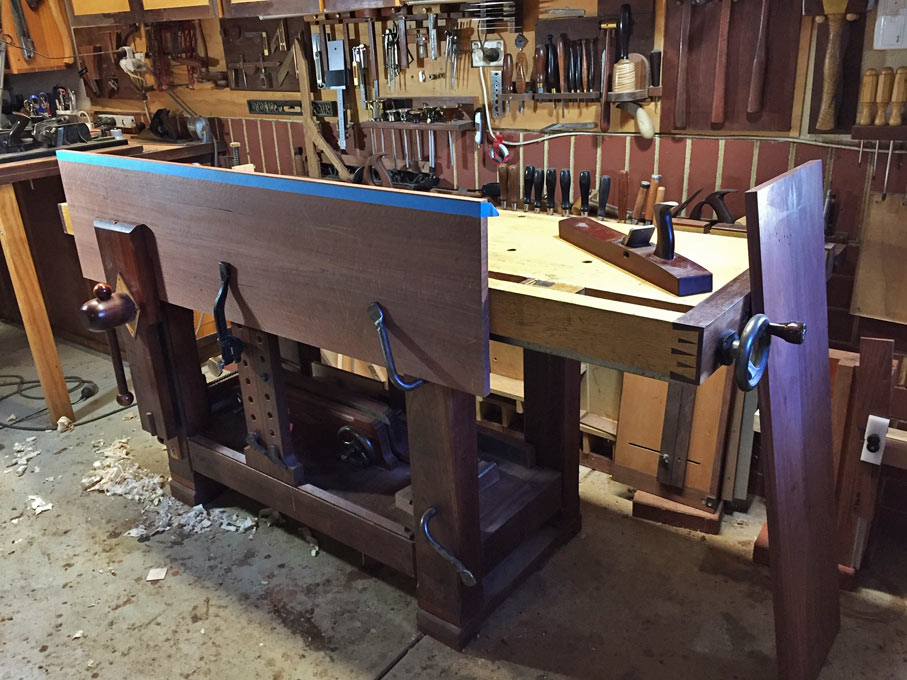
I am currently building Jay Bates take on a Roubo style workbench. Using Douglas Fir for the construction. Id like to add and end vise with 2 rows of dog holes. Im looking at the Sjoberg Elite vise, just a few questions.
1)Should I install a flat board at the end of the bench so the end vise clamps on that instead of the end grain? If yes, how to account for wood movement?
2) Im going to have a Leg Vise with a sliding dead man, I think the End vise will give me everything I need, any thoughts?
3) anyone have any experience with that vice, or can recommend something else?

 Reply With Quote