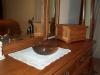
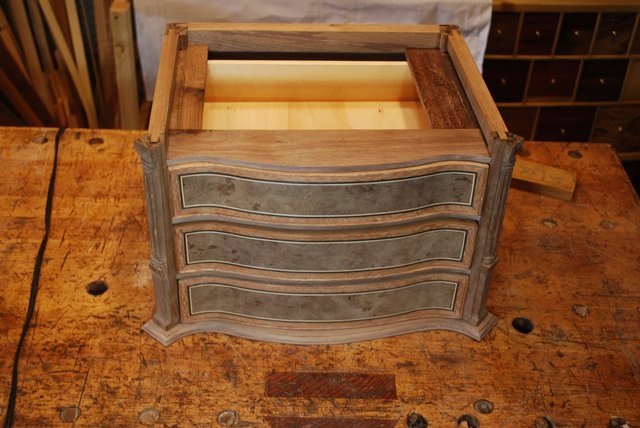
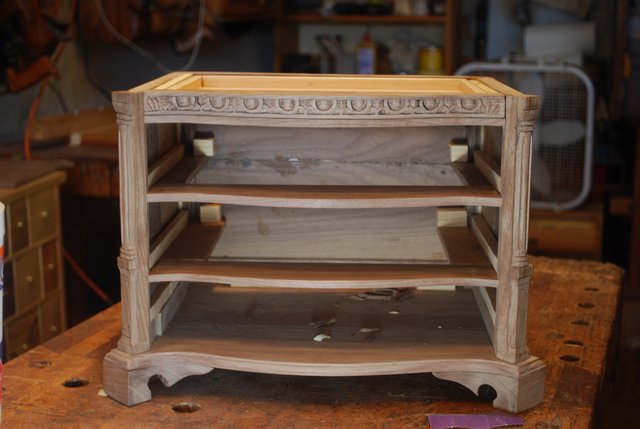
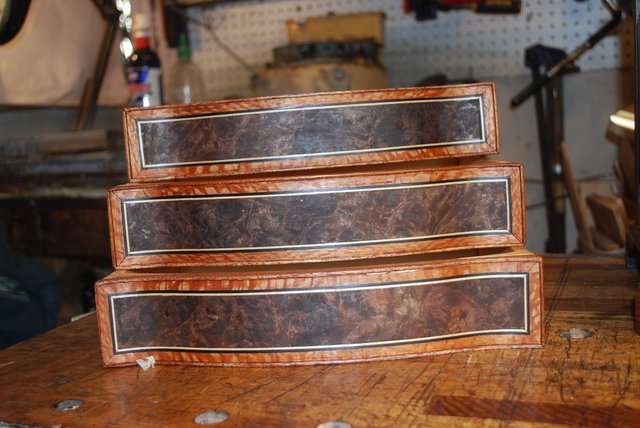
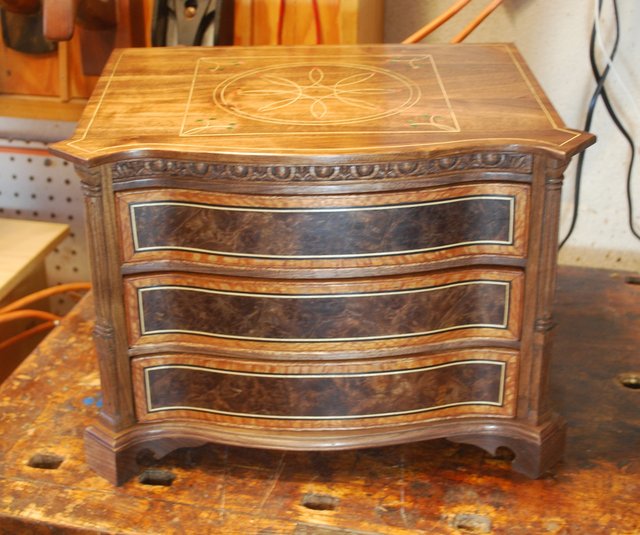
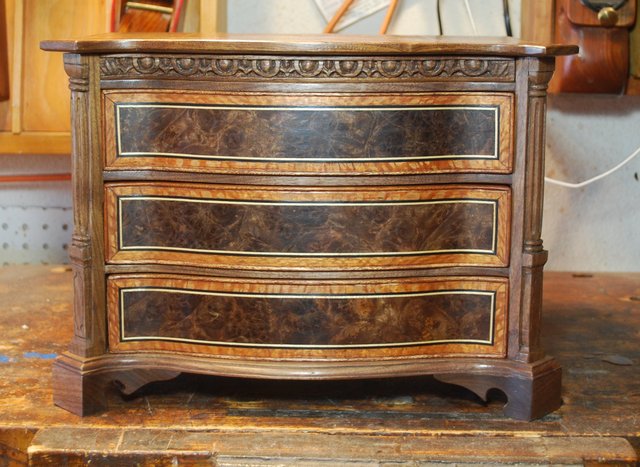
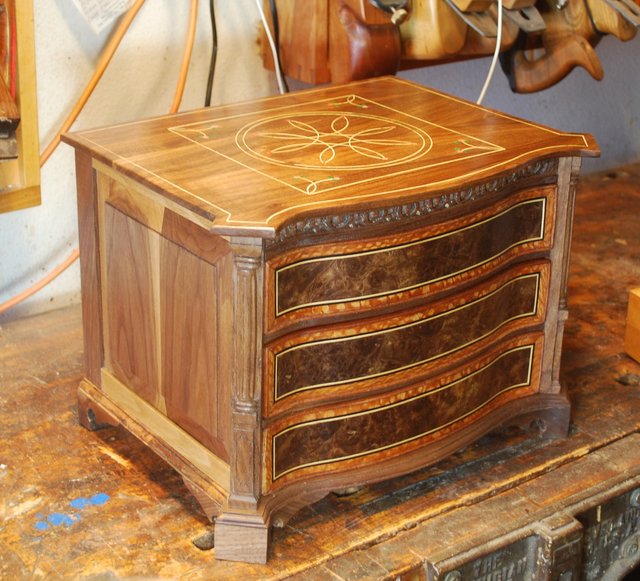
This is a small chest in walnut with serpentine front roughly 17 wide x 12 deep x 10 tall and three drawers. Motivation is of course, to have something to do during the quarantine, but also to try out a new technique serpentine drawer fronts with veneered surfaces. I dont really have room/need for full-size furniture, so Im doing this on a smaller scale that hopefully I can find a place for somewhere in the house.
Previous parts one and two of this build are under separate thread. I just added part two to the end of the original thread so not sure many people are able to see it. Those involved carcass construction and carving of the front columns.
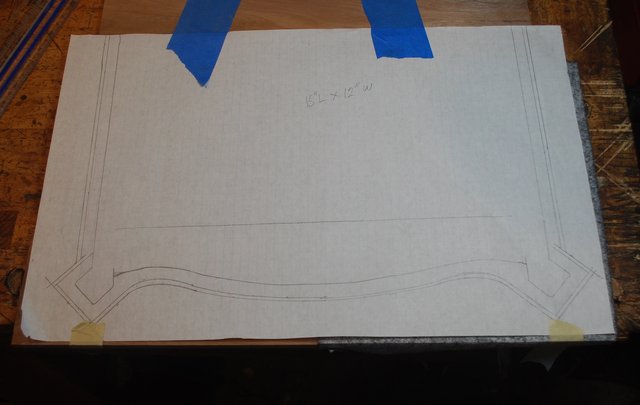
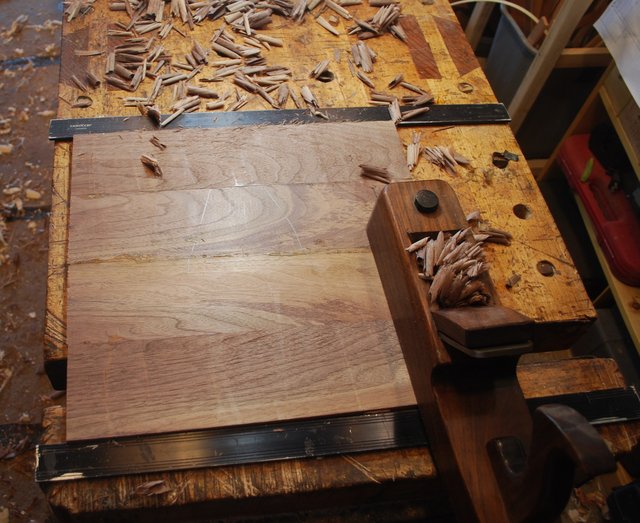
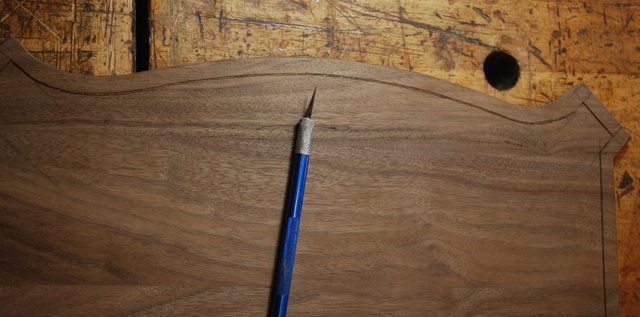
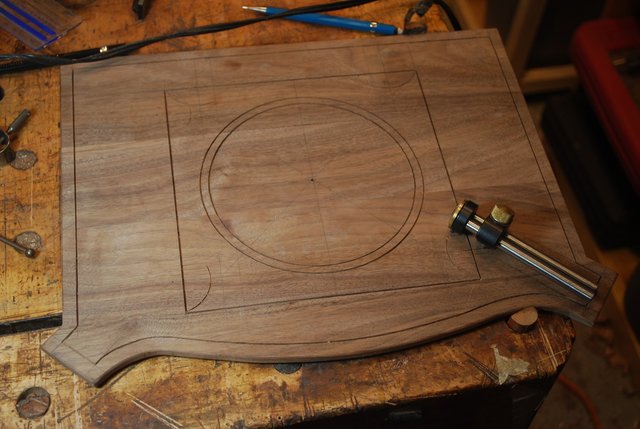
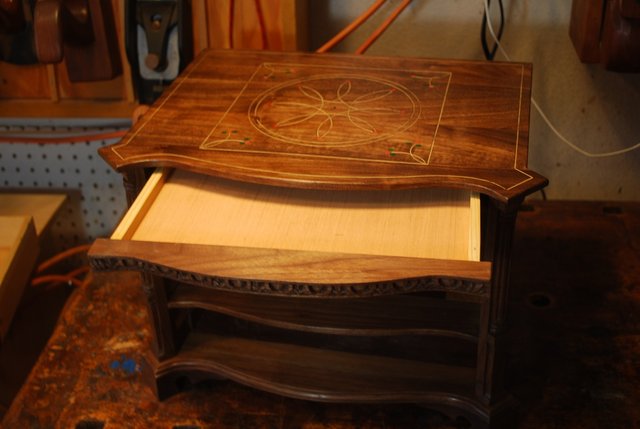
The top, bottom of the case, horizontal dividers all have to fit the curve of the drawer fronts that were the first step in this process. For me, I just traced drawer fronts to create a template for carcass bottom.
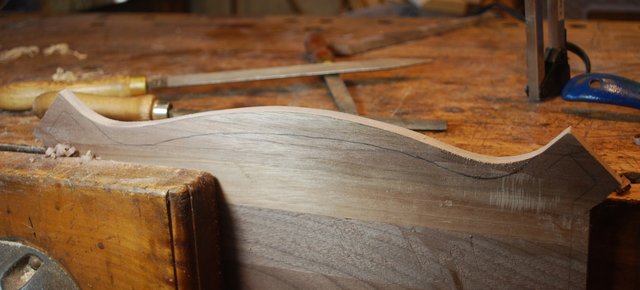
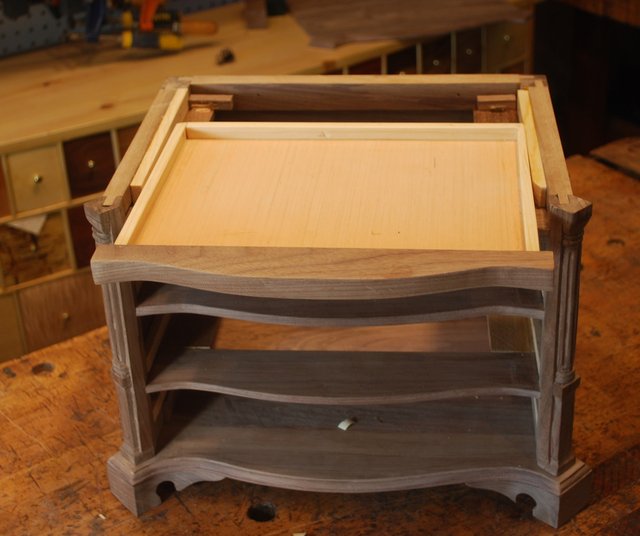
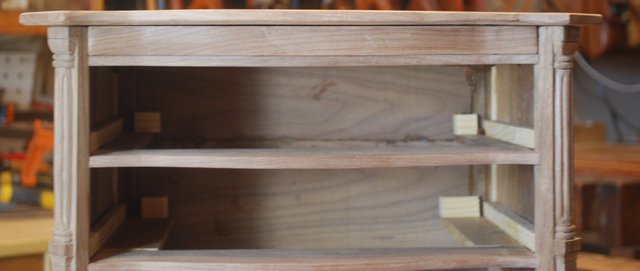
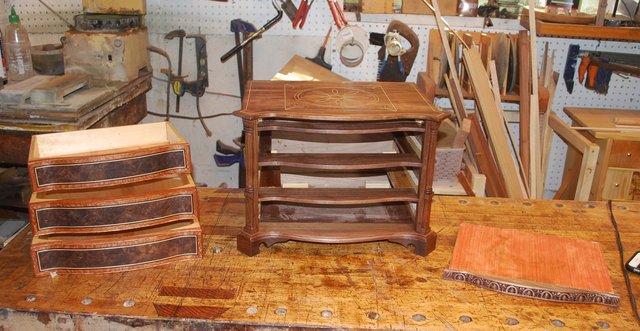
Heres the shaping and dry fit.
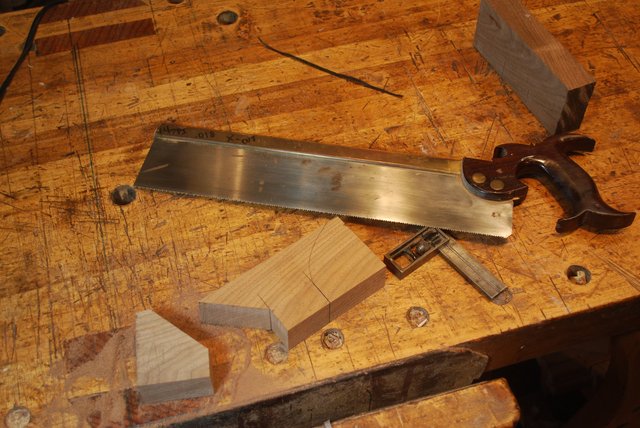
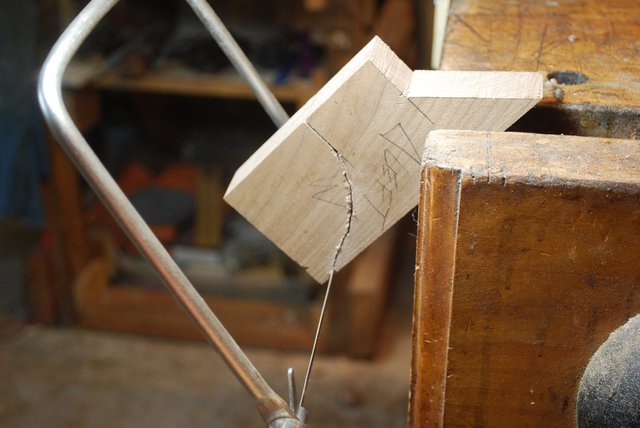
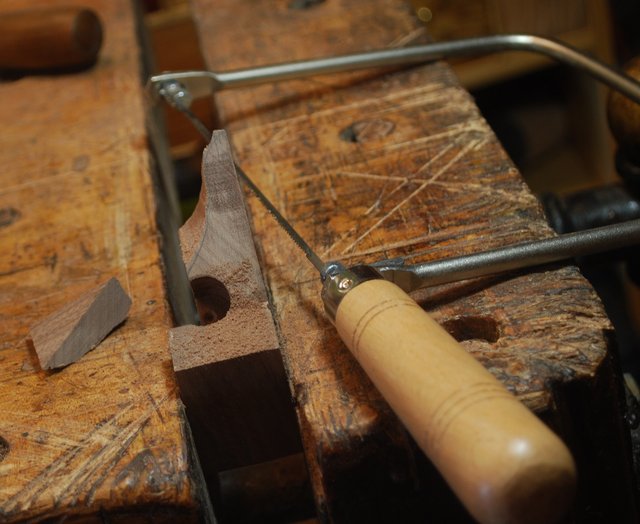
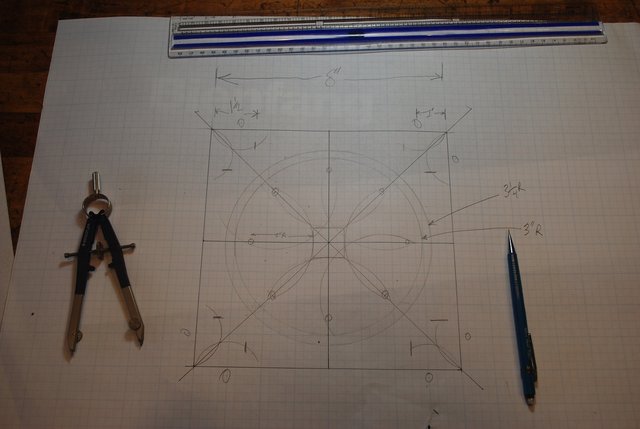
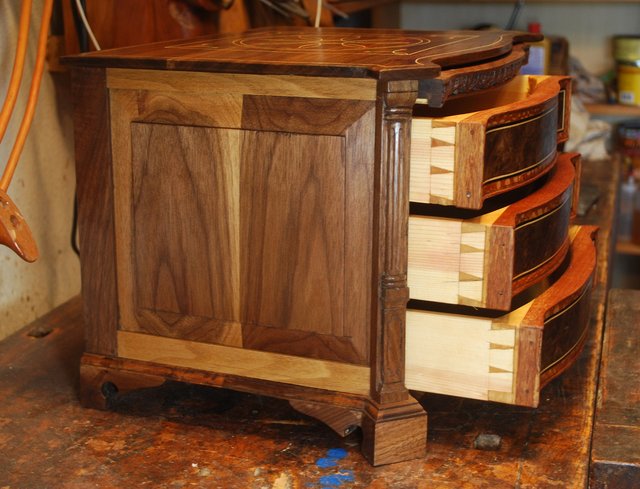
Bracket feet were a challenge as their oriented at a 45° angle to carcass front/sides. Again full-size drawings were helpful. Heres pics of sawing, shaping and dry fit.
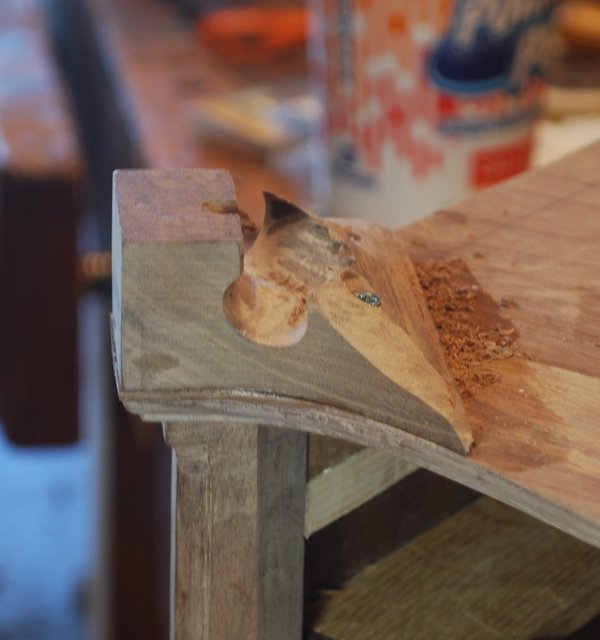
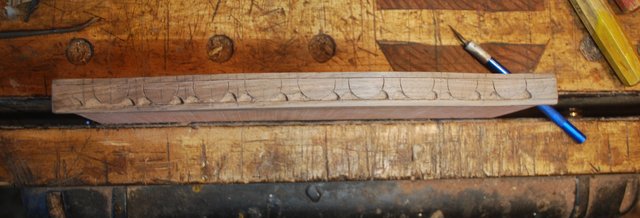
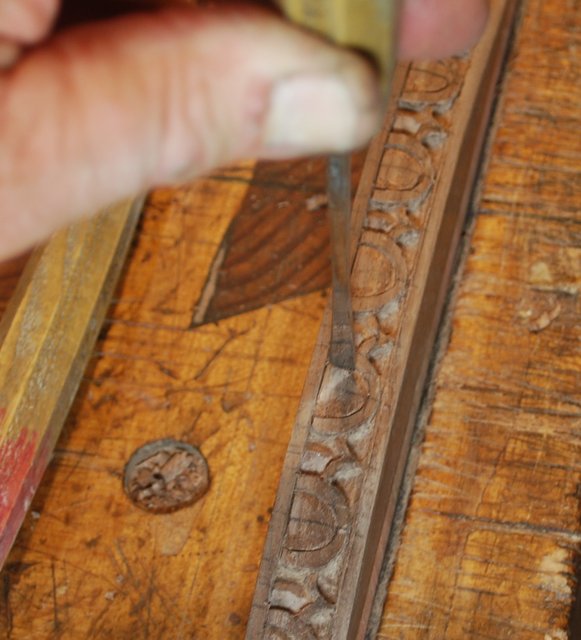
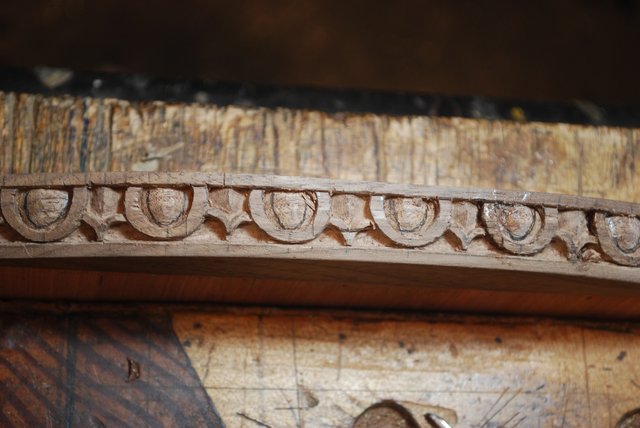
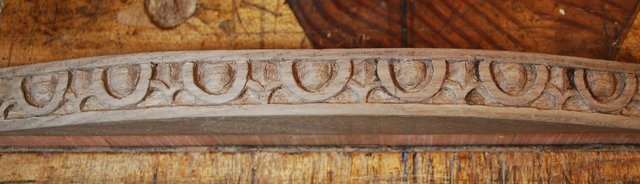
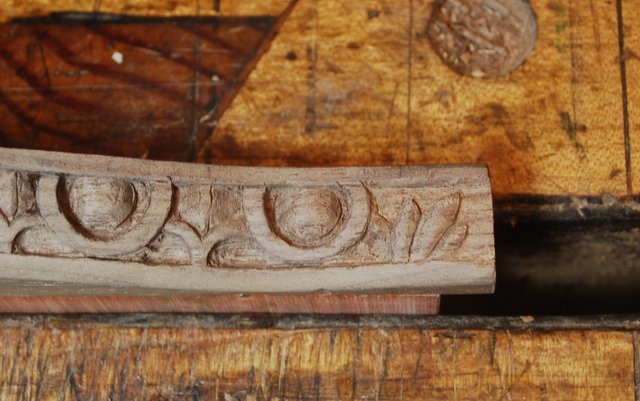
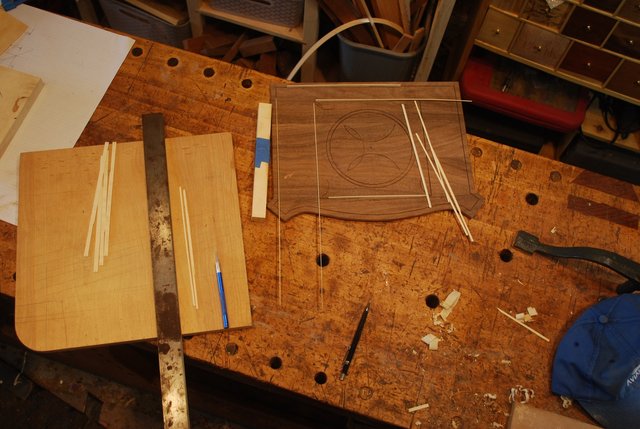
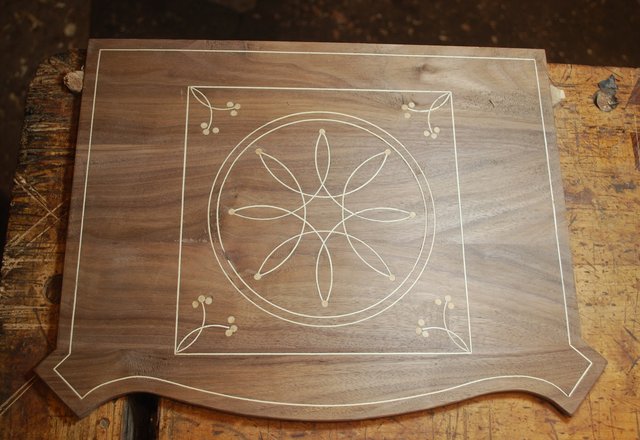
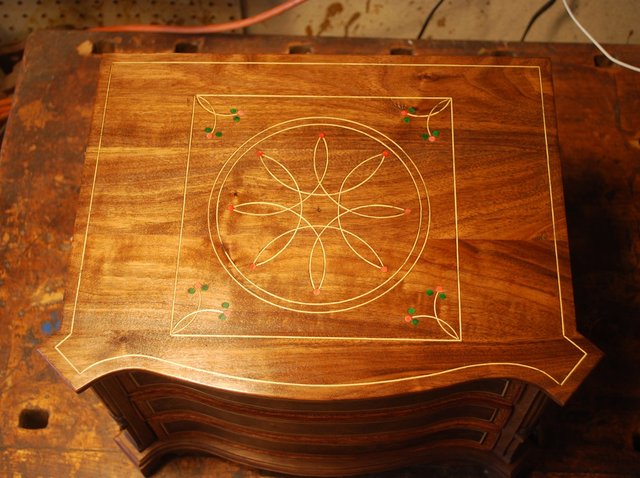
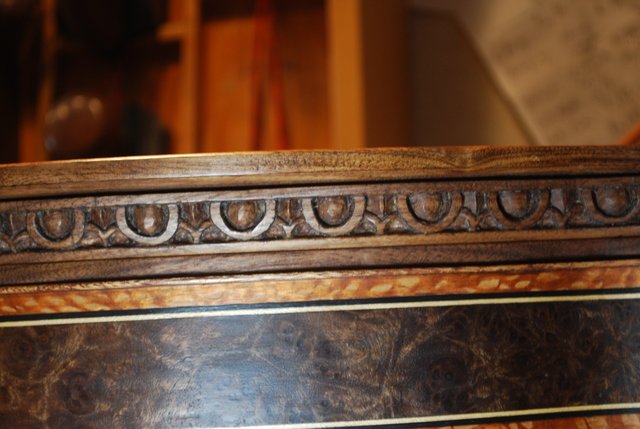
Pictures of the finished molding with floral elements at either end.


 Reply With Quote
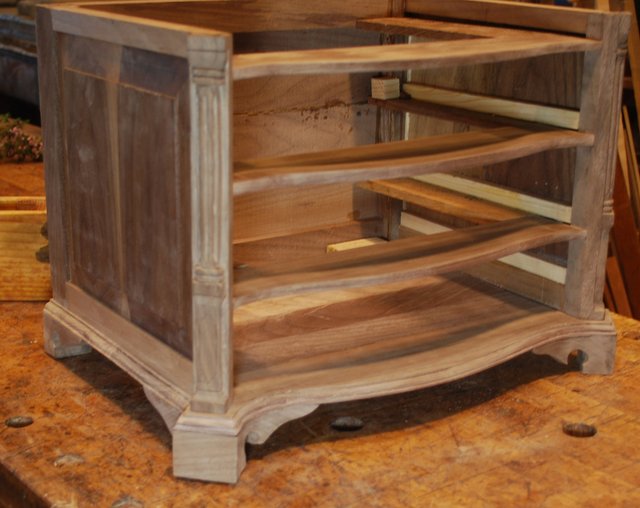


 . BTW, it only took me 16 years to get around to it, there is no need for him to hurry but if he does, congrats.