
I thought it might be a nice idea to post a few fixtures for hand tools. Feel free to post yours here.
This is a bench hook I made. It is made from a few scraps, took all of 10 minutes to put together, and I consider it a consumable. That is, it will get used up and then thrown away. And I'll make another.
The design for this one occurred to me several months ago, at a time when the bench hook I was then using, needed to be replaced as it was worn out.
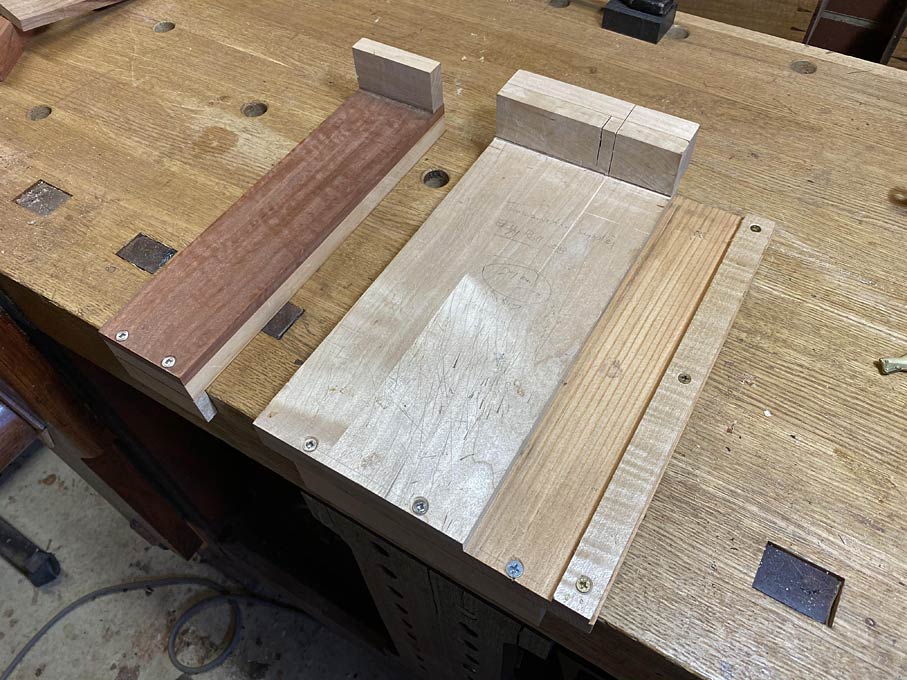
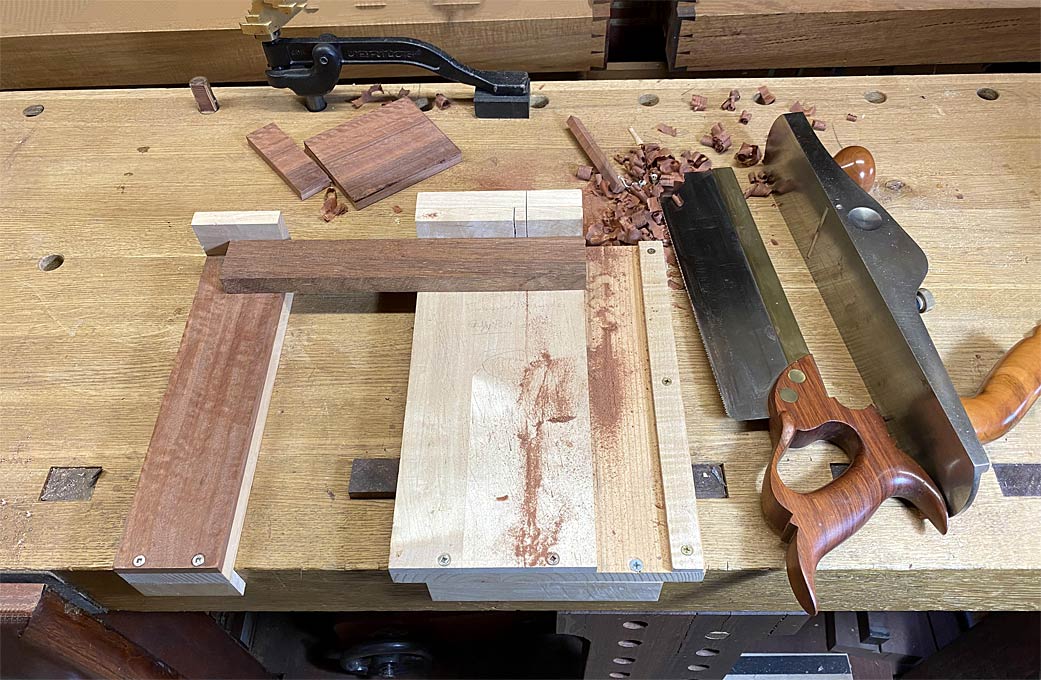
What we have is a combination cutting board, chopping block, bench hook and shooting board - with extension ...
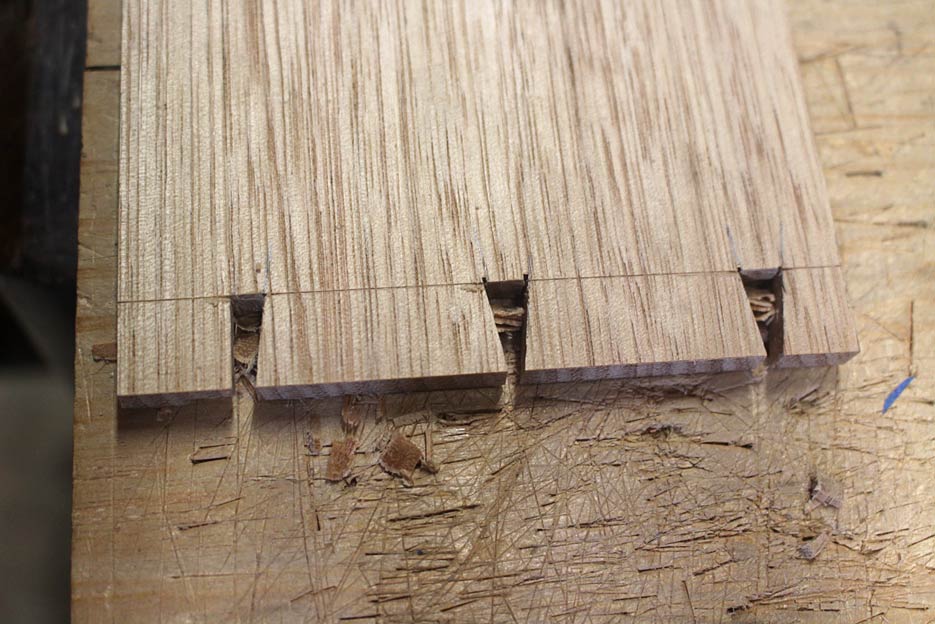
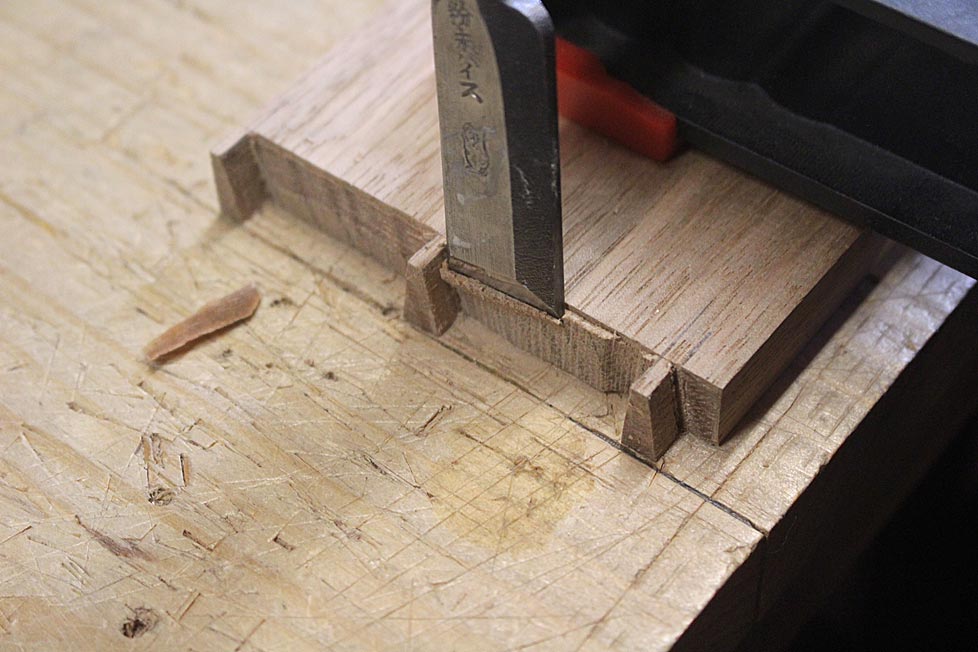
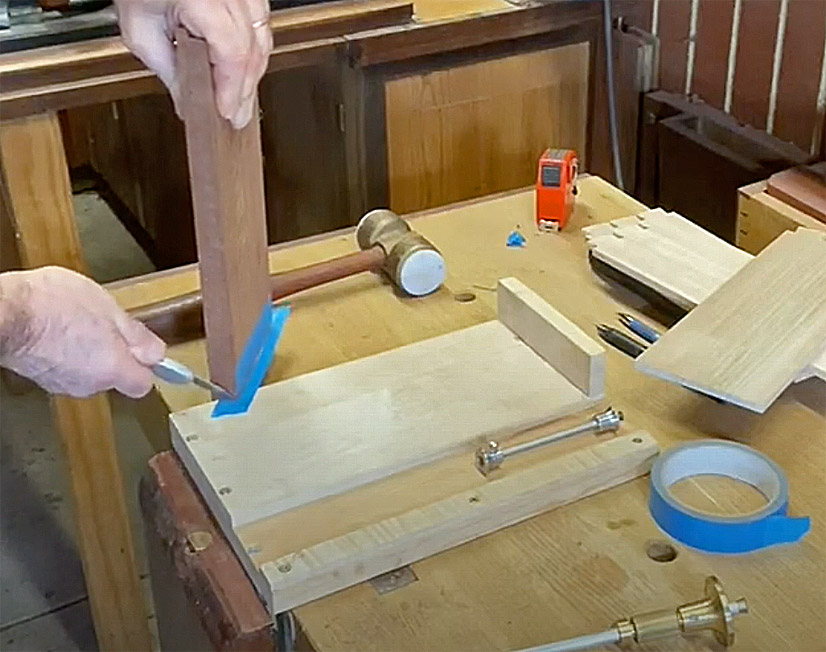
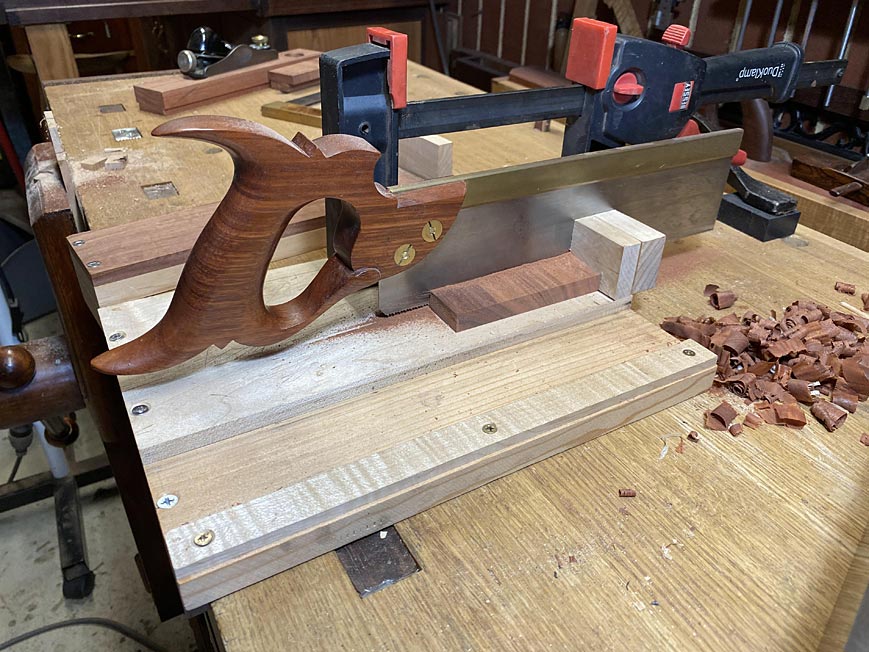
Before this version, the bench hook was available to chop tails ..
.. and through pins ...
In the recent video I posted, the new one was being cut up trimming blue tape ...
This is not my main shooting board however, as this bench hook is on my bench all the time, it is convenient to use.
The runway with side fence fits the Veritas LA Jack ...
It does not take any extra effort to ensure the fence is square, and so produce square ends ...
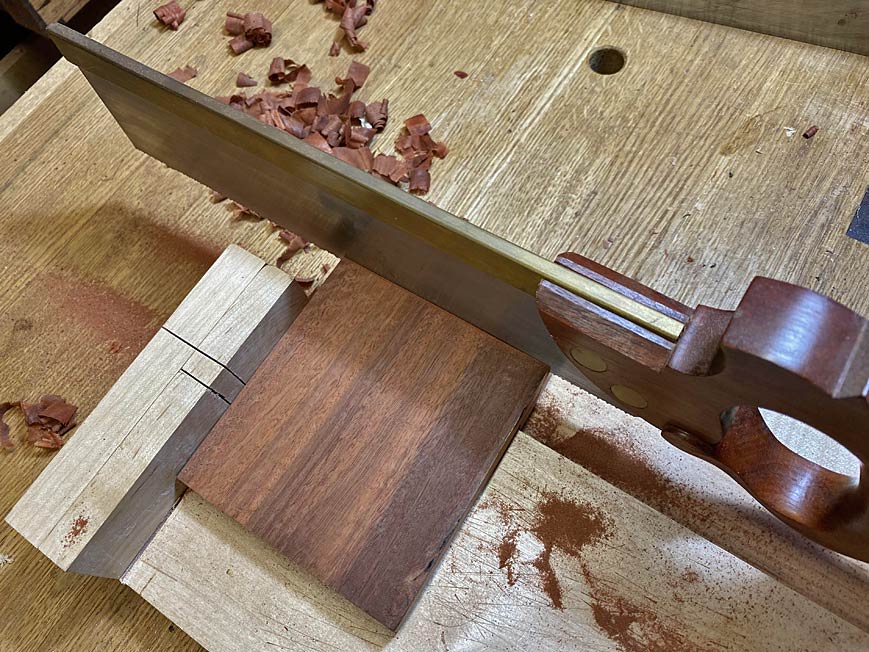
The fence is deepened to ensure that the kerf will guide the saw to perfectly square crosscuts ...
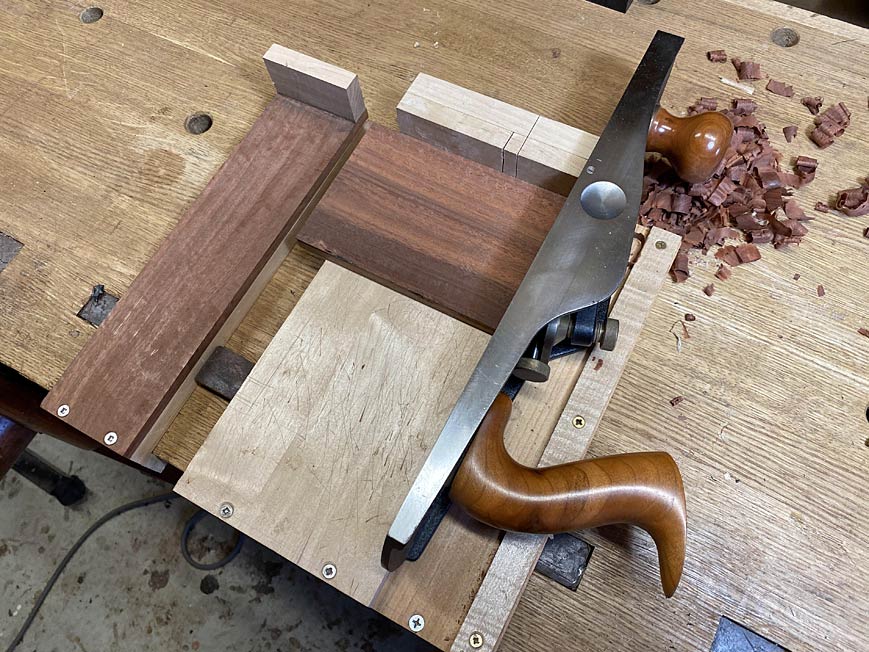
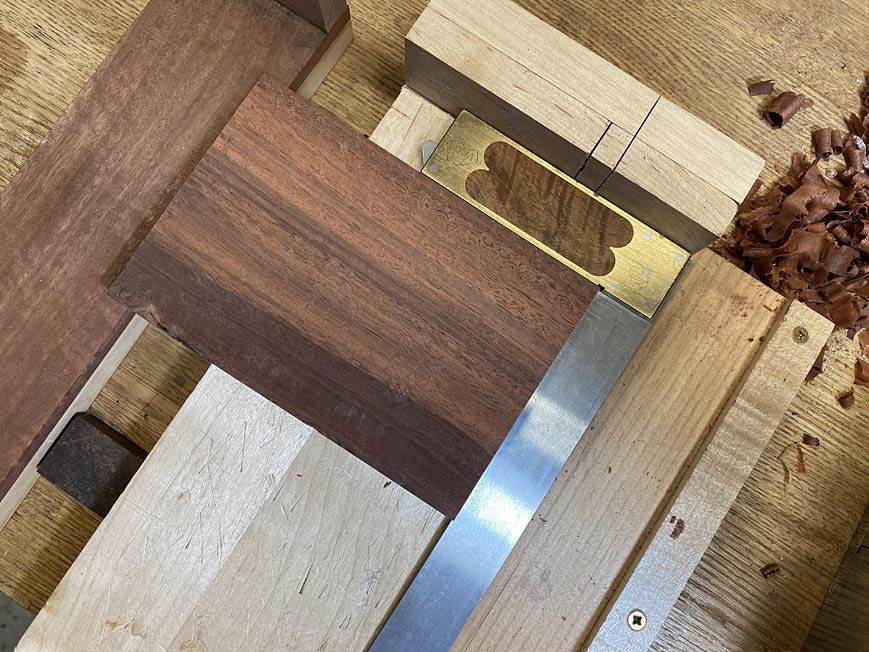
This is an 11" long blade and 14 tpi carcase saw I built. It leaves a good finish (looking closely, I can see that I have written notes to myself on the surface as well) ...
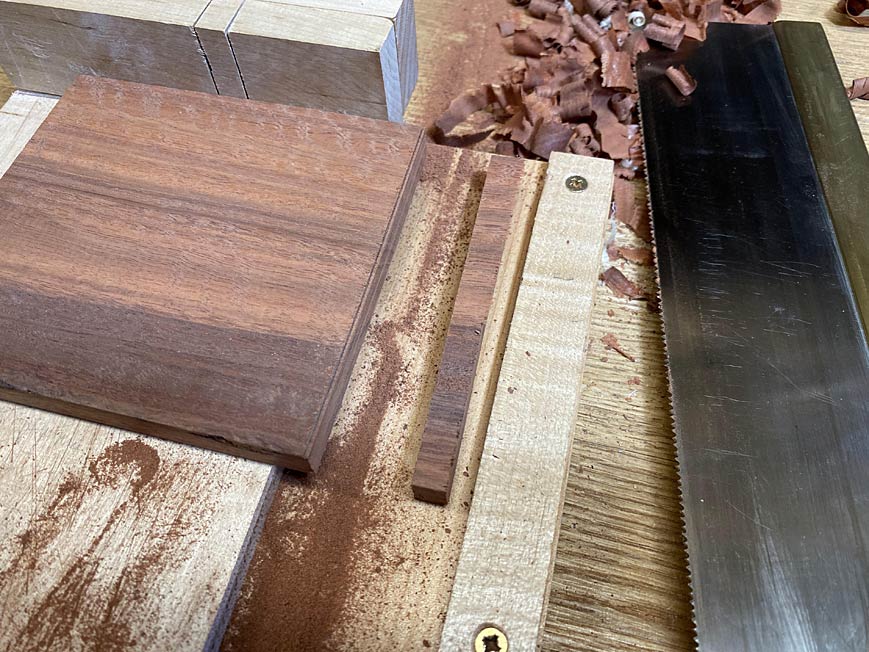
Alternatively, just mark and saw to the line ...
The most useful fixture. It gets used on every build ...
I've mentioned this to others, and they were horrified at the idea that I would deliberately destroy the bench hook, etc, etc (supreme! hah!) with chisels and saws. The whole idea is to make this bench hook as quickly and as efficiently as possible ... with spot-on accuracy for the shooting board thrown in. It must be cheap - using scraps - otherwise we will not see it as a consumable and feel comfortable chopping on it.
How to make:
1. flat board (pine, MDF, ply). I used a scrap of maple.
2. glue or screw another smaller piece on top to become the main platform. Leave space at one side for the runway.
3. Run the shooting plane down the runway against the platform. This will straighten it and also create a ledge for the sole of the plane to ride against.
4. Add the fence: use a little glue to attach a fence square to the runway. Align with a square. Keep the square against it until it dries. Once dried, you can add screws if you want. I don't bother. Note that I glued on a second fence section. I just did not have a thick enough piece.
5. Add the side fence: place the shooting plane on the runway at one end and position the side fence against it. Move the plane back-and-forth until the side fence is positioned. I screwed it down, which enables it to be moved, if necessary.
6. Add the kerf for sawing: mark the vertical and horizontal square lines across the fence, and saw this with the saw you plan to use (I saw the two lines at the same time. Or you could also use a knife to scribe the likes deeply to act as a kerf for the saws blade to run in). That will keep the kerf tight and prevent the saw from wandering in the cut. You could also clamp a square block against the fence to act as a guide to get this cut made accurately. It is worth the few extra seconds to get it square.
7. Lastly the extension: Plan ahead - make the board about 3" wider than you need, then take it to the table saw and rip a 3" strip from the side opposite the runway (no, I did not do this here - I wasn't planning ahead enough!). That will become the extension.
All this should take 10-15 minutes, tops. The bench hook should last several months. Don't be afraid to chop on it. Use it up! You can/will make another.
Regards from Perth
Derek


 Reply With Quote