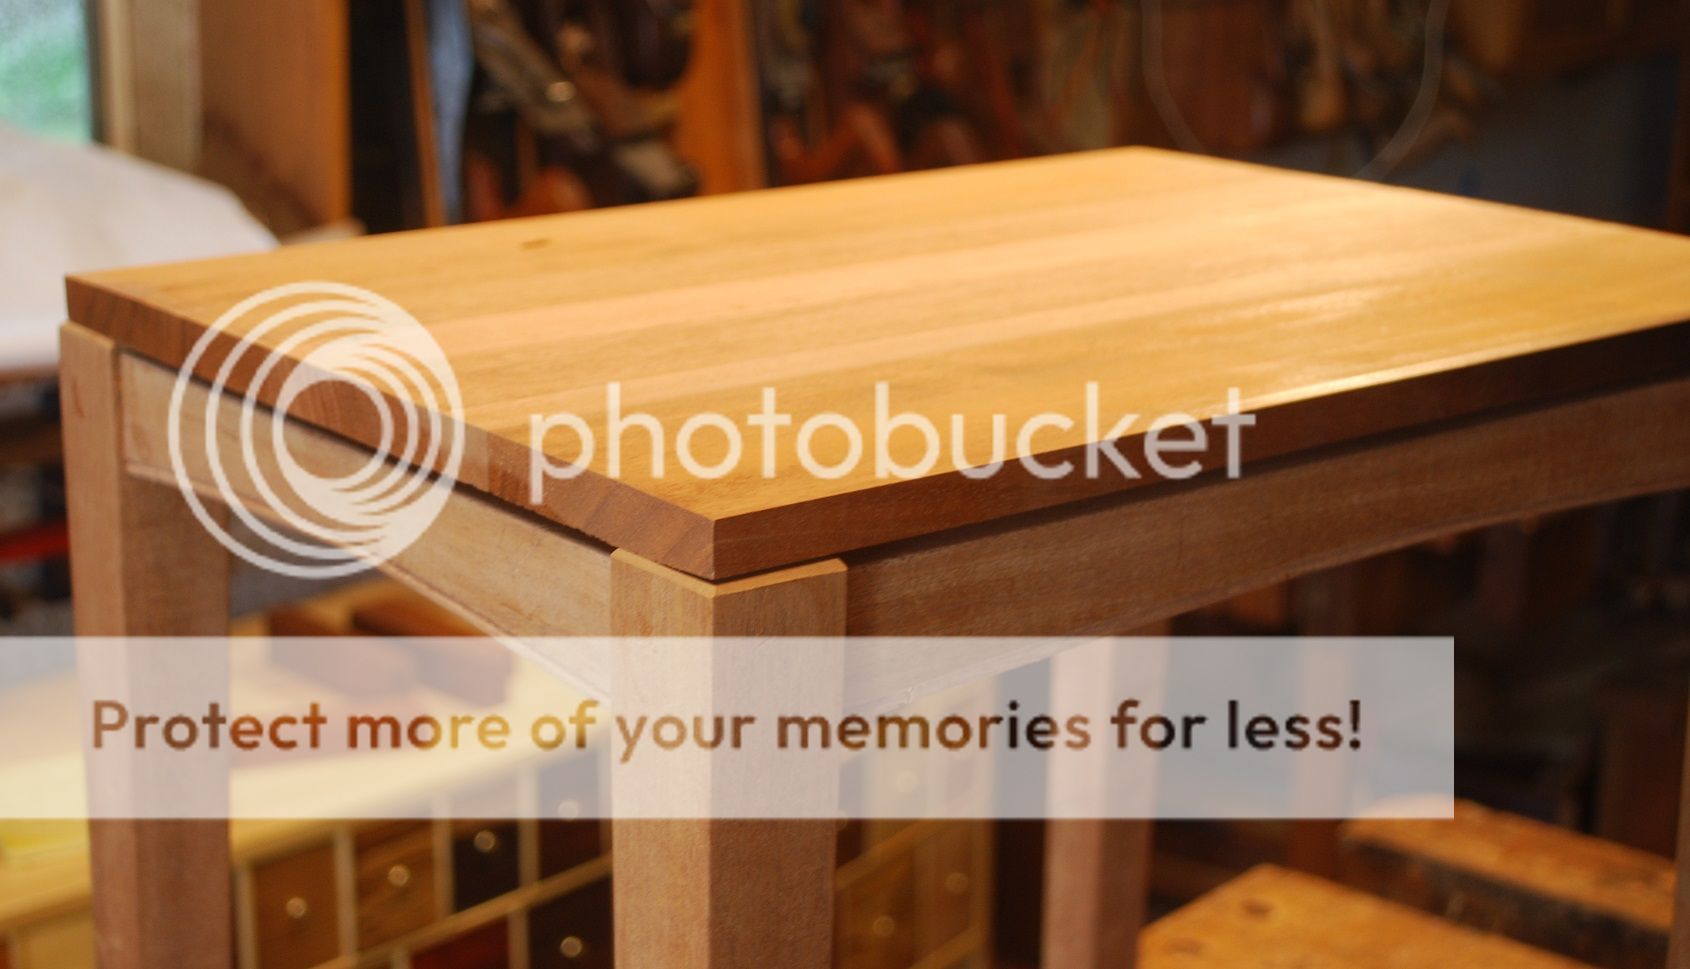
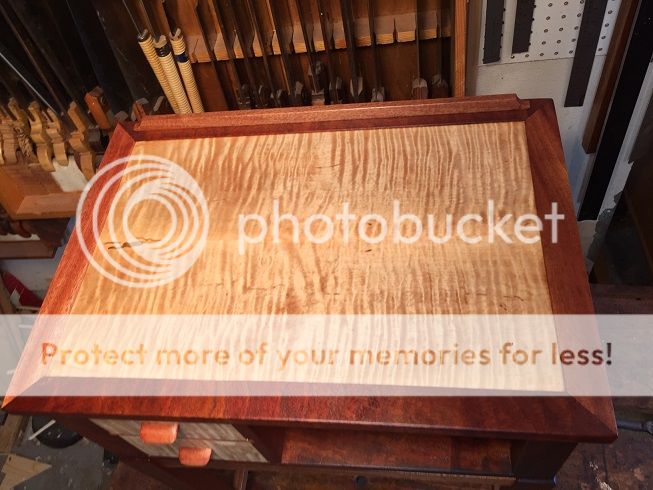
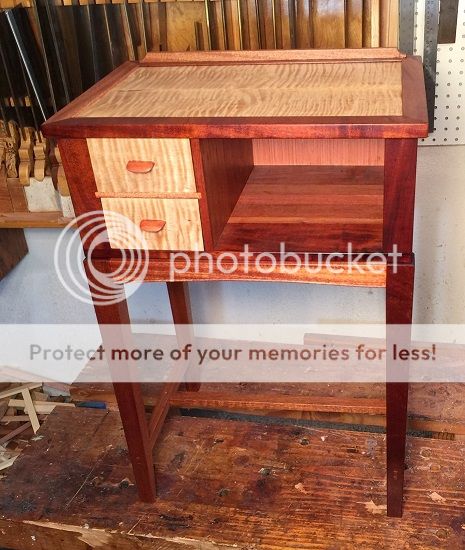
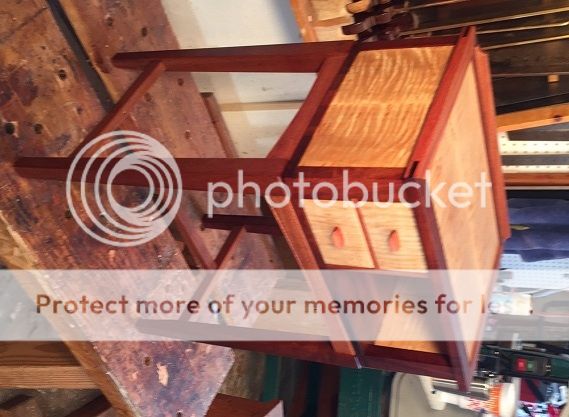
My latest home confinement build is a bedside table for my sister who is intensive care nurse in the Bay Area. 28 high X 20 wide X 14 deep out of mahogany and curly maple.
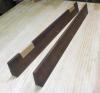
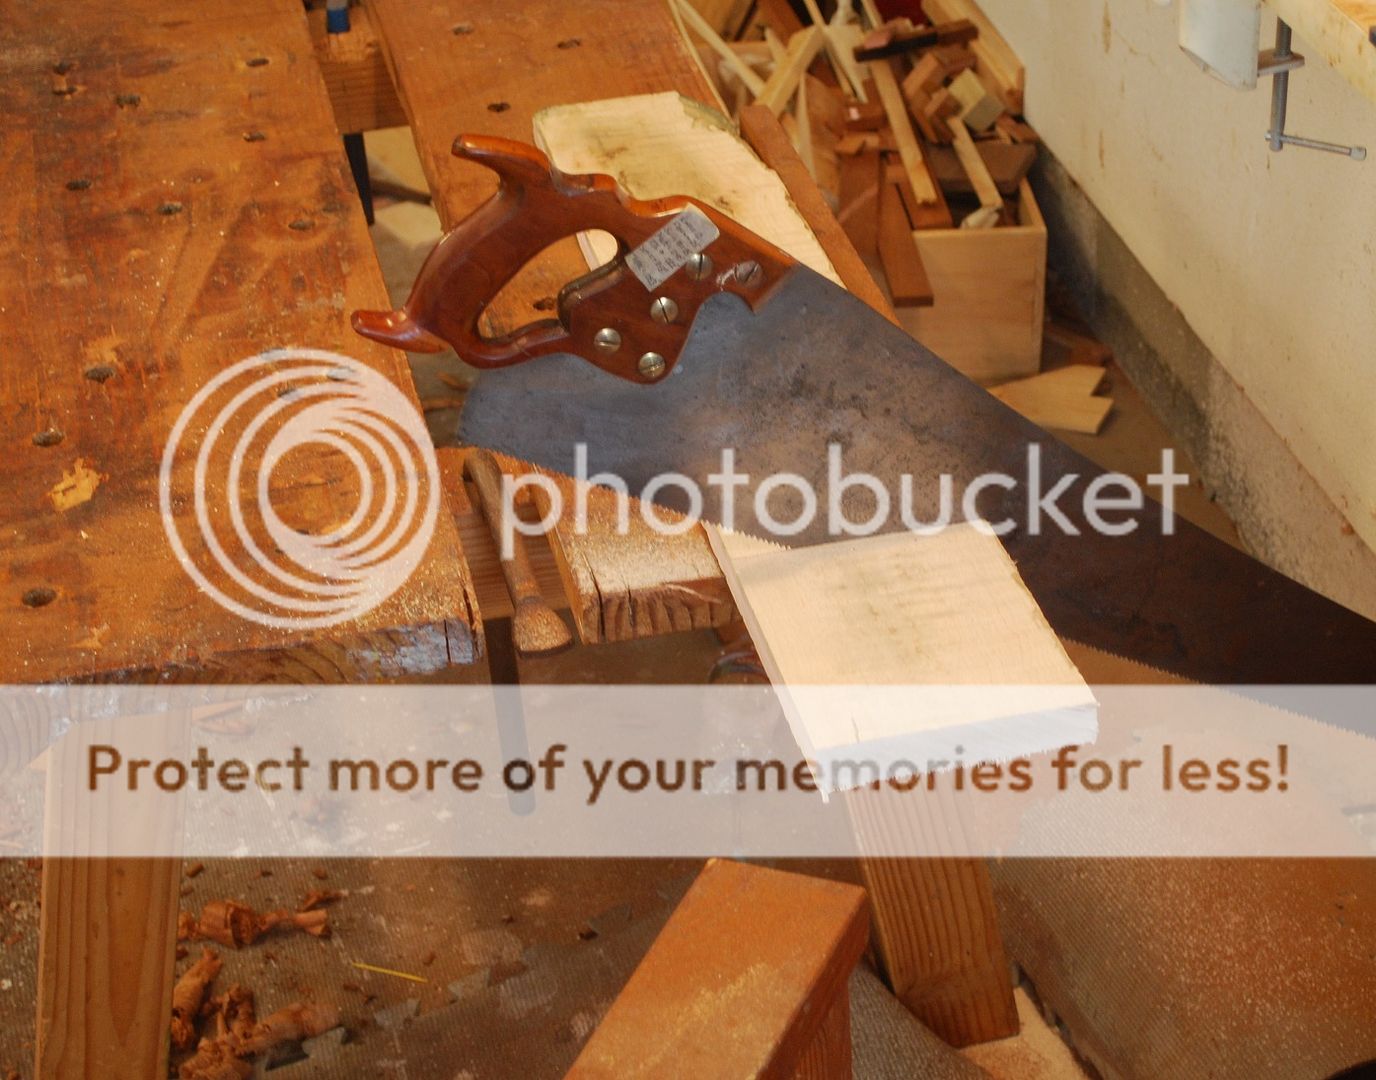
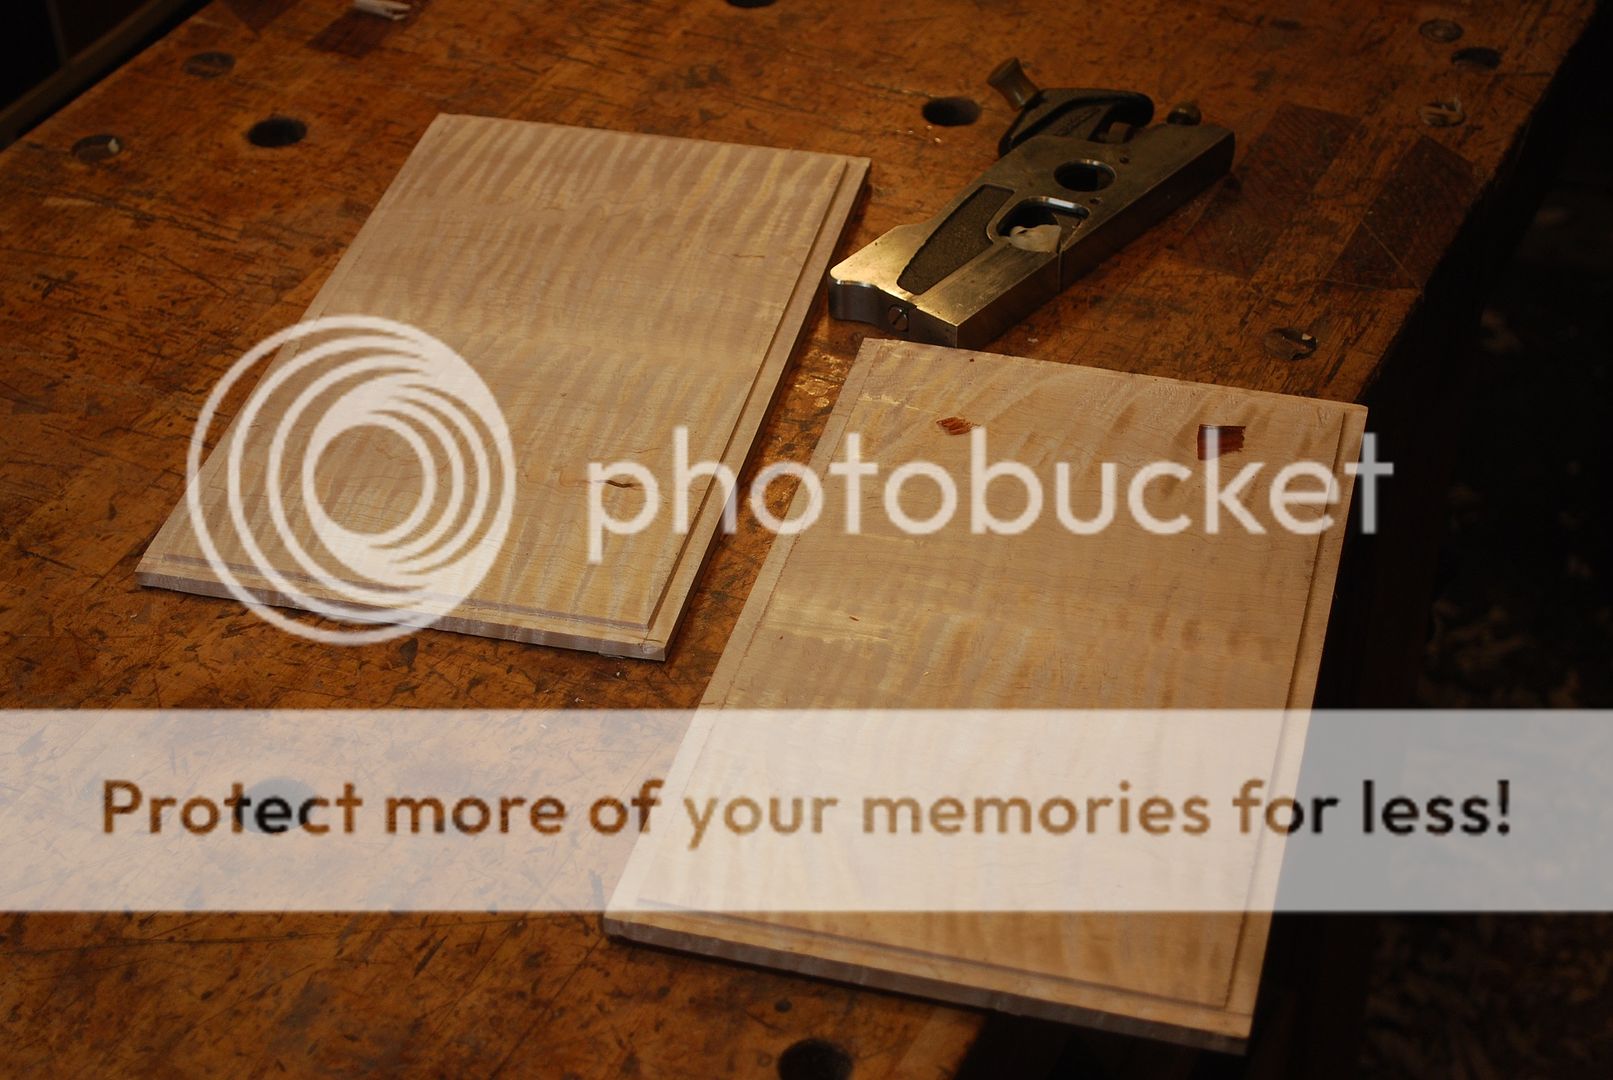
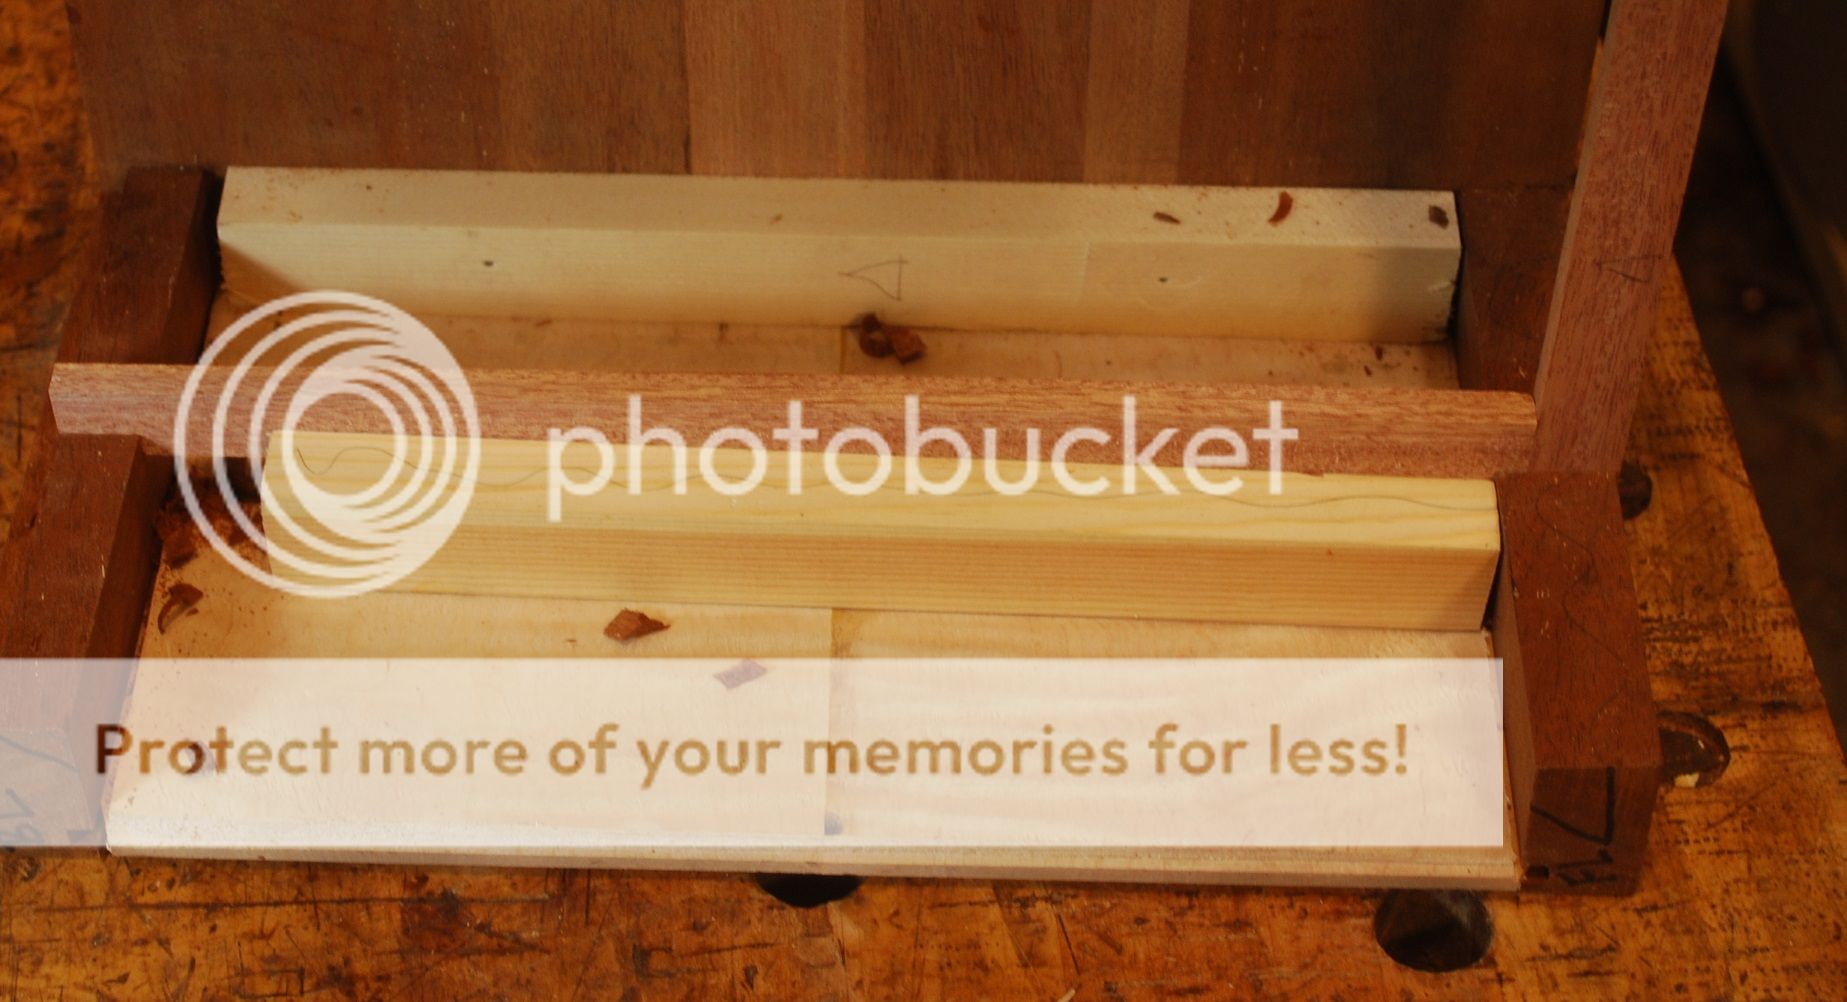
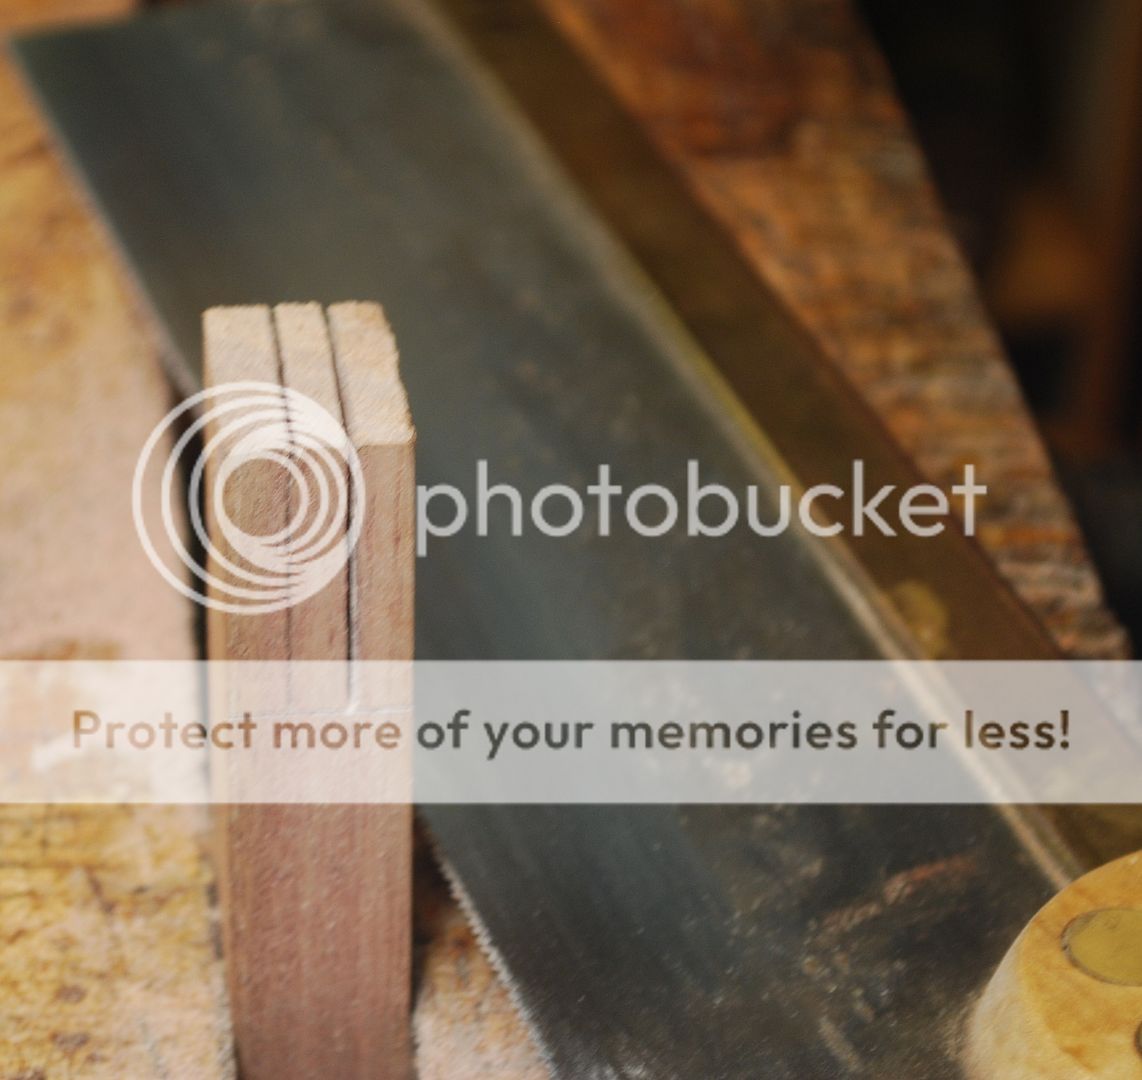
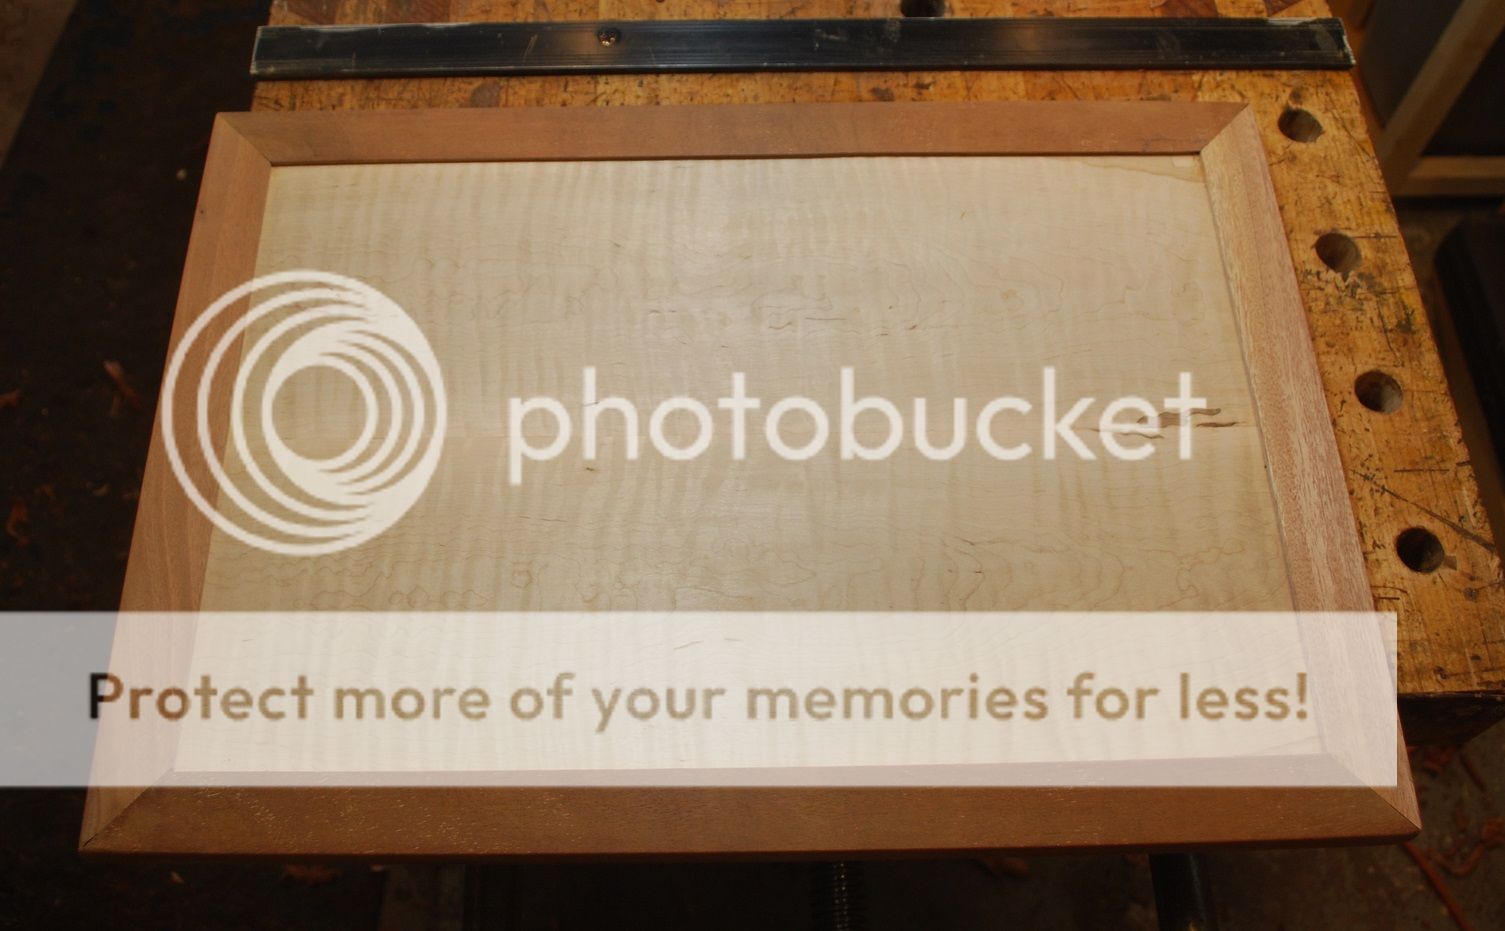
This was sort of a spur of the moment projects so wanted to try and build with lumber on hand which included this 12/4 piece of mahogany originally intended as a table leg. Heres pics of squaring up services prior to re-sawing.
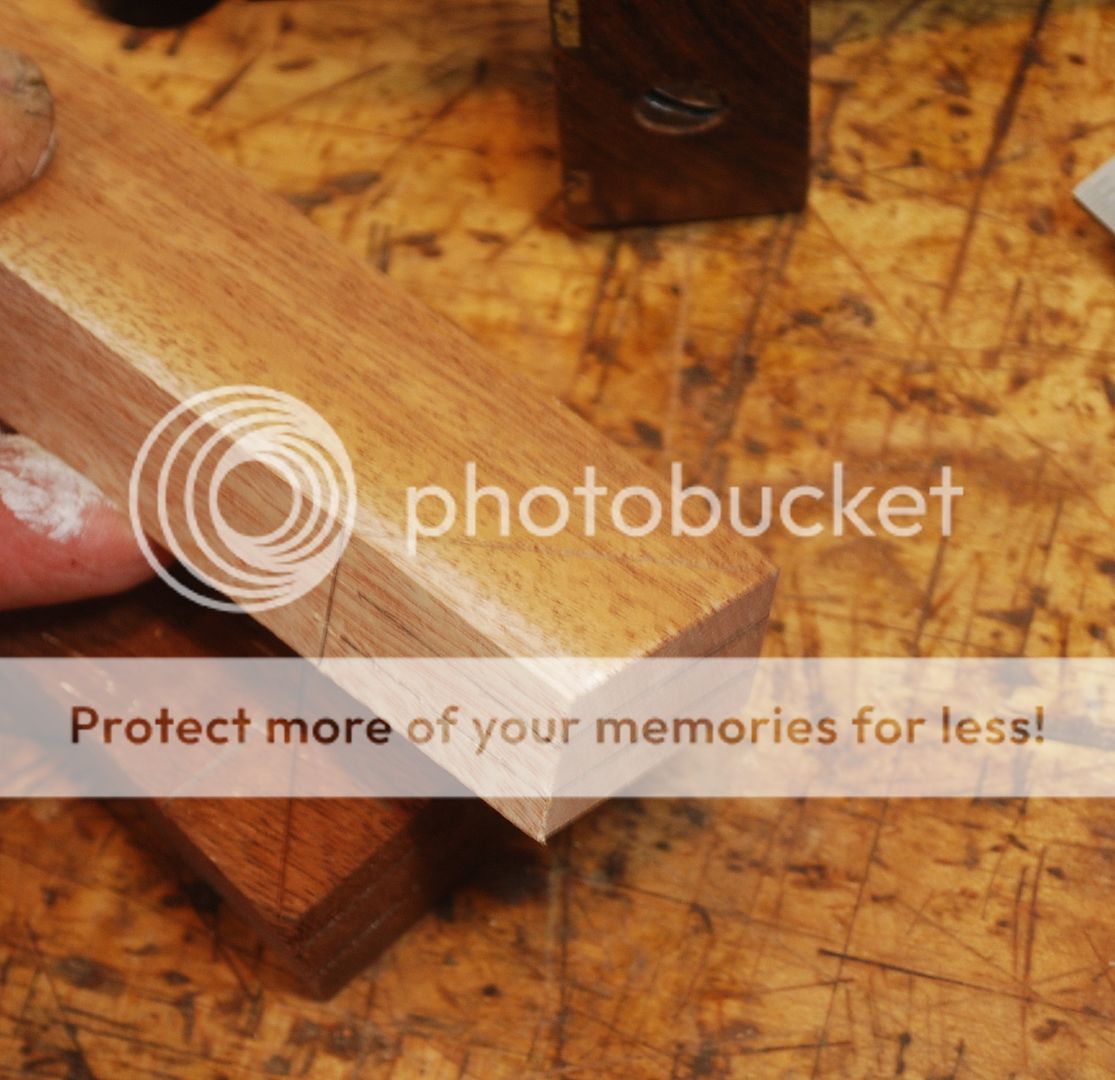
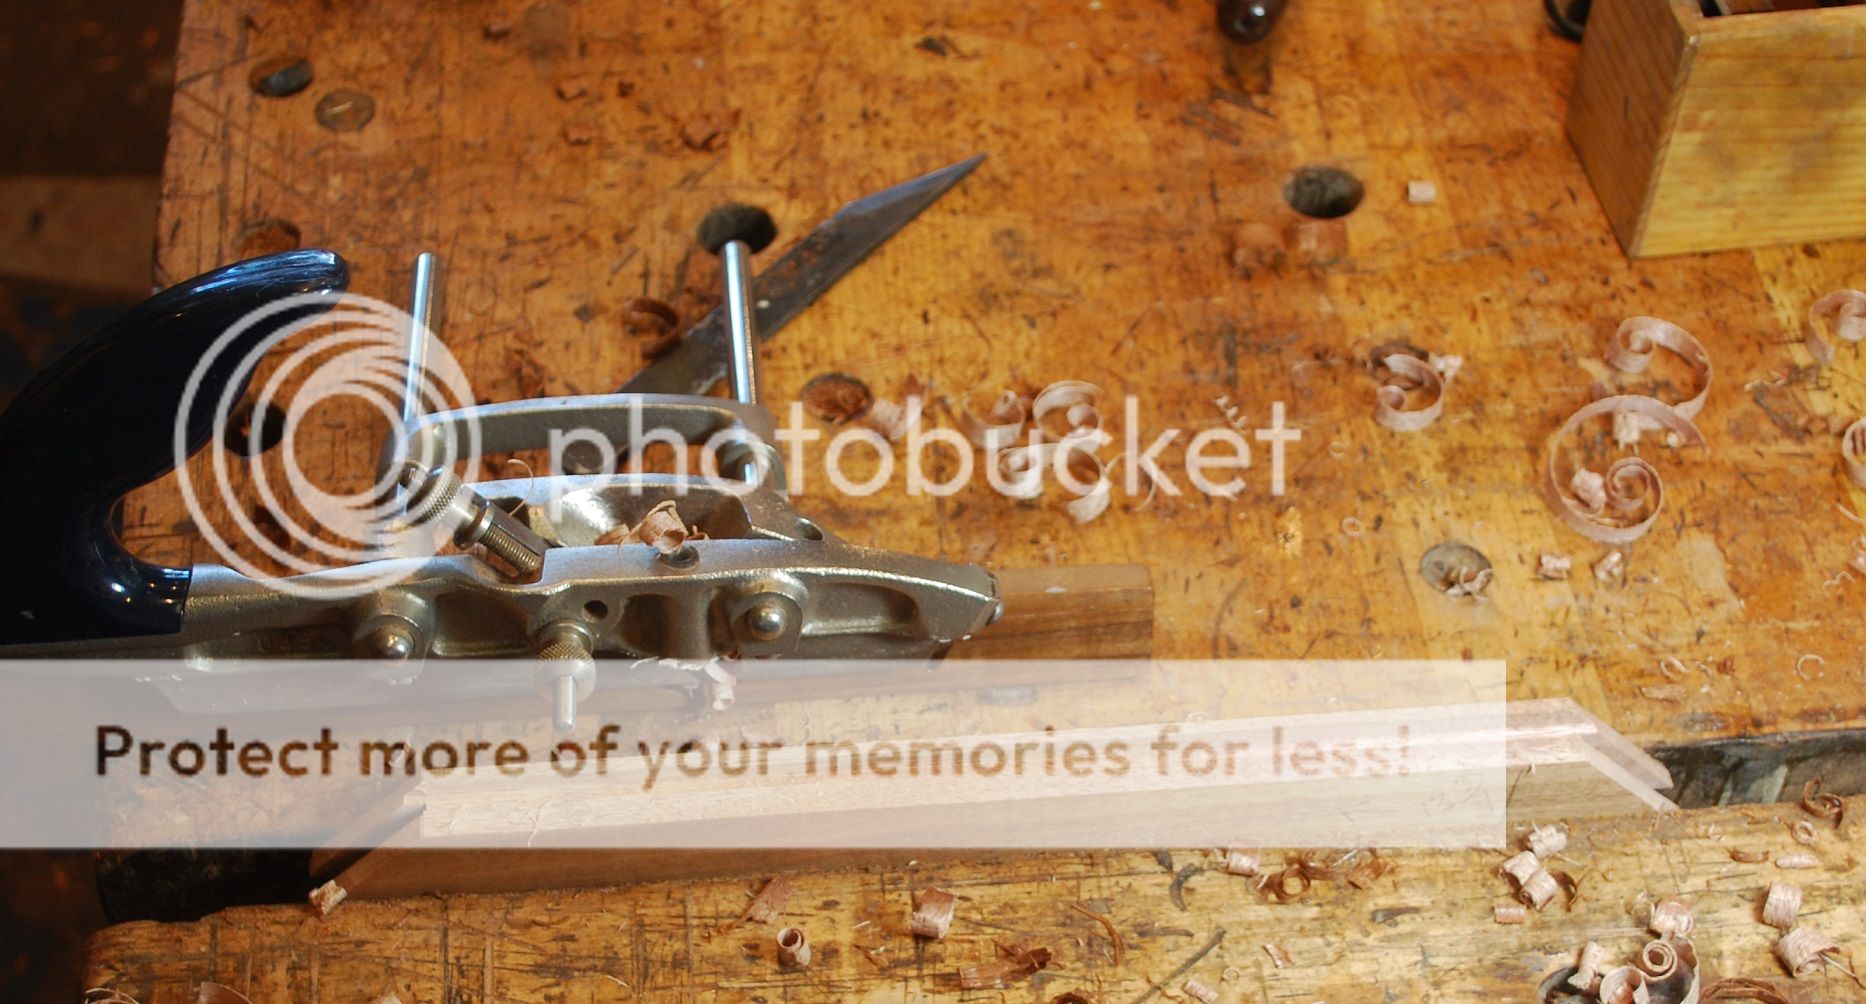
Legs are tapered on two sides. For me asymmetrically tapered legs are always a recipe for disaster oops did I cut the wrong side? Rough sawn on bandsaw and finish with Jack plane.
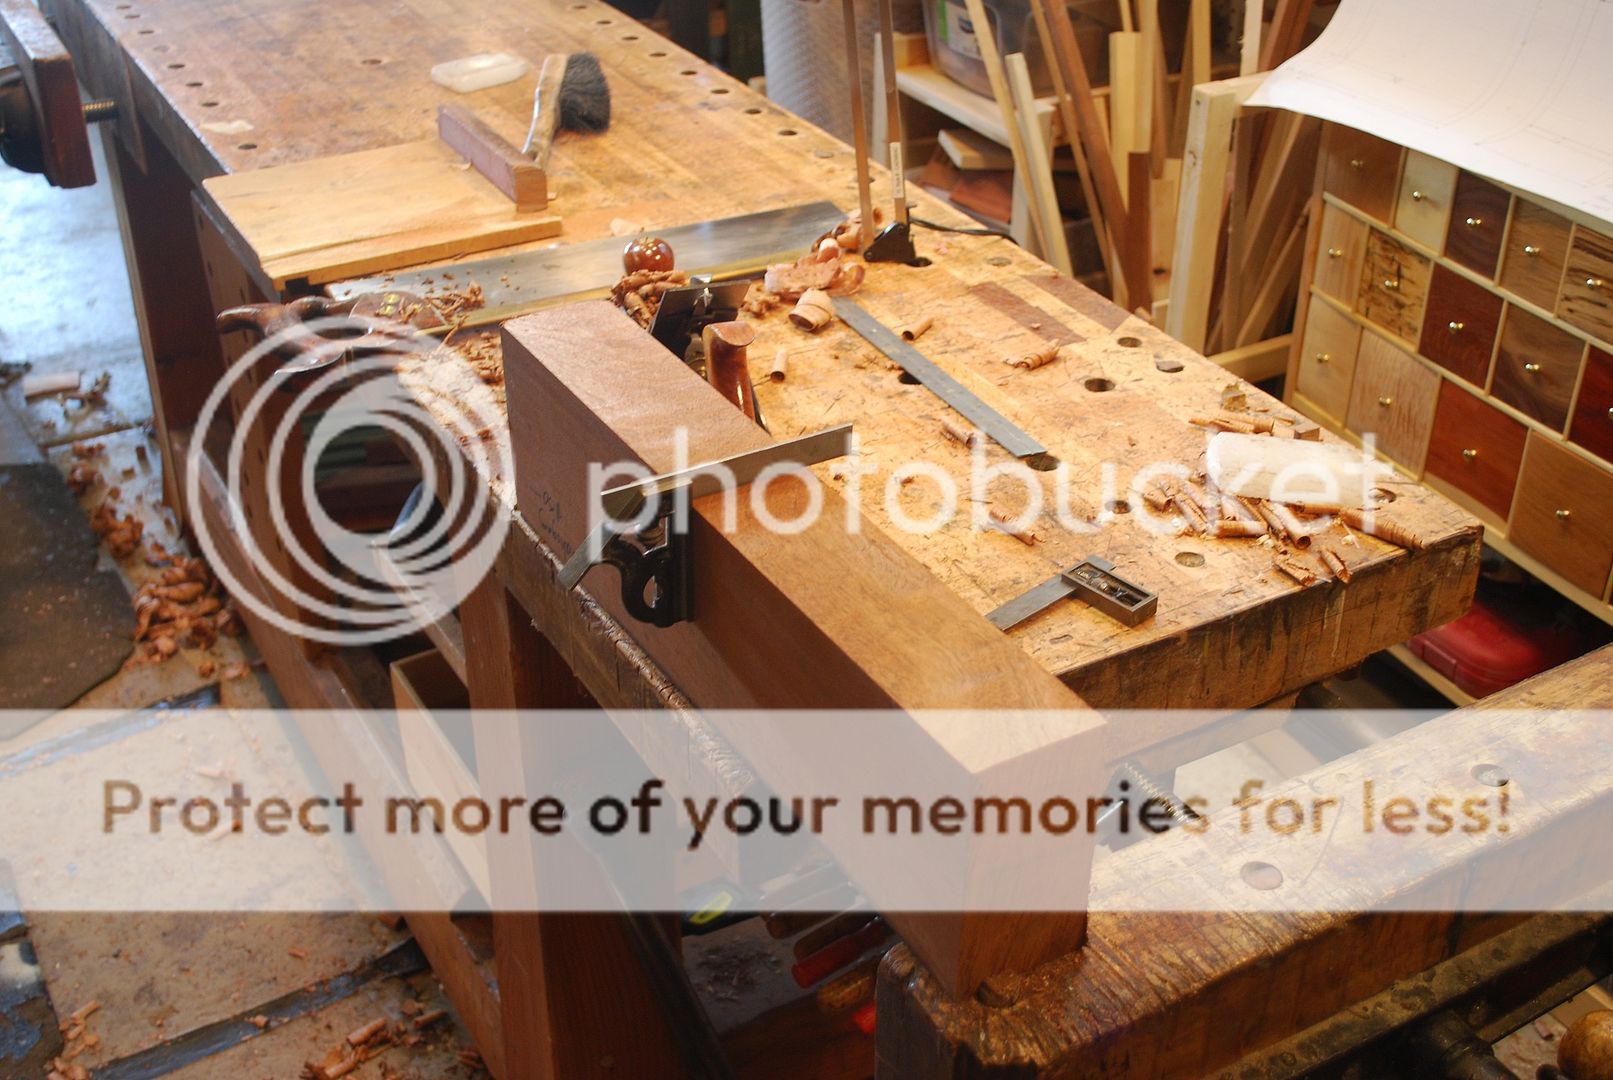
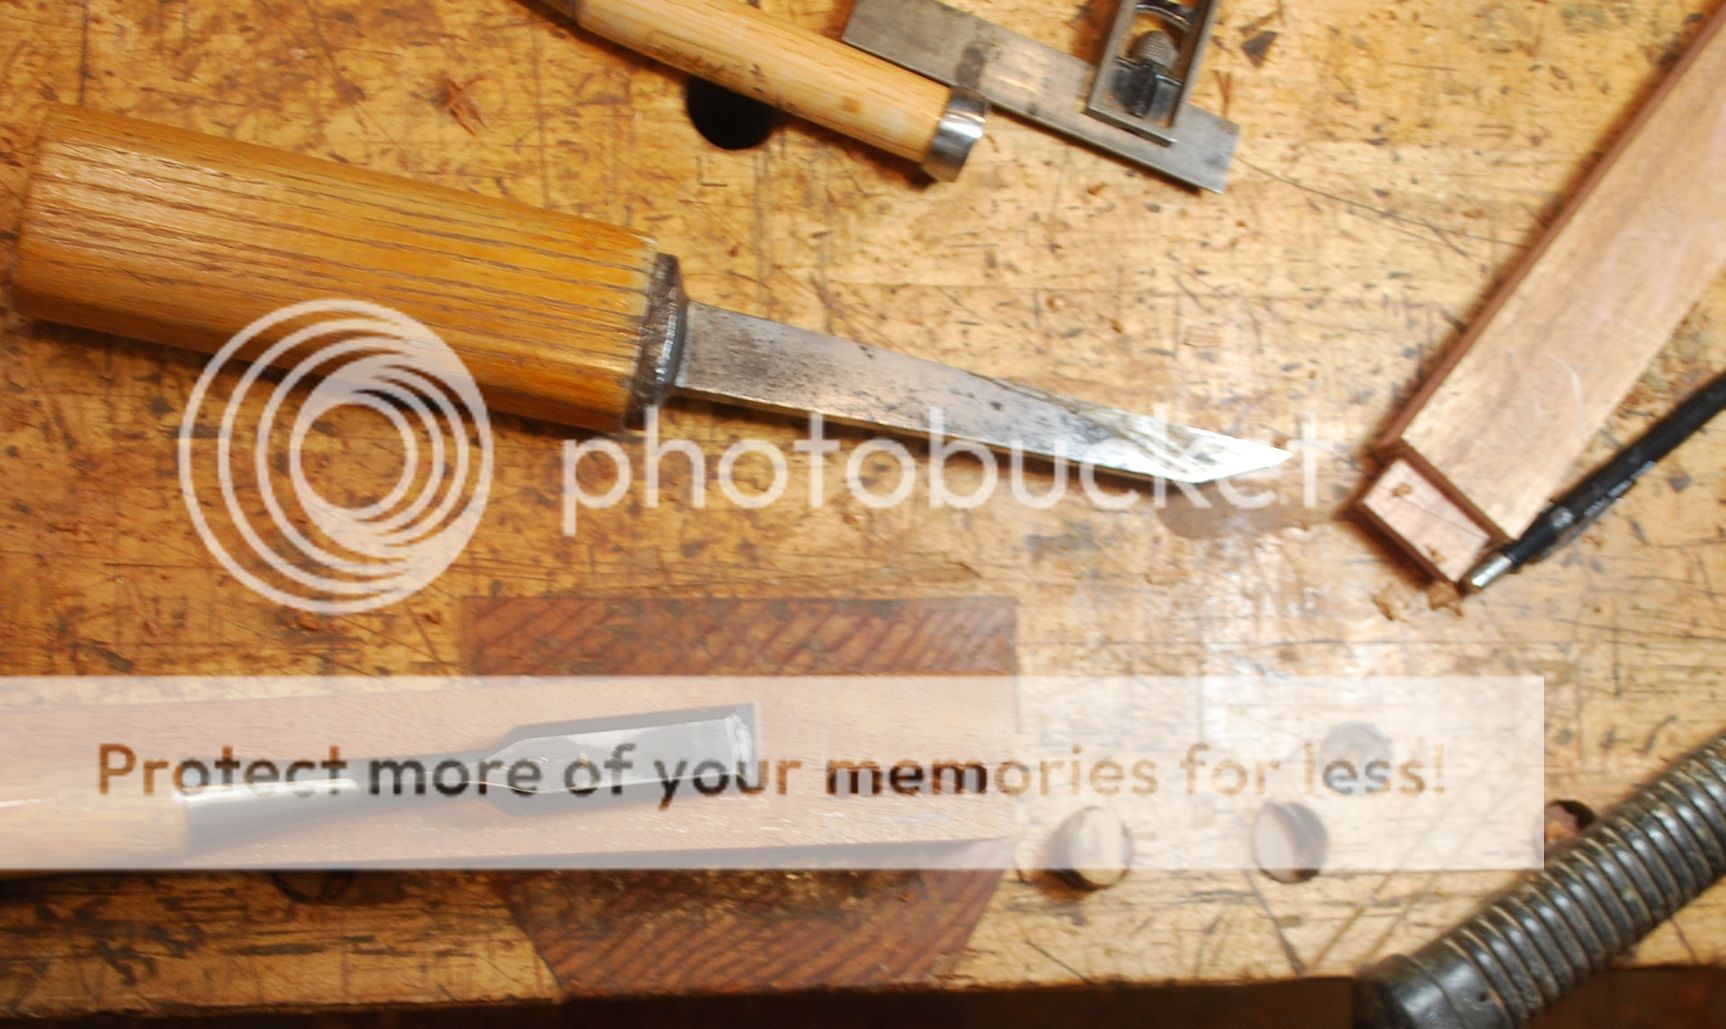
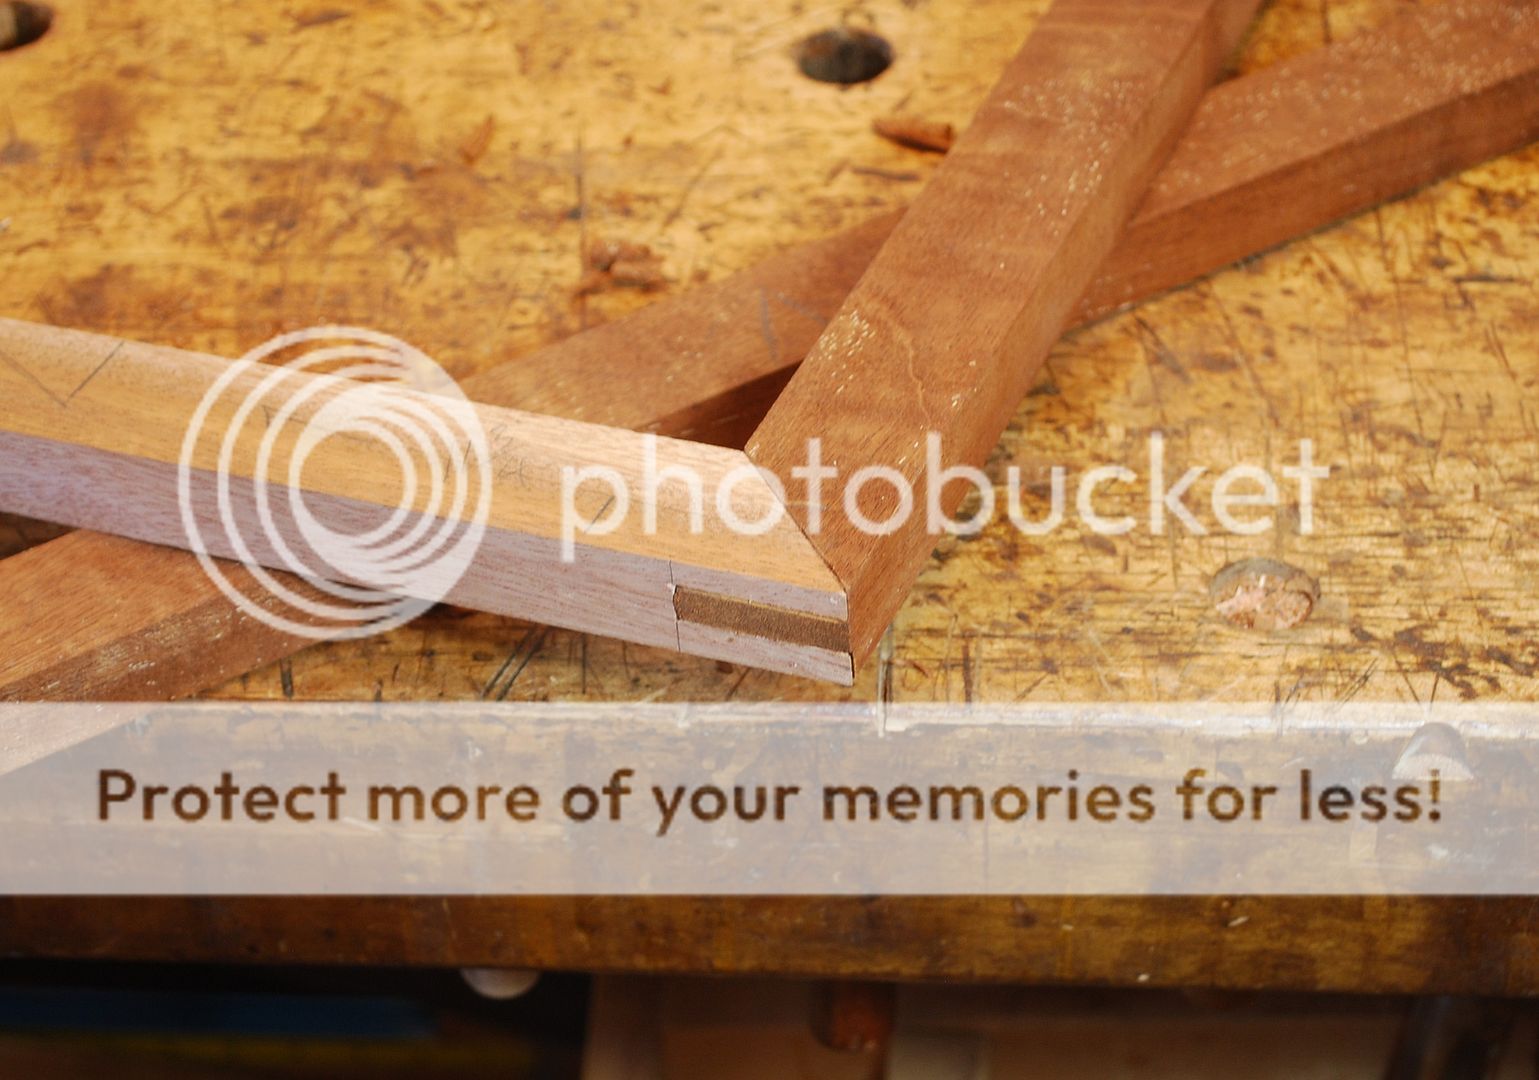
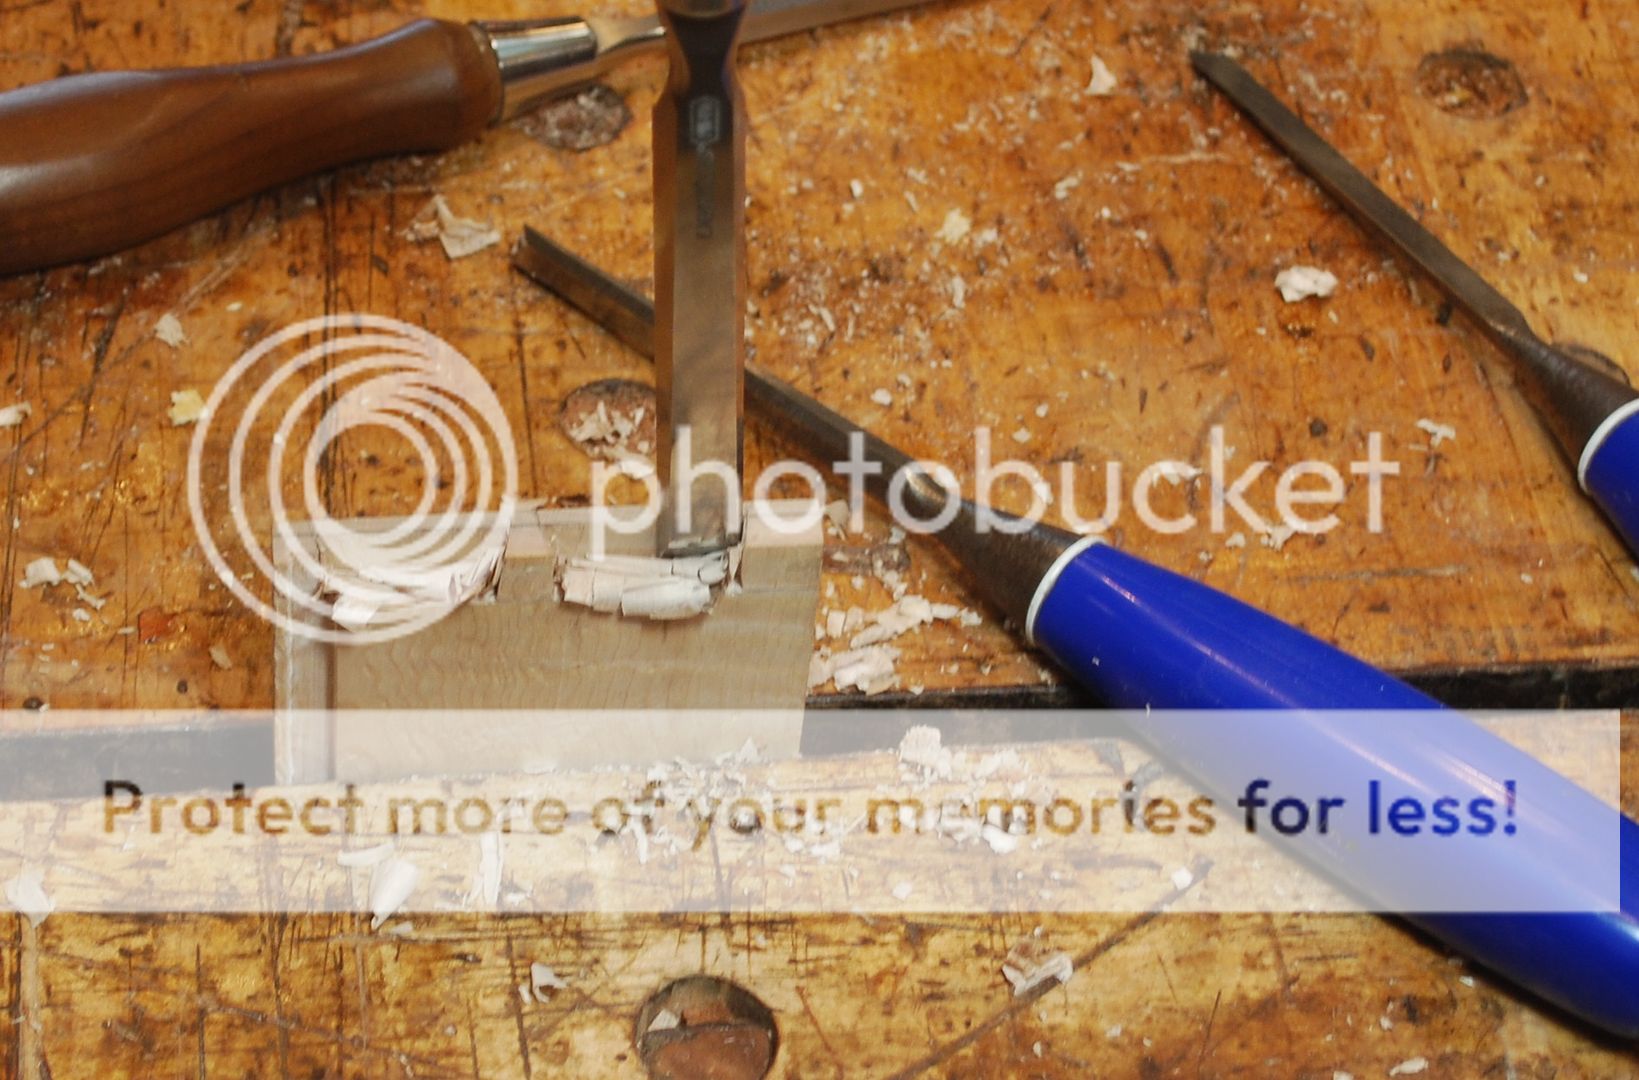
Here is cutting tenons for aprons and mortises in table legs.
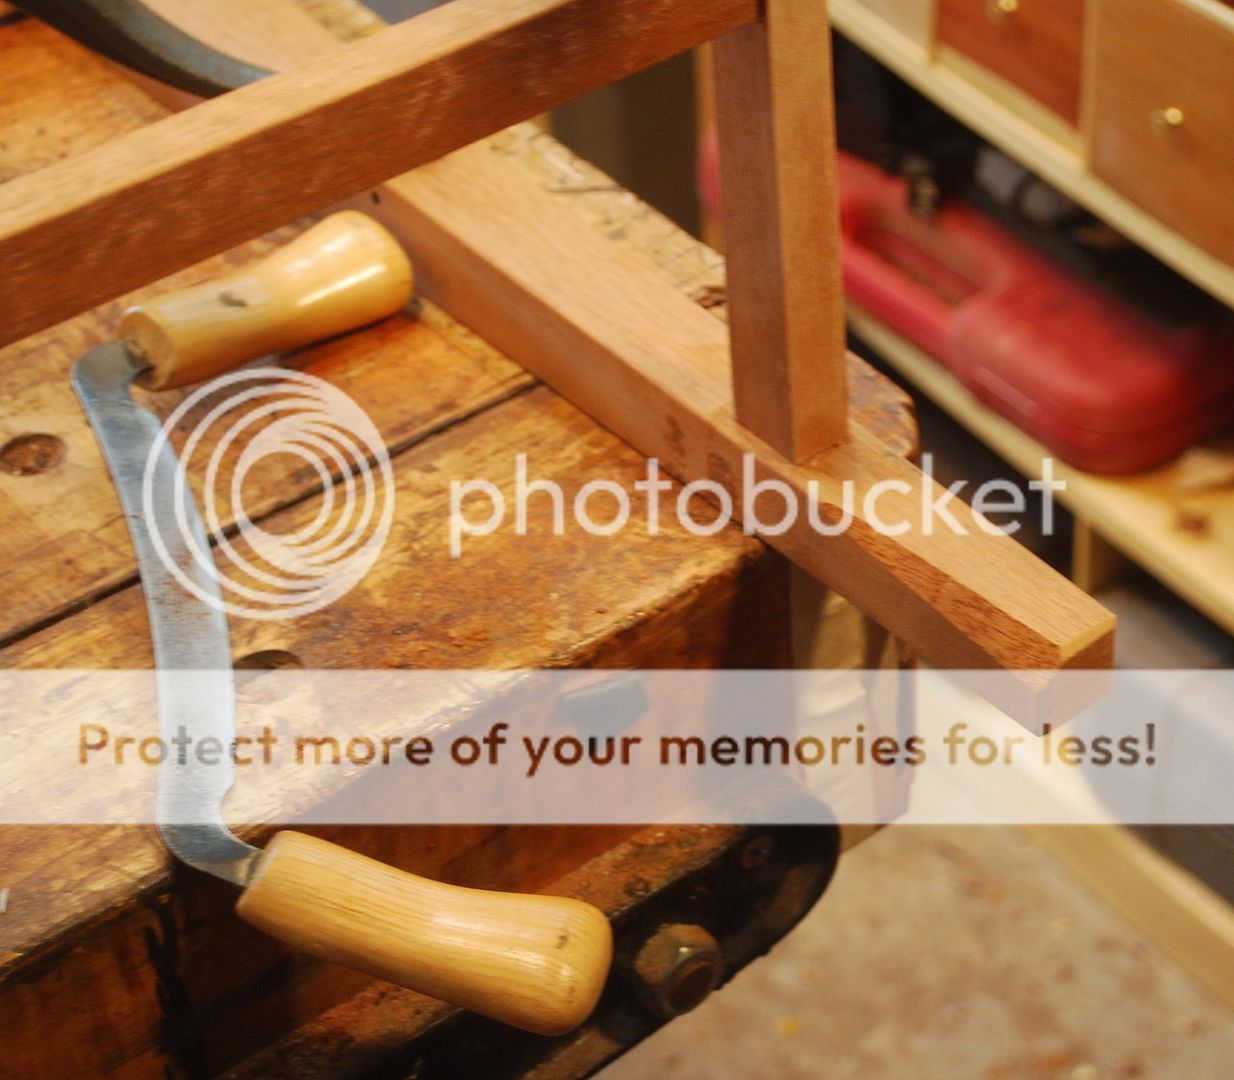
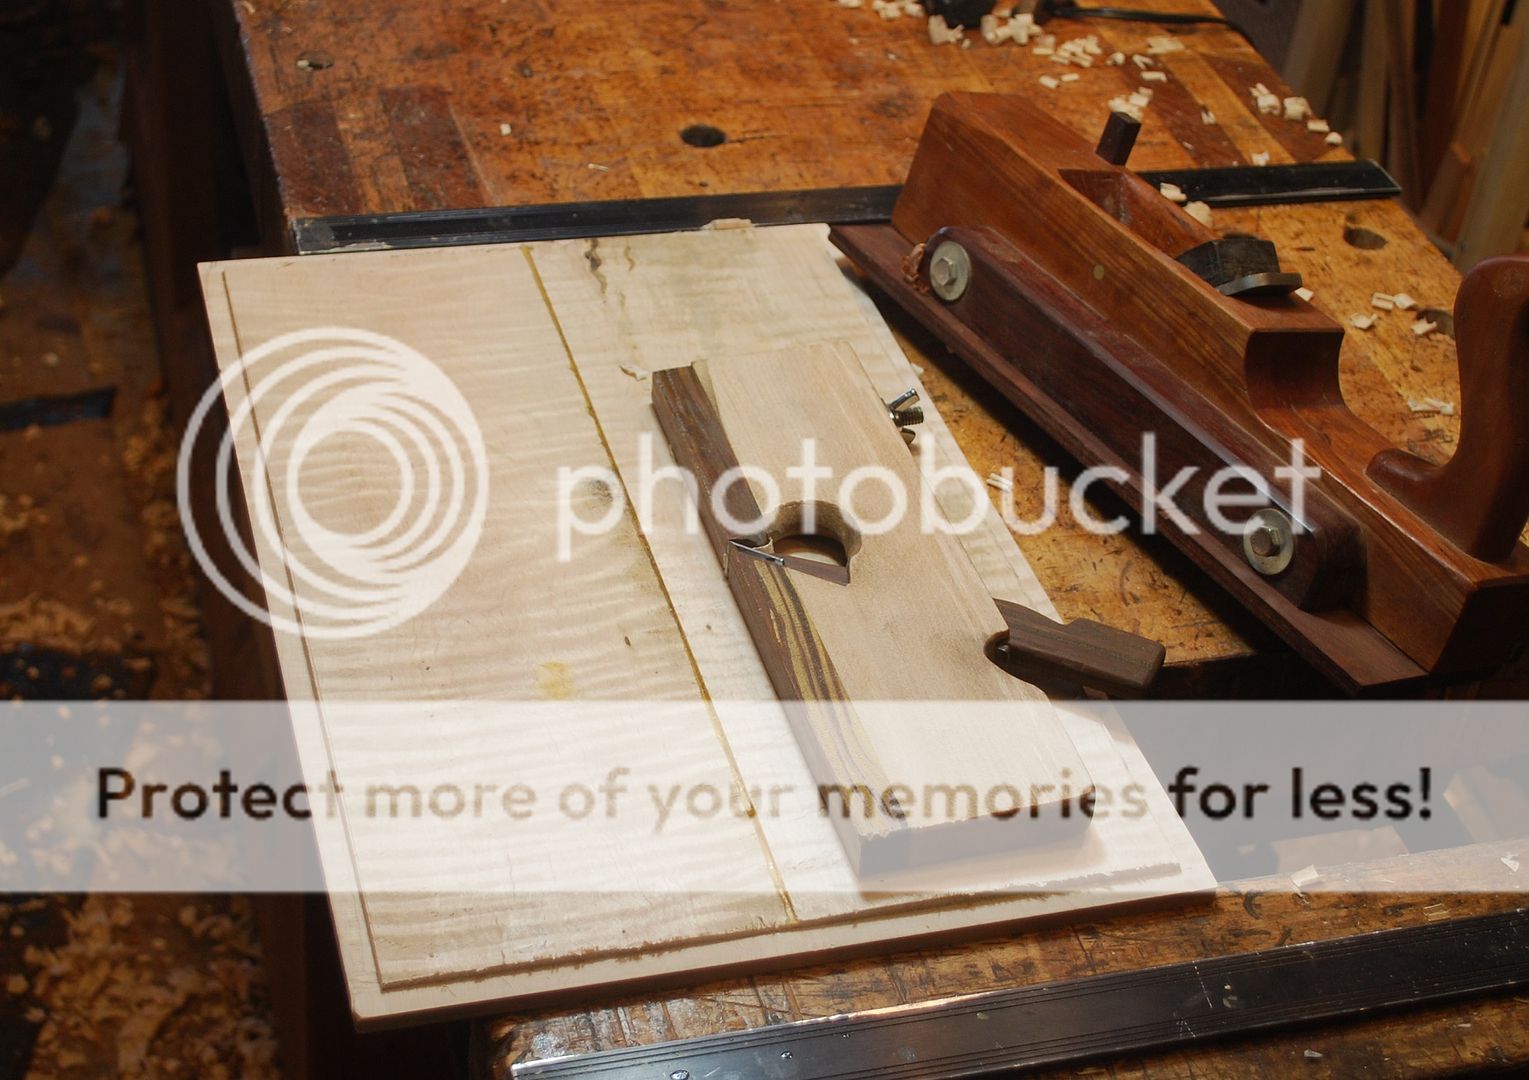
I used a spoke shave to curve the underside of the aprons. Took way more time to create templates for the curve with the giant compass, than to actually shape the final workpieces.
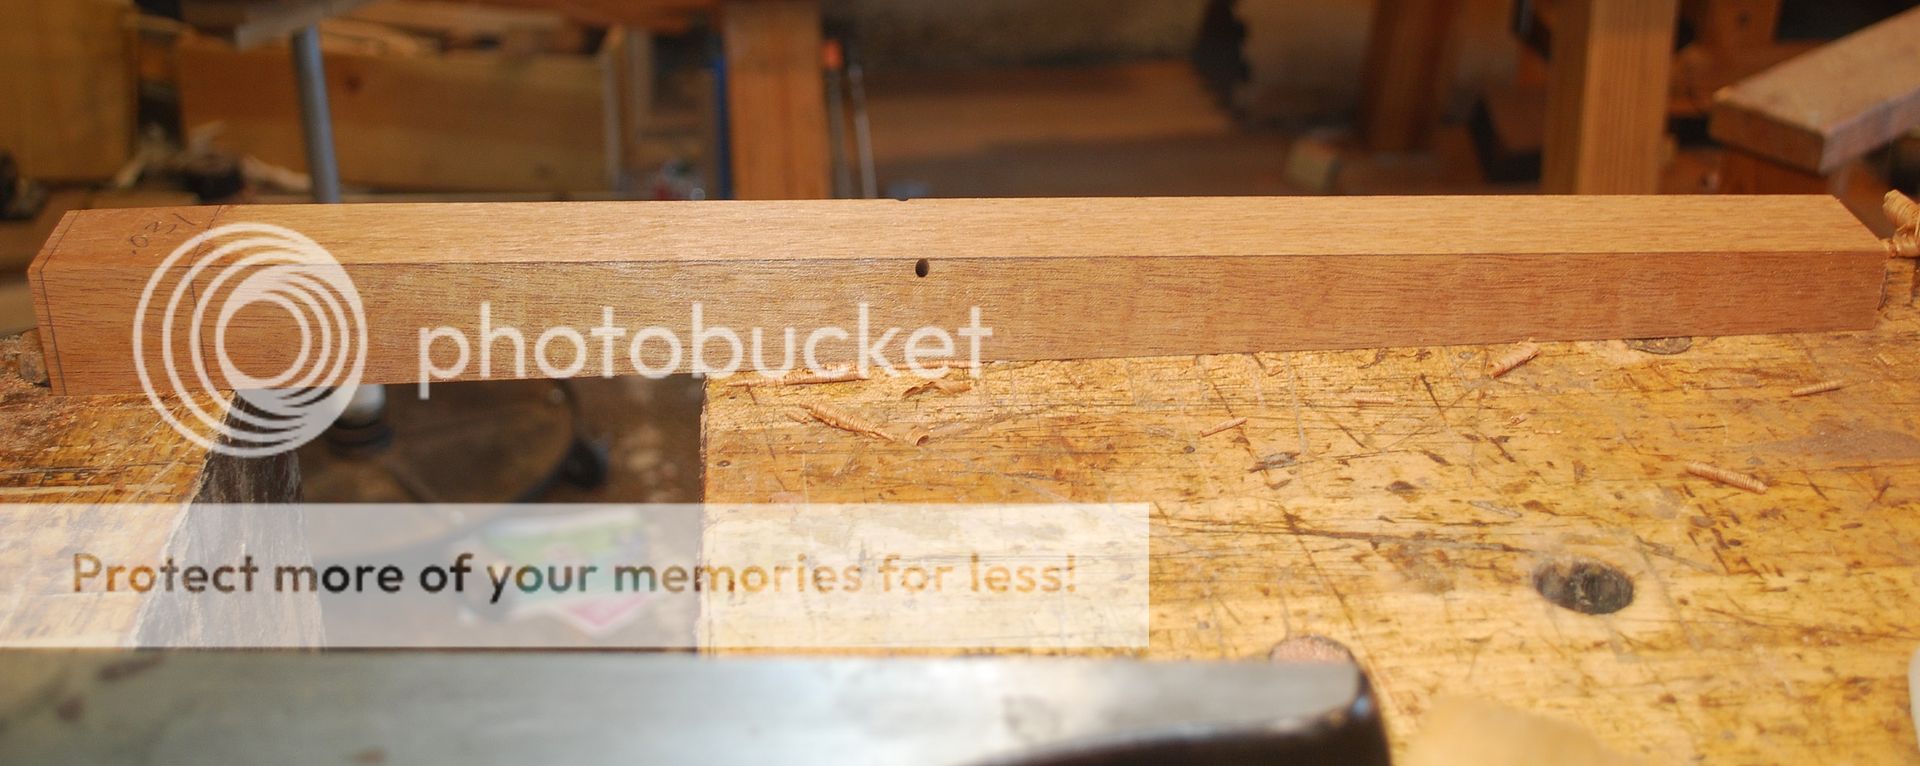
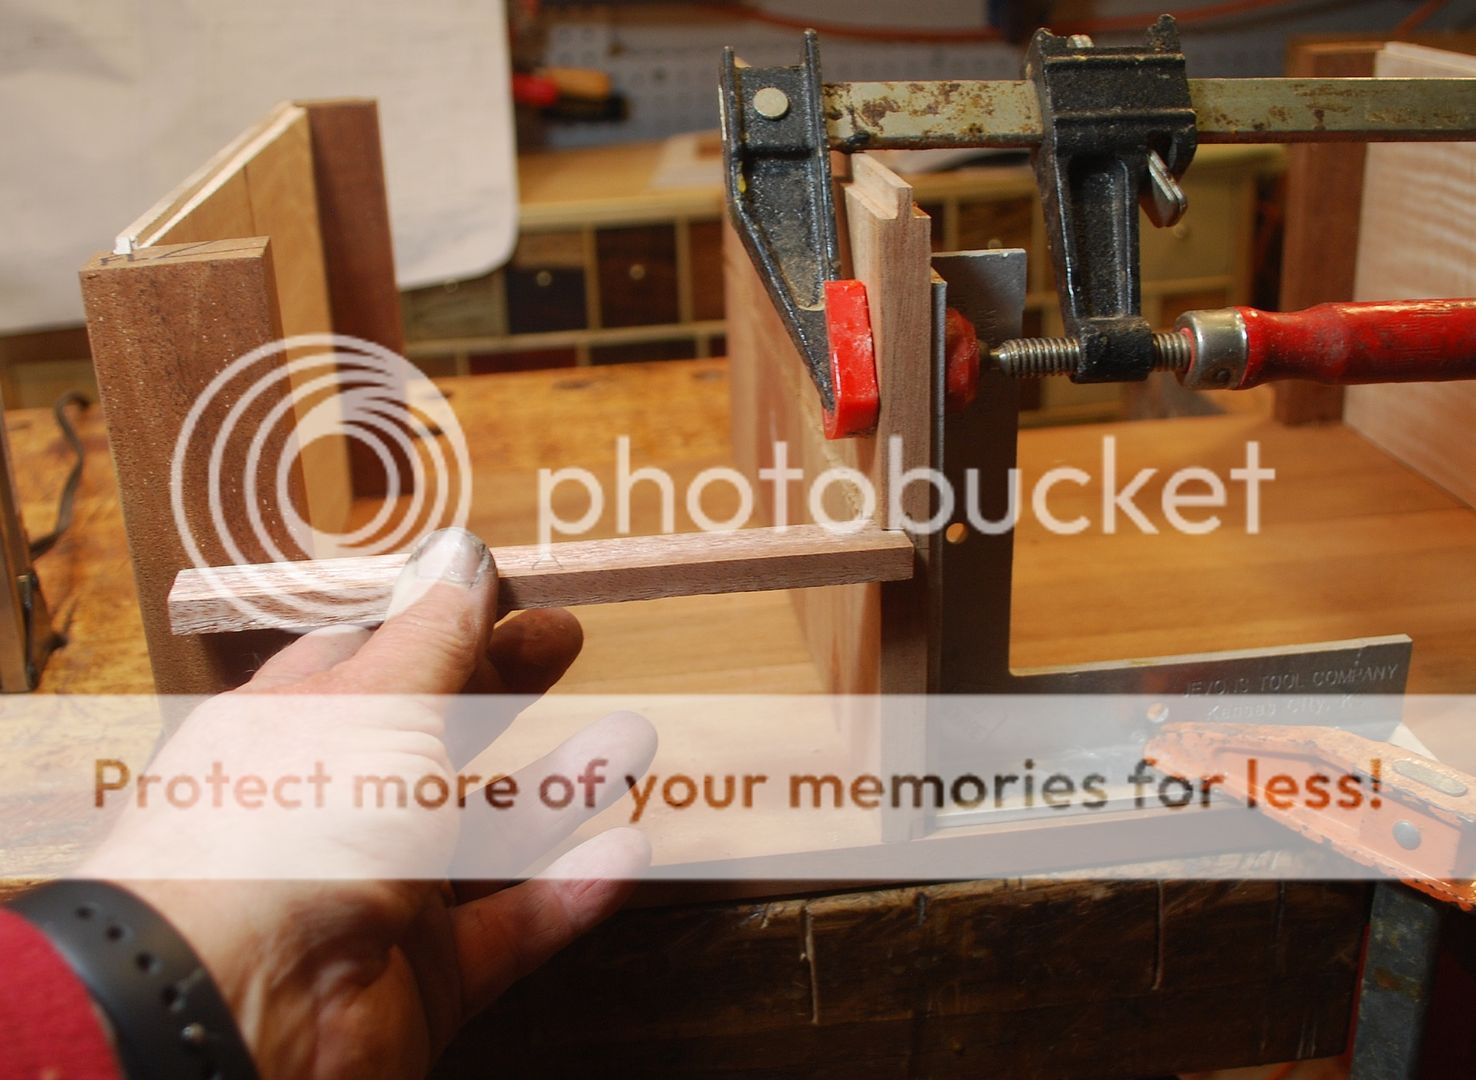
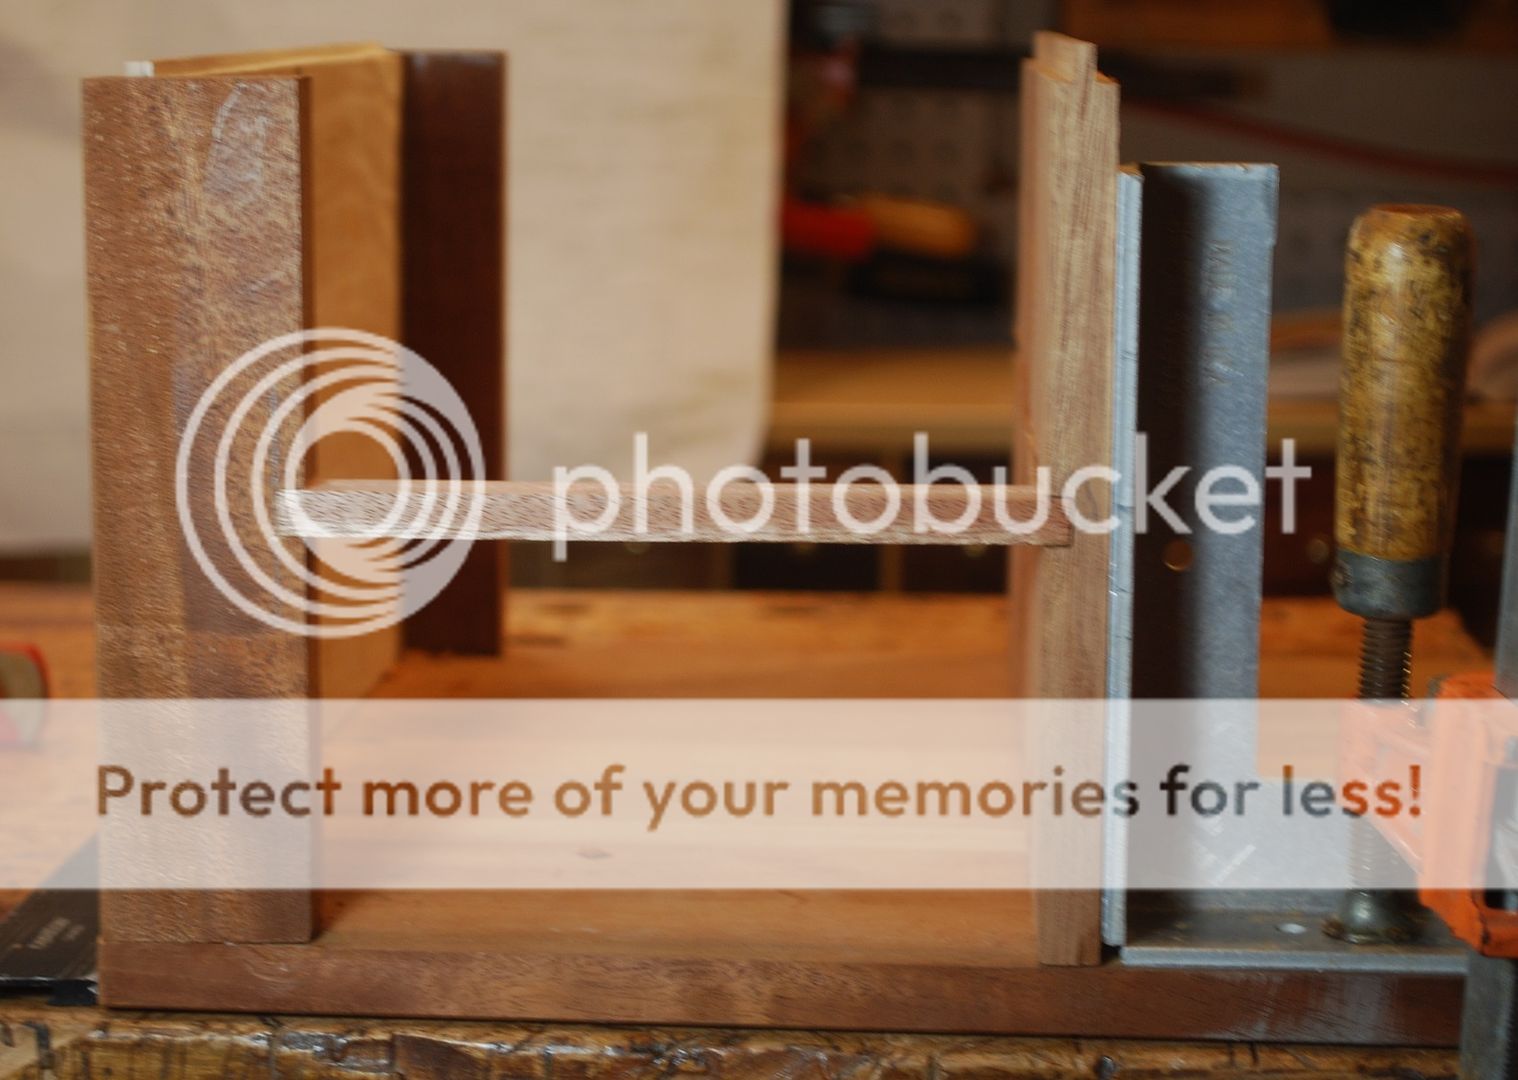
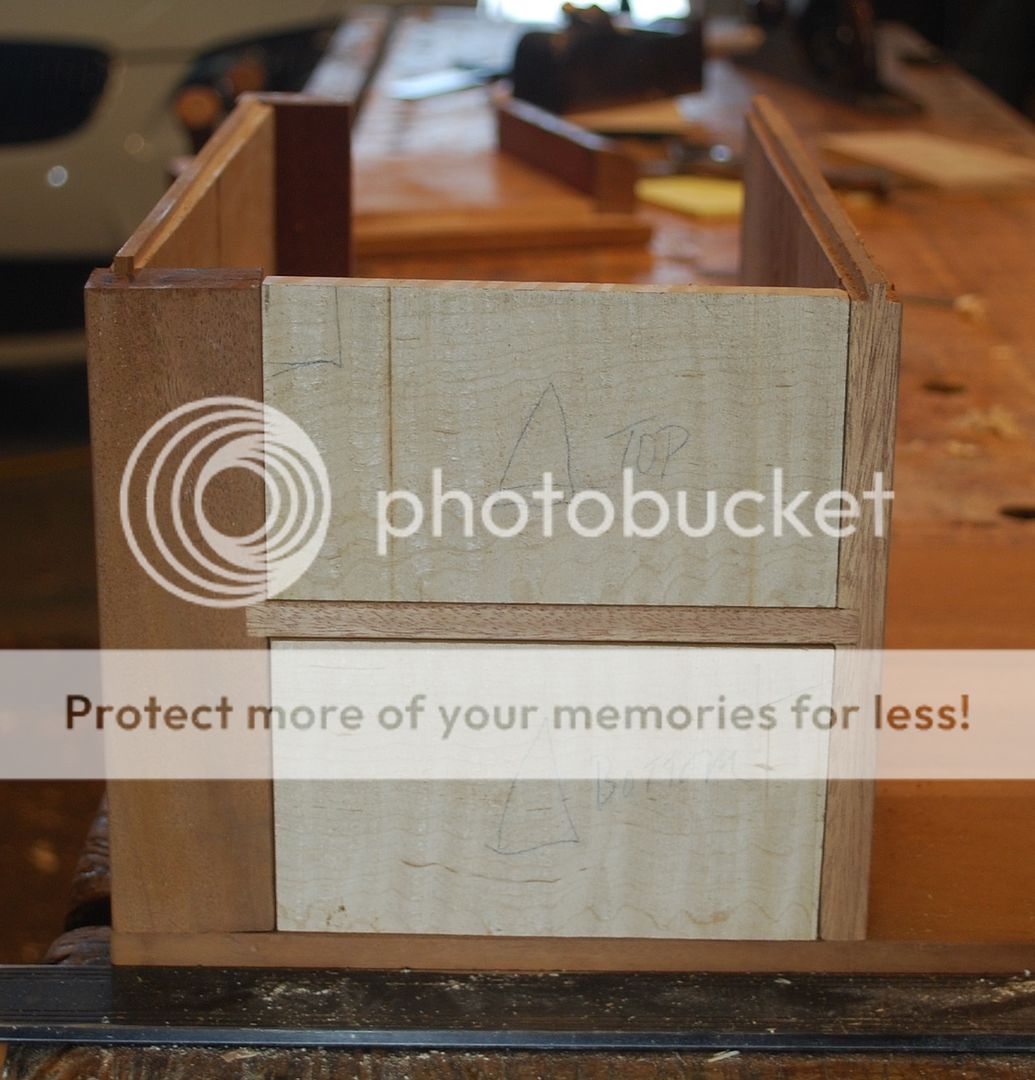
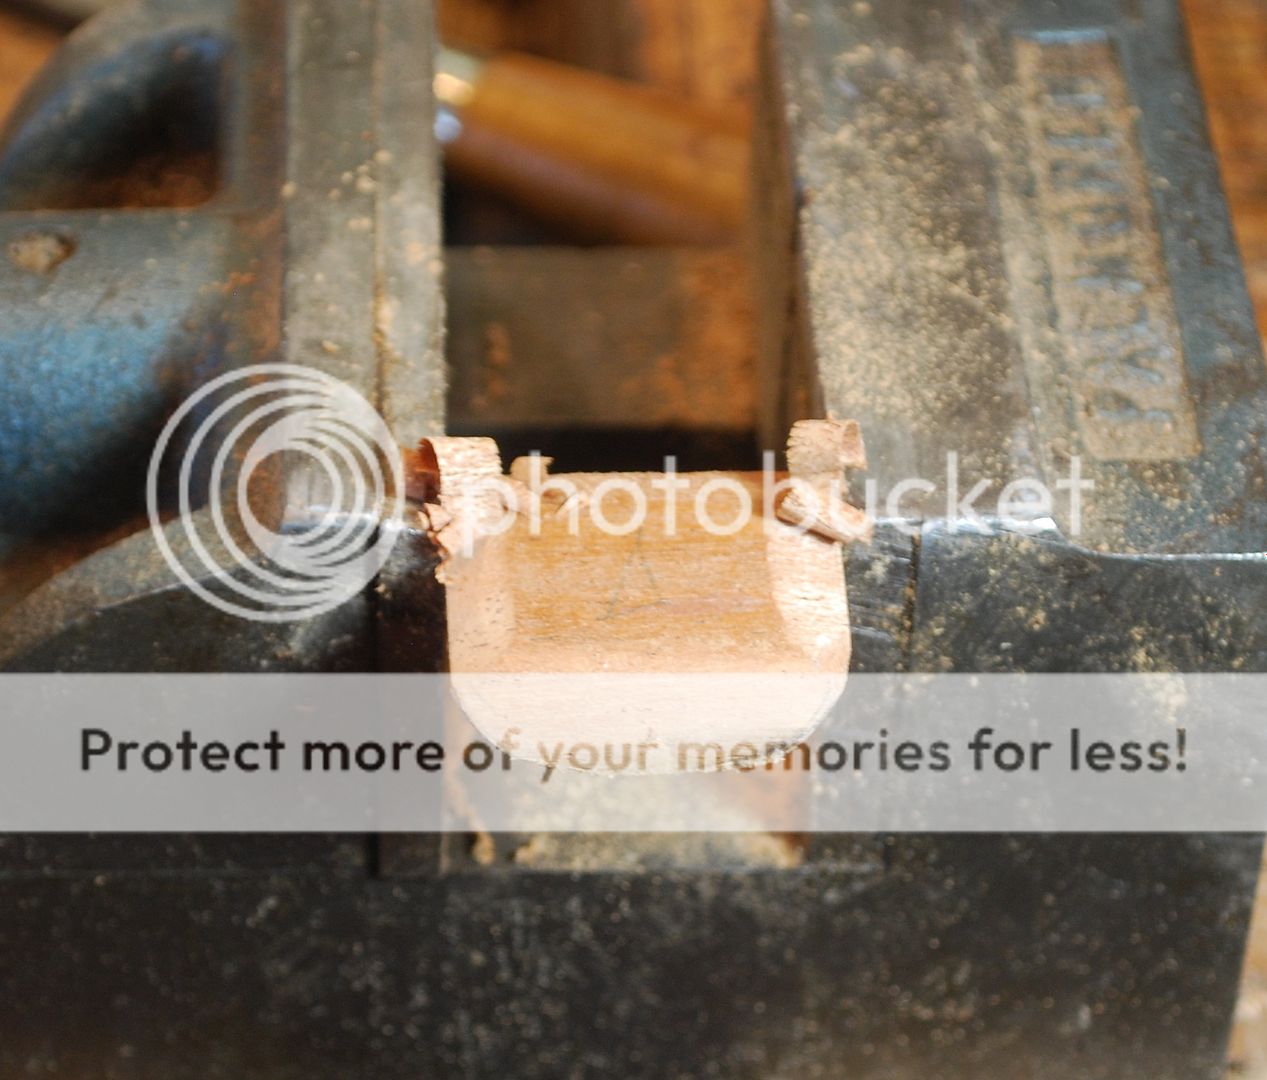
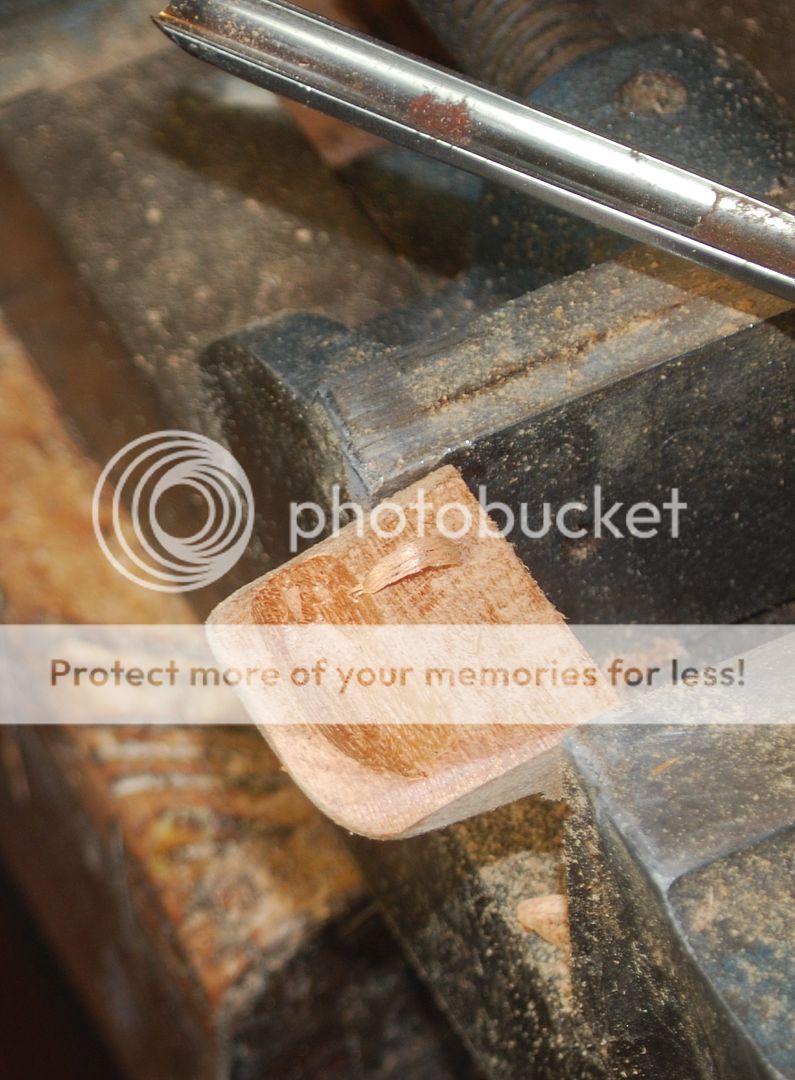
With the aprons and legs dry fit, I clamp stretchers in place to Mark inside shoulders for through tennons. Through tenons are always bit of a bugaboo for me, I layout both sides and drill from each side on drill press.
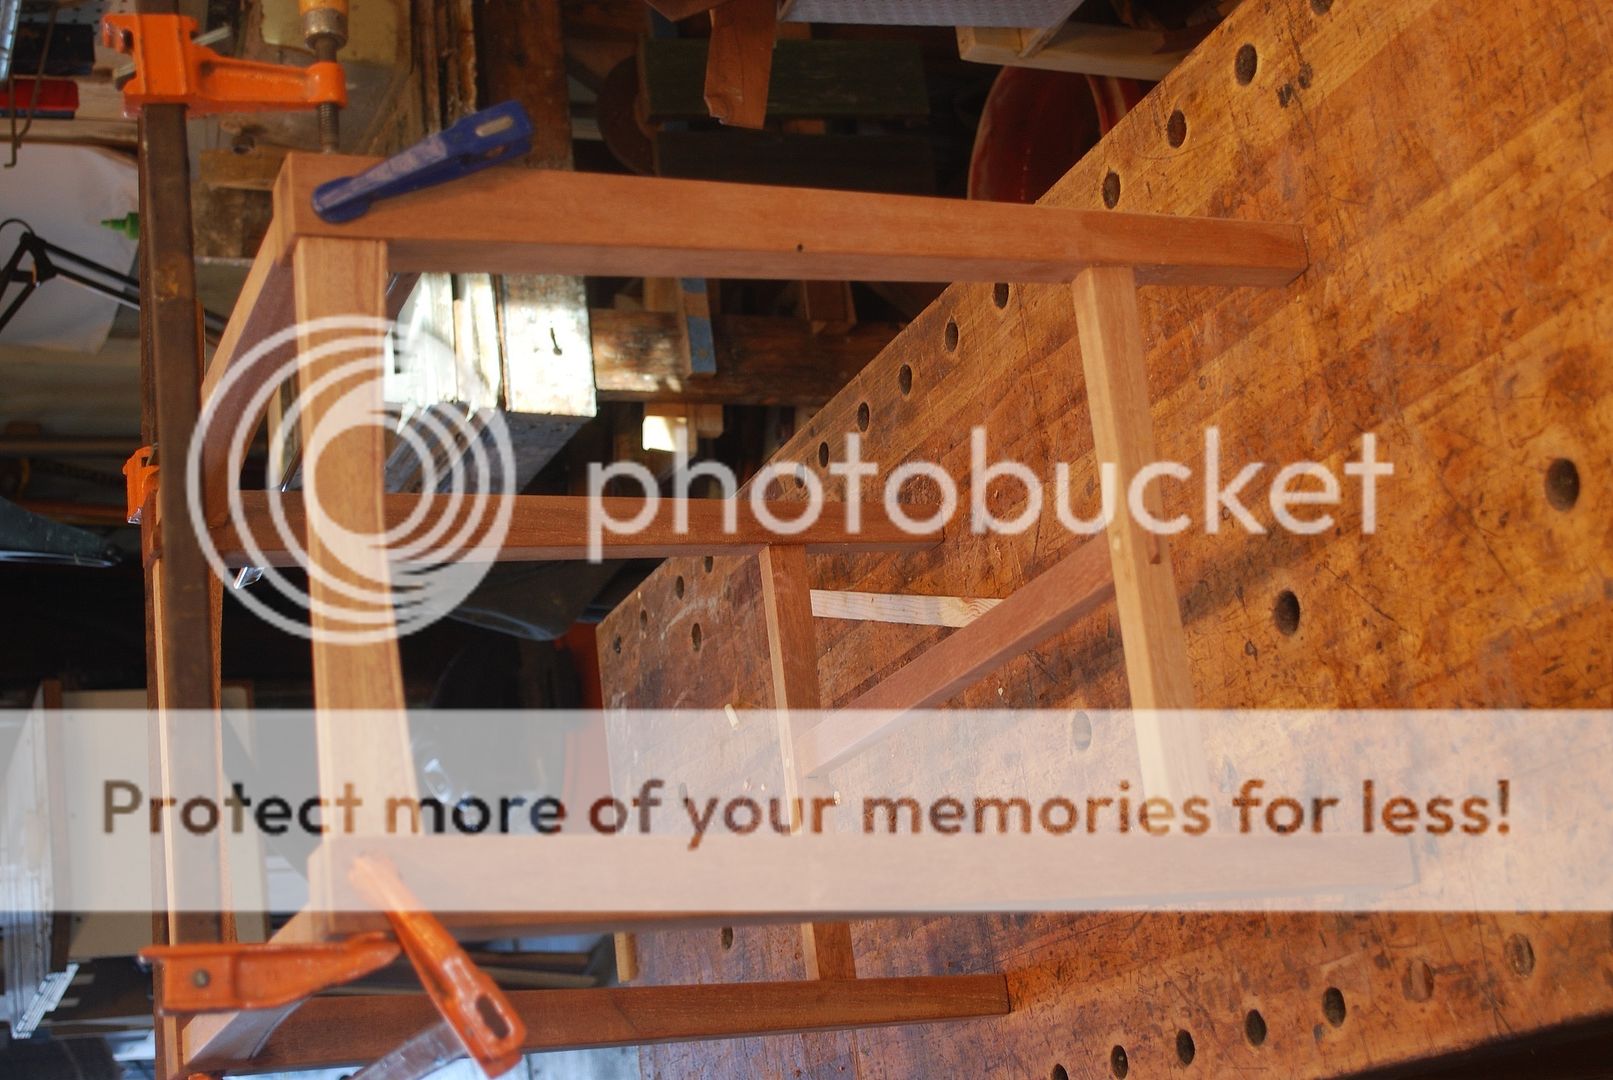
Heres the glue up. To avoid any glue spill out on the through tenon, I clamped and pegged with dowel rather than glue.
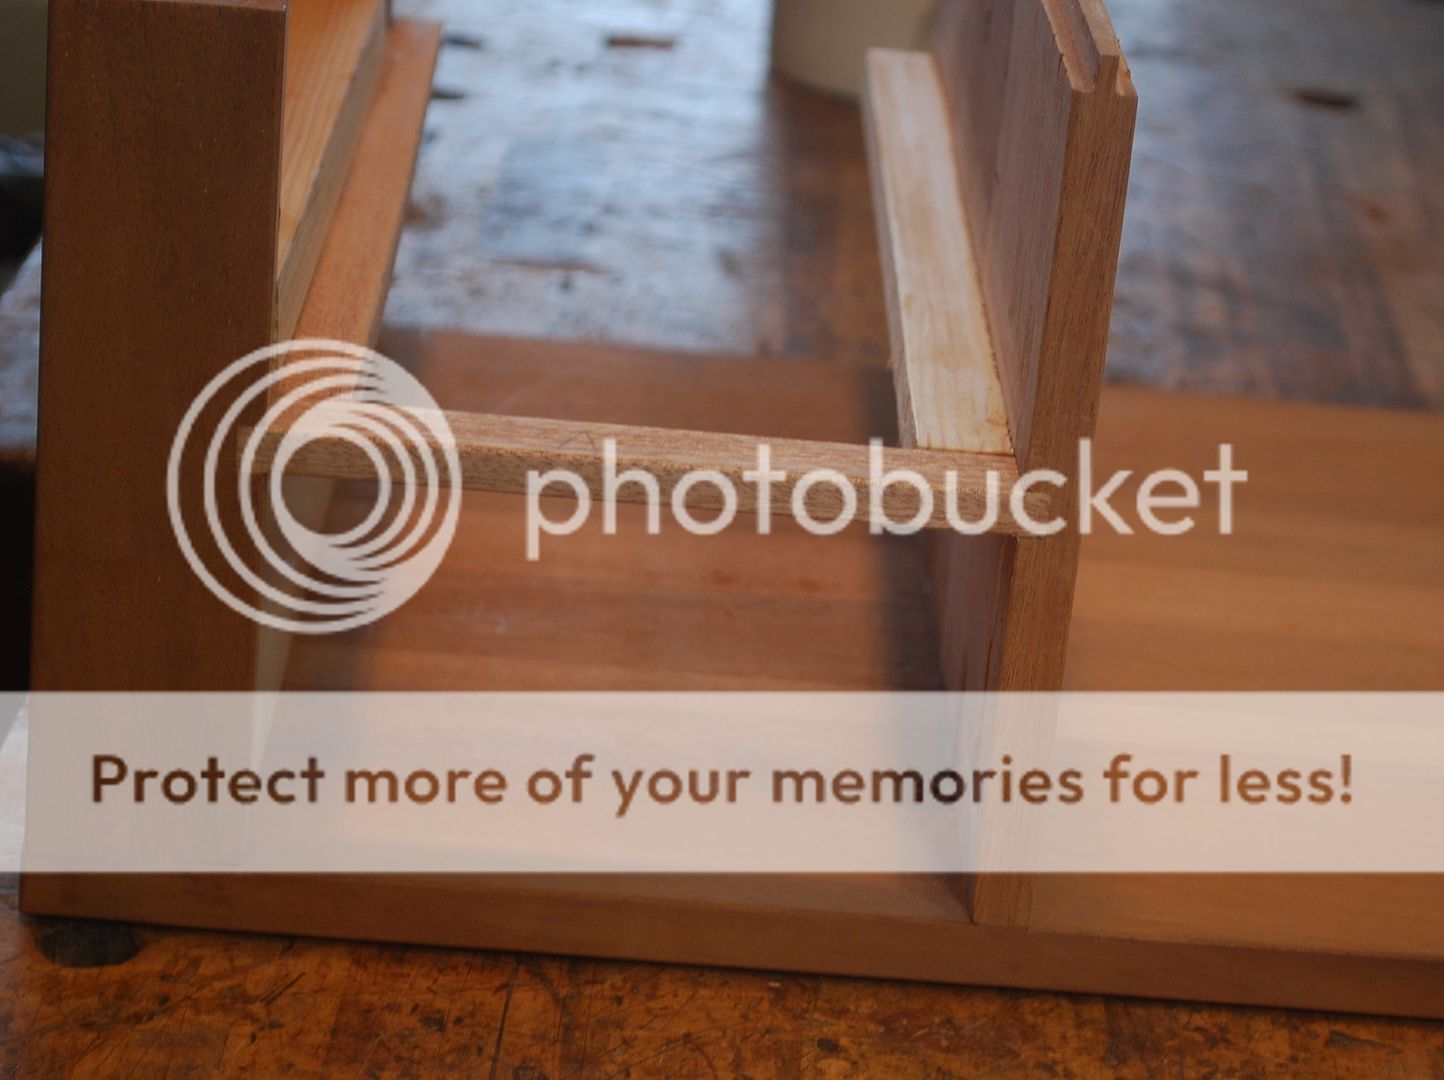
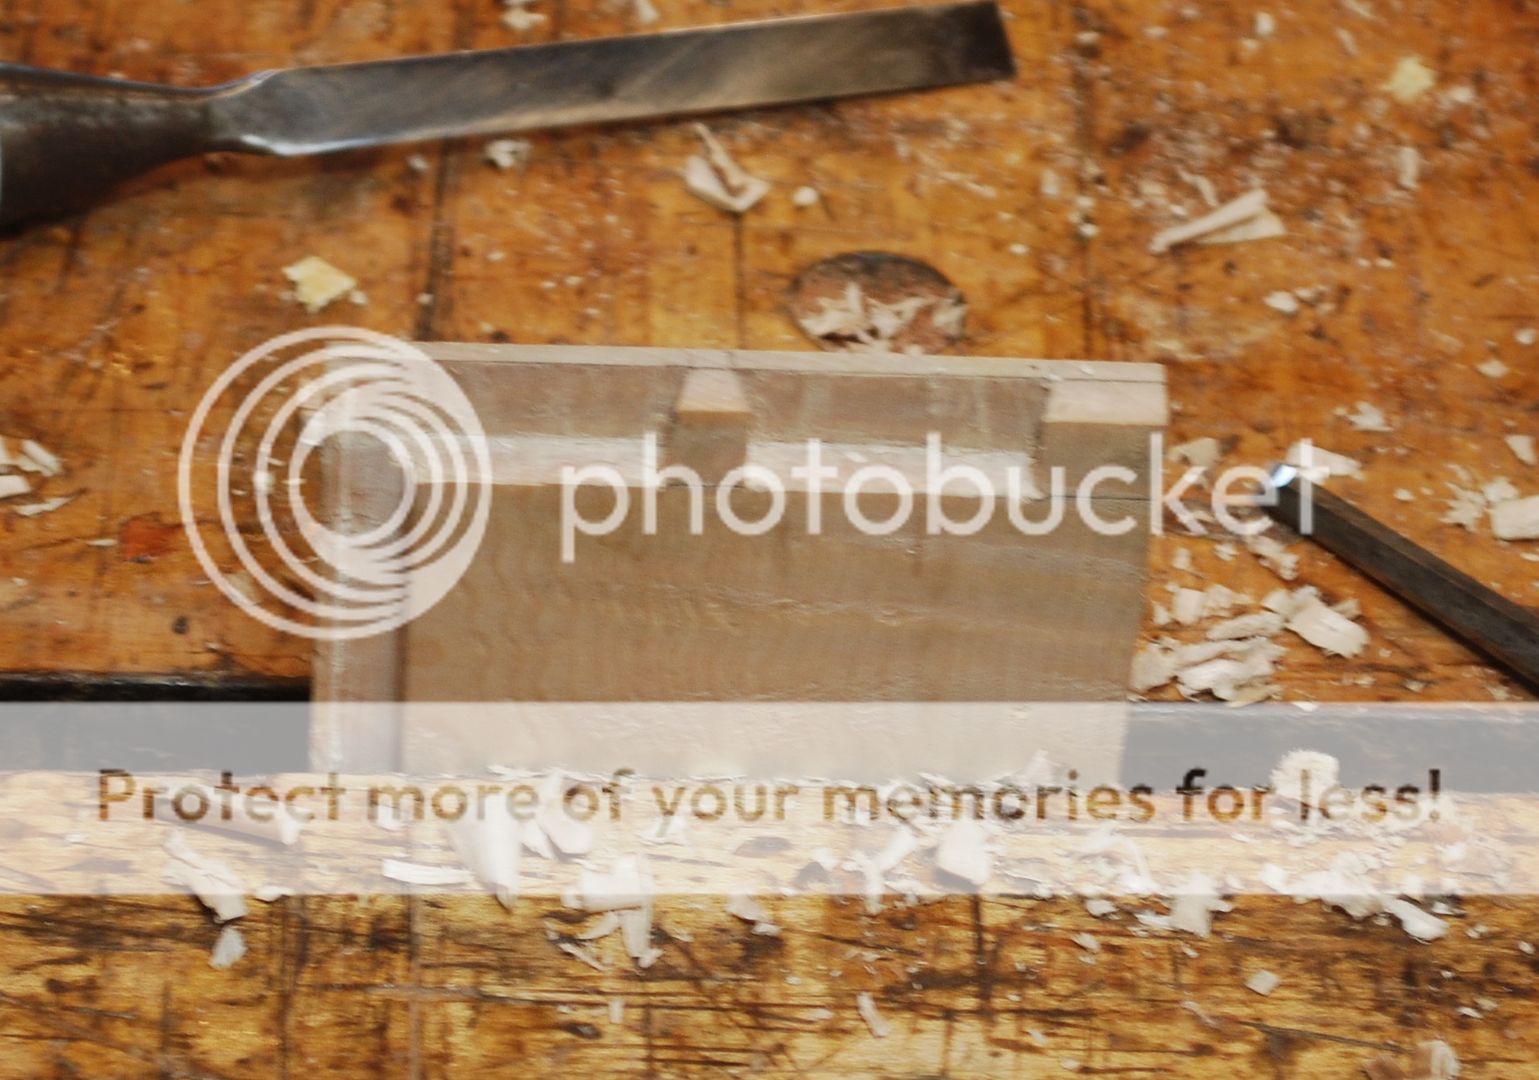
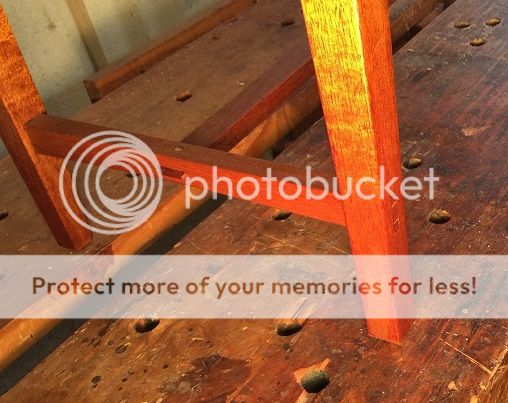
Here are the through, wedged tenons of the stretchers.


 Reply With Quote
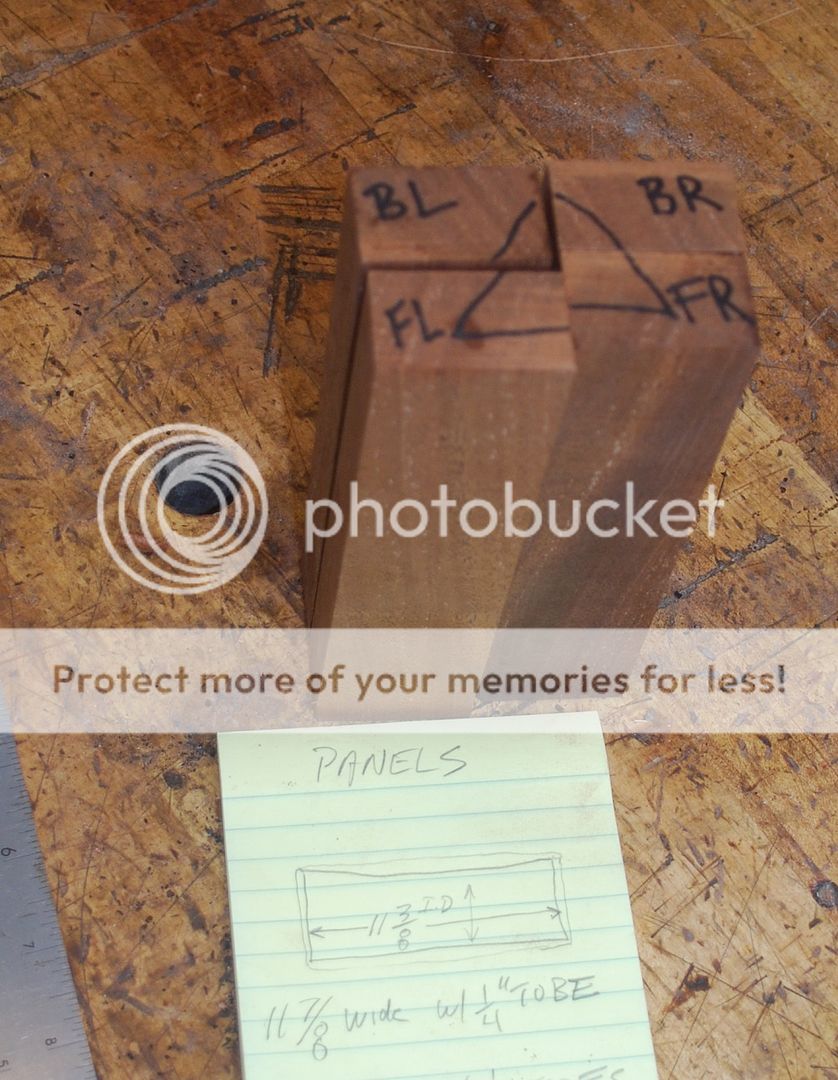


 . Thank you.