Results 1 to 11 of 11

Thread: Entry hall table for a niece: penultimate post

  1. #1
    Join Date
    Feb 2004
    Location
    Perth, Australia
    Posts
    9,492

    Entry hall table for a niece: penultimate post

    This is the last part of the build - completing of the drawer bottoms and pulls.


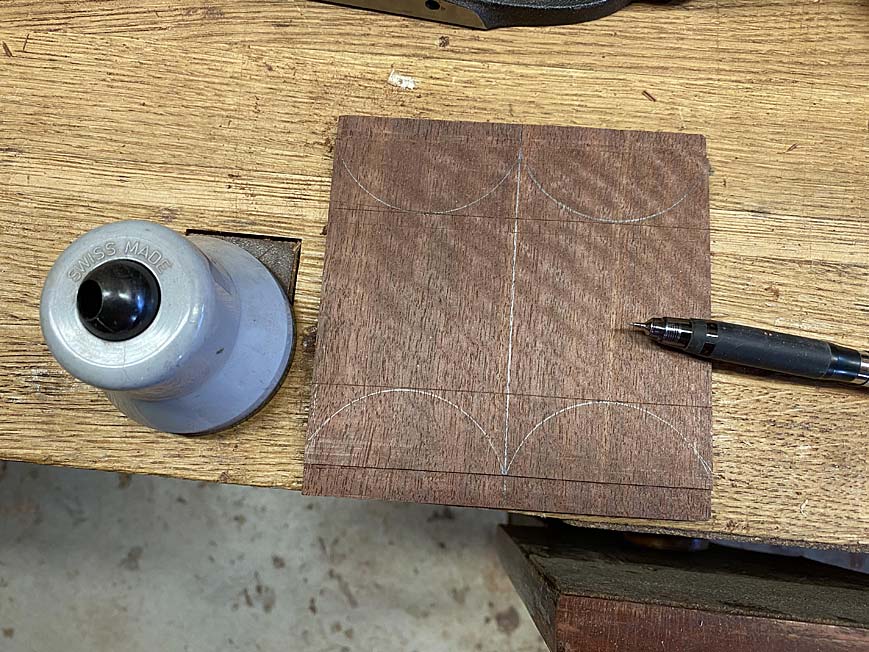
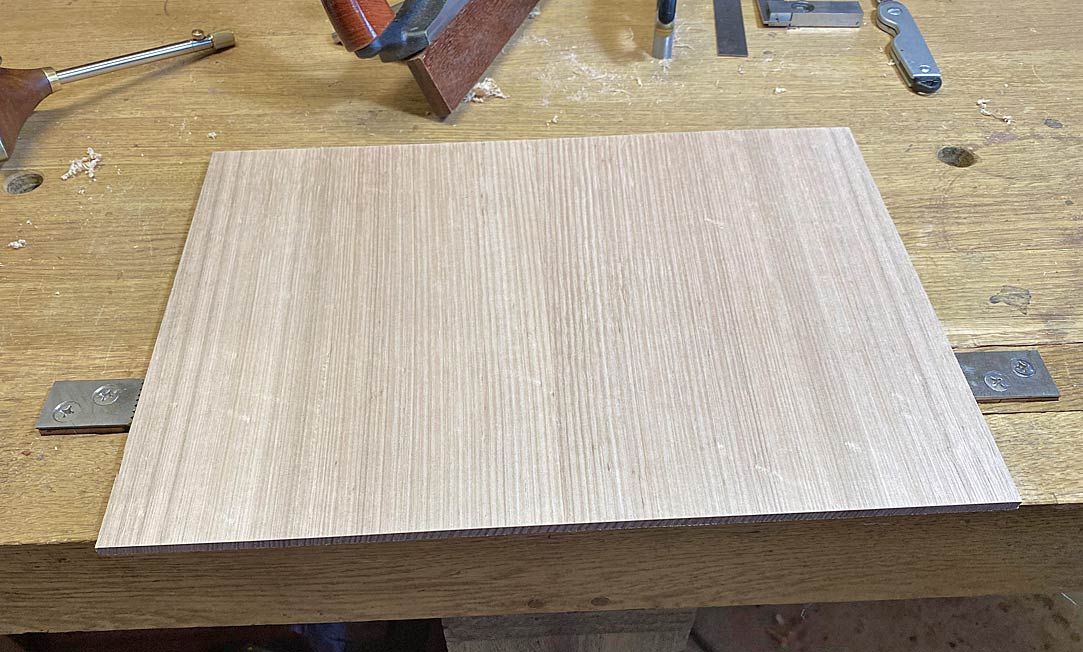
    A panel was prepared some weeks ago. 1/4" thick Tasmanian Oak. This was made up of two, book matched boards. Blue tape was used to pull the jointed edges together. Clamps are unnecessary for this task ...


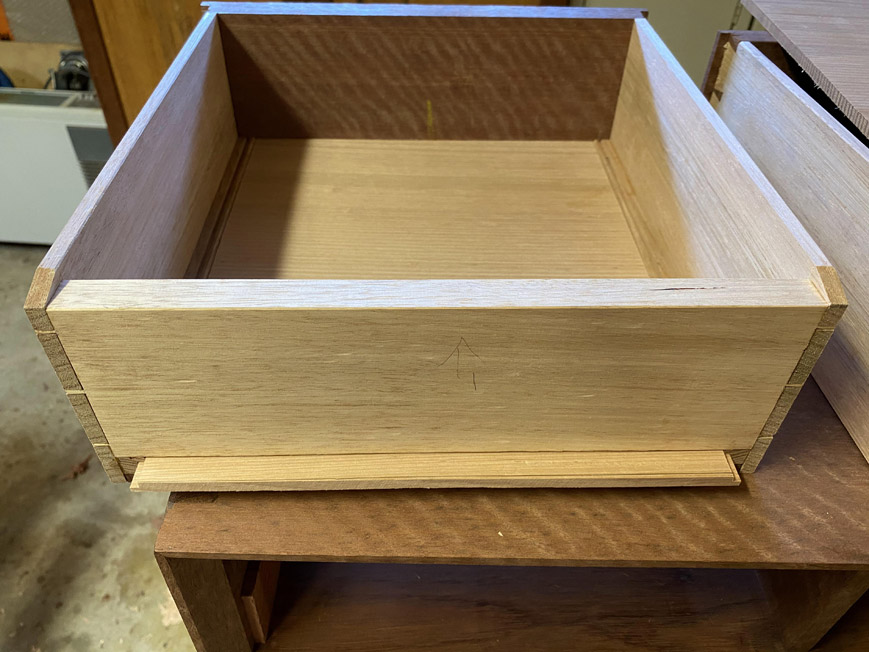
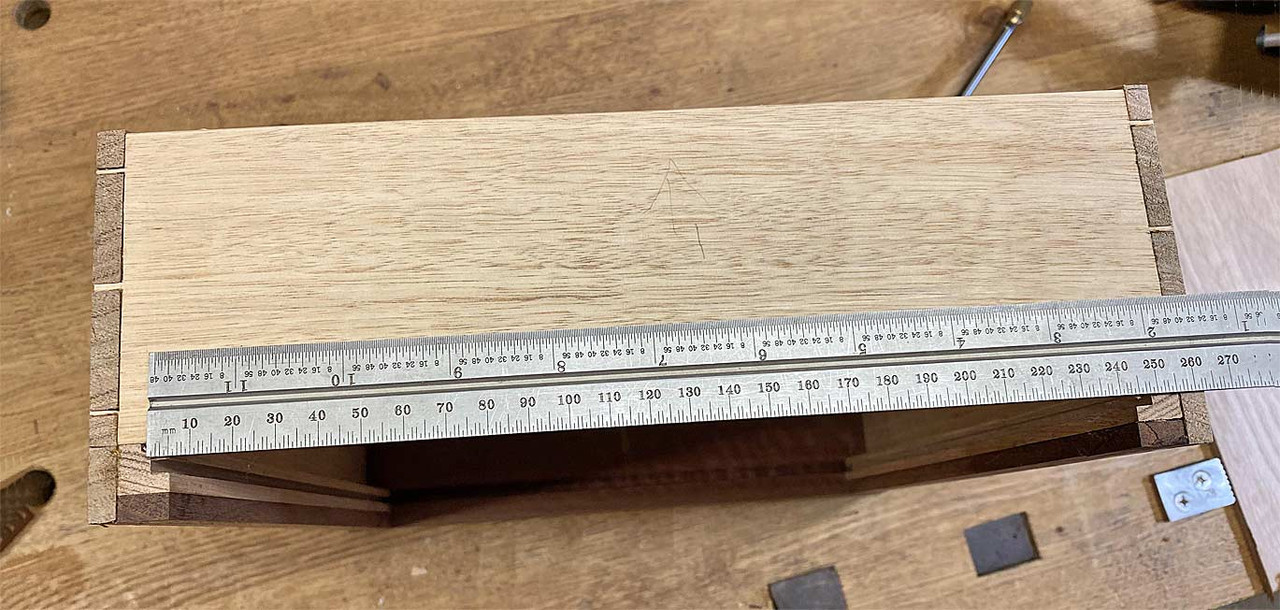
    Measure off the full width of the drawer bottom from inside the slips ...


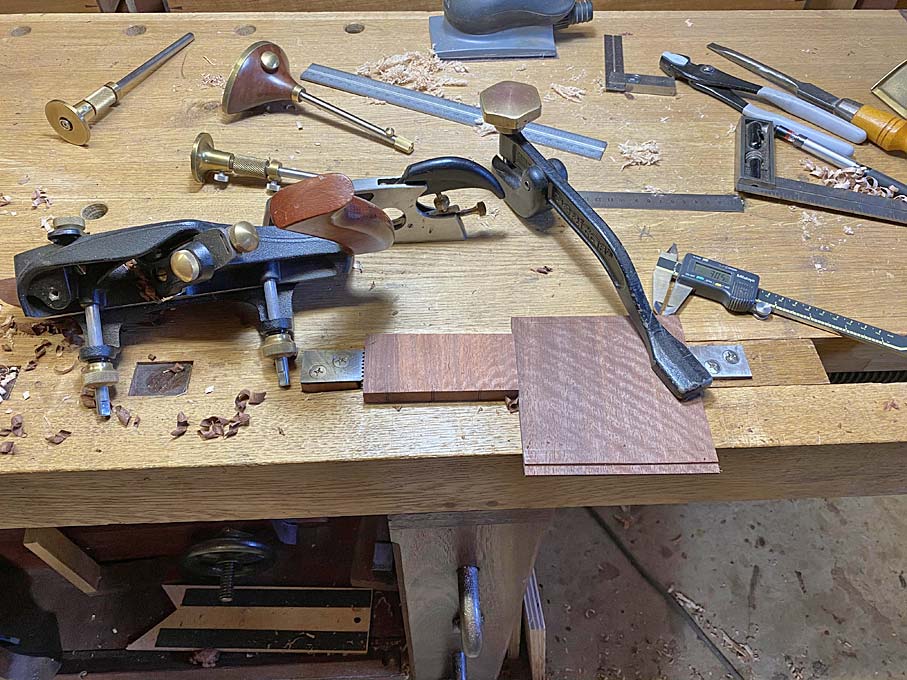
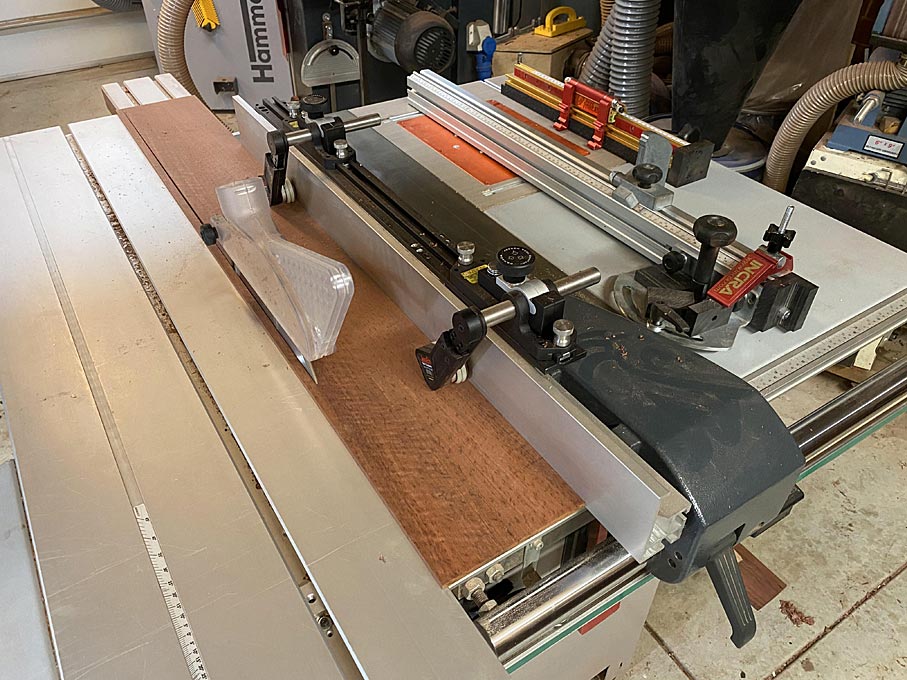
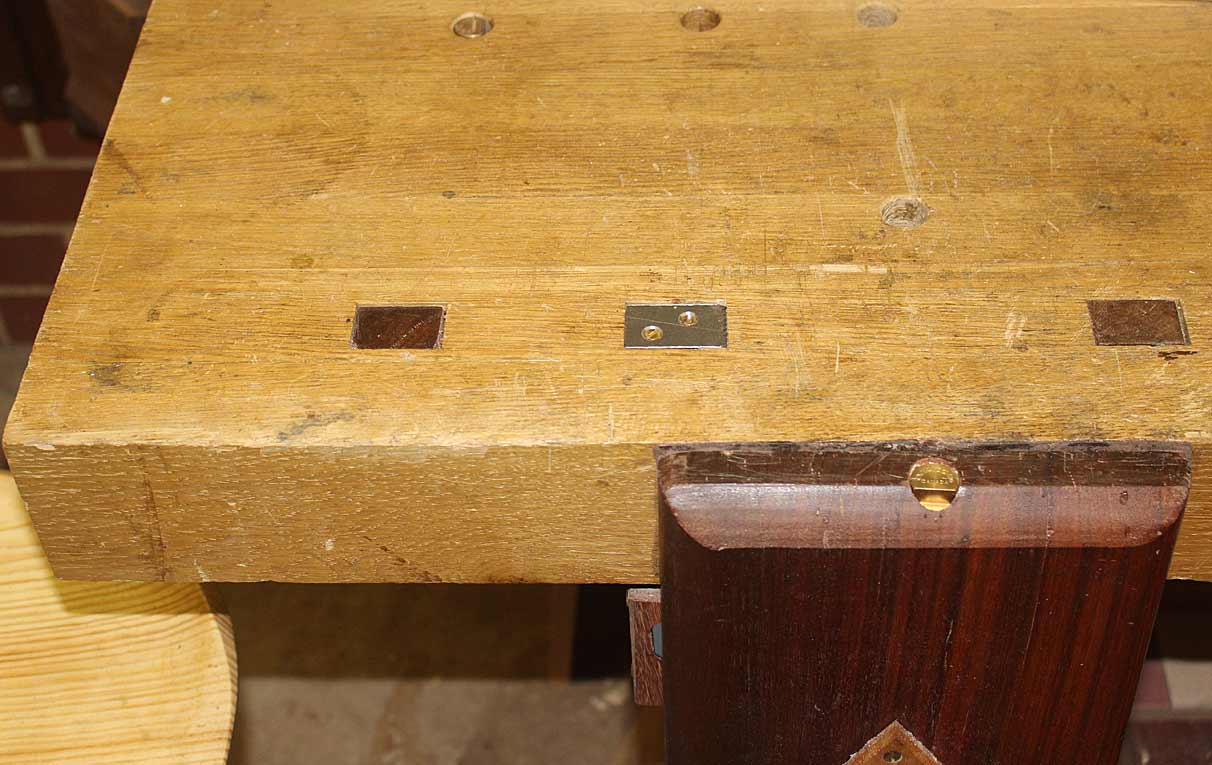
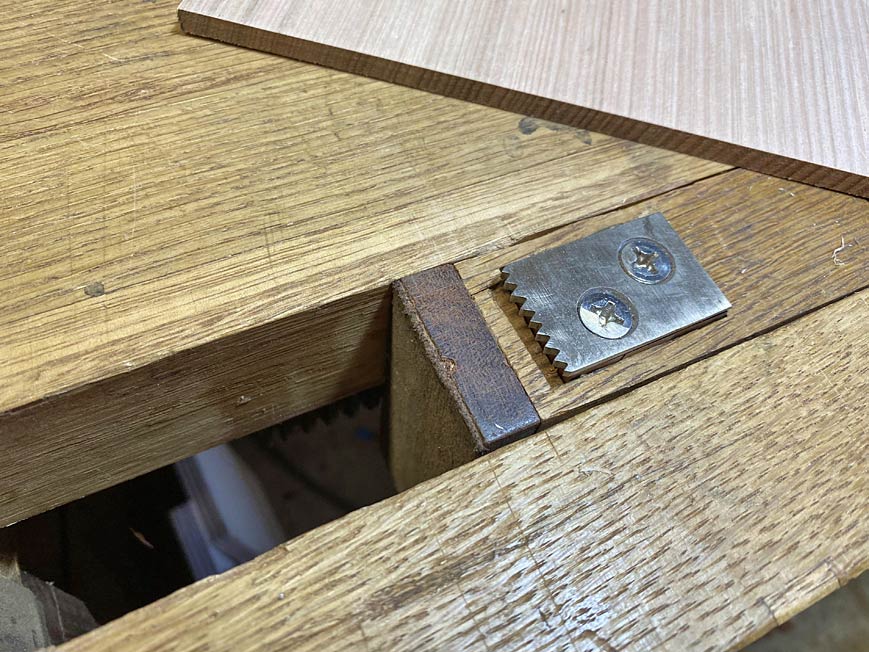
    Of possible interest is the work holding for the drawer bottom ...


    The bench dogs on each side were made from sections of unhardened O1 steel, and filed into teeth.


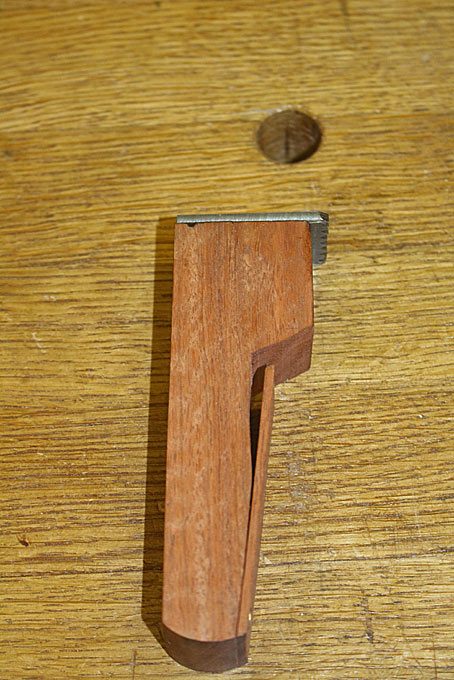
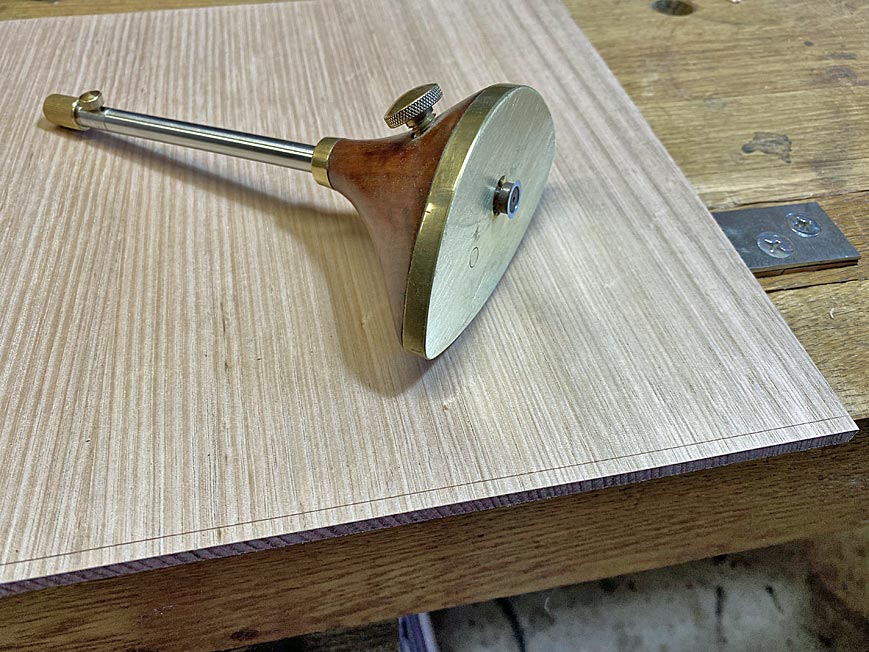
    Another heads-up is the arm for this cutting guard. Some while back, Veritas brought out a gauge with a fine adjuster. They now sell the arms to upgrade existing gauges, which is what I have done here to a wheel gauge I made ...


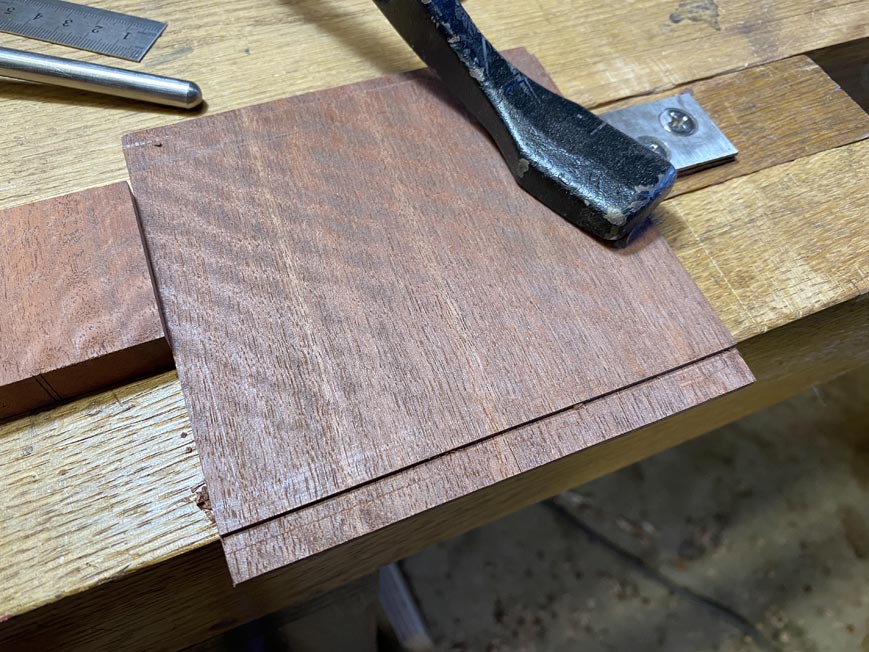
    Here the tongue is marked (about 4mm). This will fit into the groove in the slip.


    The thickness of the tongue is marked (3mm).


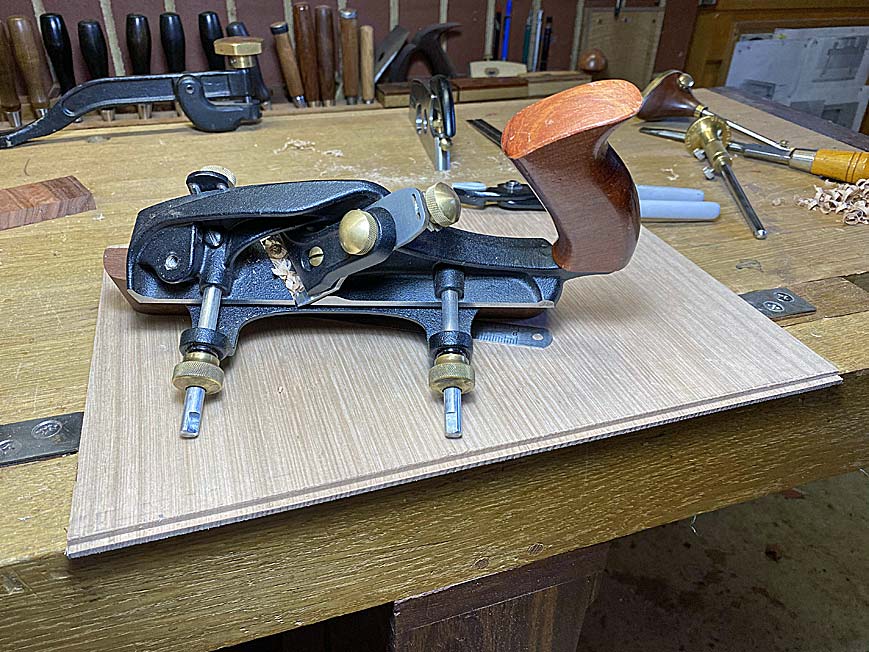
    The tongue is planed ...


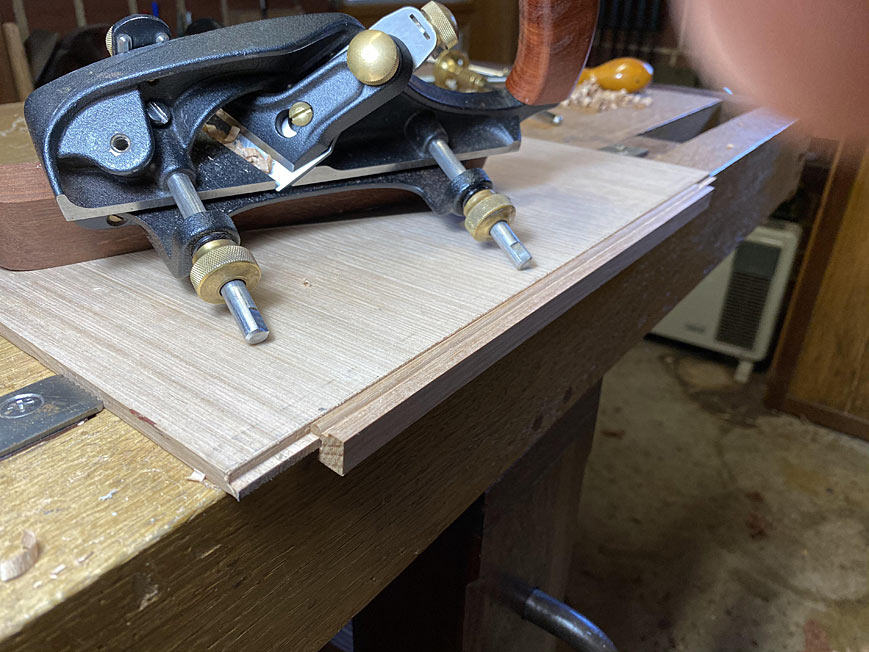
    The fit is tested with a spare slip ...


    The bottom was about 1mm too wide to fit. A LN edge was perfect to re-joint one side ...


    Re-establish the tongue with a shoulder plane ...


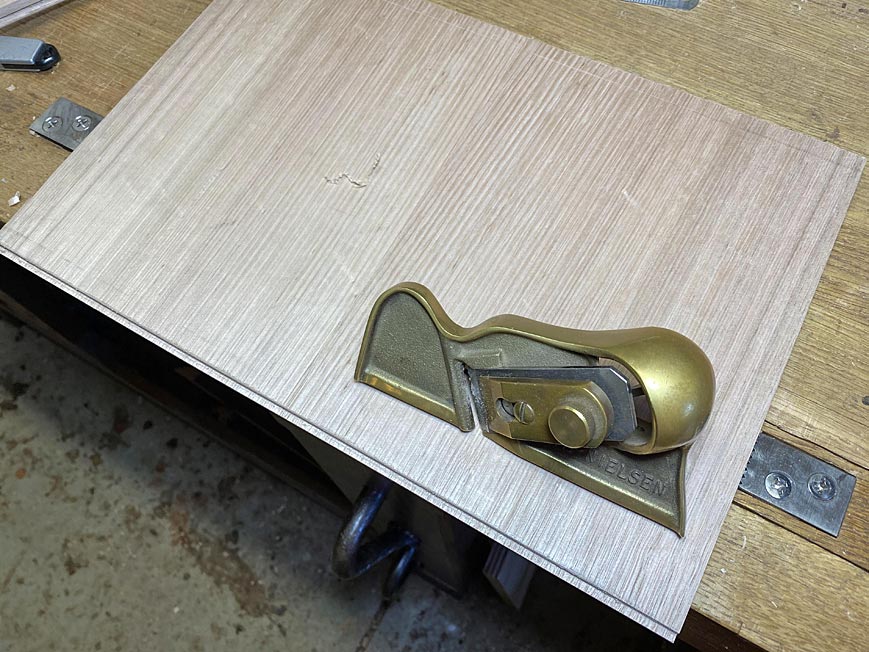
    Slide the bottom in. At this time it is just a dry fit. The front, which remains 1/4" thick to fit to 1/4" groove at the rear of the drawer front, is not yet pushed home. The front groove will hold the one end firmly, allowing movement towards the rear of the drawer.


  2. #2
    Join Date
    Feb 2004
    Location
    Perth, Australia
    Posts
    9,492
    The drawers require pulls. The aim is to make the pulls "vanish" as much as possible. To do this, the shape is kept simple, and the wood is a section from the drawer fronts. Here it is being planed to 1/4" thickness.


    Set up to make the pulls ...


    A 10mm wide rebate is planed on both sides. This will be completed on the reverse side as well, to create a tenon 3mm thick.


    Four sections are marked off for the pulls (only three are needed) ..


    A router is used to create dimples for a finger grip on the underside of the pull (three were needed and were good here; one could be tossed) ...


    The outlines are cut out ...


    The router is again used, this time to create a 3mm x 50mm mortice in the drawer fronts for the pulls ...


    The final section of the build is the drawer back. I decided to use Jarrah to match the rest - one never knows whether the hall table will become a room divider.


    The newly-purchased JessEm Clear-Cut TS Stock Guides make a clean, accurate rip that much easier ...


    The next post will show the completed hall table.


    Regards from Perth


    Derek

  3. #3
    Join Date
    Jan 2019
    Location
    Fairbanks AK
    Posts
    1,566
    Of course you made a spare slip and a spare drawer pull.

    I am coming around to 'liking' this drawer method more and more. A hundred years from now, three hundred years from now this piece will be fully restorable with some wood, some hide glue and sharp tools. Plus good judgement and astute common sense of course. Whoever gets the resto job will not have to replicate Brand W drawer metal pulls with dimensions x, y and z.

    Is the fixed end of the unhardened hand toothed O1 tool steel workholder affixed to the top end of a dedicated bench dog so you can move it to whatever dog hole?

    Thanks for posting. It has taken me 15 months of reading them to start to understand what you are doing.

  4. #4
    Join Date
    Nov 2015
    Location
    Freiburg, Germany
    Posts
    223
    Thanks Derek for documenting your build with such clear pictures! Well done, and I´m looking forward to see the finished piece!

  5. #5
    Join Date
    Feb 2004
    Location
    Perth, Australia
    Posts
    9,492
    Quote Originally Posted by Scott Winners View Post
    ....
    Is the fixed end of the unhardened hand toothed O1 tool steel workholder affixed to the top end of a dedicated bench dog so you can move it to whatever dog hole?..
    Thanks Scott.

    This is from my website two years ago (since then you can now purchase something very similar from Tools for Working Wood) ...

    Make your own planing stop. This took about 30 minutes to make and install ...


    It looks like an ordinary dog hole. 1" wide in O1 steel. Filed 8 ppi. Sharp like a saw.


    The brass screws have been replaced by stainless steel M6 bolts into threaded inserts ...


    This is the spring-loaded bench dog. It will remain at any height it is set. Note that all my bench dogs are exactly the same, and this one can be used in place of any other ...


    How the stop looks to the wood


    Since all my dog holes are identical, I can switch them around. I made two of these: one for the tail vise and one for the stop.

    Regards from Perth

    Derek

  6. #6
    Join Date
    Feb 2004
    Location
    Perth, Australia
    Posts
    9,492
    Quote Originally Posted by Oskar Sedell View Post
    Thanks Derek for documenting your build with such clear pictures! Well done, and I´m looking forward to see the finished piece!
    Thanks Oskar.

    Final pictures this weekend.

    Regards from Perth

    Derek

  7. #7
    Join Date
    Aug 2012
    Location
    Missouri
    Posts
    2,152
    Well done Derek. I very much like your pulls. I like pulls that try to hide. I usually make drawer stops similar to your springs on your bench dogs. They work well. The only down side is people don’t expect them and sometimes do damage trying to remove the drawers. It’s worth the effort to explain their operations to the owners of the piece.

  8. #8
    Join Date
    Sep 2007
    Location
    Longview WA
    Posts
    27,437
    Blog Entries
    1
    Quote Originally Posted by Derek Cohen View Post
    Thanks Oskar.

    Final pictures this weekend.

    Regards from Perth

    Derek
    It will be worth the wait.

    jtk
    "A pessimist sees the difficulty in every opportunity; an optimist sees the opportunity in every difficulty."
    - Sir Winston Churchill (1874-1965)

  9. #9
    Join Date
    Feb 2011
    Location
    Carlsbad, CA
    Posts
    2,230
    Blog Entries
    2
    Quote Originally Posted by Derek Cohen View Post
    Thanks Scott.

    This is from my website two years ago (since then you can now purchase something very similar from Tools for Working Wood) ...

    Make your own planing stop. This took about 30 minutes to make and install ...


    It looks like an ordinary dog hole. 1" wide in O1 steel. Filed 8 ppi. Sharp like a saw.


    The brass screws have been replaced by stainless steel M6 bolts into threaded inserts ...


    This is the spring-loaded bench dog. It will remain at any height it is set. Note that all my bench dogs are exactly the same, and this one can be used in place of any other ...


    How the stop looks to the wood


    Since all my dog holes are identical, I can switch them around. I made two of these: one for the tail vise and one for the stop.

    Regards from Perth

    Derek
    Derek, Great solution to what is is for me a consistent problem – work holding thin stock! Definitely stealing this idea – and blue tape for gluing up thin panels – who knew?

    More importantly super enjoyed this entire build – as usual your pictures and descriptions are excellent and extremely helpful. I very much look forward to seeing the final result.

    So when are you gonna start teaching classes? Can think of anyone more qualified and I know you'd be great at it.

    Best, Mike

  10. #10
    Join Date
    Feb 2004
    Location
    Perth, Australia
    Posts
    9,492
    Thanks Mike.

    I do run workshops every now-and-then (usually at wood shows). However, who has time to do this otherwise?

    Regards from Perth

    Derek

  11. #11
    Join Date
    Mar 2015
    Location
    SE Michigan
    Posts
    3,225
    Been thinking of your solution for thin stock as well, Derek. I haven’t the occasion to do work with larger thin panels, so in the meantime, for smaller length/width pieces, I just made a quick planning board. The stops are slightly less than 1/16”. Works well for small stuff (BTW, I’m left handed, so this is likely backwards for most).

    F1C23F28-3A4B-4456-A4D4-B519F1ED4DFB.jpg

    I also just use tape for gluing thin panels/pieces, but have been using this 3M tape. Not cheap, but has a good stretch to it, sticks well, and comes off without much issue.

    CB0ECEE7-4F93-4524-B919-EEA25C3D3C94.jpg

    Always good to see a few different methods.
    Last edited by Phil Mueller; 03-14-2020 at 9:15 AM.

Posting Permissions

  • You may not post new threads
  • You may not post replies
  • You may not post attachments
  • You may not edit your posts
  •