Results 1 to 13 of 13

Thread: Entry hall table for a niece: Part 13

  1. #1
    Join Date
    Feb 2004
    Location
    Perth, Australia
    Posts
    9,495

    Entry hall table for a niece: Part 13

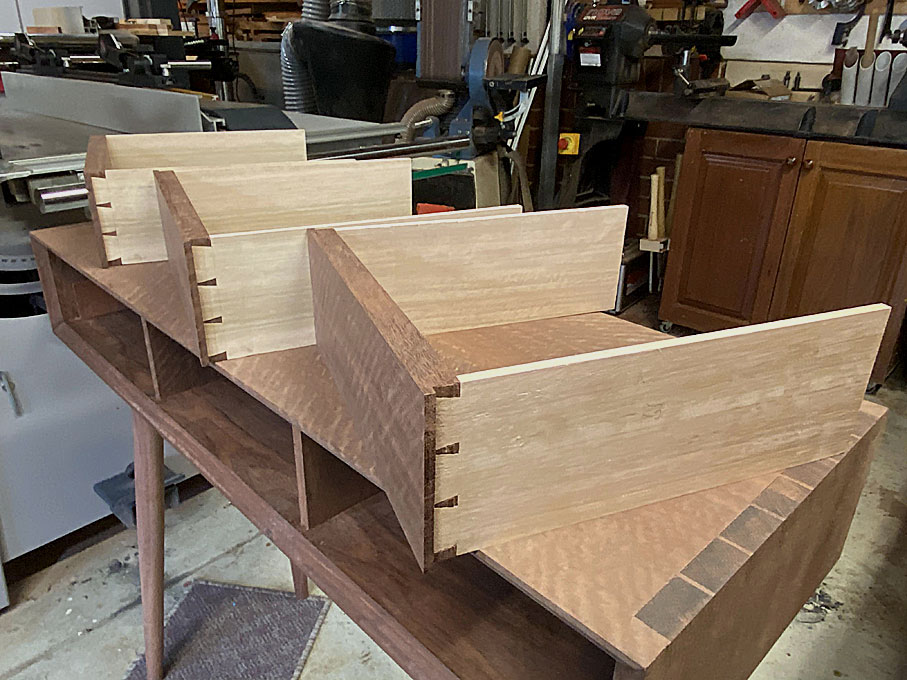
    The build is nearing the conclusion. The drawers, case back, and finish to do. Here, the drawers are continued. The focus of this article is on fitting the drawer (with lipped sides), and the fixtures that are used in the course of this process.


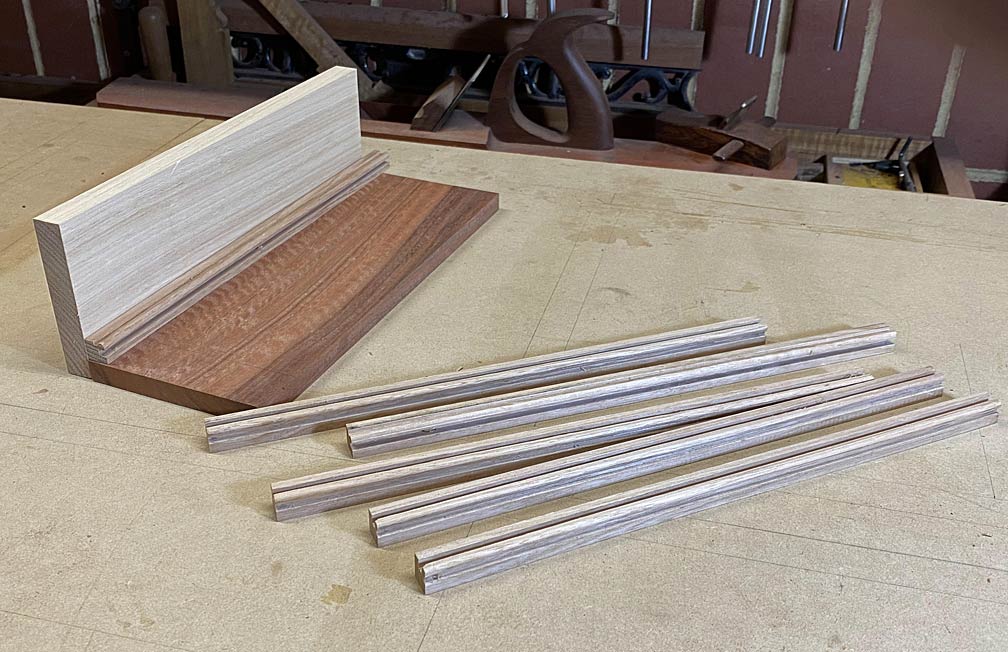
    We ended the last build session with the drawer parts made ...


    ... and the lipped drawer fronts completed ...


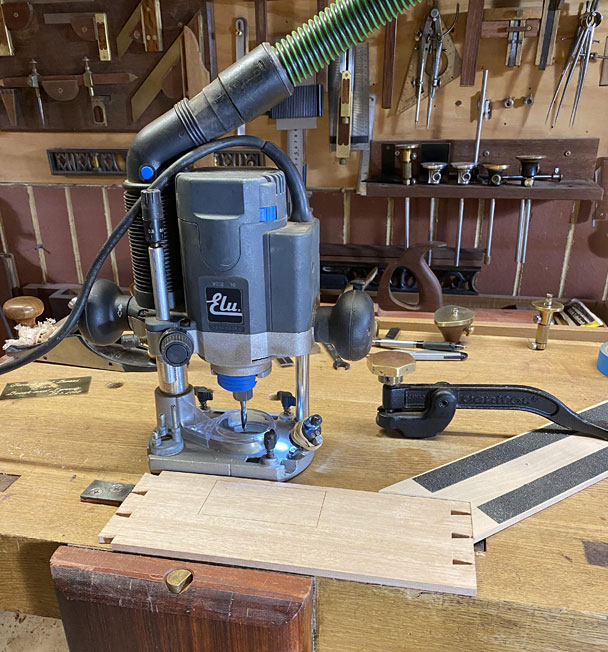
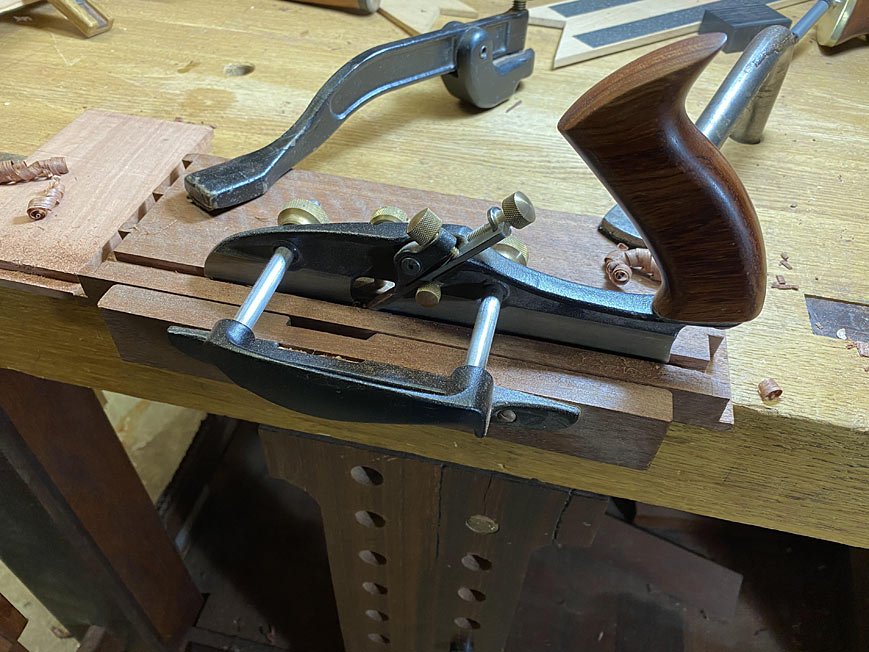
    First task today was to plane the groove for the drawer fronts ..


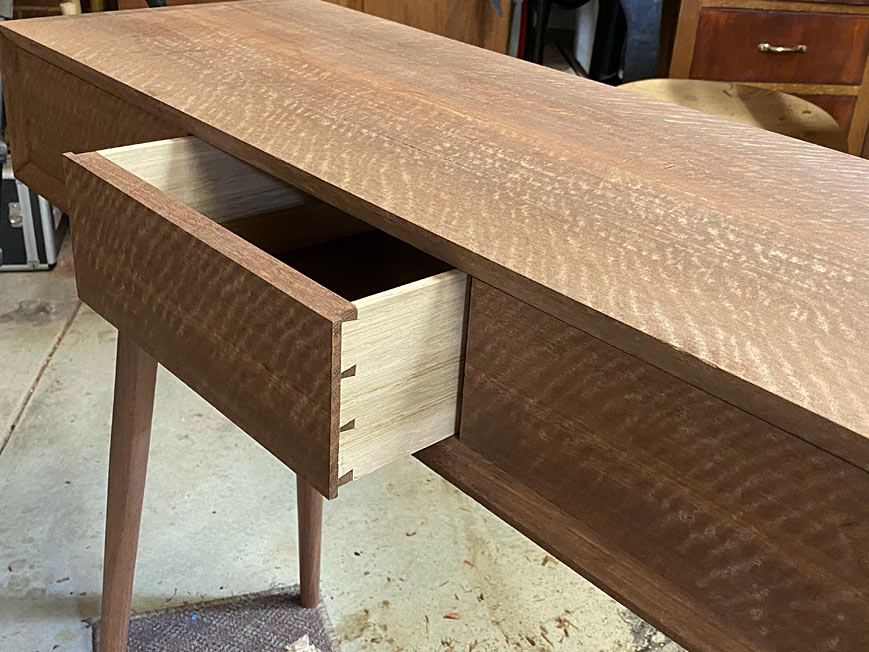
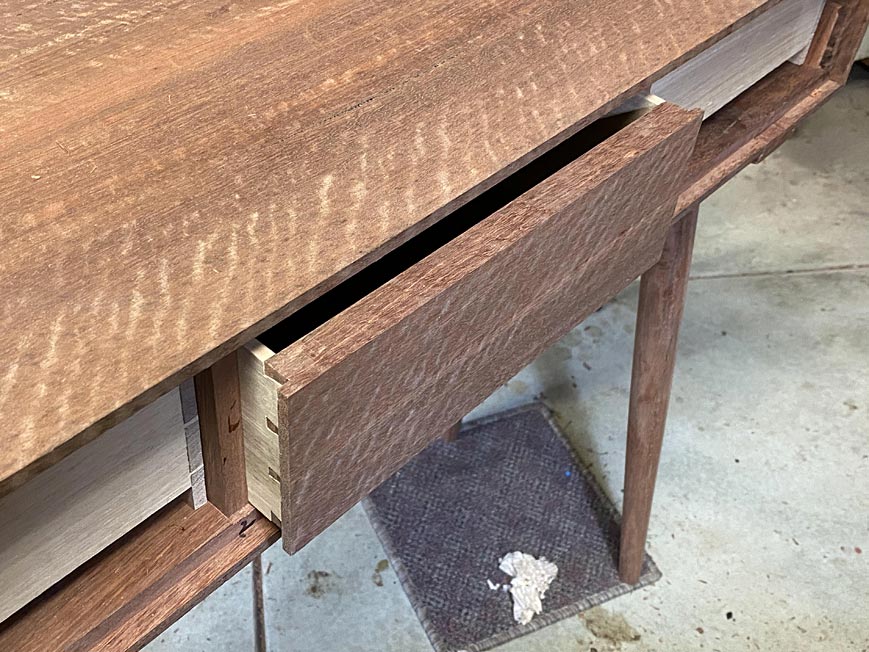
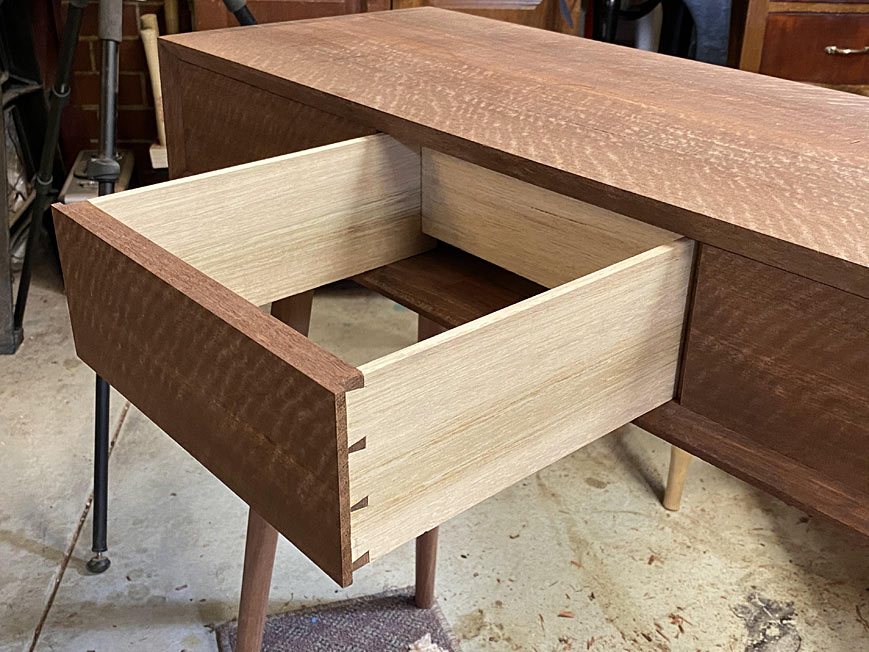
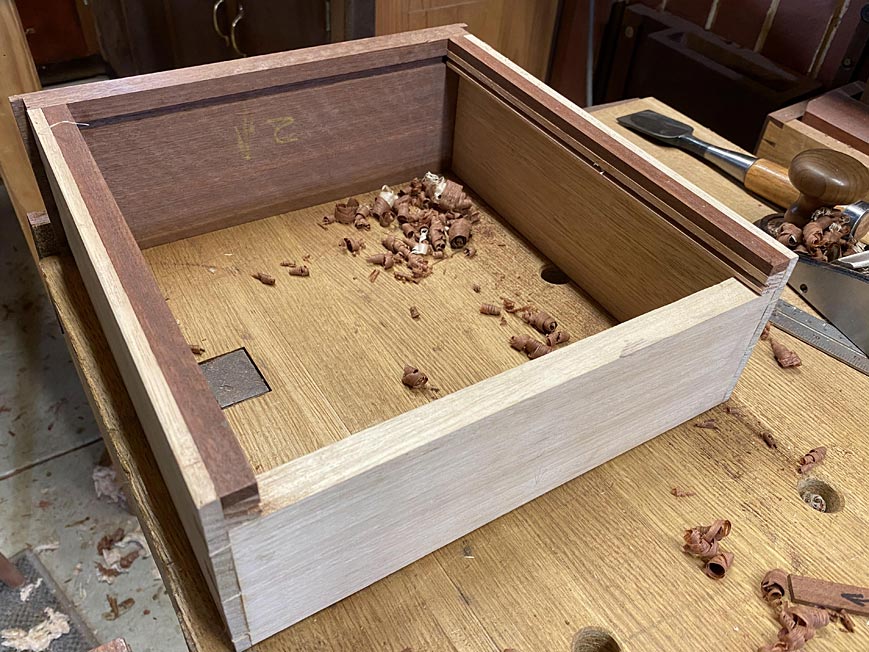
    The drawer sides and drawer back were dovetailed ... simple through dovetails. The notable feature here is that space is left for the drawer slip (which replaces the drawer groove as the drawer sides are 1/4" thick).


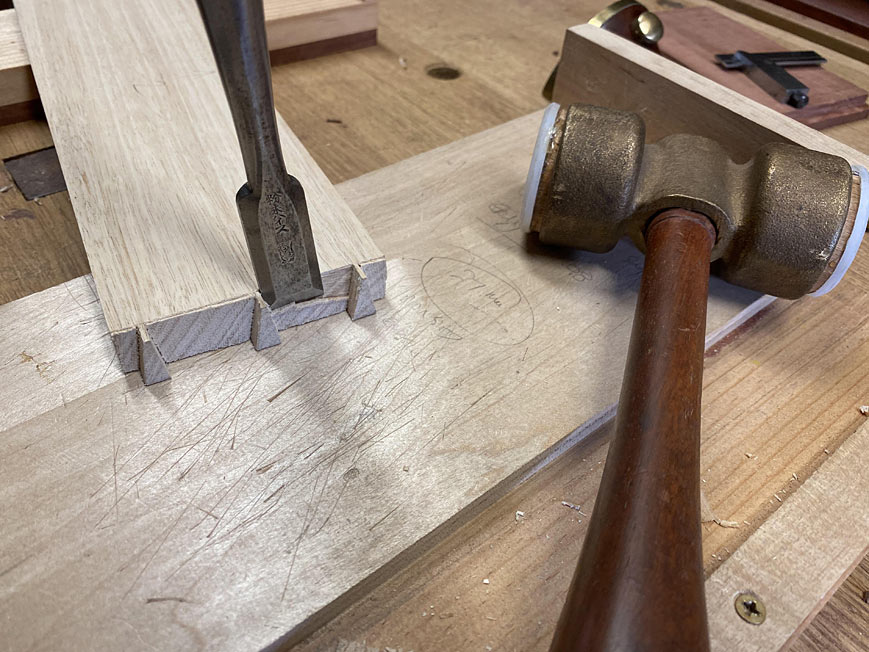
    Of interest may be the bench hook I use. I suspect that some may look at this and wonder why I am butchering it by chopping on its top ..


    Well, it is just scrap, and took about 5 minutes to make. So far this one has lasted about 3 months. I should get a few more out of it.


    Not only is it used for chopping, but also sawing ...


    ... and even shooting ...


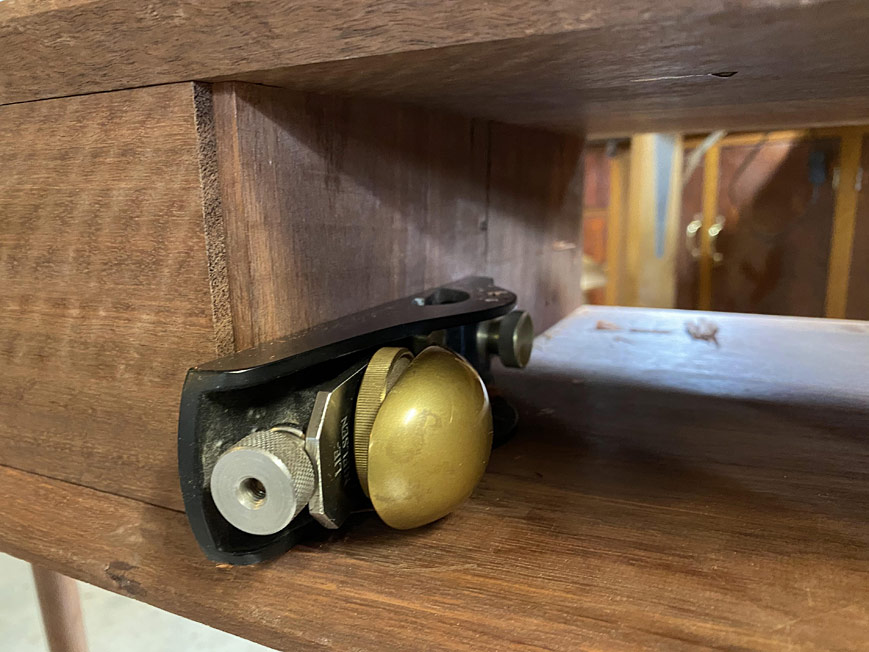
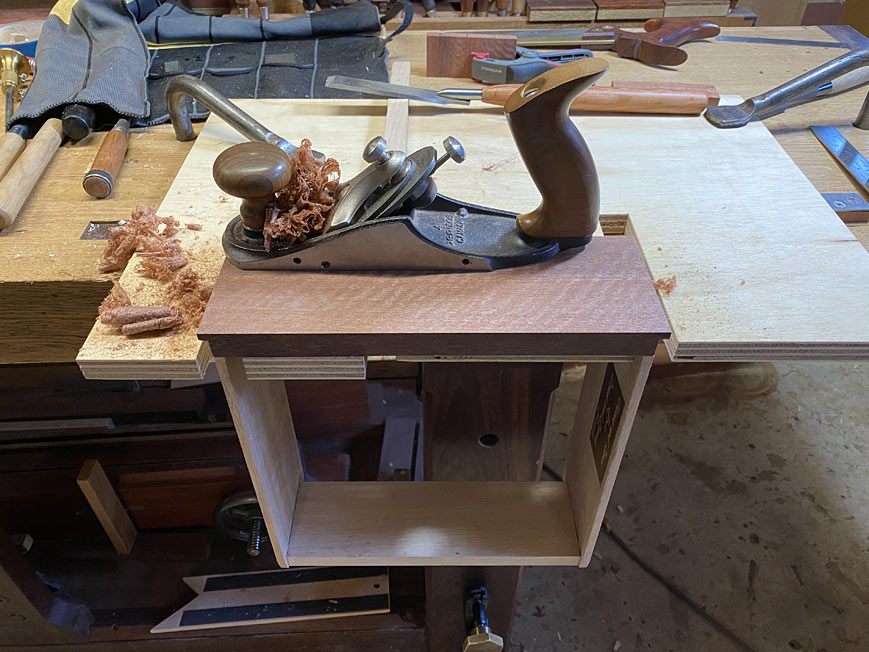
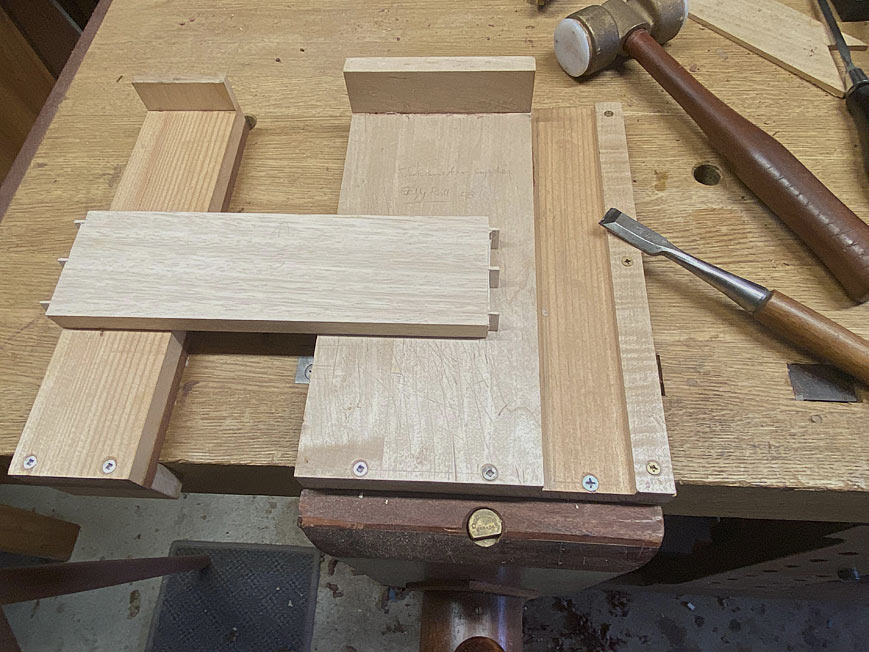
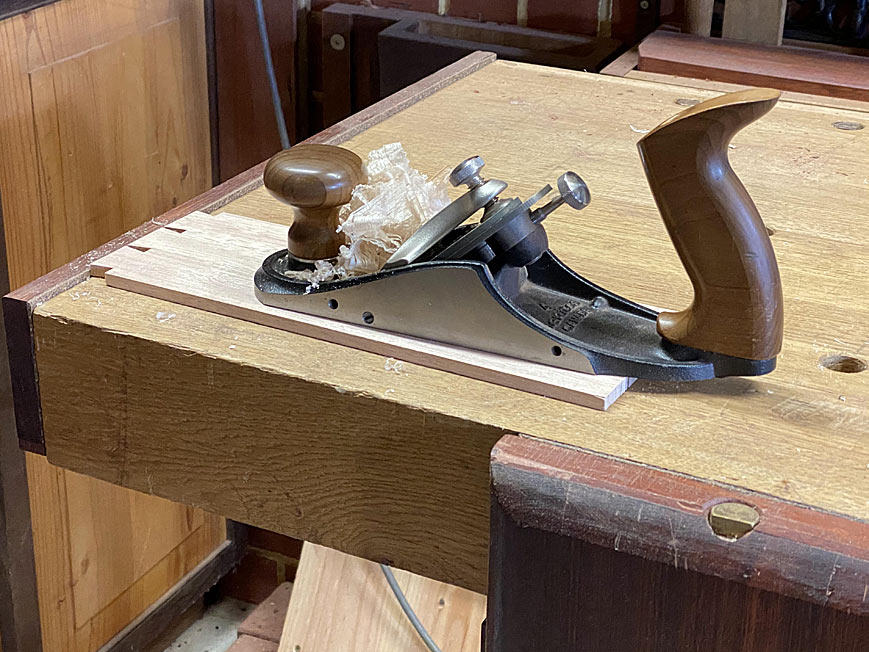
    One of the issues with a lipped front is that it cannot be planed to fit after glue up. So, there are lots of dry fitting, and the sides are planed individually. This planing stop is invaluable for thin boards ...


    There is non-slip in the form of Crubber on the face of the stop ...


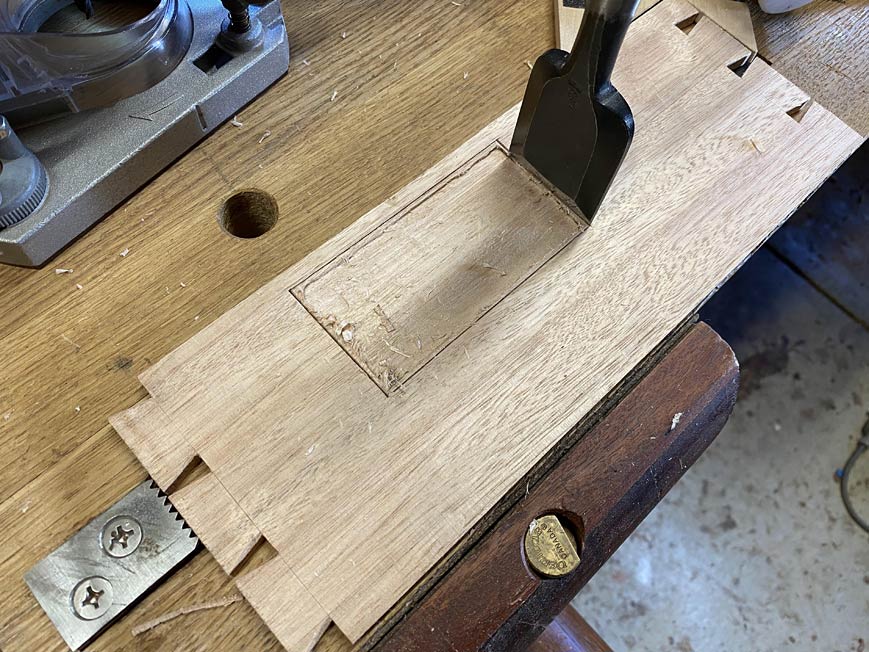
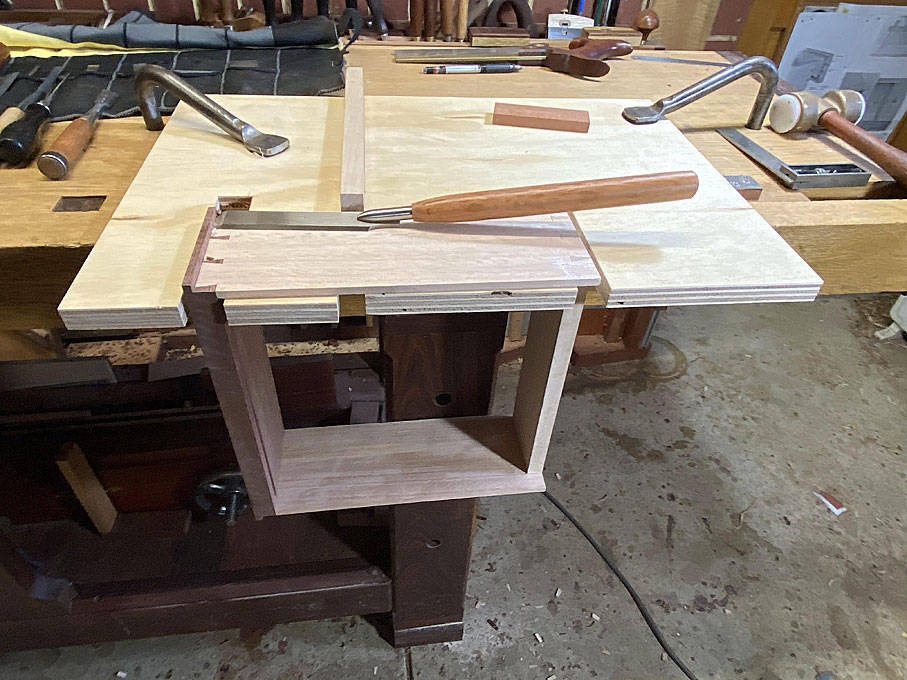
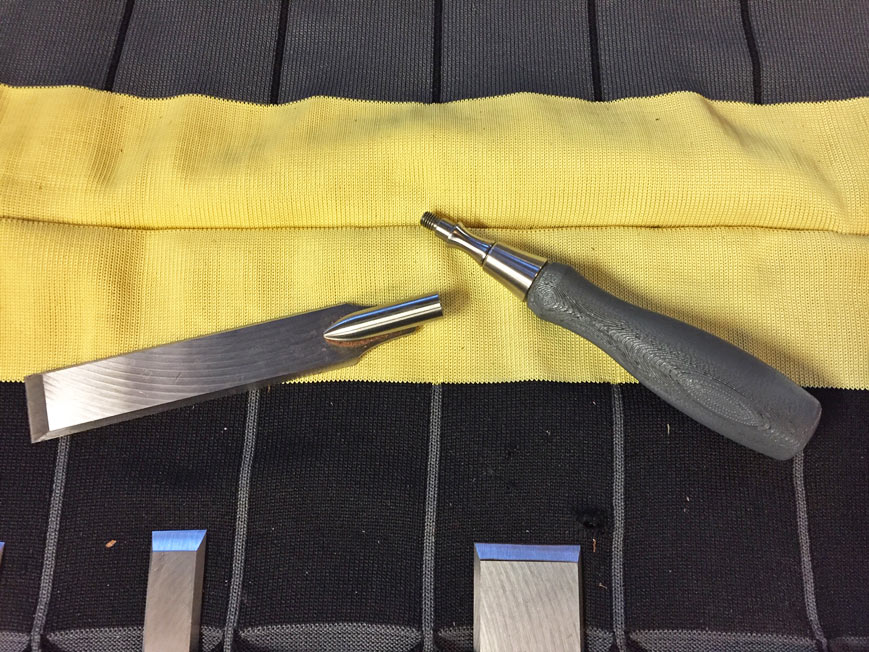
    When fitted together, any raised pins need to be pared level. Here, the drawer is captured in a fixture (essentially, two pieces of ply, each with a cut out). The pins are pared with the newly-released Veritas flushing chisels ...


    I've had a pre-production set for a couple of years. This is what a prototype handle looks like ...


    Veritas now supply this in a nice wooden handle. The one I am using is a design of my own, ala a Japanese slick ..


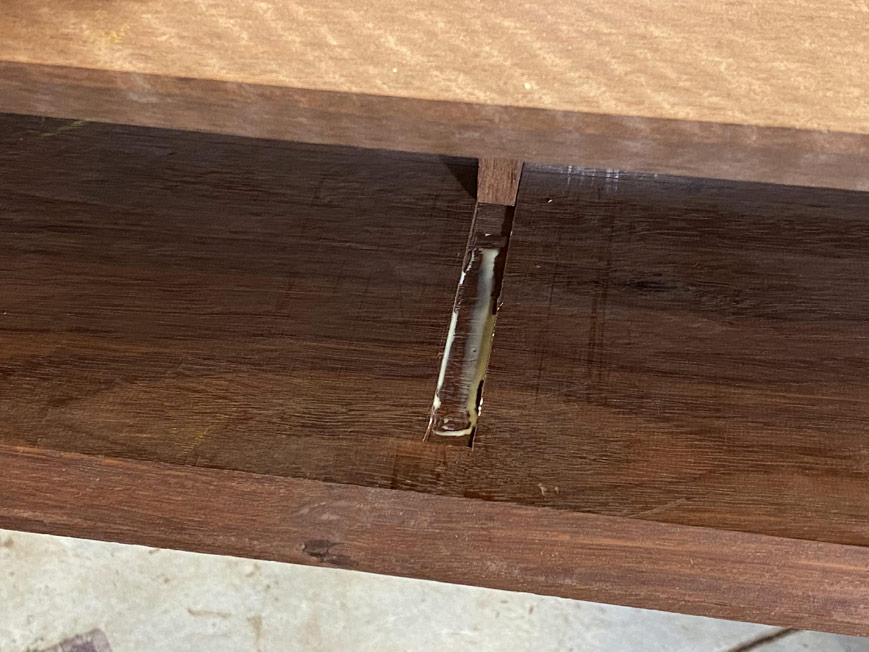
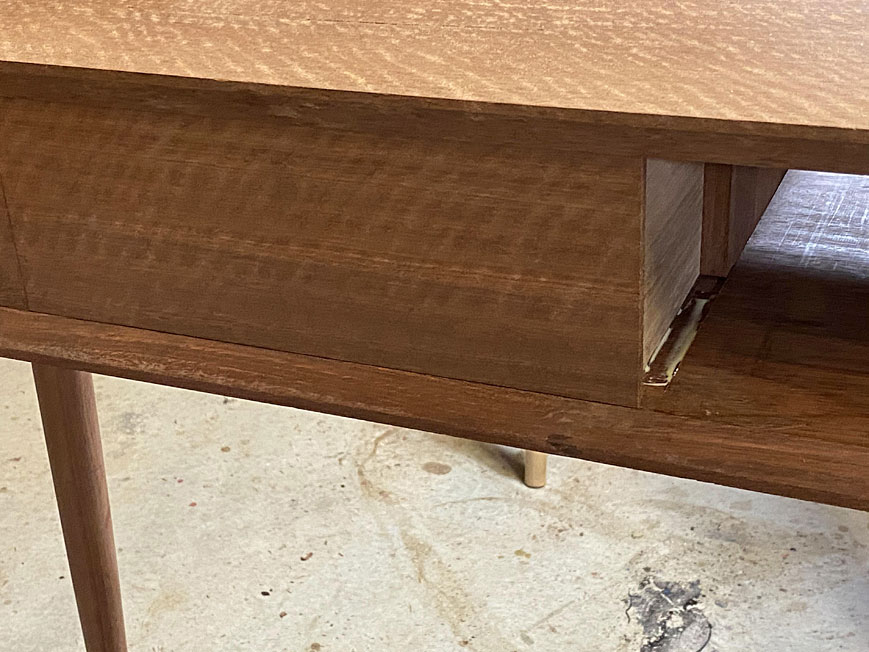
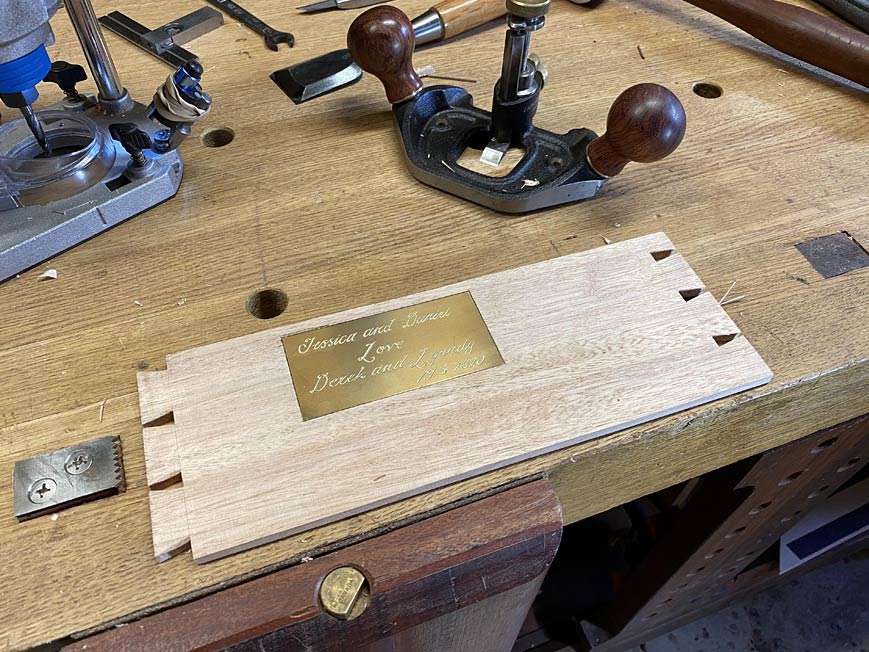
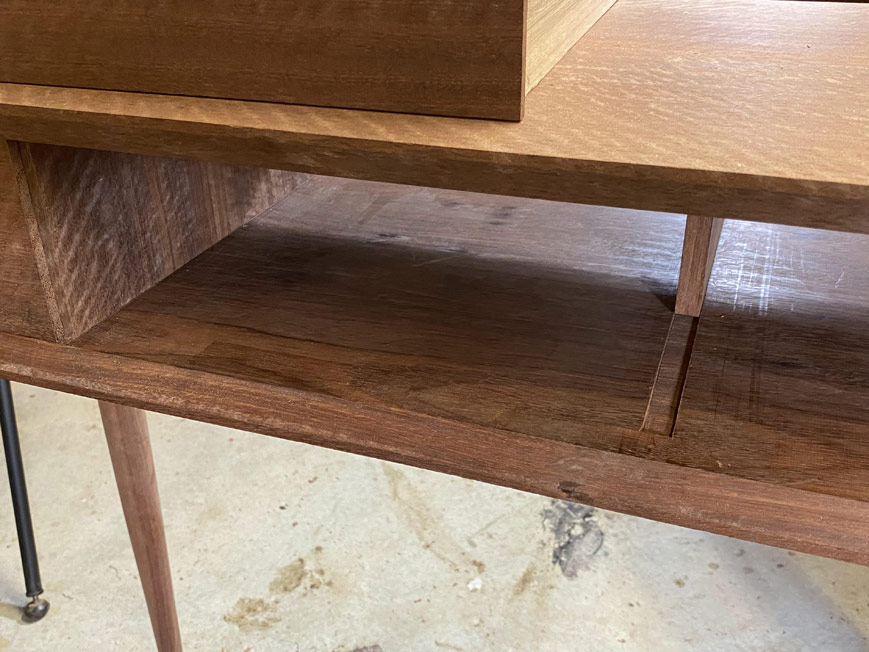
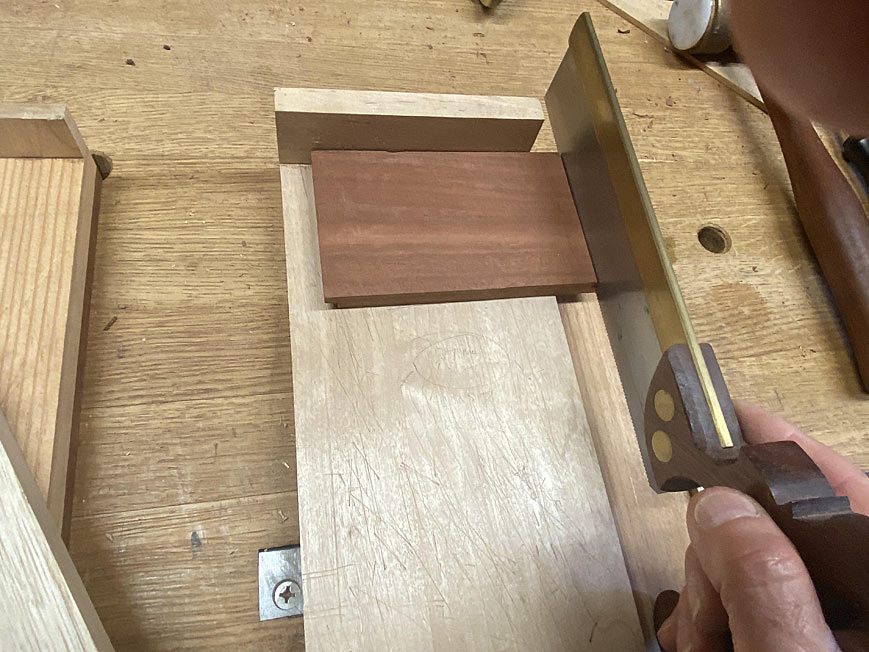
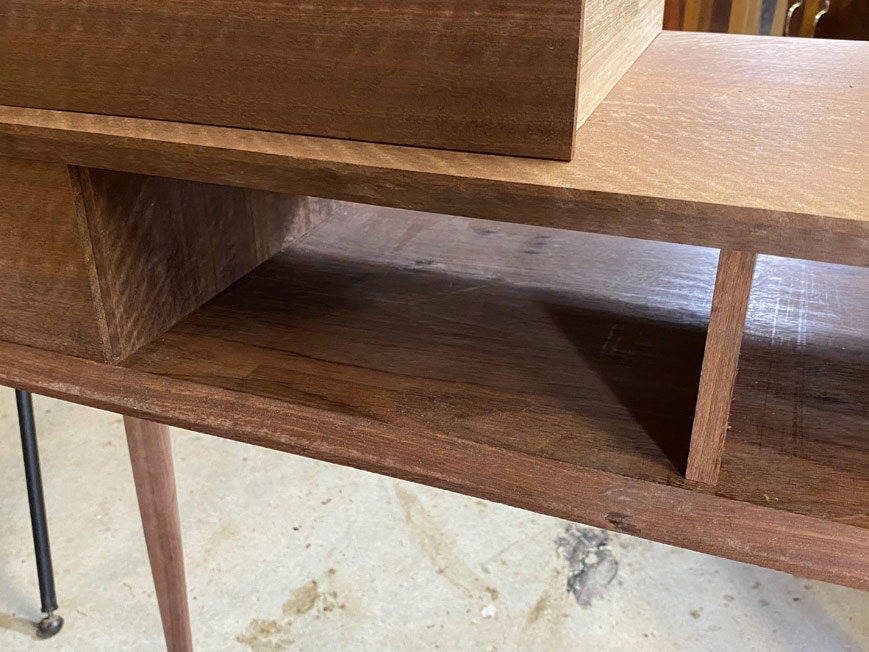
    Fitting the drawers also required positioning and glueing the drawer dividers. These also act as drawer stops ...


    This is the drawer divider in position ...


    It is slid back ...


  2. #2
    Join Date
    Feb 2004
    Location
    Perth, Australia
    Posts
    9,495
    The first third of the dado receives glue ...


    The drawer is replaced and positioned ..


    And then the drawer divider is slid up against the rear of the lip ..


    The drawer case is fine-tuned with the LN Rabbet Block Plane ...


    This is used to smooth over any irregularities in the side walls and, where necessary, to plane away any fat ...


    The drawers are in the process of being glued up. Drawer #3 cannot be glued up until a brass plate is recessed into one side. T


    Marked out, the waste routed, and then chiselled along the circumference ...


    The drawer fronts are planed ...


    Another dry assembly and check for fit ...


    If there is any resistance to the drawer being pushed in-and-out, I test fit it from the rear. This shows whether the drawer or case needs some planing. Looking good here, as it goes right in ...


    There is good drawer extension (about 80%) ...


    The drawers are now glued up.


    Lastly, for the day, the slips are attached. These began like this, grooved and beaded ...


    A Jarrah runner is added below. The upper section of the slip is, as with the drawer sides and drawer bottoms, made from Tasmanian Oak. This is similar to US White Oak in hardness and wear. Since the drawers run on Jarrah, the wear properties are improved with the Jarrah wear section ...


    Tomorrow should see the conclusion of the build.


    Regards from Perth


    Derek

  3. #3
    Join Date
    Sep 2007
    Location
    Longview WA
    Posts
    27,460
    Blog Entries
    1
    Tomorrow should see the conclusion of the build.
    Great work Derek, surely many, like me, are holding their breath to see how these drawers will be opened without handles.

    jtk
    "A pessimist sees the difficulty in every opportunity; an optimist sees the opportunity in every difficulty."
    - Sir Winston Churchill (1874-1965)

  4. #4
    Join Date
    May 2004
    Location
    N Illinois
    Posts
    4,602
    VERY nice work!!! Thnx for posting.
    Jerry

  5. #5
    Join Date
    Mar 2014
    Location
    Los Angeles
    Posts
    1,380
    Great thread.

  6. #6
    I can tell by a couple of these pics that I’m just gonna love this piece.

    Praying for no handles

    No need to be functional. It’s purely art and that’s plenty for me.

  7. #7
    Join Date
    Feb 2004
    Location
    Perth, Australia
    Posts
    9,495
    I thiught that I would tell my niece that the wedding gift is inside a drawer ... and let her figure out how to open it without handles

    Naaah .. it will have handles.

    Regards from Perth

    Derek

  8. #8
    Join Date
    Mar 2006
    Location
    Austin Texas
    Posts
    1,957
    Beautiful drawer fitting Derek. I like the dividers being used as the stop as well. Can you perform most (all?) of the divider sidewall clean up with the divider removed from the case and laid out on the bench by testing the divider sidewall for a hump with a straightedge to check for rocking before glue up? Seems like it would be easier than using the block plane sideways on the interior. I have always used the bottom of my drawer slips as the drawer runner and see that you have added some Jarrah to the bottom of the slips for wear. This means a loss of some (small) amount of interior drawer space, but of no real concern I guess unless one is building vey shallow drawers. Thanks for sharing.
    David

  9. #9
    Join Date
    Feb 2004
    Location
    Perth, Australia
    Posts
    9,495
    Can you perform most (all?) of the divider sidewall clean up with the divider removed from the case and laid out on the bench by testing the divider sidewall for a hump with a straightedge to check for rocking before glue up?
    David, thanks for the comment.

    I preferred to leave the divider in place, and plane the area where the drawer side appeared to rub, as there could be an interaction with the floor as well as the base of the drawer (even though it all looks square). Pulling the divider out, planing, putting it back, retesting .... just was not an attractive proposition

    The rabbet block plane is small enough to hold in one hand and use quite comfortable, and it can reach into corners.

    Regards from Perth

    Derek

  10. #10
    Join Date
    Dec 2016
    Location
    South West Ontario
    Posts
    1,504
    The wood grain is just lovely, look forward to the final finish.
    ​You can do a lot with very little! You can do a little more with a lot!

  11. #11
    Join Date
    Feb 2004
    Location
    Perth, Australia
    Posts
    9,495
    Thanks William. The building is essentially now done. I scraped the case - safer than planing, with the dovetails - and the grain is wood promises to be spectacular. I will post the work done today, and then tomorrow I will apply the finish.

    Regards from Perth

    Derek

  12. #12
    Join Date
    Jan 2019
    Location
    Fairbanks AK
    Posts
    1,566
    Curious, will there be any sort of stop or wood block to keep someone from pulling a finished drawer straight out of the carcass without meaning too?

  13. #13
    Join Date
    Feb 2004
    Location
    Perth, Australia
    Posts
    9,495
    Scott, nothing as yet, but I do have an idea what I can do. Thanks for the reminder.

    Regards from Perth

    Derek

Posting Permissions

  • You may not post new threads
  • You may not post replies
  • You may not post attachments
  • You may not edit your posts
  •