Results 1 to 9 of 9

Thread: Entry hall table for a niece: Part 10

  1. #1
    Join Date
    Feb 2004
    Location
    Perth, Australia
    Posts
    9,494

    Entry hall table for a niece: Part 10

    It's time for the drawers. Once again there is a challenge. The design calls for drawer fronts that stretch across the front without being broken by drawer dividers. In other words, "lipped drawers".


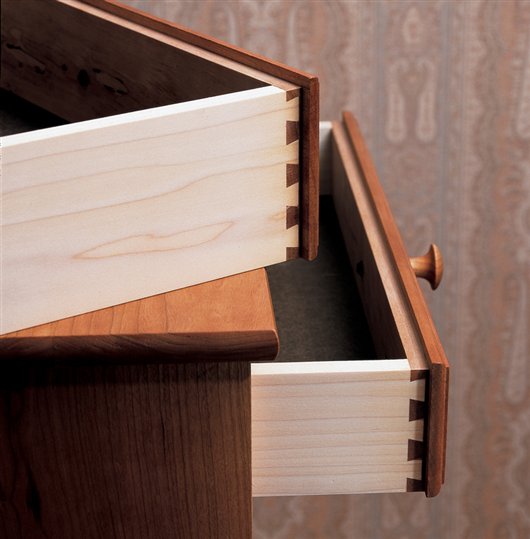
    There are two ways to do this. The easy way is to used "planted fronts", that is, attached fronts to the front of a box ...


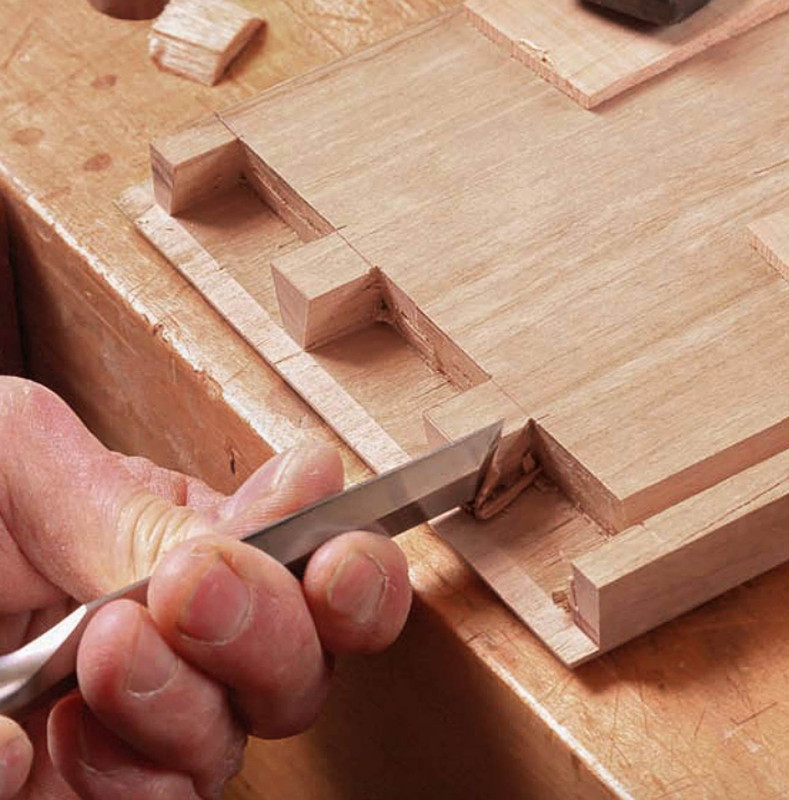
    The hard way is to make the drawer front a single piece. This requires rebating the drawer front and forming a half blind dovetail in the side of the rebate. Courtesy of Christian Becksvoort ...


    I've chosen the high road (sigh).


    Today I spent my time preparing for three drawers. Why three and not two, as in the original design? Simply because I can build them narrower, and this will make them less likely to rack. They'll end up somewhere around 280mm wide and 290mm deep. I anticipated that 375mm wide and 290mm deep would be a disaster waiting to happen. The only way drawers that dimension could work is on runners, which I do not do.


    The wood for the drawer front is more Fiddleback Jarrah (by request), while the remainder of the drawer is quarter sawn Tasmanian Oak (which is actually a Eucalyptus, and is quite unstable unless quarter sawn. I keep a stock for drawers). It is a lot like US White Oak in appearance and hardness.


    I have a bunch of narrower boards, which I re-sawed to make 7mm thick drawer sides, and glued together two to get the height needed ...


    No clamps, just blue painter's tape, which is stretched across. It pulls the edges together.


    This is enough for 4 drawer sides (one spare) ...


    The drawer bottoms will be 1/4" (6.35mm) thick ..... I cannot go metric here as my plough blade is imperial .... this is re-sawn from a wide board, which saves some effort as only two boards are needed for the bottoms (the grain runs across the drawer) ...


    Same trick with the blue tape, and cauls are also added to keep it flat. This will be sawn up at the time it is needed, and the panel will remain in the cauls until thn.


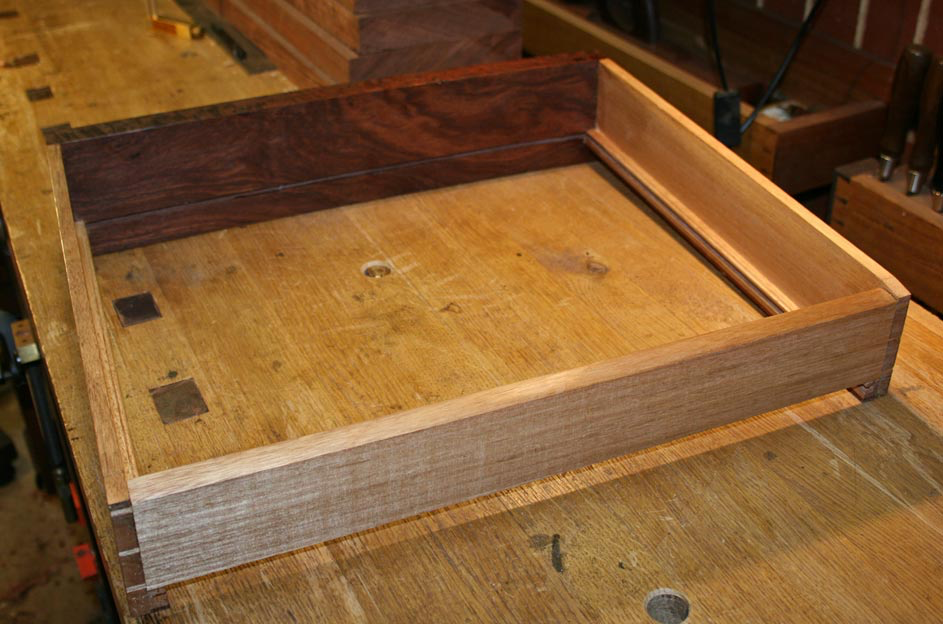
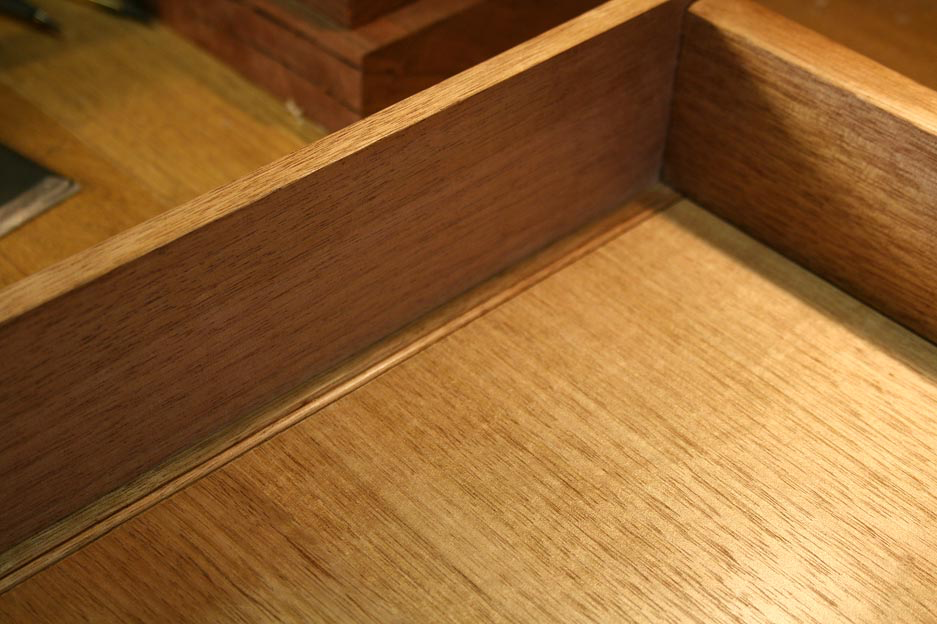
    The narrow drawer sides necessitate using drawer slips, which is a strip added to the sides with a groove for the drawer bottom. This also adds extra width as a runner.


    The slips are made with a plough plane. In this case, I used both a Veritas Small Plow (to plough the groove) and the Veritas Combination Plow (to plough a bead - the bead lies at the join of the slip and drawer bottom). Setting up both save time switching set ups back and forth, and once begun, making these slips was a quick process ...


    First plough the bead ...


    A tip on how to avoid over-planing the bead. This comes from David Charlesworth. Scribble pencil along the top of the bead, and when it is gone, the bead is complete ...


    Now flip the board around to plane the groove ...


    The first line is where the groove begins, which is 3mm below the bead. There will follow a 1/4" groove, and there will be 4mm below this to support the groove/drawer bottom. This makes the slip a smidgeon over 12mm high. It is 10mm deep, which allows for a 5mm deep groove.


    As mentioned, once set up, no further marking is necessary. Just plane ...


    ... and then rip off the slip on the table saw.


  2. #2
    Join Date
    Feb 2004
    Location
    Perth, Australia
    Posts
    9,494
    This is a mock up: the bead at the top and the groove on the side ...


    I have a strategy to fit the drawer fronts, so that the edges align with each other. It is all about accurate marking out. This will hinge on getting the opening exact, and transferring the respective measurements to their drawer fronts.


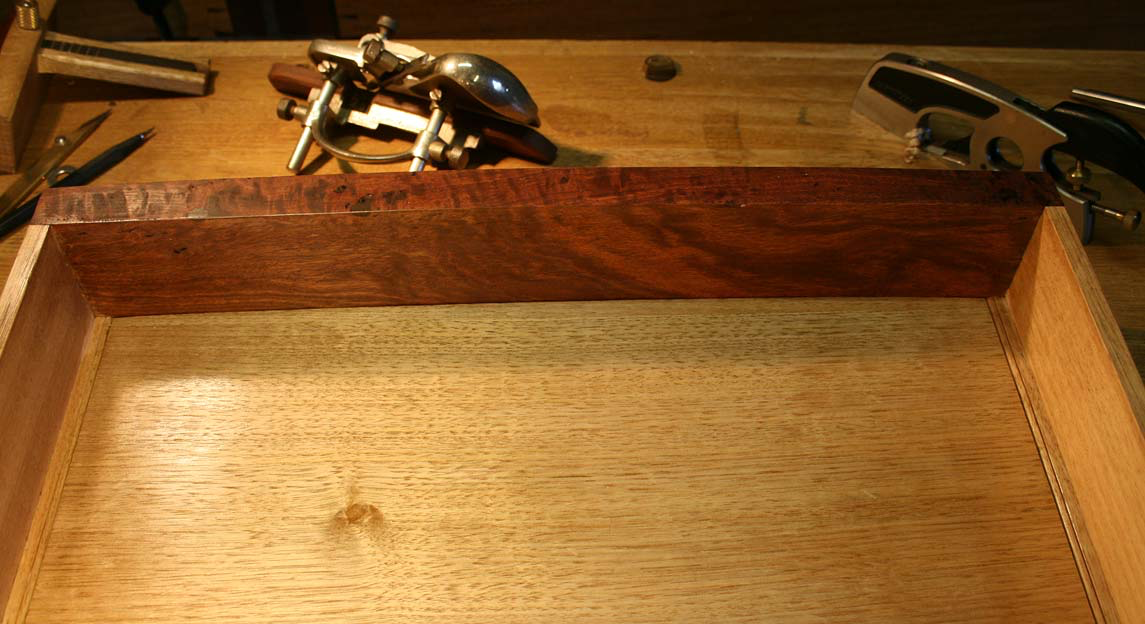
    First order of the day was to fit (what will become) drawer backs to the front between the drawer dividers. This is what the result looked like ...


    The table saw can cross cut really close, but only a shooting board will get the final dimension ...


    On to the all-important drawer fronts!


    I was heartened that all the verticals were indeed vertical still ... well, except for one (if you look carefully, you will see light in the top half) ...


    This meant a slight adjustment of that side .. again a job for the shooting board.


    Set one, mark the angle with a small sliding bevel ...


    ... transfer this to the side of the board, and head for the shooting board. As the side is no longer square, a shim is used to create the needed angle ...


    A good result ...


    This is the join I need to manage ...


    These are the fronts fitted in sequence ...


    And here were are now, waiting for the next build day ...


    Regards from Perth


    Derek

  3. #3
    Join Date
    Sep 2007
    Location
    Longview WA
    Posts
    27,453
    Blog Entries
    1
    Oooh the suspense…

    Derek, have you ever tried making a third kerf in you waste for half blind dovetails?

    For me it seems to make it easier when removing the waste.

    jtk
    "A pessimist sees the difficulty in every opportunity; an optimist sees the opportunity in every difficulty."
    - Sir Winston Churchill (1874-1965)

  4. #4
    Join Date
    Aug 2012
    Location
    Missouri
    Posts
    2,152
    Looking very good Derek. Having done dovetails on a rabbet many times I have found some things helpful. I do pins first. When marking out the tails I put a spacer on the rabbet, I use a metal rule for a spacer and mark the tails. This keeps you from having to work level with the rabbet when excavating the sockets with a chisel or a router. It also gives you a little room when cleaning up the tails with a shoulder plane or the like. Helps to keep a clean rabbet.

  5. #5
    Join Date
    Sep 2008
    Location
    N. Idaho
    Posts
    1,621
    Crisp fit of the draw fronts--that must be a relief.

    Thanks for the details and description of the drawer slips. One question-what is your rationale for adding the bead rather than something like a cove that would blend the drawer bottom to the side? While the bead is attractive, it seems to me the bead would be a lint collector?

    Best,
    Chris
    "You can observe a lot just by watching."
    --Yogi Berra

  6. #6
    Join Date
    Feb 2004
    Location
    Perth, Australia
    Posts
    9,494
    The bead could become a lint collector, Charles. I guess it depends what one puts inside drawers in a hall table. Easy enough to vacuum out, if so.

    I will test them for how they look when the time comes. It occurred to me latr why I usually scrape the bead ... because the arris of the scraper leaves a much narrower quirk, which is a lot nicer ....


    Regards from Perth

    Derek

  7. #7
    Join Date
    Sep 2008
    Location
    N. Idaho
    Posts
    1,621
    Thanks Derek, the bead is a nice detail. Your post also reminds me that the slips increase the wear surface of the drawer.

    Best,
    Chris
    "You can observe a lot just by watching."
    --Yogi Berra

  8. #8
    Join Date
    Mar 2006
    Location
    SoCal
    Posts
    22,512
    Blog Entries
    1
    +1 on the slip detail; very nice touch.
    "A hen is only an egg's way of making another egg".


    – Samuel Butler

  9. #9
    Join Date
    Feb 2004
    Location
    Perth, Australia
    Posts
    9,494
    Quote Originally Posted by Jim Koepke View Post
    Oooh the suspense…

    Derek, have you ever tried making a third kerf in you waste for half blind dovetails?

    For me it seems to make it easier when removing the waste.

    jtk
    My apology for not replying earlier, Jim.

    A third kerf is generally used in the tail. In my case, these are usually quite slim, so little waste to remove if they were chopped out. I use a fretsaw to remove all waste down to 1mm from the baseline. So the answer is ‘no’.

    One could use a third kerf in the pin, but that does not help much here. Removing waste from the pin is generally easy enough with chisels ... but if you have several drawersto do, then a powered router makes for both speed and accuracy.

    Regards from Perth

    Derek

Posting Permissions

  • You may not post new threads
  • You may not post replies
  • You may not post attachments
  • You may not edit your posts
  •