Page 1 of 2 12 LastLast
Results 1 to 15 of 18

Thread: Dovetails- Speed vs. Execution?

  1. #1
    Join Date
    Feb 2011
    Location
    Carlsbad, CA
    Posts
    2,230
    Blog Entries
    2

    Dovetails- Speed vs. Execution?

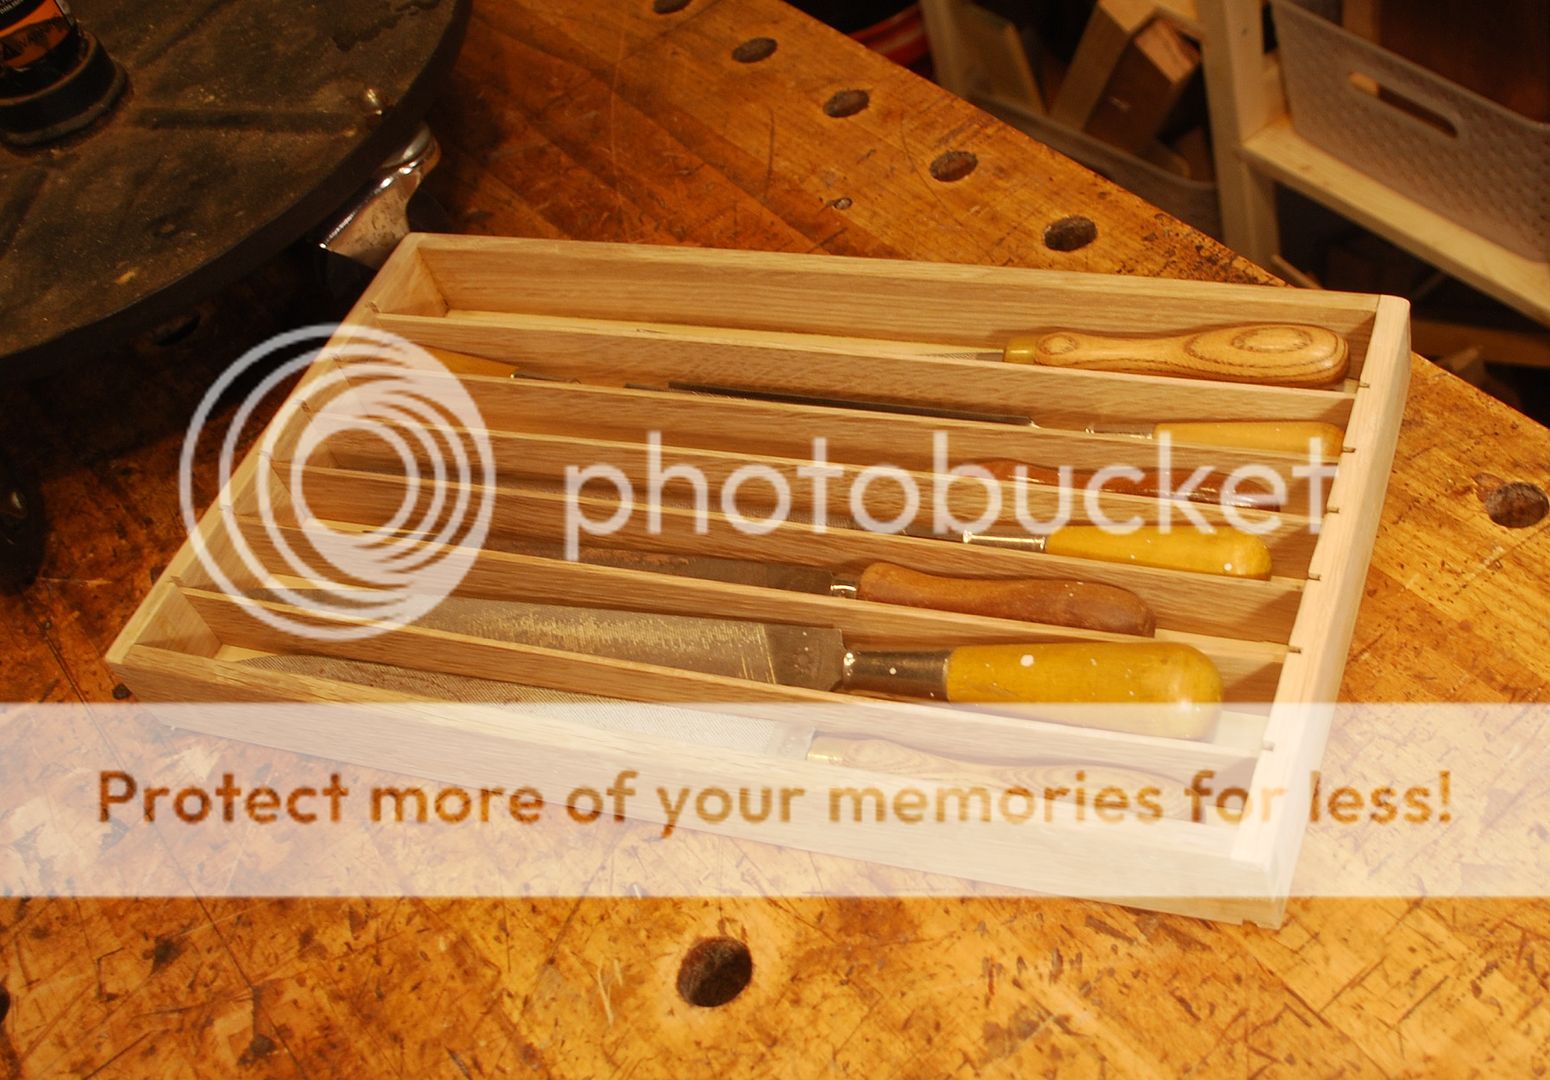
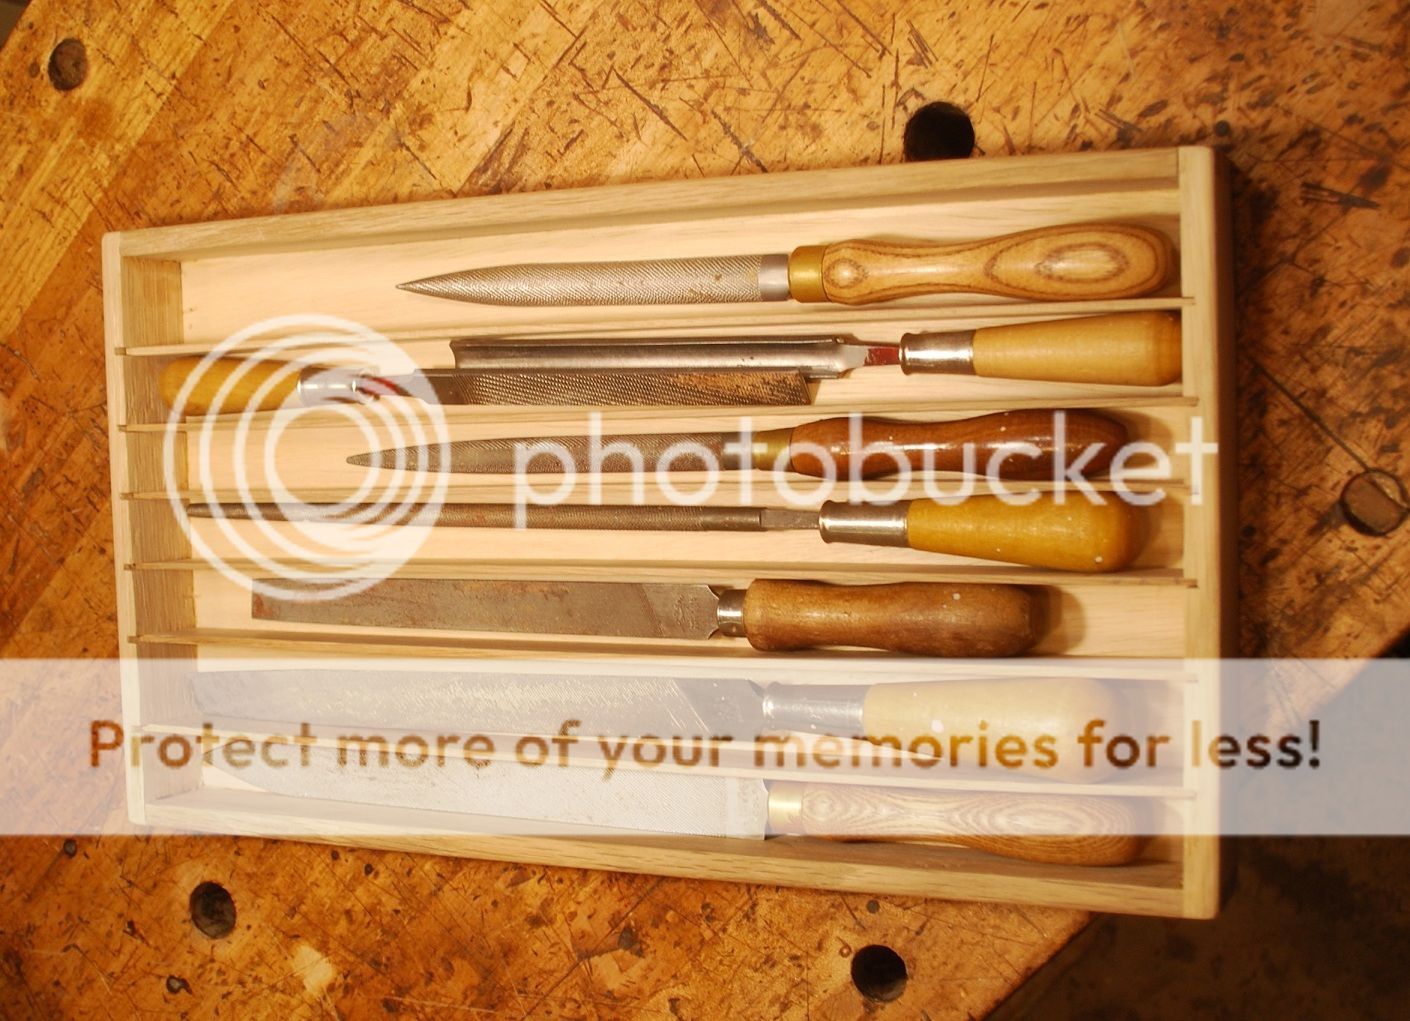
    In between projects I like to do a little “shop improvement” – something simple and fun that helps keep things organized or the shop to run more efficiently. Often it’s a tool, shop appliance or storage. In this case a small dovetailed tray to organize rasps and files about 15” long by 9” wide, made of some 3/8” thick QSWO scraps.

    Because it’s only shop storage and only has to function not necessarily look good, I wanted to see how quickly I could get to a finished product by perhaps skipping steps in my normal box building/dovetailed process.

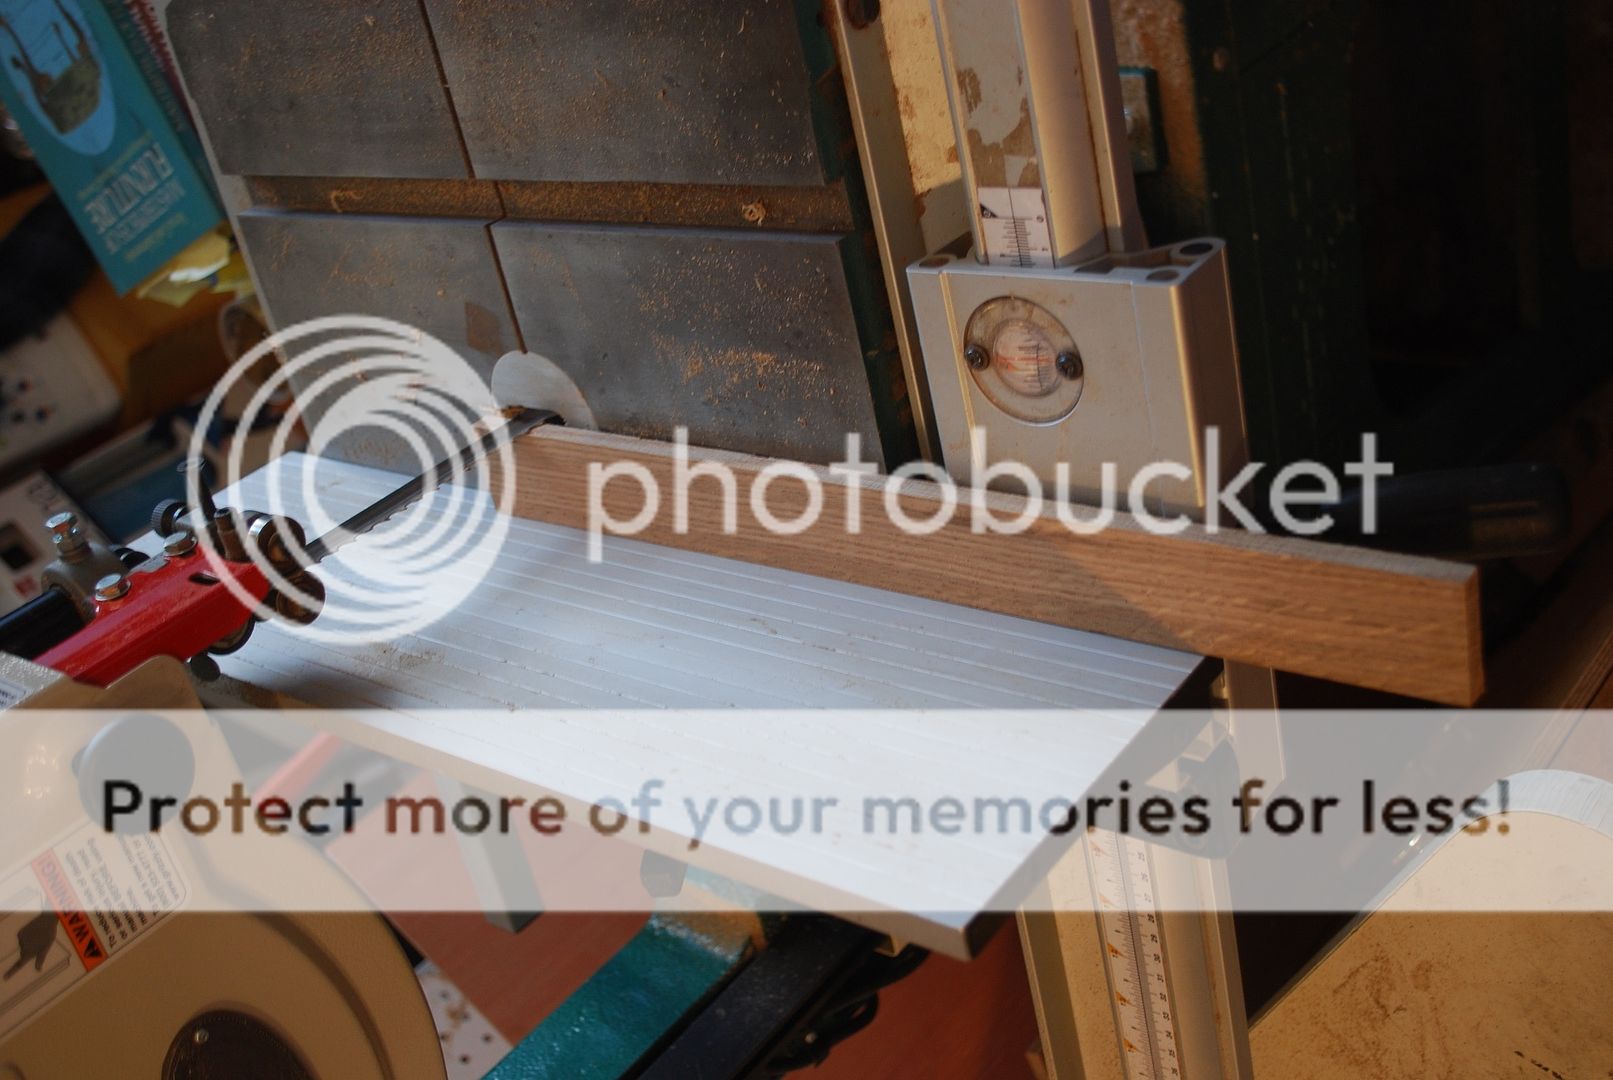
    Watch pic for official start time: I started dimensioning the stock, ripping to width on the bandsaw. Only real time savers here were ganging the 4 sides together to plane to common width simultaneously, and crosscutting, shooting to sides at time.


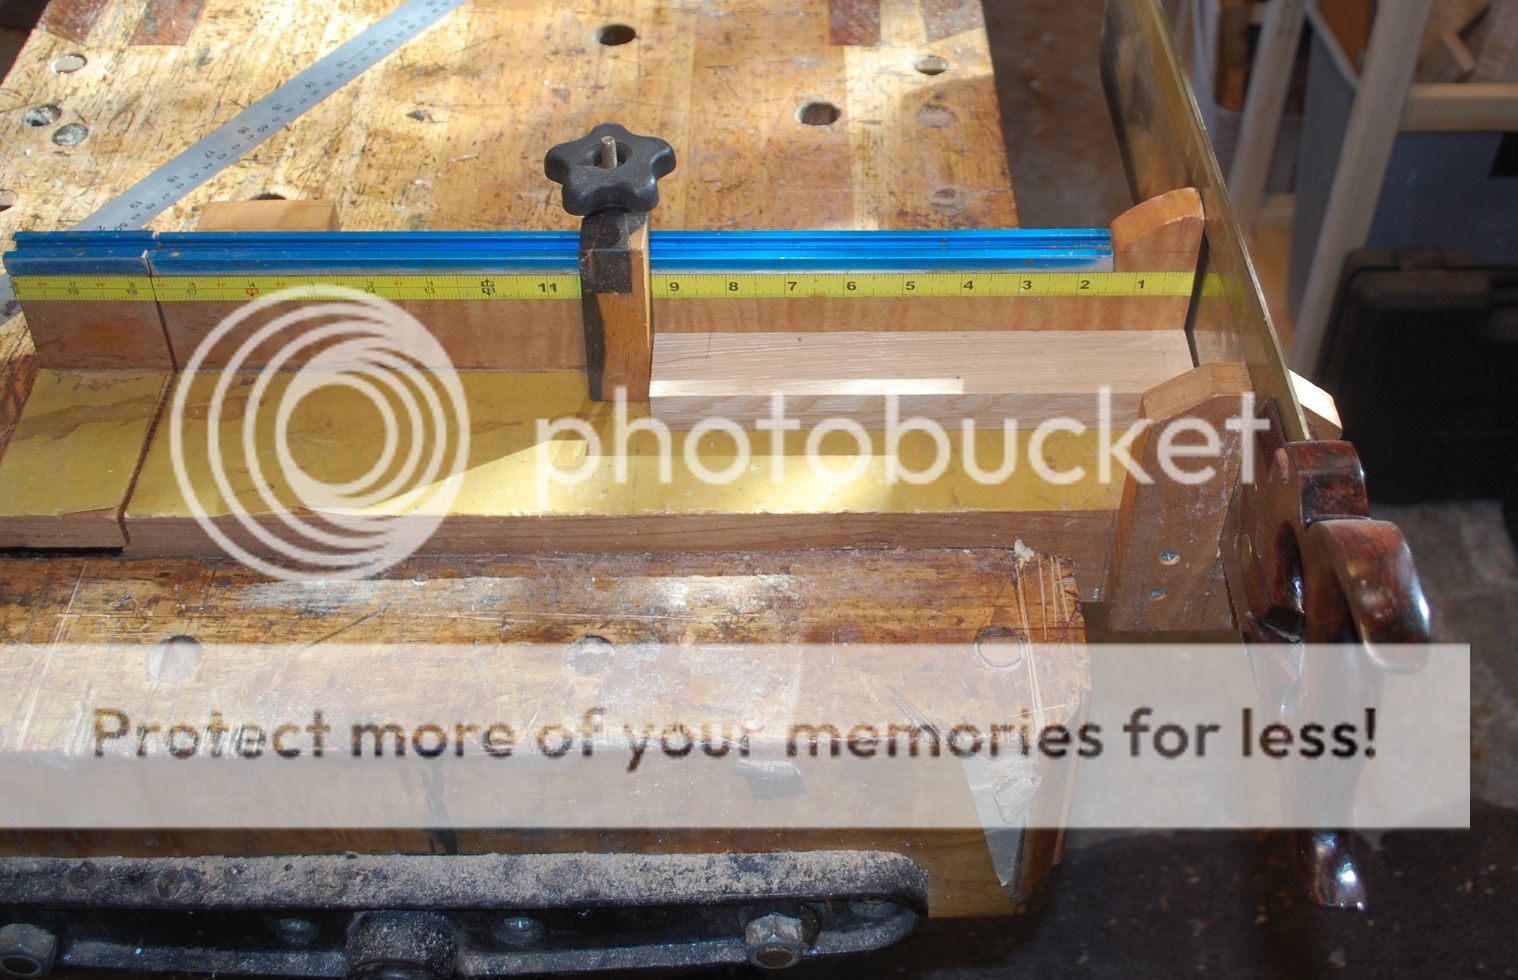
    For prominent or show surface DTs, when setting the marking gauge to layout baseline, I usually reset gauge for the thickness of each piece. In this case to save time, I just went with the same setting for all 4 pieces, and only marked the outside/show surface. In stock only 3/8” thick, I’ll just chop the pins/tails all the way through working only from the show side, instead of flipping work piece over to work from both sides towards the middle, my usual practice.


    My usual practice is to layout tails with pencil, 8:1 dovetail marker and use dividers and a chisel for spacing. I try to be fairly casual about laying out tails working from half pins on the sides towards the middle. In this case, ganged 2 corresponding sides together and just eyeballed the placement and slope of the tails without layout lines. Theoretically, and in reality this is pretty easy – even if the slope or placement of the tails isn’t exactly where you want it, doesn’t matter - you simply mark out the pins corresponding to wherever your tails end up for nice fit and go on your way. Easy for me to say! as you can see, I had “dovetail geometry dyslexia” and sawed the shoulder of the dovetail on the right, sloped in the wrong direction – I hate when that happens! Fortunately it only took a couple seconds for visual memory to kick in - “hey it’s not supposed to look like that right?”, And I re cut the shoulder in the right direction.


    Other timesaver was per coaching from Derek Cohen, making an effort to saw out pins as close to the baseline as possible. Normally I shy away from this for fear of over cutting the baseline. But I found taking the extra time to bend over and site the plane of the fret saw blade against the baseline more than made up for itself in time savings chopping out pins/tails.

  2. #2
    Join Date
    Feb 2011
    Location
    Carlsbad, CA
    Posts
    2,230
    Blog Entries
    2
    Another timesaver versus my typical routine was sawing shoulders for half pins on the tail board; no need strike a layout mark, easy to line up the saw plate with the baseline scribe Mark and cut away.


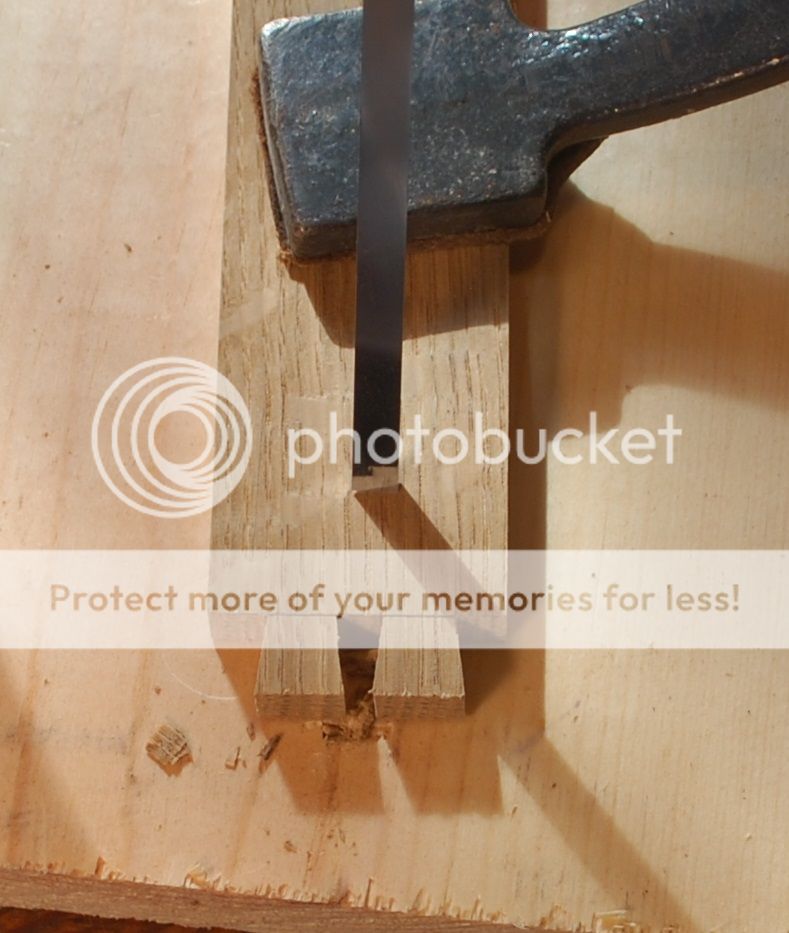
    As mentioned previously, in chopping both pins and tails, I save time by working only from the outside/show surface. Frankly I really like this approach –for me easy to look vertically down baseline and ensure clearance for tightfitting joint on the show surface.


    I guess my last “timesaver” only applies to old people like me that have bad eyes. In years past I marked tails from corresponding pins with a marking knife – pretty much the gold standard for tight joinery. Alas, these days I can’t see the marking knife line without darkening it with a pencil, which regrettably kind of defeats the purpose of tight tolerance of thickness of knife marks vs. pencil line.

    In this case, went directly to mechanical pencil and sawed away. IMHO, once one has a conceptual understanding of the basic geometry involved in laying out pins from tails and give it some practice, can accurately interpret what is the “waste side of the line”, regardless of what “the line” is, it’s pretty easy to put the saw teeth in the right place to get a nice fit, even if you can’t really see what you’re doing.


    Here’s the fit off the saw and after glue up/clean up. Not perfect, but certainly functional in about 45 minutes. Nothing earth shaking- I’m sure there are many others who can do much better in terms of both time and execution and that’s fine with me.


    For me, this small experiment feels like a tiny connection to our pre-industrial woodworking predecessors who depended on their skills to put food on the table. I’m guessing they must have valued both excellence of execution and speed of delivery. I'm interested in what my fellow Neanders think about the connection between speed and execution and how that dynamic is relevant to both contemporary and pre-industrial woodworkers?

    Cheers, Mike

  3. #3
    Join Date
    Feb 2014
    Location
    Lake Gaston, Henrico, NC
    Posts
    9,025
    Well done!! If you produce work for a living, you have to turn the work out. If you want to do more than just get by, it has to be good work, efficiently turned out. Neither efficiency, nor quality can be pushed aside. I have produced work for a living for 45 years now, so I understand. Quality has to be a given, but efficiency is an ongoing upgrade.

  4. #4
    it is rare I have done hand cut joinery with time as a factor. when I have it is because handout dovetails would be faster than using a jig.

    however, if it am truly looking for the best balance of speed and precision for one box, the band saw gets involved and even the router free hand for half blind DT's. given even Frank Klausz grabs some power tools for fast DT's Idont feel the bad.

  5. #5
    Join Date
    Feb 2004
    Location
    Perth, Australia
    Posts
    9,492
    Mike, a few months ago I posted this hand-power method: http://www.inthewoodshop.com/Furnitu...vingWaste.html


    There is currently a similar thread on WoodCentral at present. I am cross-posting from there. The context was the ways in which waste could be removed from half blind sockets. I posted this ...

    It occurs to me that I have not mentioned yet another alternate method for removing the waste from half blind sockets. I have been using this one for many years.


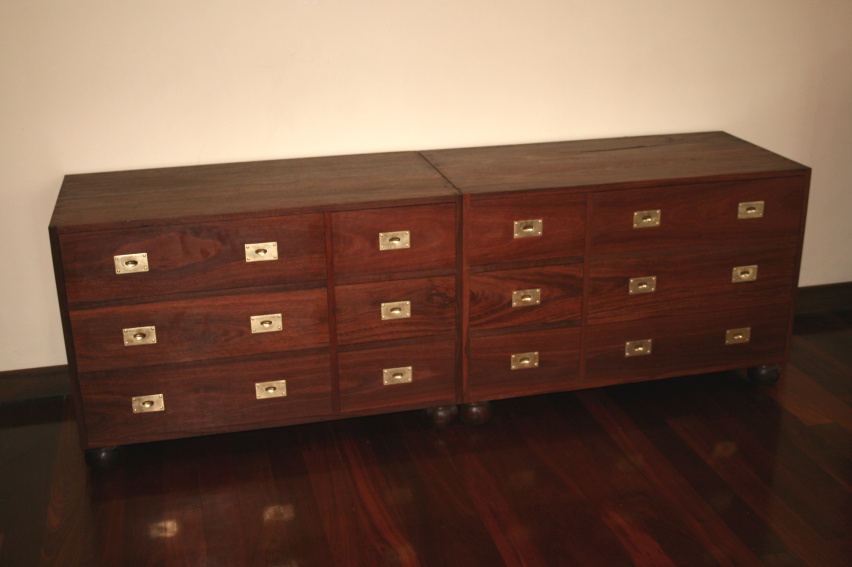
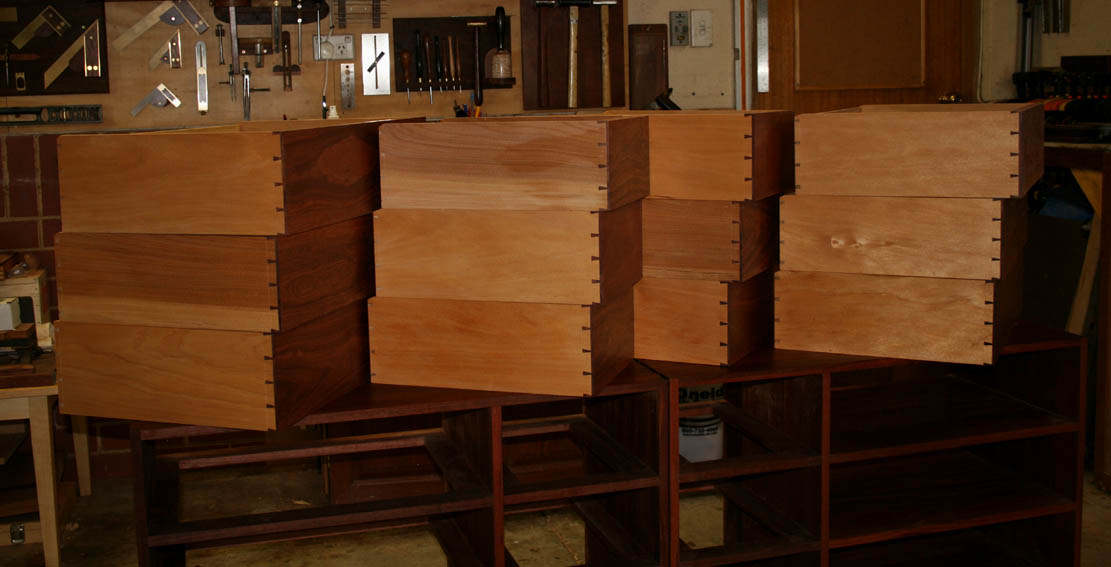
    In 2011, I wrote a series of posts (on the Hand Tool forum only) that explored the different ways in which waste could be removed from half blind sockets. The build was two Military Chests (or Campaign Chests, as Chris Schwarz later termed them ... this build was before he road the Campaign trail).


    There were 12 drawers in all, and the time issue (to remove waste) was important as the focus was on 'how long should it take to make a quality drawer from start to end?'. I did not document this on my website, but no doubt a Search on this forum would uncover all the details. What I recall was that it took me around 3 1/2 or 4 1/2 hours from whoa-to-go by the time I ended the last drawer. Also from memory, this was not far off professional time ranges, as reported.


    The last article is here: http://www.inthewoodshop.com/Furnitu...tDovetail.html


    The final - and fastest - method involved three processed ...


    1. Deepen the kerf (I used my kerf chisel):


    2. Cut a line to depth along the shoulder with a router (note that the pin board is flat here):


    3. Split the waste out with a chisel:


    It is possible to do this in large chunks, stopping 1mm from the baseline ...


    ... and then pare away the last smidgeon.


    The last dovetail ...


    A variation to this method, which is less speedy and does involve more work, is for those who do not wish to use a router. Use a drill ...


    Regards from Singapore


    Derek

  6. #6
    Mike,

    Good demo and one that will soon be useful to me. I plan to start the first "boxes" for the lower cabinets for the shop re-build. I expect there will be a number of drawers and storage trays involved with quality/speed a factor.

    ken

  7. #7
    Join Date
    Jun 2010
    Location
    twomiles from the "peak of Ohio
    Posts
    12,166
    Afraid I am at the other end of all this...
    I am not getting paid for the projects I do. They are more of a hobby, to keep boredom away. I find that when I do get in a hurry to build an item....mistakes seem to follow.

    I try to be as precise as I can...but..I try not to rush the process. Speed is usually the last thing I worry about. Things get done, when they get done. I stopped looking at "time clocks" when I retired.

    Carry on, I'll be in the area, all day....

  8. #8
    Nice work OP!

    Another way to look at this; if you are not doing this for a living, and you enjoy dovetailing, why speed up the process? Immerse yourself in it, have a good time.
    This is how the Italians feel about dining.

    Other times, maybe you are under time pressure and have a lot to do. I once took a class with Frank Klausz, and sure enough we used a router to excavate most of the waste in the half blind sockets. However the way Frank did it was 90 degrees to what Derek has shown in his photo. Frank had us clamp the pin board to the edge of the bench (think board vertical), and clamped a stop that would allow the router to go no further than 1/32" of the scribe line on the board edge. The bit depth setting did the same for the base line. From here the router was used freehand. It worked especially well with a small laminate trimmer router like the Bosch Colt or the nice little DeWalt with the built in light.

  9. #9
    Join Date
    Feb 2004
    Location
    Perth, Australia
    Posts
    9,492
    Quote Originally Posted by Edwin Santos View Post
    .....
    Other times, maybe you are under time pressure and have a lot to do. I once took a class with Frank Klausz, and sure enough we used a router to excavate most of the waste in the half blind sockets. However the way Frank did it was 90 degrees to what Derek has shown in his photo. Frank had us clamp the pin board to the edge of the bench (think board vertical), and clamped a stop that would allow the router to go no further than 1/32" of the scribe line on the board edge. The bit depth setting did the same for the base line. From here the router was used freehand. It worked especially well with a small laminate trimmer router like the Bosch Colt or the nice little DeWalt with the built in light.
    Edwin, did you look at the first link of mine? I suspect that was similar to what Frank taught you (but the jig for it was my idea).

    Regards from Singapore

    Derek

  10. #10
    Join Date
    Mar 2015
    Location
    Virginia
    Posts
    1,211
    Quote Originally Posted by Mike Allen1010 View Post
    For me, this small experiment feels like a tiny connection to our pre-industrial woodworking predecessors who depended on their skills to put food on the table. I’m guessing they must have valued both excellence of execution and speed of delivery. I'm interested in what my fellow Neanders think about the connection between speed and execution and how that dynamic is relevant to both contemporary and pre-industrial woodworkers?

    Cheers, Mike
    I don’t think the pre-industrial woodworkers cared half as much as we do about a precise fit. The few pieces I have personally examined that are from before 1900 have dovetails that most of the posters here would think are terrible. But in terms of function, they have done their job of keeping the piece together for 150 years or more.

    Yours look really nice Mike, and the post is a great one. I am going to try out the gang planing for dimensioning on a piece I am making.

  11. #11
    Join Date
    Dec 2019
    Location
    The old pueblo in el norte.
    Posts
    1,899
    Quote Originally Posted by Nicholas Lawrence View Post
    I don’t think the pre-industrial woodworkers cared half as much as we do about a precise fit. The few pieces I have personally examined that are from before 1900 have dovetails that most of the posters here would think are terrible. But in terms of function, they have done their job of keeping the piece together for 150 years or more.
    I agree, things that didn't show were not paid much attention to. A practice I try and remember when working on things.

  12. #12
    Join Date
    Sep 2007
    Location
    Longview WA
    Posts
    27,432
    Blog Entries
    1
    Quote Originally Posted by Nicholas Lawrence View Post
    I don’t think the pre-industrial woodworkers cared half as much as we do about a precise fit. The few pieces I have personally examined that are from before 1900 have dovetails that most of the posters here would think are terrible. But in terms of function, they have done their job of keeping the piece together for 150 years or more.

    Yours look really nice Mike, and the post is a great one. I am going to try out the gang planing for dimensioning on a piece I am making.
    The era of hand made dovetails in pre-industrial furniture may have been stratified much like today's furniture markets. Furniture made for high end customers at high end makers were likely more precise than those done by the mass producers for the Ikea type of customers of the 18th and 19th century.

    jtk
    "A pessimist sees the difficulty in every opportunity; an optimist sees the opportunity in every difficulty."
    - Sir Winston Churchill (1874-1965)

  13. #13
    Join Date
    Apr 2017
    Location
    Clarks Summit PA
    Posts
    1,744
    Mike, good demonstrations and good pics! Neanderthals seek hand tool usage for nebulous but important reasons. I would like to justify my reasons by claiming efficiency. I think our forefathers developed efficiency from high repetition. I admit I will never discipline myself to work that hard & often. But I will dream about it.

  14. #14
    Join Date
    Mar 2015
    Location
    Virginia
    Posts
    1,211
    Quote Originally Posted by Jim Koepke View Post
    The era of hand made dovetails in pre-industrial furniture may have been stratified much like today's furniture markets. Furniture made for high end customers at high end makers were likely more precise than those done by the mass producers for the Ikea type of customers of the 18th and 19th century.

    jtk
    No doubt. If you go to Hillwood and look at the french antiques Marjorie Post collected, you have a hard time believing they were done by hand (at least at the distances you can see most of them from, they don’t really want random people manhandling those items).

    But I am thinking in particular of a standing desk here in the office that came out of the train station. Not an Ikea piece, a well made piece intended to see heavy use and hold up for a long time (which it did and has).

  15. #15
    Join Date
    Dec 2019
    Location
    The old pueblo in el norte.
    Posts
    1,899
    Quote Originally Posted by Jim Koepke View Post
    The era of hand made dovetails in pre-industrial furniture may have been stratified much like today's furniture markets. Furniture made for high end customers at high end makers were likely more precise than those done by the mass producers for the Ikea type of customers of the 18th and 19th century.

    jtk
    I grew up with antiques around the house (they are pretty common throughout Europe), and while that's true, even the higher end items didn't seem to waste time where it wasn't needed. Surfaces were left more roughly planed (plane tracks, etc), knife lines were left on the backs of drawers etc. Things like that.

Posting Permissions

  • You may not post new threads
  • You may not post replies
  • You may not post attachments
  • You may not edit your posts
  •