Page 1 of 3 123 LastLast
Results 1 to 15 of 34

Thread: The start of a build

Hybrid View

Previous Post Previous Post   Next Post Next Post
  1. #1
    Join Date
    Feb 2004
    Location
    Perth, Australia
    Posts
    9,494

    The start of a build

    I thought that the build might begin with preparing the panels, since there has been some interest in the past shown in the shorter Hammer K3 sliders. Mine has a 49" long slider and a 31" wide table for the rip fence.


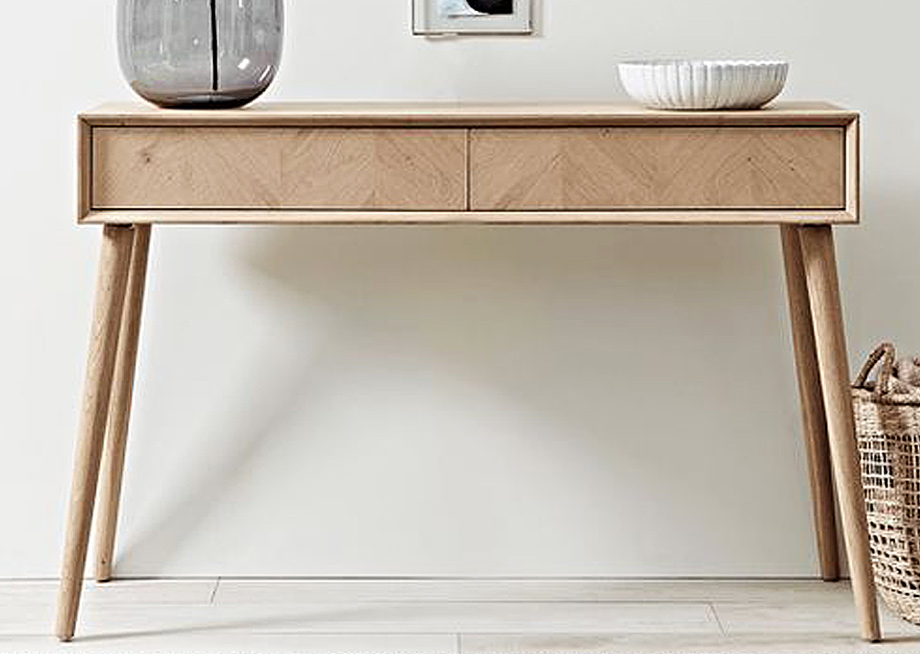
    The build is an entry hall table for a wedding present for a niece. Her choice was this mid century modern piece, which will be the basis for the build. My job is to re-invent it somewhat.


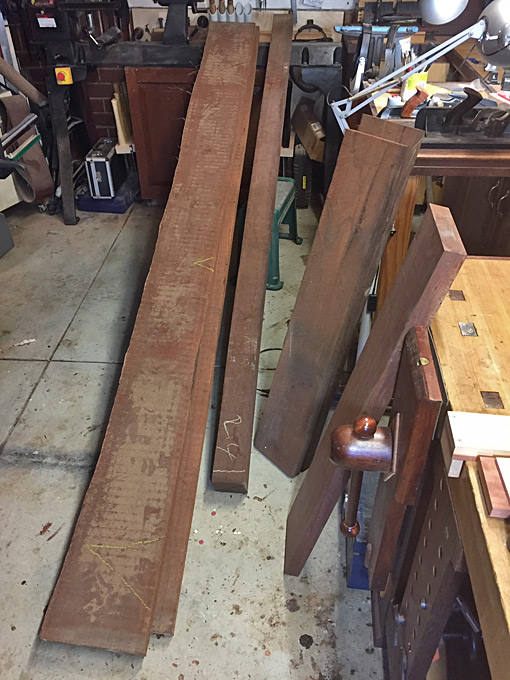
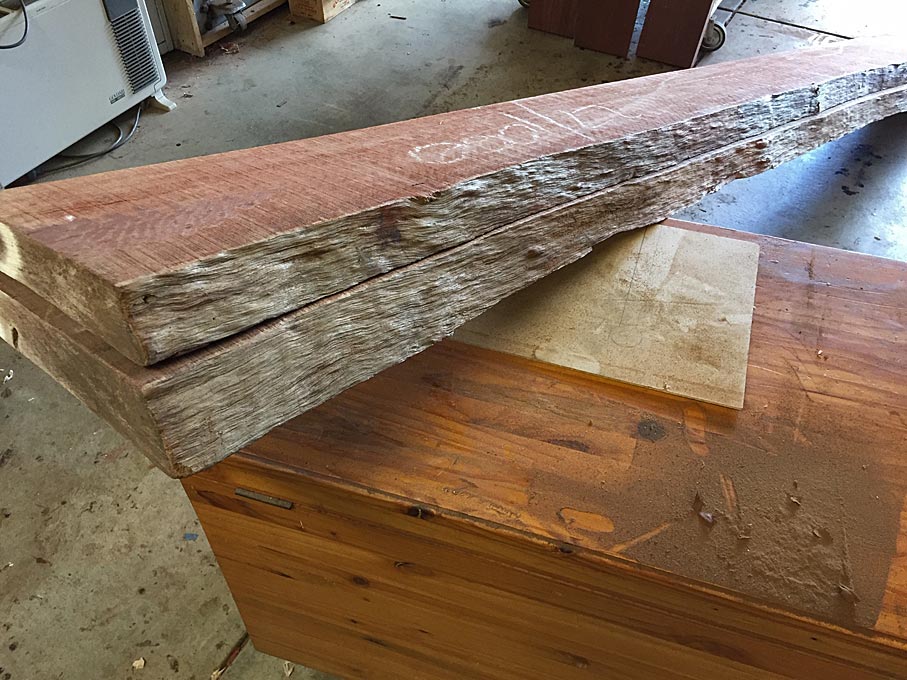
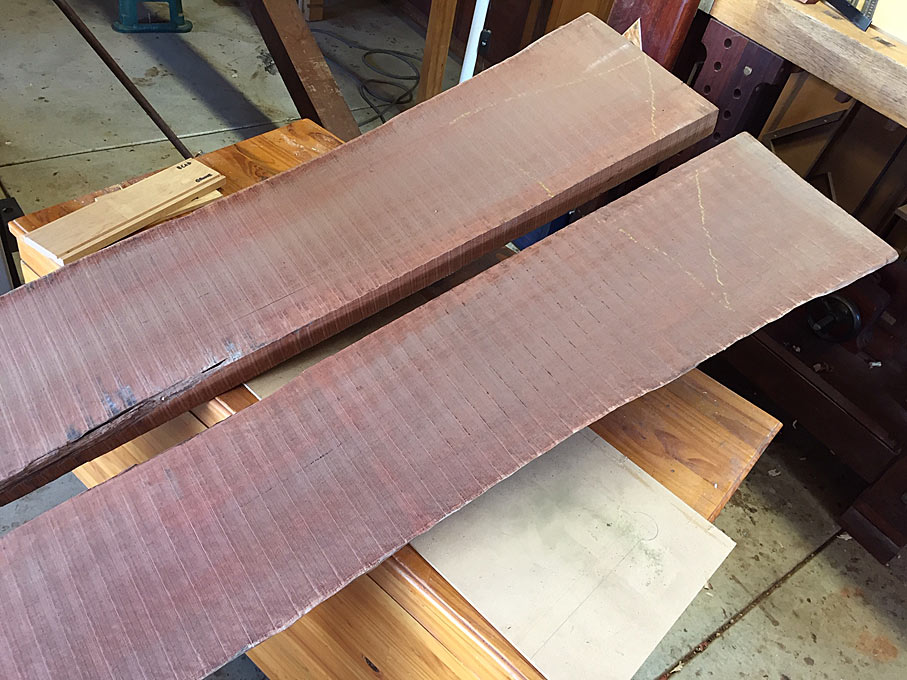
    She wants Jarrah, and I have managed to find something spectacular ... a subtle fiddleback (curly) set of boards that will make a book match (as they are only about 9" wide each).


    Most imagine that the value of a slider lies with cross-cutting. It certainly is so. However it is the rip using the slider - rather than the rip fence - which is so amazing.


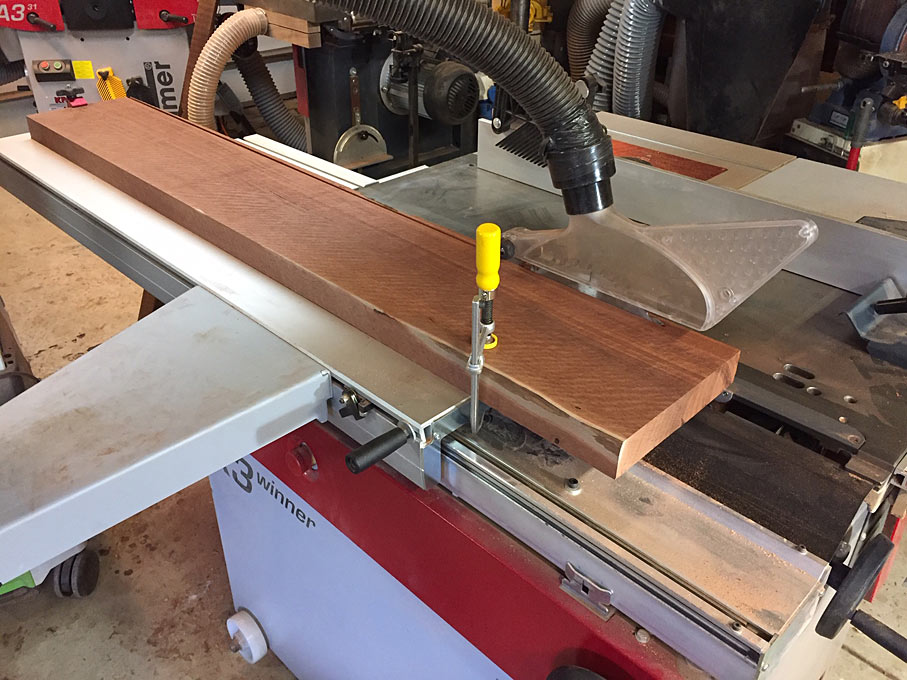
    One side of each board was to be ripped on the slider, before being jointed and resawn. Ripping on the slider is such an advantage with life edges. No jigs required. No rip fence to slide against. Just clamp the board on the slider, and run it past the saw blade. The long sliders can complete the rip in one quick pass. It occurred to me that I should take a few photos of ripping to width since the boards are longer than the slider.


    Here you can see that it comes up short ...


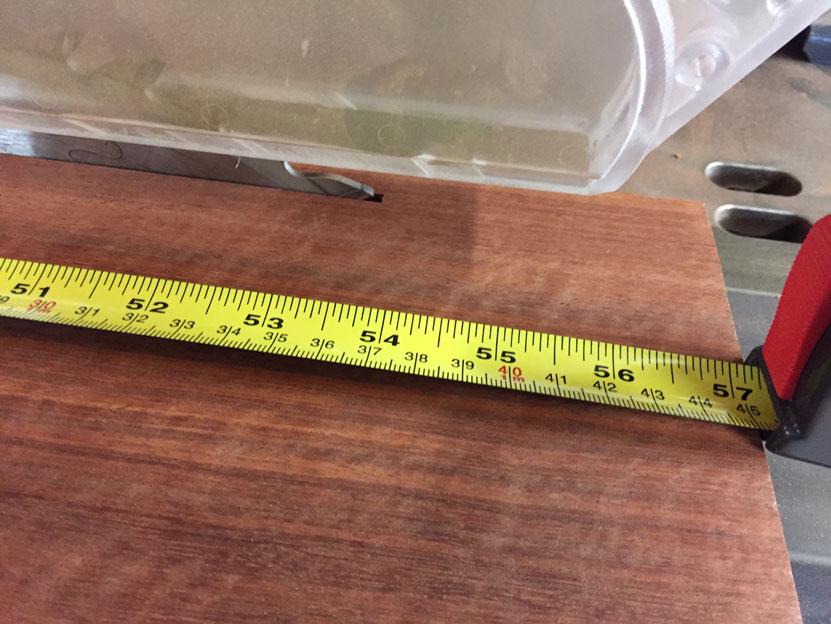
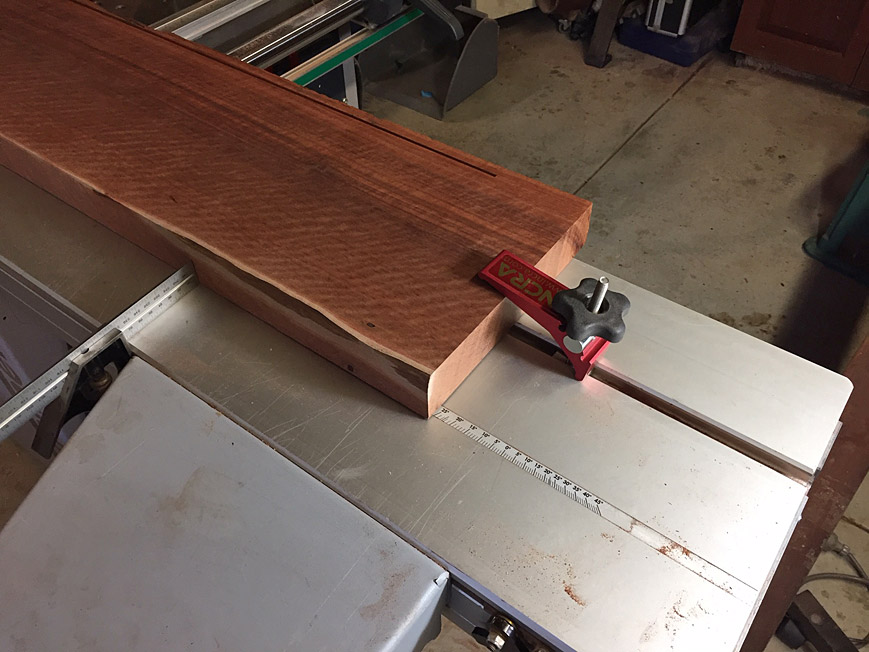
    In actuality, with the blade raised fully, there is a cut of nearly 54" ...


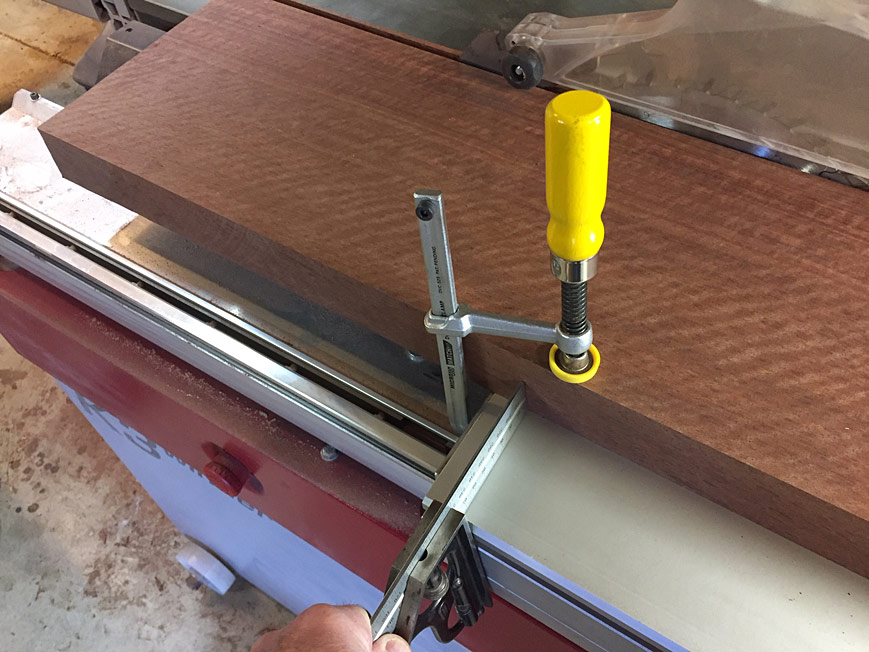
    The solution is to use a combination square to register the position of the side of the board at the front, and then slide the board forward and reposition it ...


    ... and repeat at the rear ...


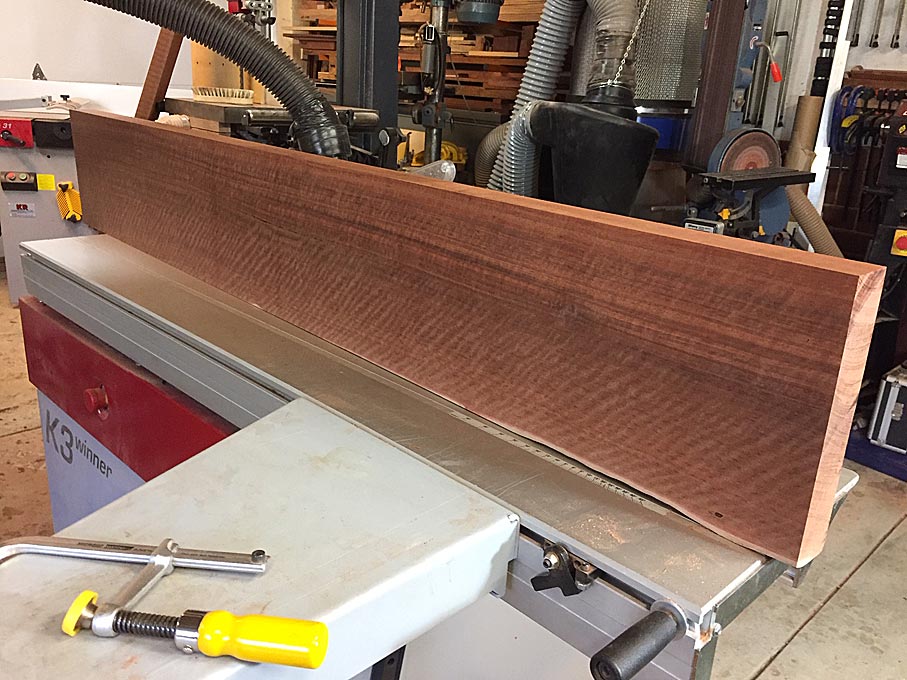
    The result is a pretty good edge, one that is cleaned up on the jointer in 1 or 2 passes, and then ready for resawing ...


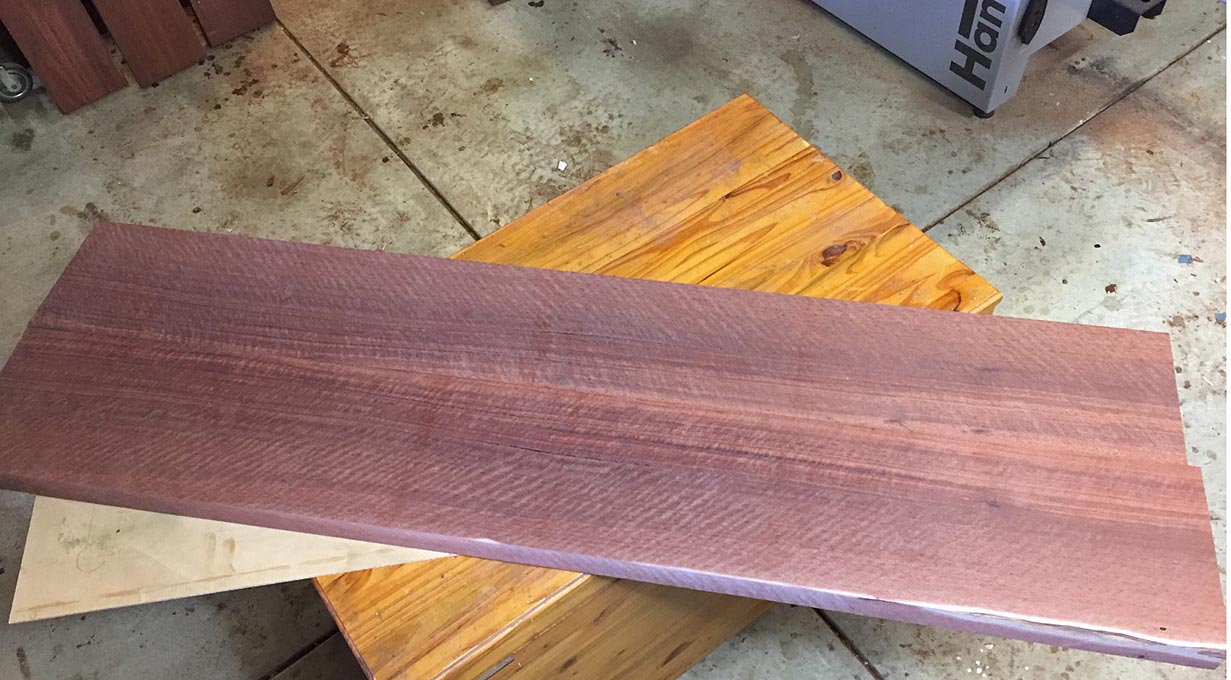
    This is the glued panel. It is long enough to make a waterfall two sides and top section (still oversize) ...


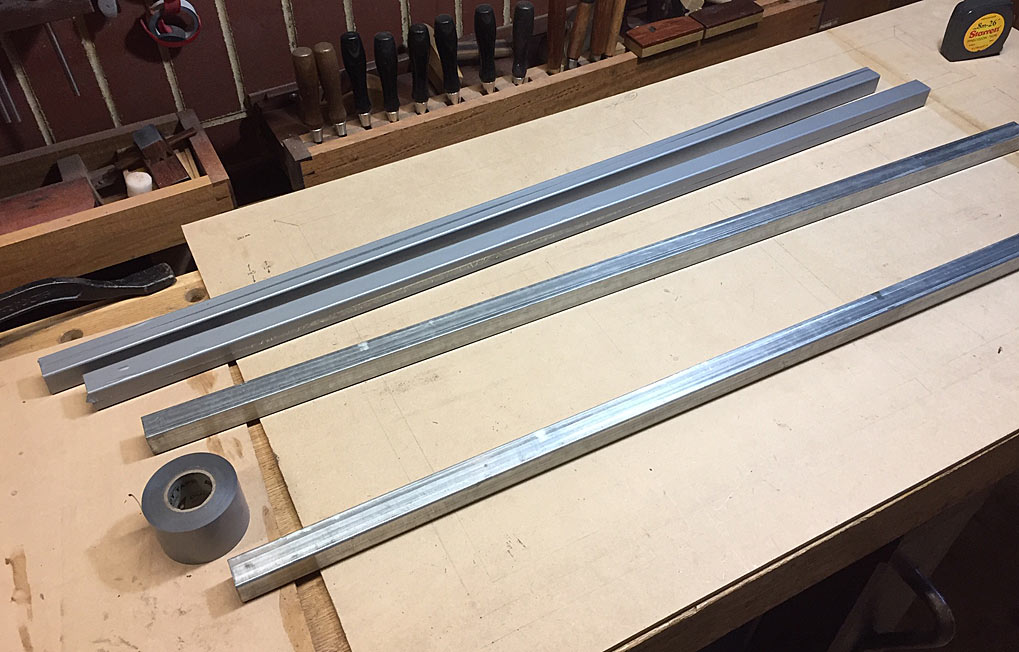
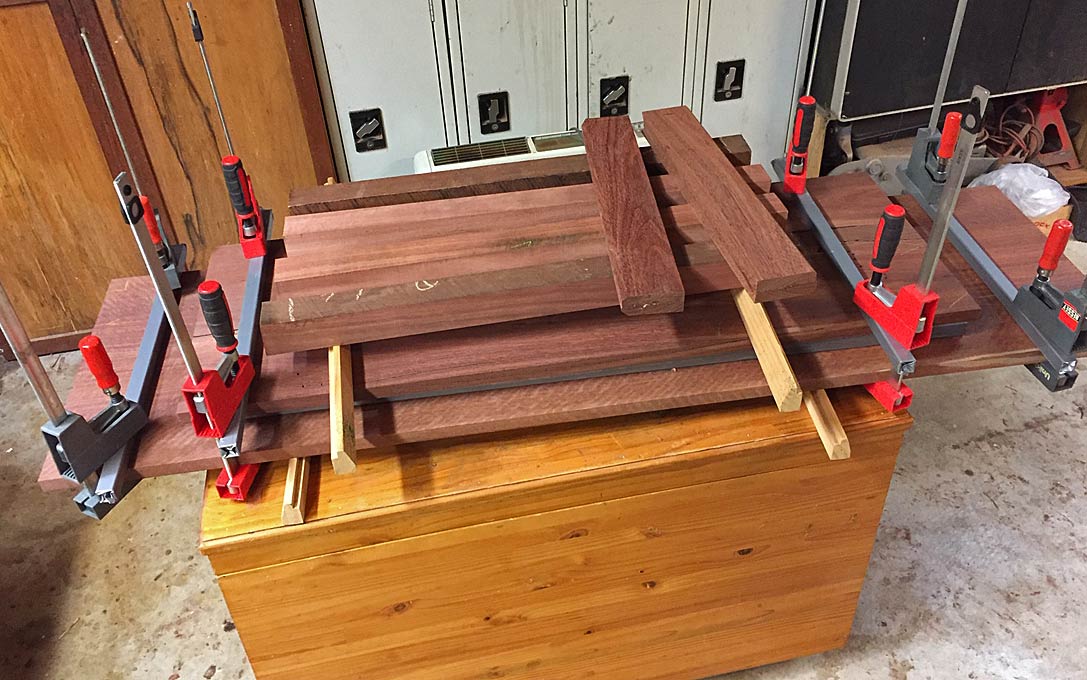
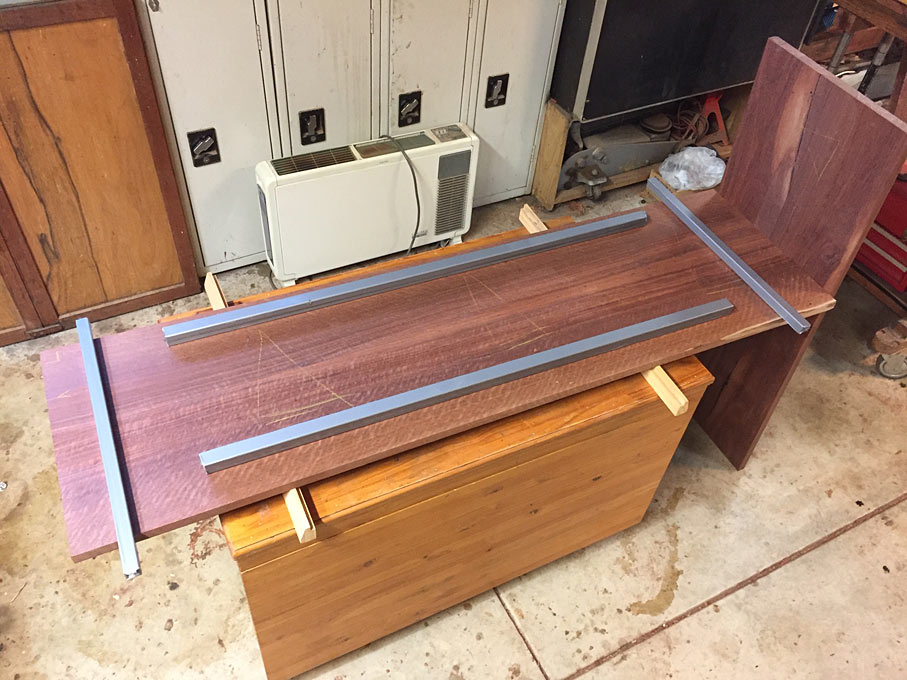
    The following photo shows the lower section at the rear. What I wanted to show is the way boards are stored. Since I shall not get back to this build until next weekend, all boards are stickered and clamped using steel square sections.


    The steel sections are inexpensive galvanised mild steel. These are covered in vinyl duct tape to prevent any marks on the wood and ease in removing glue ...


    Done for the day ...


    Enough for the case (top/bottom and sides), which will be through dovetailed with mitred corners, the stock for 4 legs (yet to be turned), and rails for the legs (the legs will be staked mortice-and-tenon) and attached with a sliding dovetail.


    Regards from Perth


    Derek
    Last edited by Derek Cohen; 11-03-2019 at 11:46 AM.

  2. #2
    Join Date
    Jan 2017
    Location
    MT
    Posts
    699
    Looking forward to seeing the progress. Thanks.
    Regards,

    Kris

  3. #3
    Beautiful stock Derek,

    What I’d give to add those boards to my collection.

  4. #4
    I think the frame around the drawer and the legs would look better with sharper edges. Would show better ,cleaner,
    shadows. And I KNOW I will enjoy watching progress.

  5. #5
    I agree with a sharper edge.

    This piece has inspired me a bit Derek.

    I started a piece last winter to house one of my dogs that passed last fall. It’s a Krenov type piece. The base is finished but the top case has not even begun although I have a working drawing. As is now it is planned to be miter wrapped using hidden dovetails. I have yet to attempt them to dat and plan to construct the piece from Satin wood lol. I think I will add the chamfered edge as in this piece but also chamfer the doors and drawers to seat perfectly flush with the carcass.

    I’m sure you will be done with five project before I finish my single project.

    Quote Originally Posted by Mel Fulks View Post
    I think the frame around the drawer and the legs would look better with sharper edges. Would show better ,cleaner,
    shadows. And I KNOW I will enjoy watching progress.

  6. #6
    Join Date
    Feb 2004
    Location
    Perth, Australia
    Posts
    9,494
    Quote Originally Posted by Mel Fulks View Post
    I think the frame around the drawer and the legs would look better with sharper edges. Would show better ,cleaner,
    shadows. And I KNOW I will enjoy watching progress.
    Mel, here is a close up of the original table ...


    Thoughts?

    Regards from Perth

    Derek

  7. #7
    Dumb question: where are the pulls located for this case? I like that mitered, inset face frame. The more I look at it, the more I realize I haven't seem much like that, and that it would be deceptively challenging (for me) to make.

    I am sure your version will be crisper yet.

  8. #8
    Join Date
    Feb 2004
    Location
    Perth, Australia
    Posts
    9,494
    Prashun, indeed, where are the pulls?

    I discussed this on the hand tool forum a little while ago. The original design appears to use slides and push-it mechanisms. In the end I decided that I would build traditional drawers and add handles. They will be discrete and in the same wood, and so will disappear.

    The case is planned to be through dovetailed with mitred ends.

    Regards from Perth

    Derek
  9. #9
    Derek, somehow I didn't see your post til now. The top and side look OK in close up. Bottom piece looks kinda'
    whittled and crude, and I guess that's what got my attention. A "cove and bead " type edge might look good too,and
    a little less office-like.

  10. #10
    Join Date
    Feb 2004
    Location
    Perth, Australia
    Posts
    9,494
    Mel, those were my thoughts as well. A straight chamfer looks kind of clinical, where as a cove should soften the edge and create a warmer look.

    Regards from Perth

    Derek
  11. #11
    Join Date
    Jun 2012
    Location
    New Westminster BC
    Posts
    3,015
    Looking forward to the build also, thanks for sharing. I'm puzzled about the long rip on the slider. Understand how it would work for the second edge but how did you rip the first edge?

  12. #12
    Join Date
    Feb 2004
    Location
    Perth, Australia
    Posts
    9,494
    Quote Originally Posted by Doug Garson View Post
    Looking forward to the build also, thanks for sharing. I'm puzzled about the long rip on the slider. Understand how it would work for the second edge but how did you rip the first edge?
    Doug, exactly the same way - simply slide the board past the blade. That is the advantage of the slider. You can rip without a reference edge. Of course, the longer the slider the longer the rip. Still, I rarely need the capacity of the big sliders as I work with solid wood and not ply.

    Regards from Perth

    Derek
  13. #13
    Join Date
    Mar 2014
    Location
    Los Angeles
    Posts
    1,380
    Derek I enjoy that your posts like this one have a magazine level presentation, with good photographs and clear text. Looking forward to the rest of it.

  14. #14
    Join Date
    Sep 2018
    Location
    South Carolina
    Posts
    121
    This is going to be a great looking piece. I am getting ready to build a bedside table that will have a similar drawer/miteres case look.
    What is the purpose of clamping the panels with the steel stock? Is it to keep them from warping after you have cut and released stress?

  15. #15
    Join Date
    Feb 2004
    Location
    Perth, Australia
    Posts
    9,494
    Quote Originally Posted by Paul F Mills View Post
    ...
    What is the purpose of clamping the panels with the steel stock? Is it to keep them from warping after you have cut and released stress?
    Paul, the cauls are to minimise movement while the boards are waiting to be worked again. This could be a week or more.

    All wood moves. And then relaxes. I attempt to ensure that it relaxes in the shape I want it to be. Keep in mind that I observe all the usual precautions for air flow around the boards, etc.

    Regards from Perth

    Derek
Posting Permissions

  • You may not post new threads
  • You may not post replies
  • You may not post attachments
  • You may not edit your posts
  •