


This thread is a continuation of Metrology for the cabinetmaker.
Please don't mistake the level of detail and effort as dissatisfaction, I'm very happy with this machine, it cuts a good mortise and does so very well. The reason I'm doing this is because I'm putting a mini-pallet and sine plate on this machine to handle angled mortises and everything must be tip-top for that to work out properly.
I find it highly important to be able to reliably dial in my machine tools, check parts (of the tools) and inspect to find errors in their machined surfaces or tune. I recently purchased a Wadkin DM mortiser. Upon inspection I found some parts out of tram. My initial thought was to shim the column to bring it into tram, however I decided to inspect the table first.
Prior to inspecting the table I setup an indicator to run across X, Y and Z across various parts of the main table. Z provided out by .007" over the length of the fence, the fence out of parallel to the travel by .012". I then ran X and Y on the main table itself, the table provided out of tram at the ends by an amount I don't recall (not zero, lol) and .005" across the major part of the table. Presumably more but I ran out of Y before I ran out of table.
First point of inspection was the table itself, I sat my camelback straight edge on it and the straight edge revealed a bow in the center of the table. So, table must be re-ground. The table is bigger than I want to machine myself so it's off to the machine shop. What they plan to do is bring everything square to the fence and grind the bottom of the ways to remove the slight concavity there. Without recutting the ways nothing will bring the fence back to parallel but Wadkin ways are 55 degrees rather than a standard 60, so i'm debating my approach there.
Next I decided to inspect the saddle. It's in fine shape with exception to a .002" bow in the center of the ways. I'm debating wether to mill this.
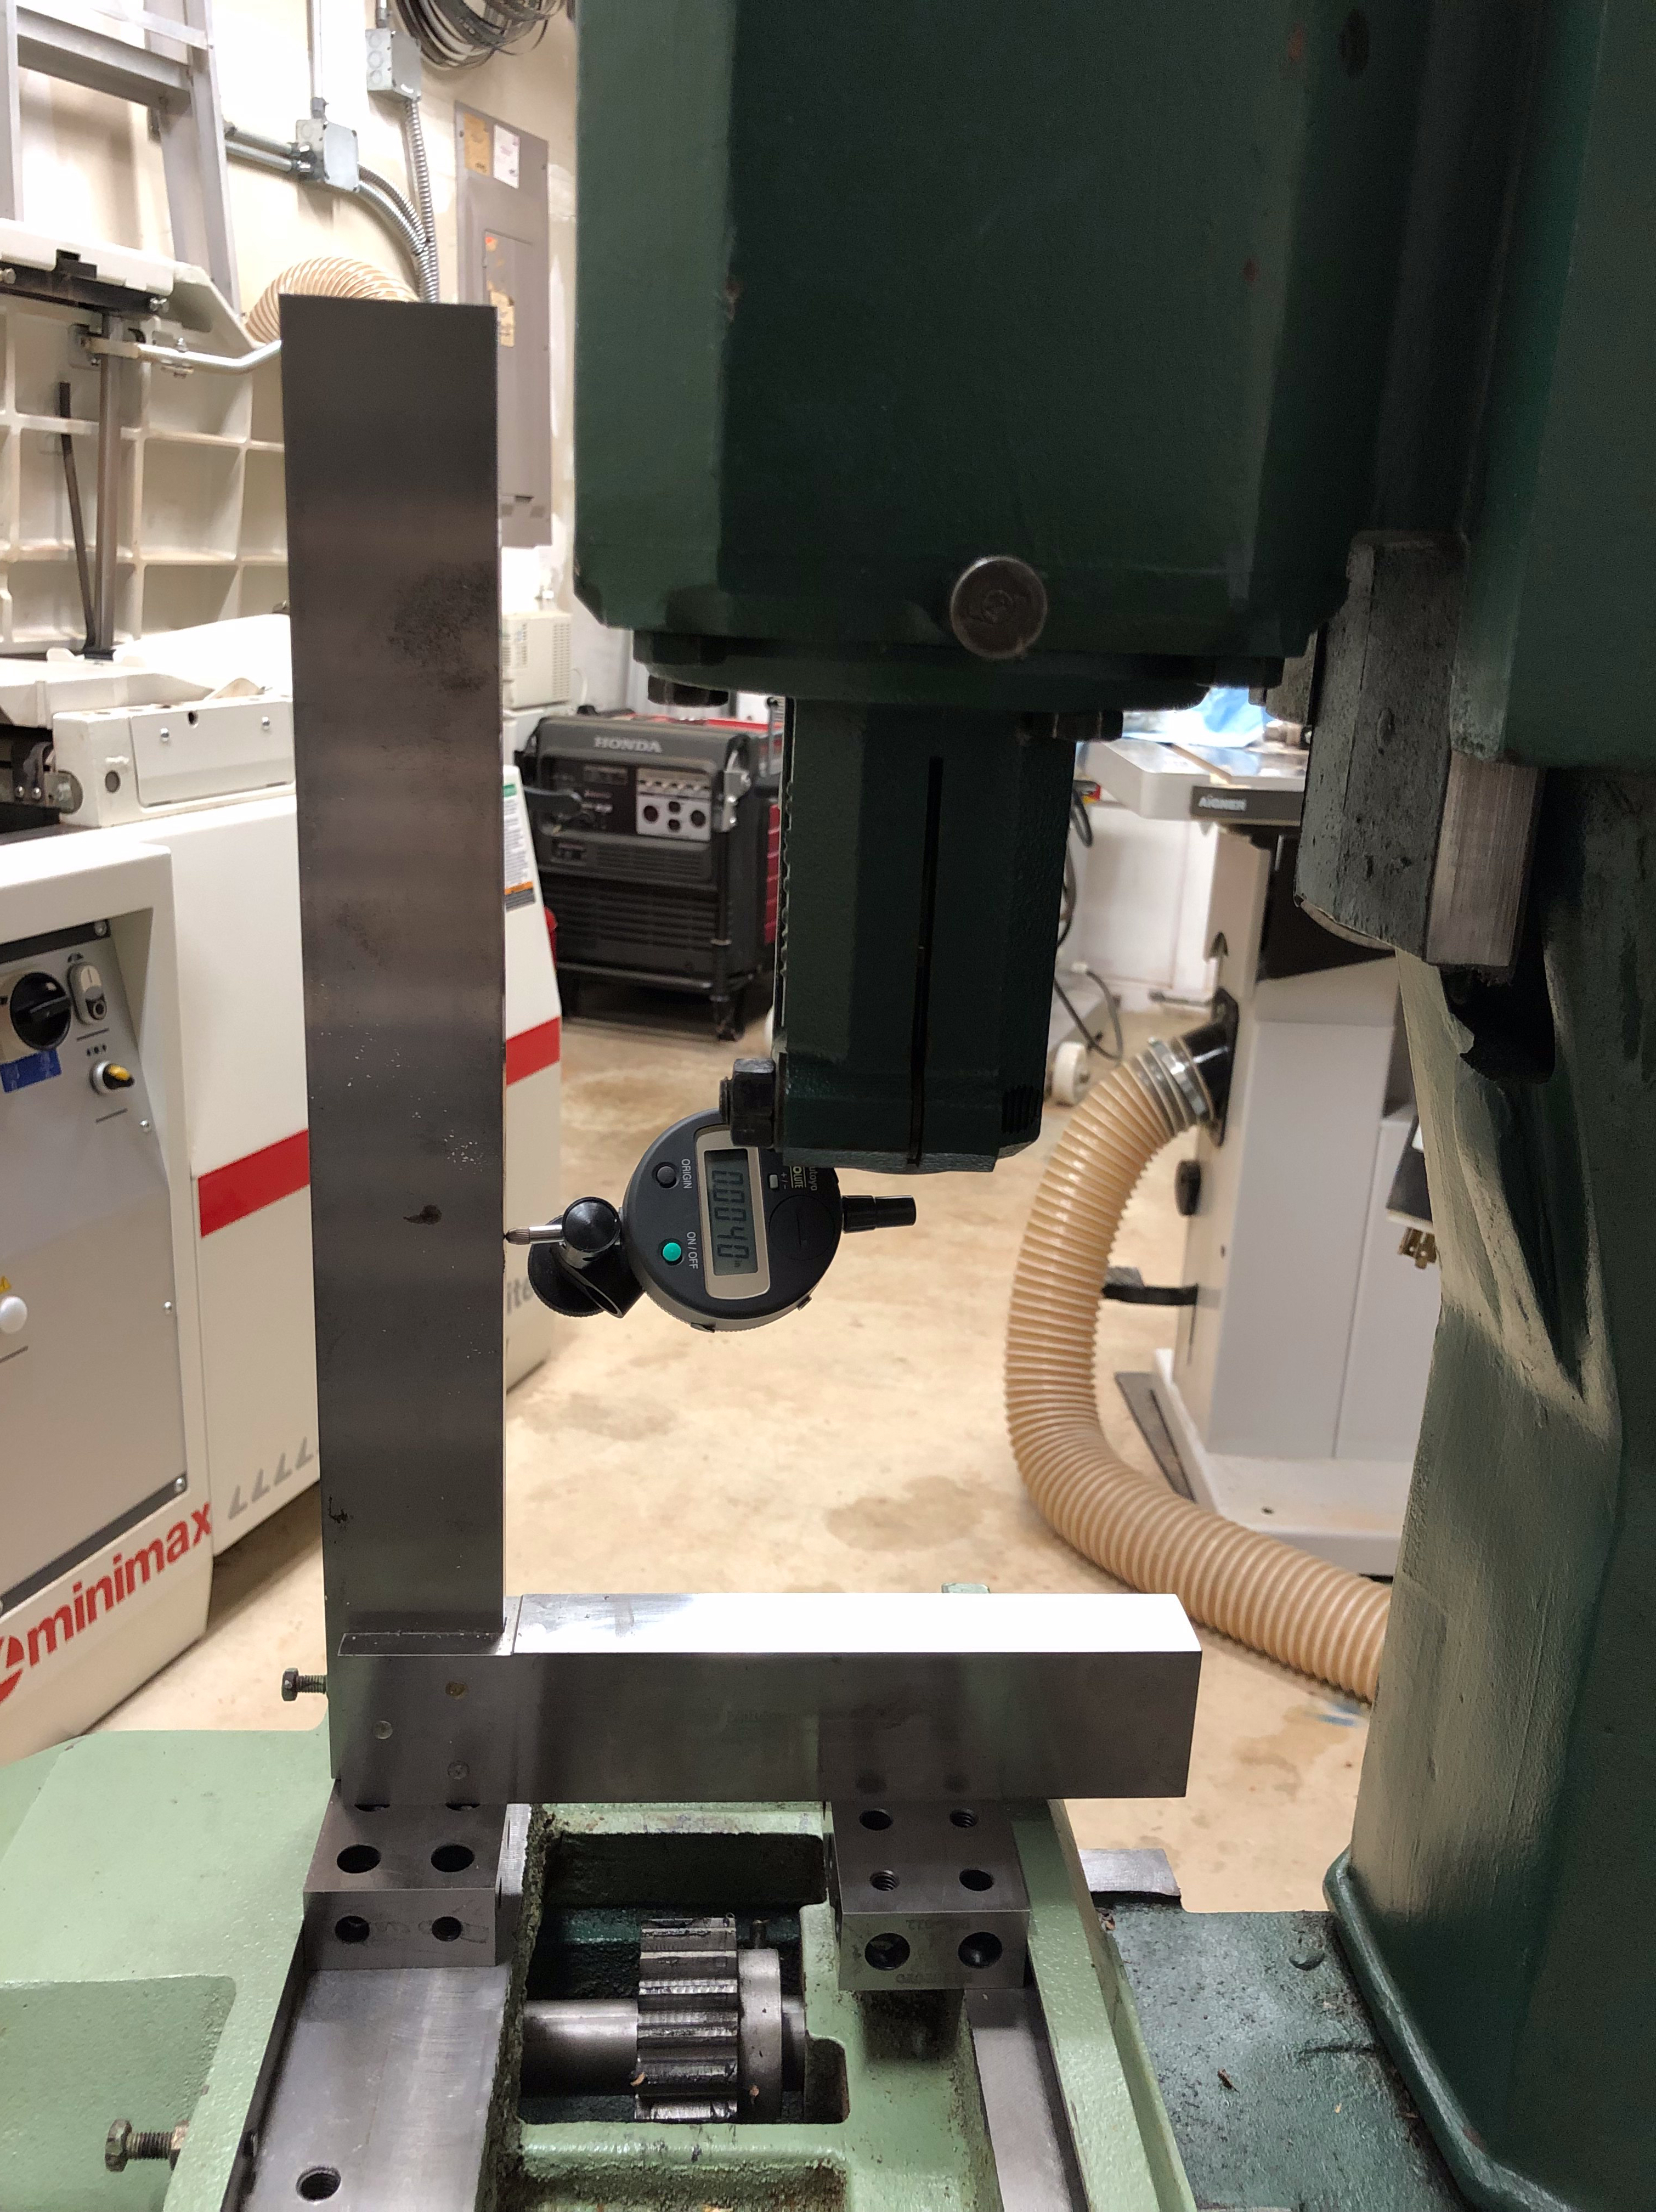
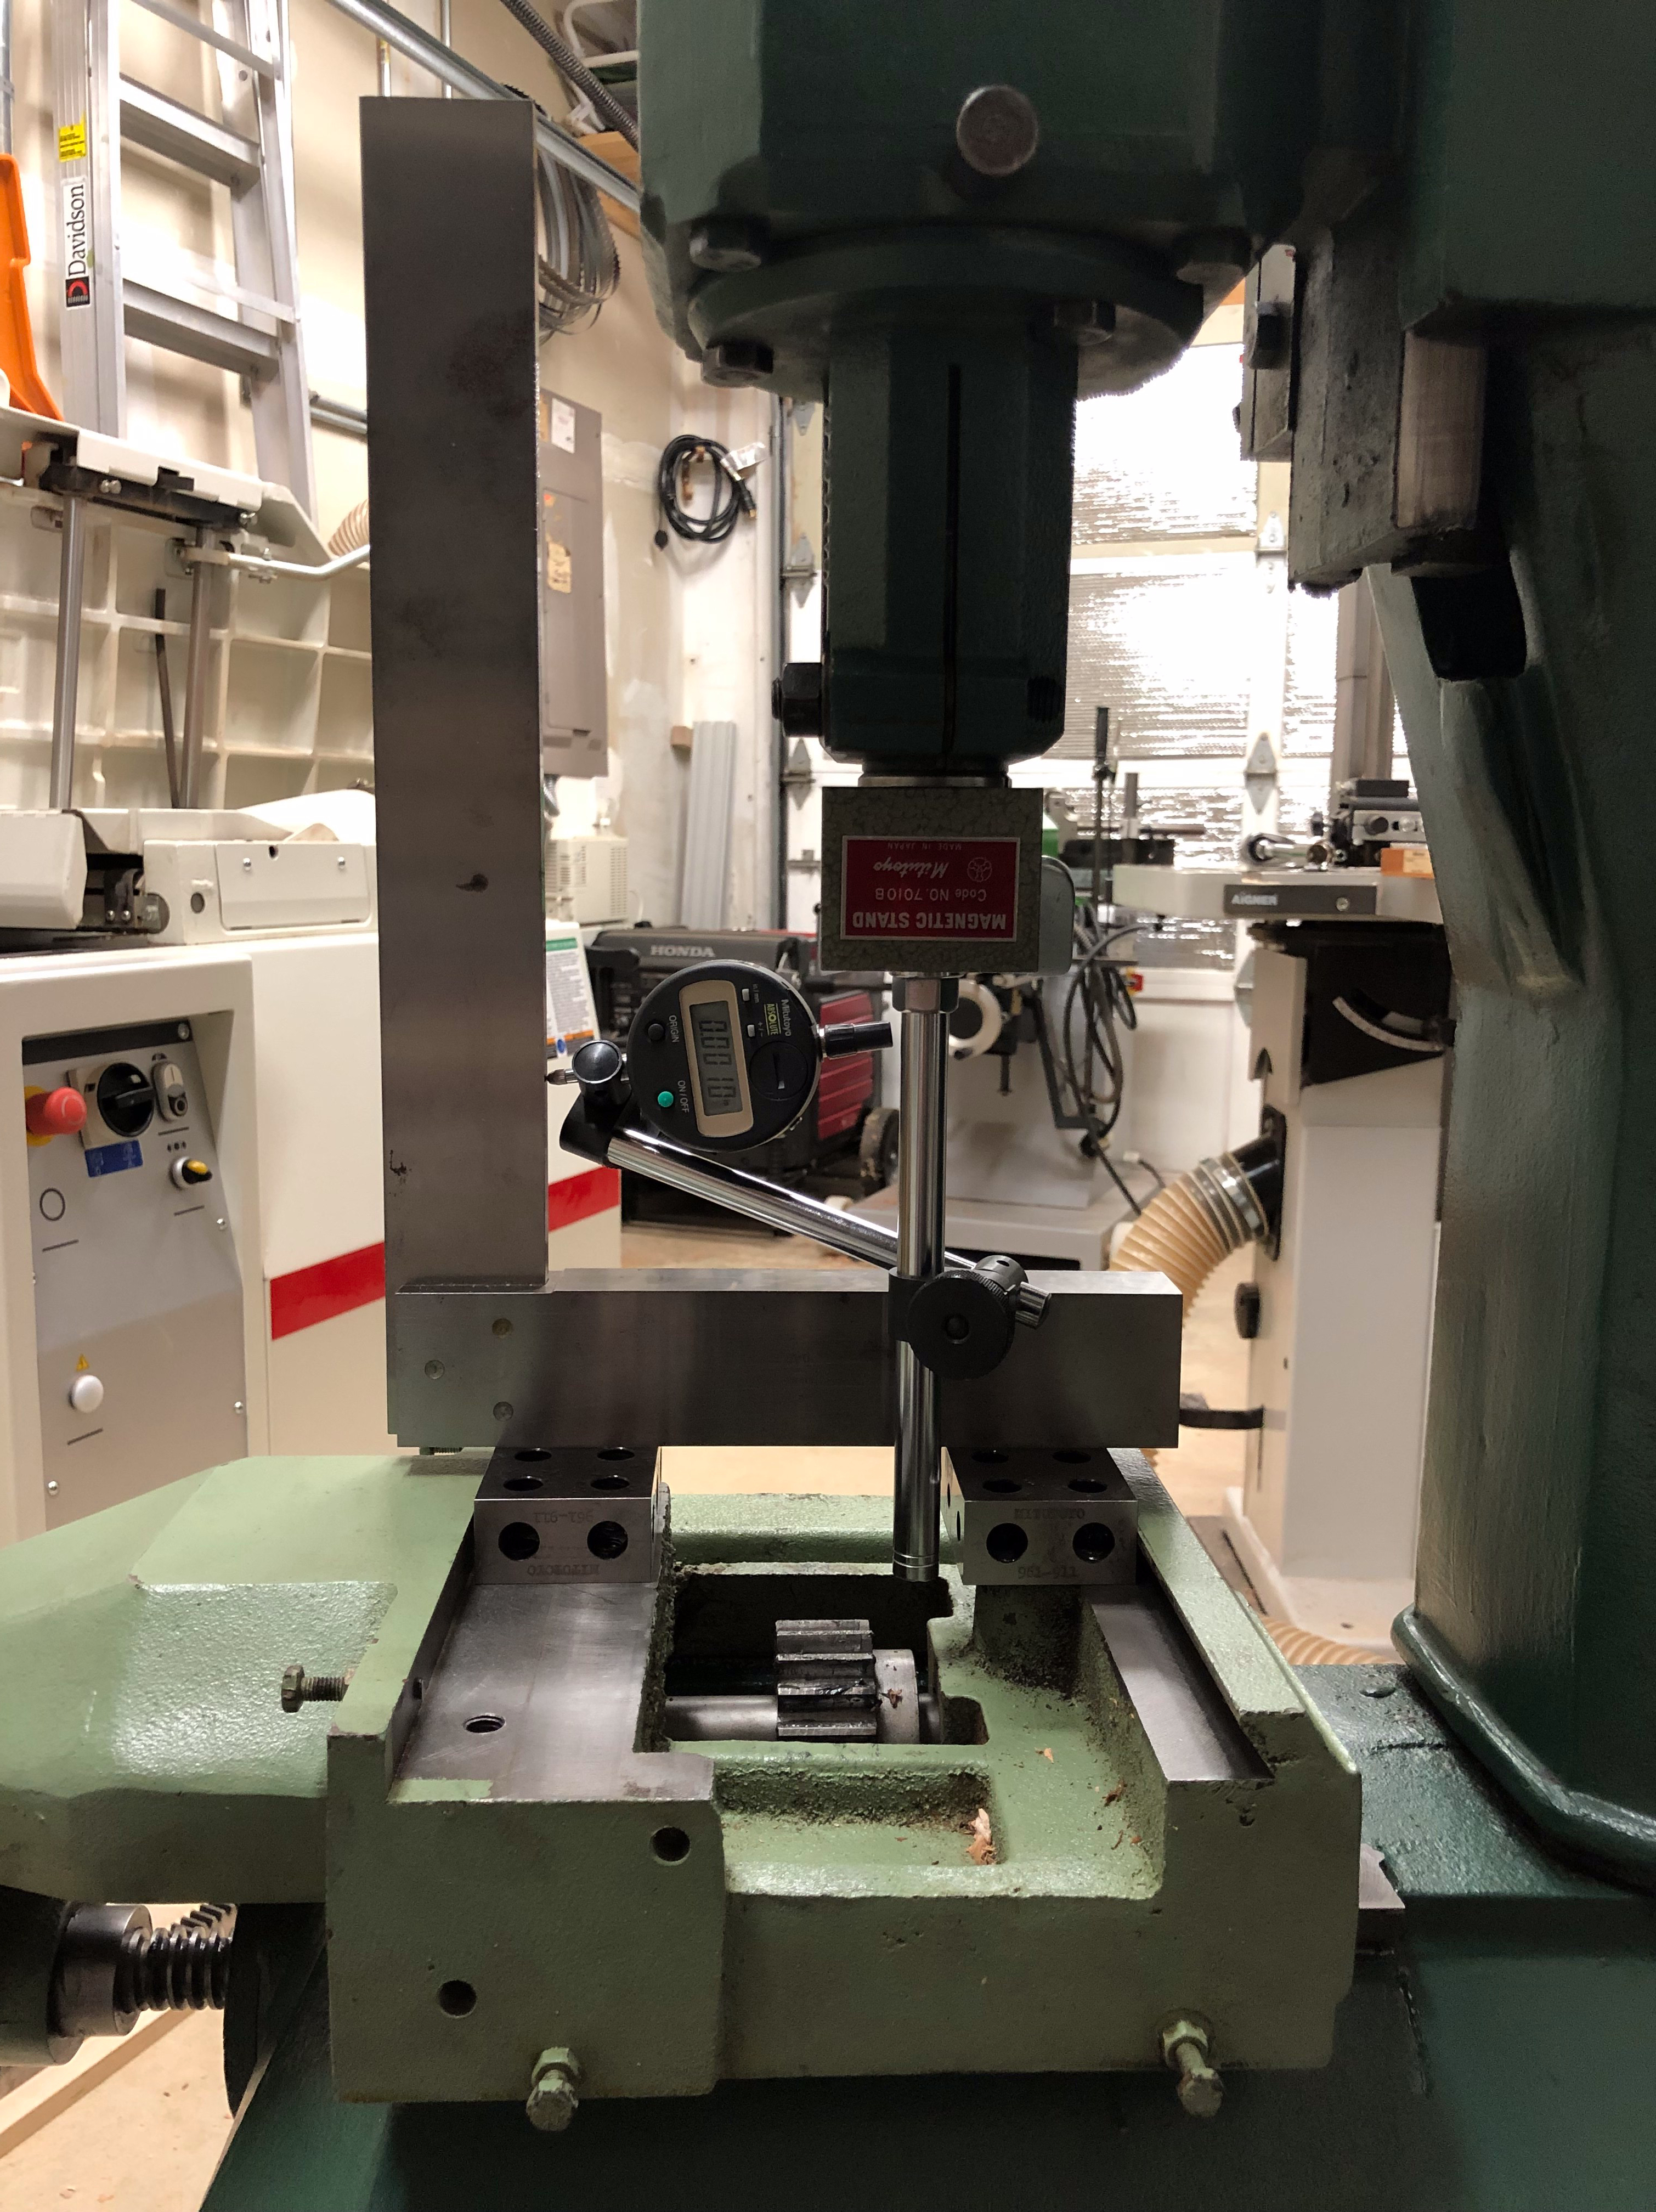
Finally I got the machine down to the fixed ways. I inspected these ways and found the head out of tram to the ways. I worked them lightly with a hone to remove burrs and take out a very slight out of parallel situation, then sat a shop standard square on the ways in multiple places.
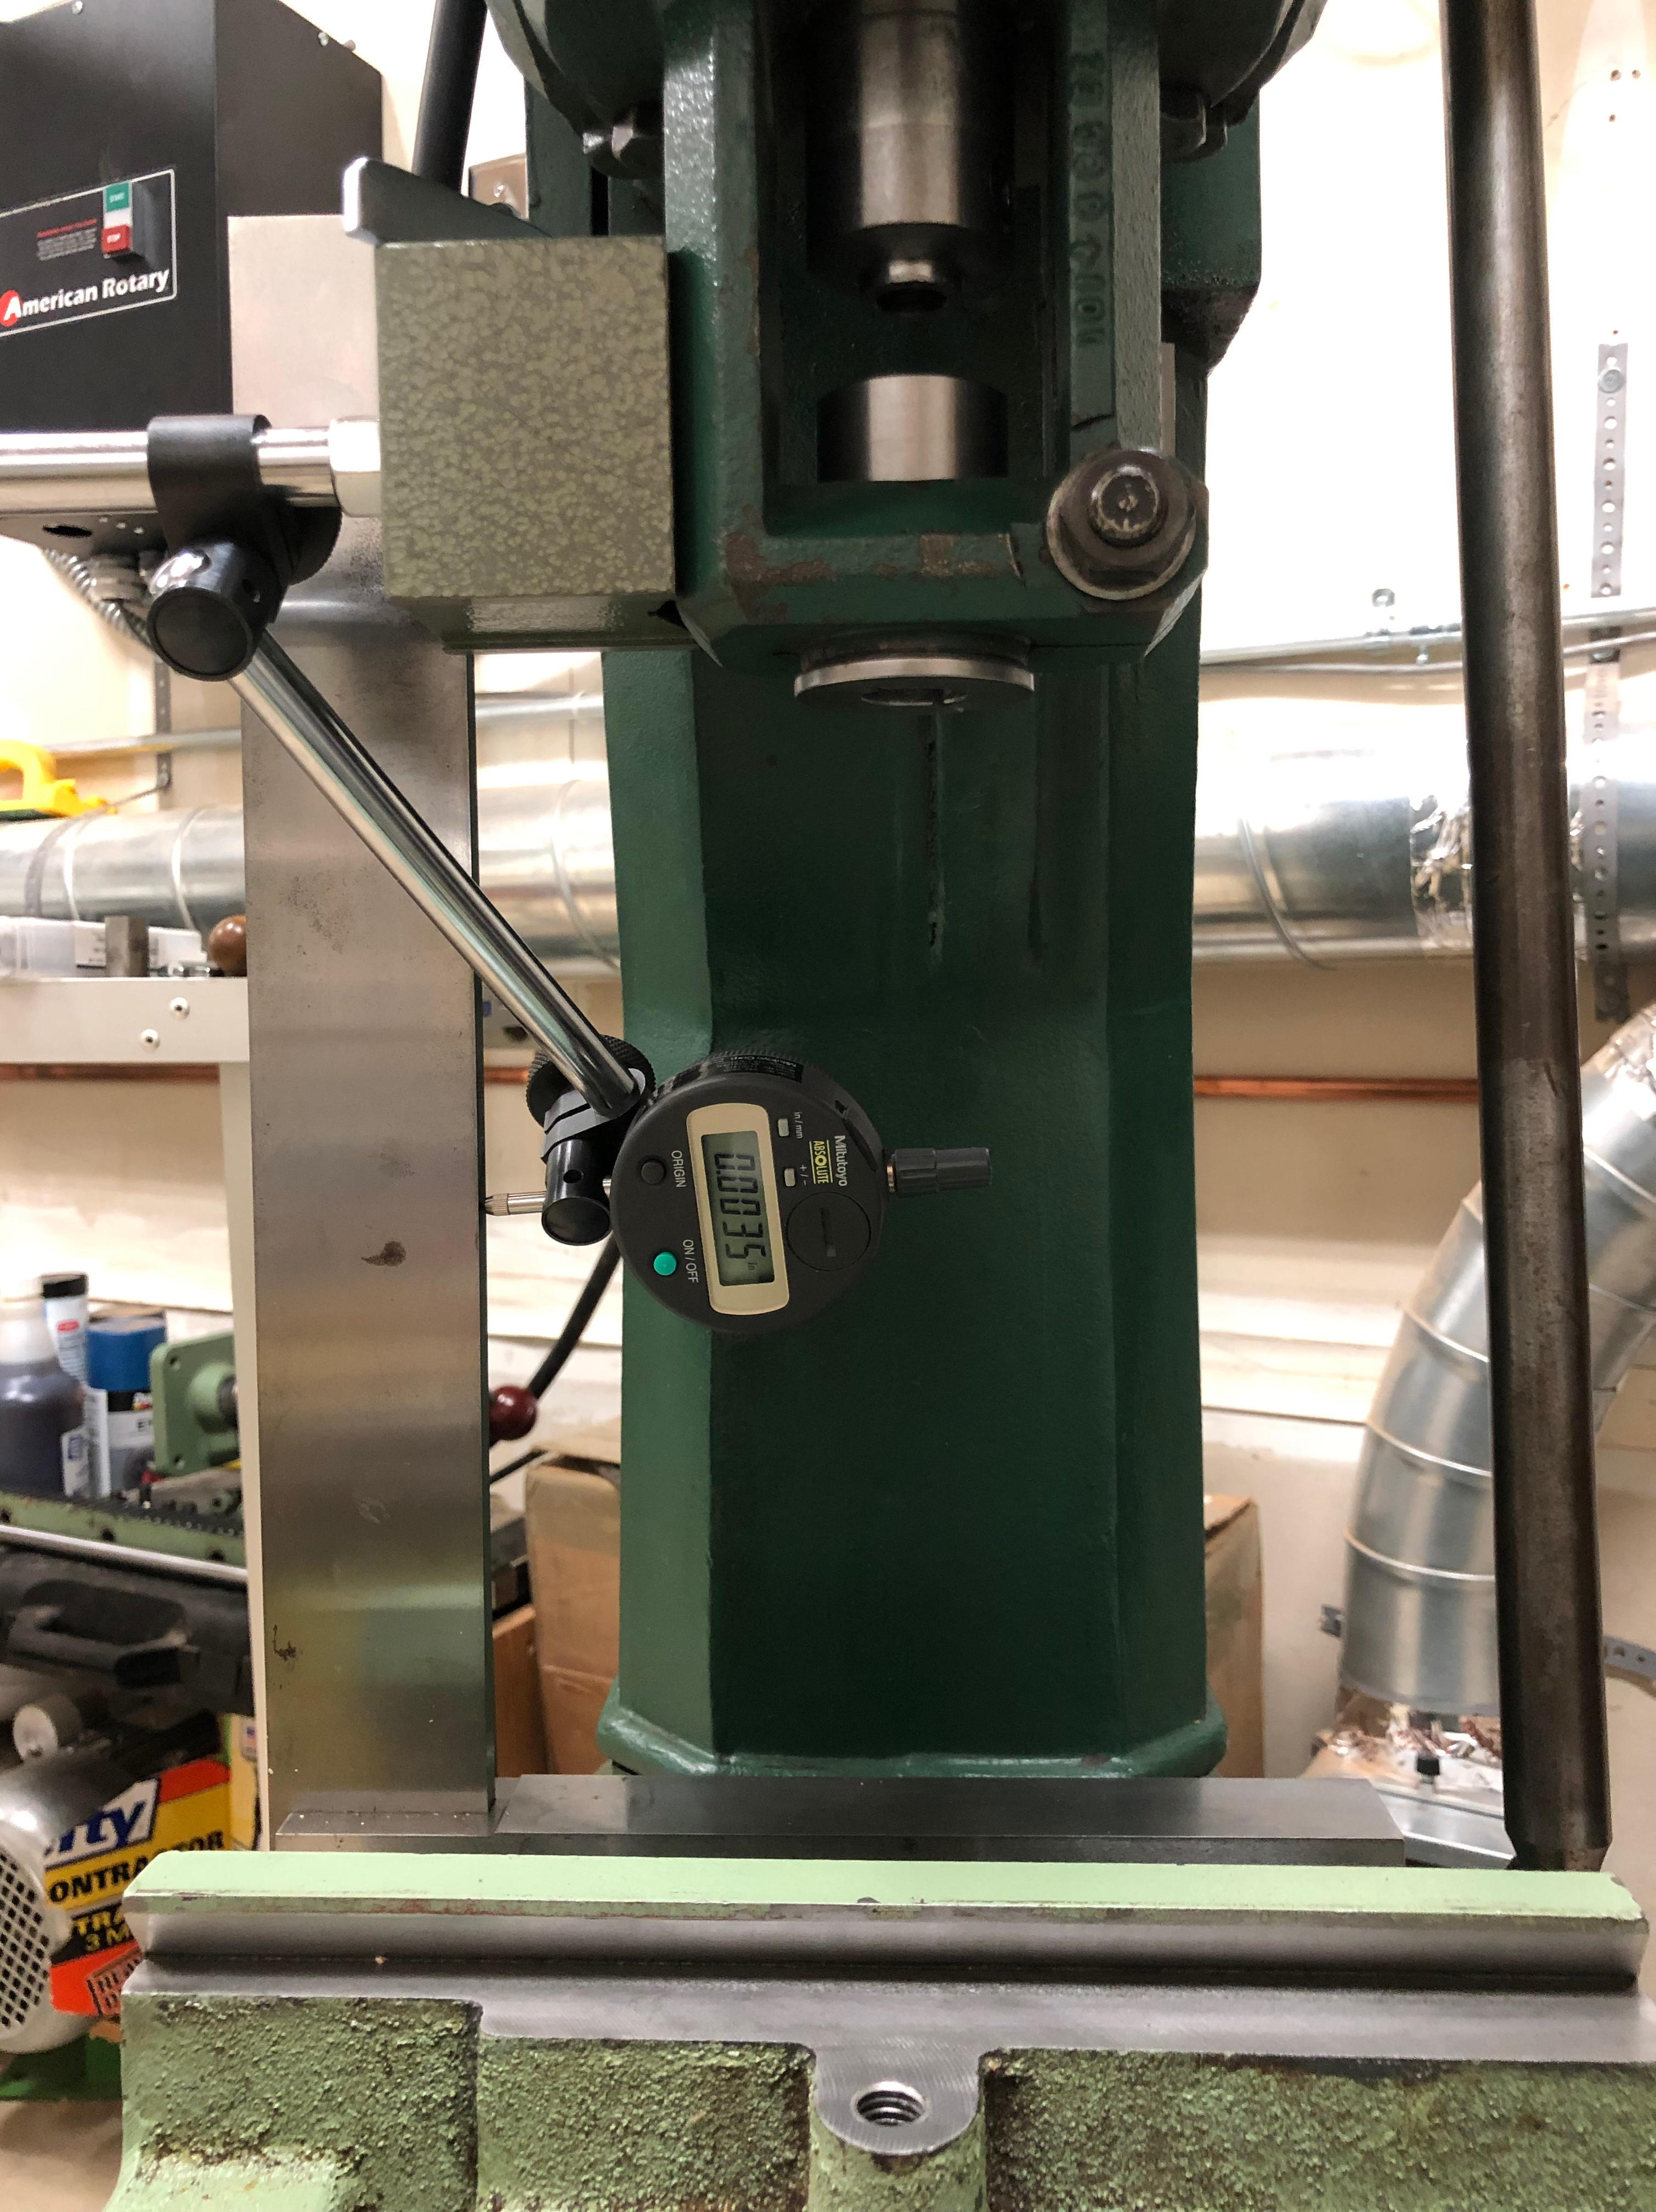
I'm traveling the head the entire length of the machine's travel, which is a lot.
.0035" tilted along the side, I was able to manage .000" along one way front to back and .001" along the other.
I ultimately decided it would be best to shim the column, I stuck two round shims front and back along the offending side.
The back remained slightly out still, but something I can live with
I reinstalled the saddle after deburring everything, an important part of inspecting.
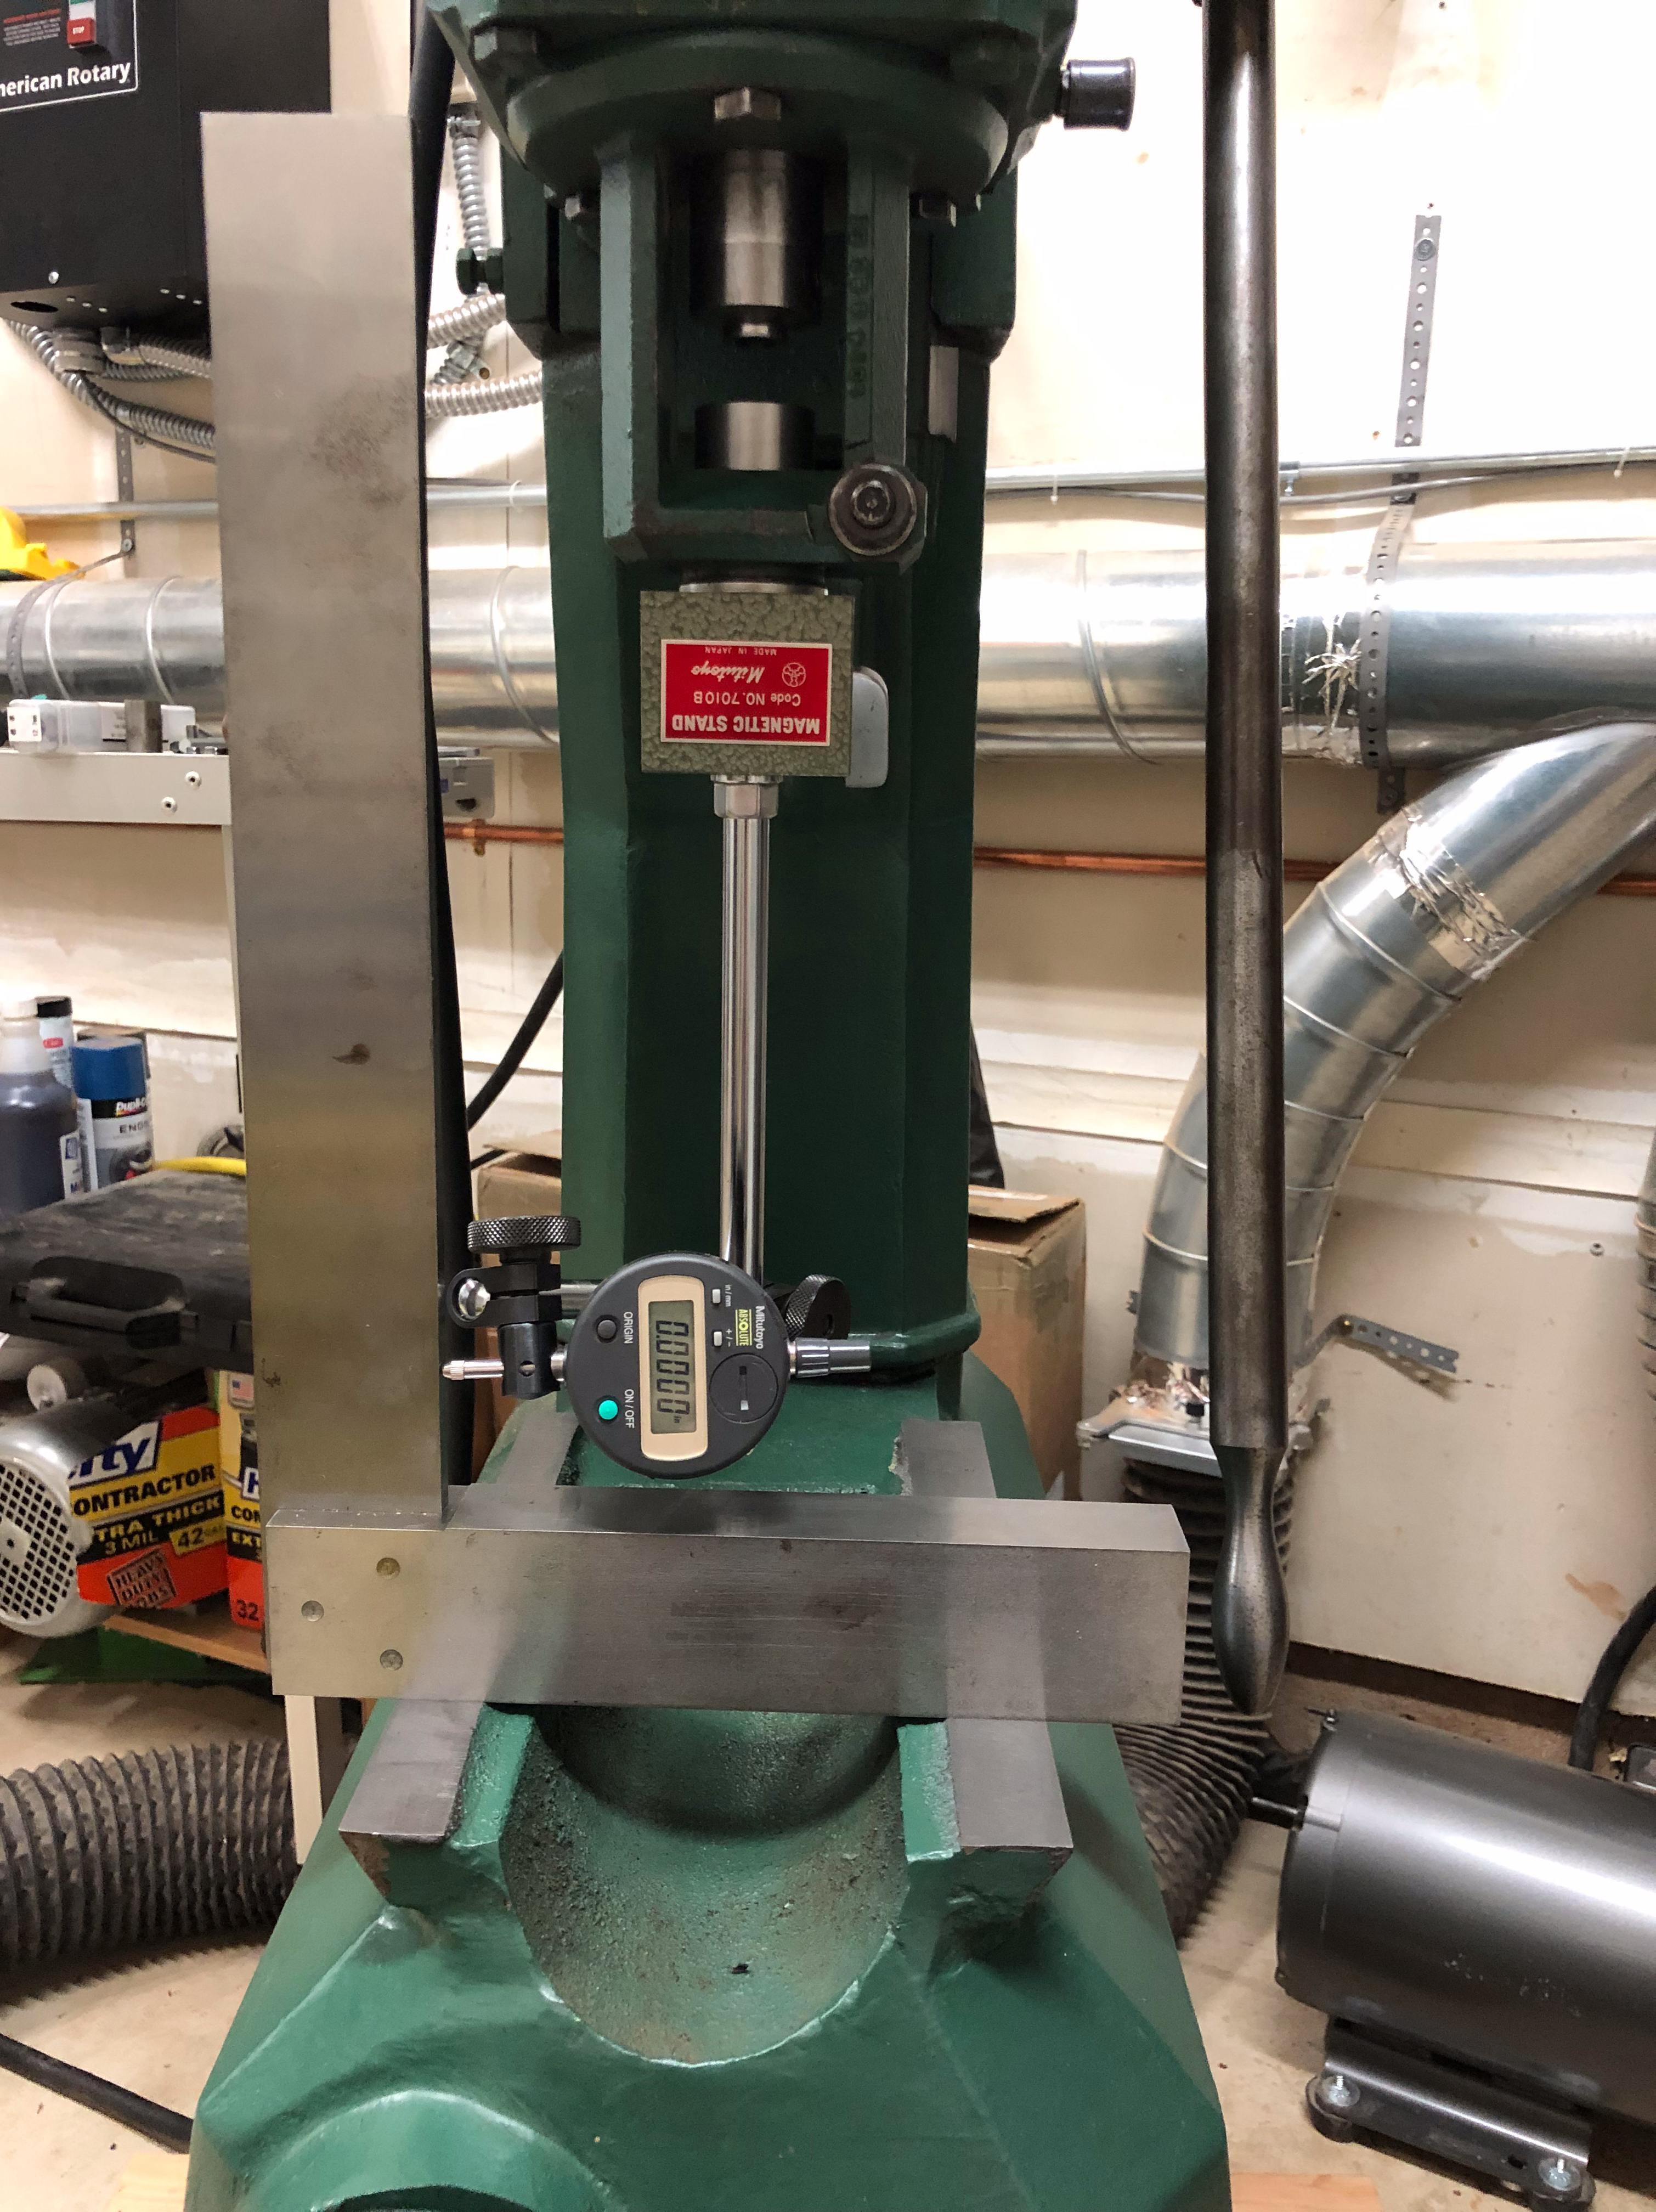
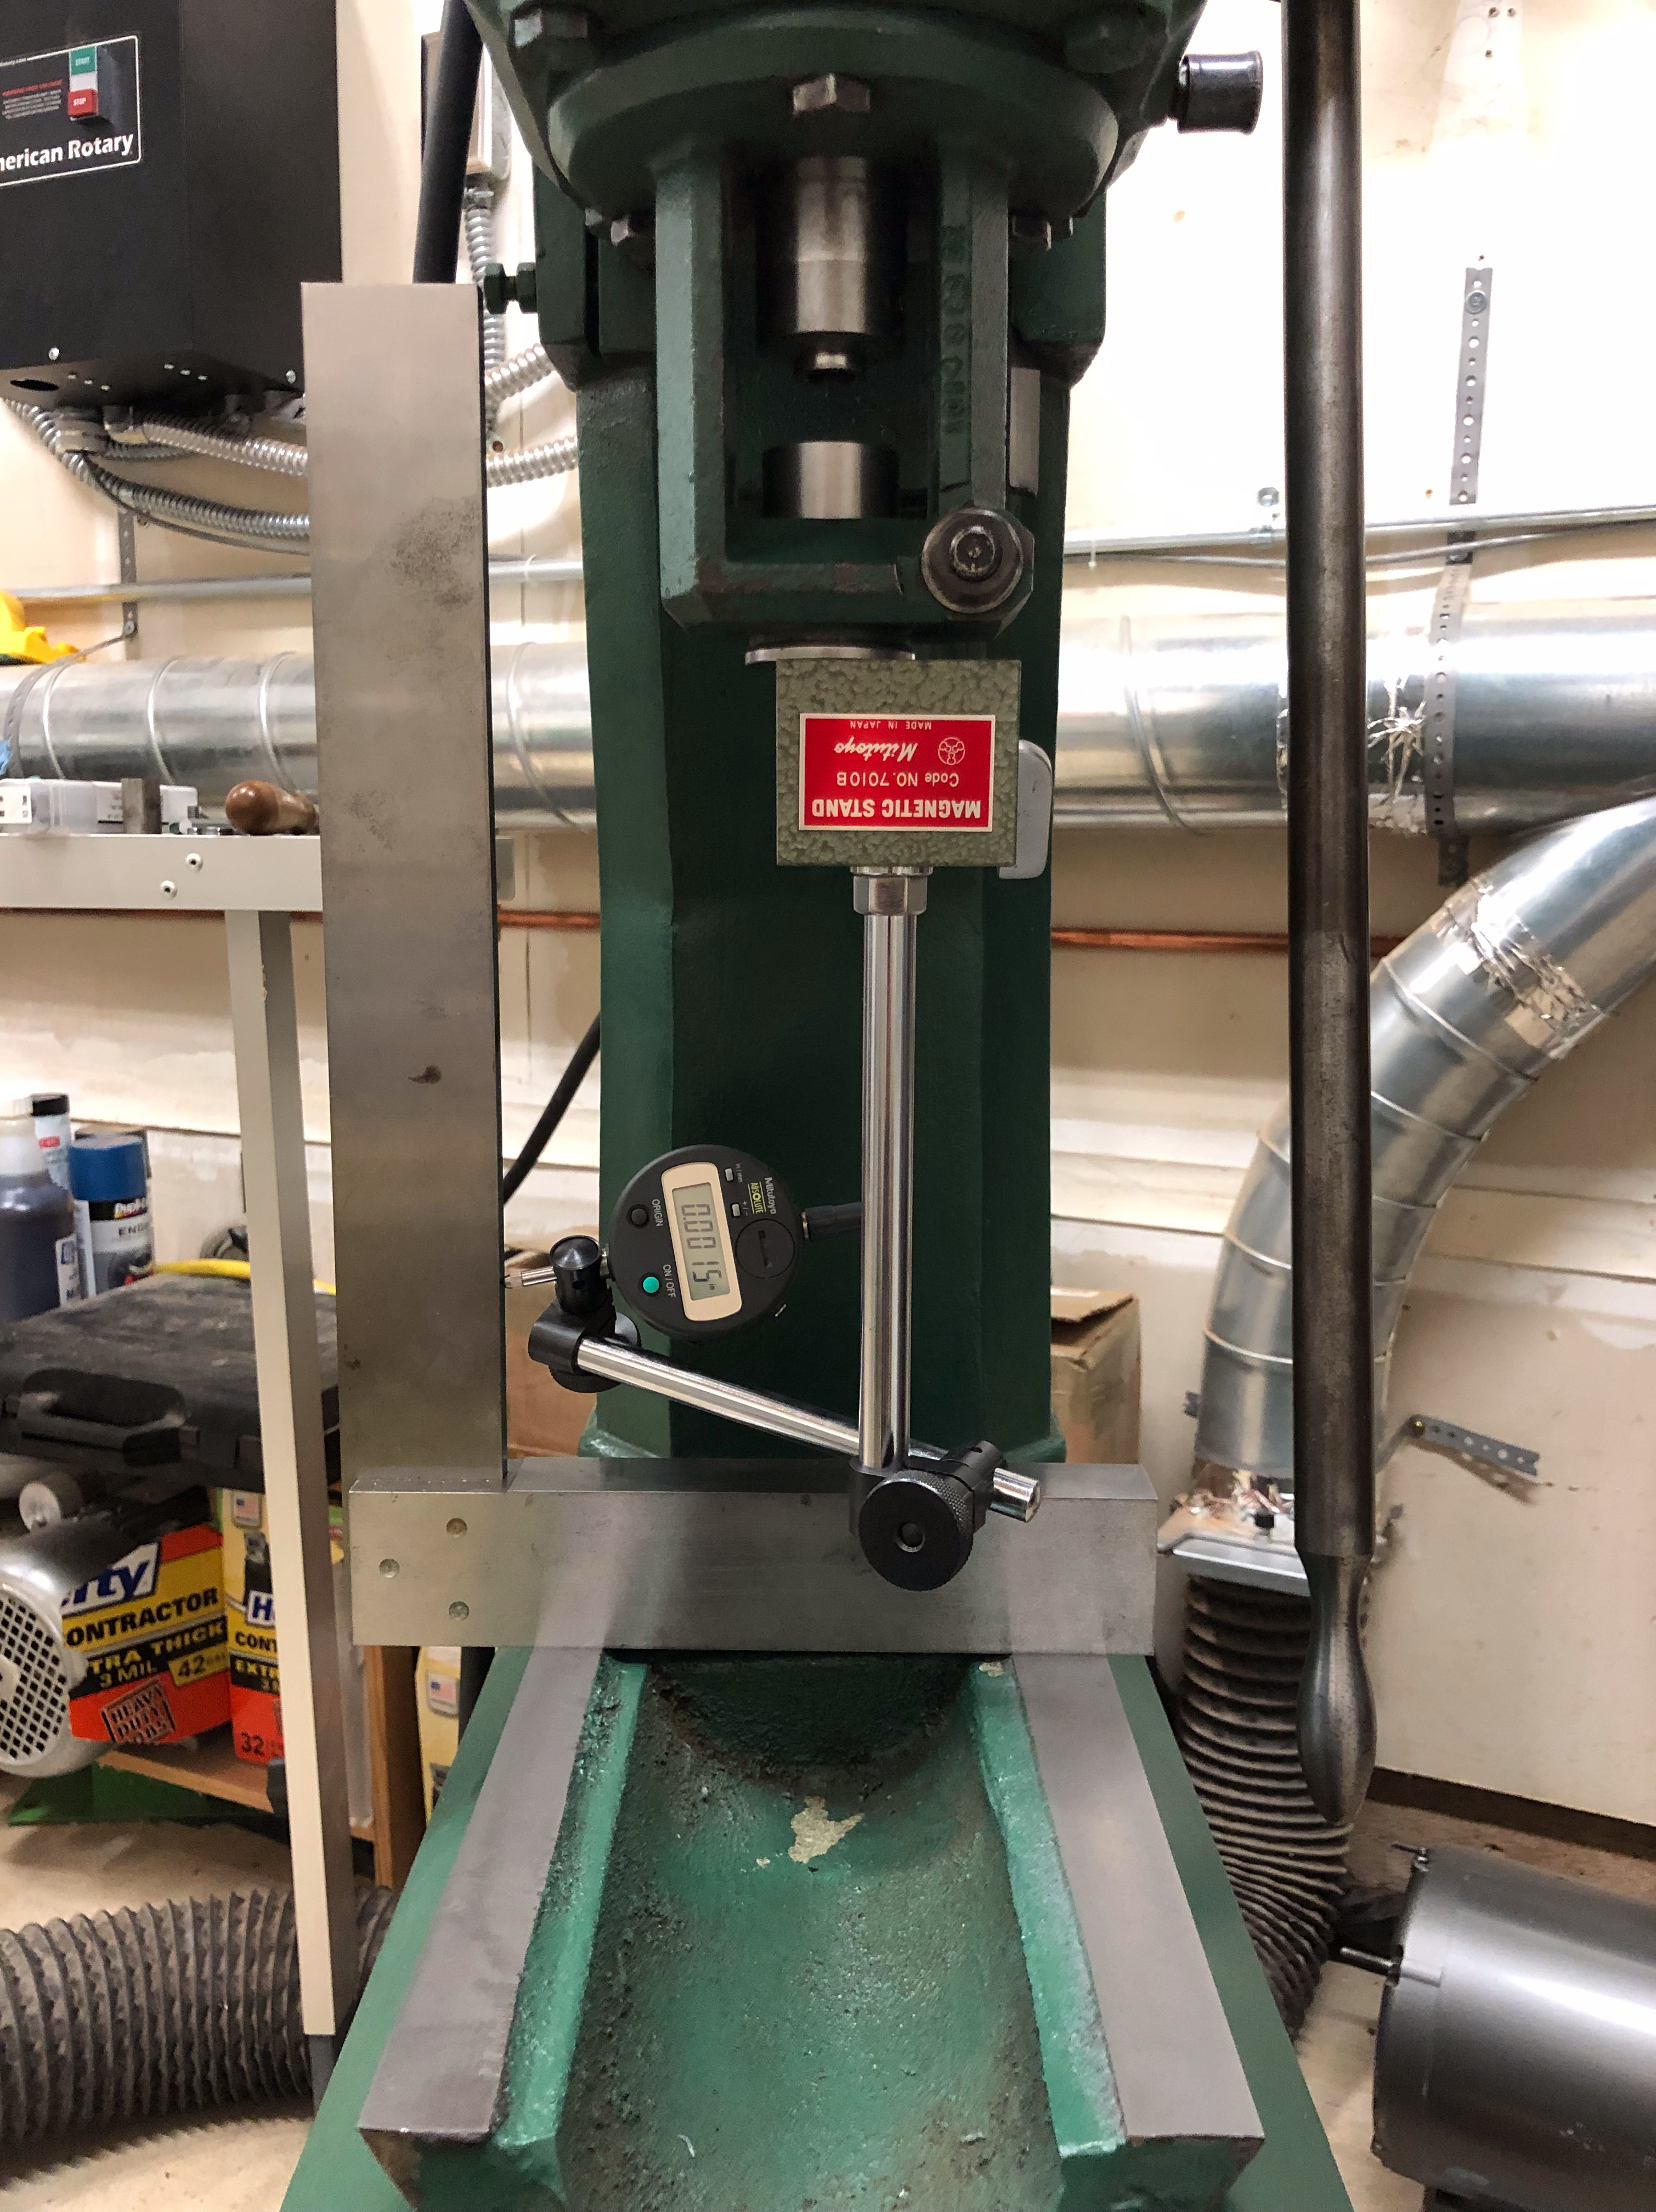
The outer gib screw was out of proper adjustment, bringing it into adjustment allowed smooth travel and brought the surface into tram, almost. That .001" bump in the center is showing itself here. Inspection grade blocks are used to raise the square.
Before adjustment above:
After:
While the table is out I will check the chisel holder to see if it is centered to the spindle and parallel to travel. I will also inspect the collet holder for runout both inside and outside.

 Reply With Quote