First part of this build is here in the cave as a separate post. This is a quick update on progress with decorative pegs, assembling the carcass and baseboard. To me most obvious decorative feature of Greene & Greene furniture are the contrasting decorative pegs, typically used to highlight exposed joinery and horizontal lines (e.g. cloud lift). Original is Walnut (I think?) With ebony pegs. These 2 are quarter sawn white oak with cocobolo pegs. Intent of these 2 chest was to make something a little smaller, lighter than the original, which might be more appropriate for my twentysomething nephew who lives in a small apartment.
The most critical tool in this project is what looks like a 3/8 square mortising chisel attachment for a mortising machine basically a sturdily made square chisel (suitable for hammering) with central access for a corresponding drill bit. Sorry I cant remember what this tool is actually called I got this from Lee Valley. I think in total these 2 chest have about 70 of these mortises and corresponding pegs and chopping all those mortises square without this tool would have been a lot harder.
I ripped the 3/8 inch square cocobolo pegs stock on the bandsaw a little over size and then you send paper glued to the reference board to establish the bevels and sand to a tight fit. I also ran the pegs stock through buffing wheel on the drill press just to create a nice shiny surface I hope contrast well with the QSWO.
I wanted to create a reveal so the bevel of the pegs was level with the show surface of the carcass. Probably wouldve been good idea to use some jigs/drill press to establish consistent depth of the mortises, but of course I didnt do that which resulted in quite a bit of trial and error to get a good fit. Lessons learned: better to leave the pegs a little long than a little too short, and dont use too much glue as cleanup on beveled edges of the pegs/adjoining surfaces is a pain in the ass.
After gluing the pegs used a card scraper on the carcass sides as final cleanup before assembly. The ray flecks in the QSWO had quite a few areas of reversing grain. As much as I love the mystique of getting a final show surface from a well-tuned smooth plane, card scraper yielded my best results. If I were teaching a hand tool class learning to sharpen/use card scraper would be one of the 1st/highest ROI things to cover.
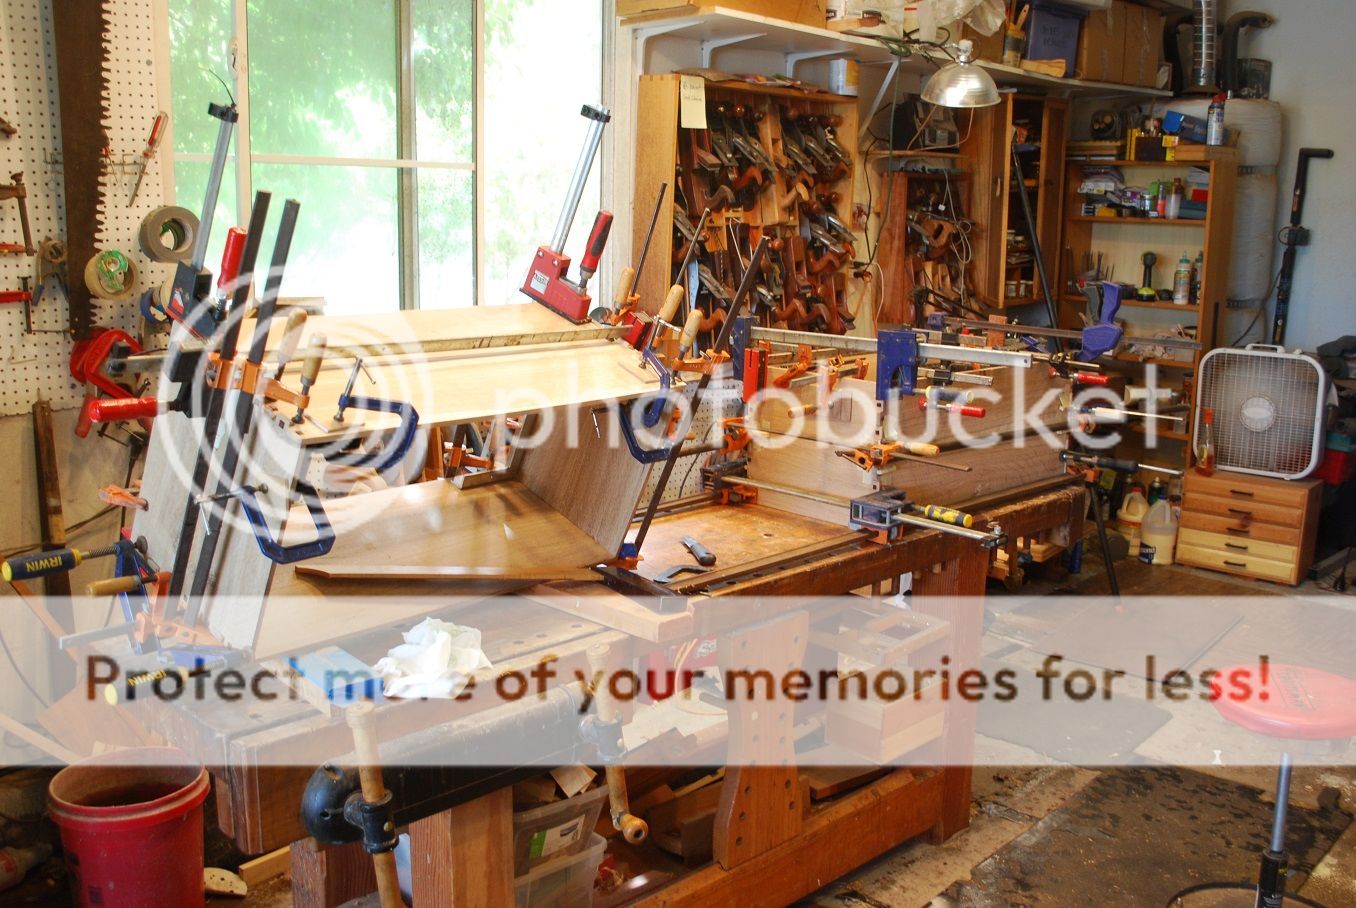
Glue up was the usual frenzy of all hands on deck. IMHO, 90° aluminum angle iron/plastic squares you can use on the inside of carcass to square things up at glue up are invaluable.


 Reply With Quote