


I am in the process of completing the Harlequin Table. I will post the finished piece in a couple of days. Here are a few pictures of making the drawer bottoms for the slips, which may interest a few.
Bill was not enamoured with the slips as they has this ruddy great groove down one side. That was a too-wide quirk from the beading blade. Not to worry Bill, I cut that section away, leaving just the bead.
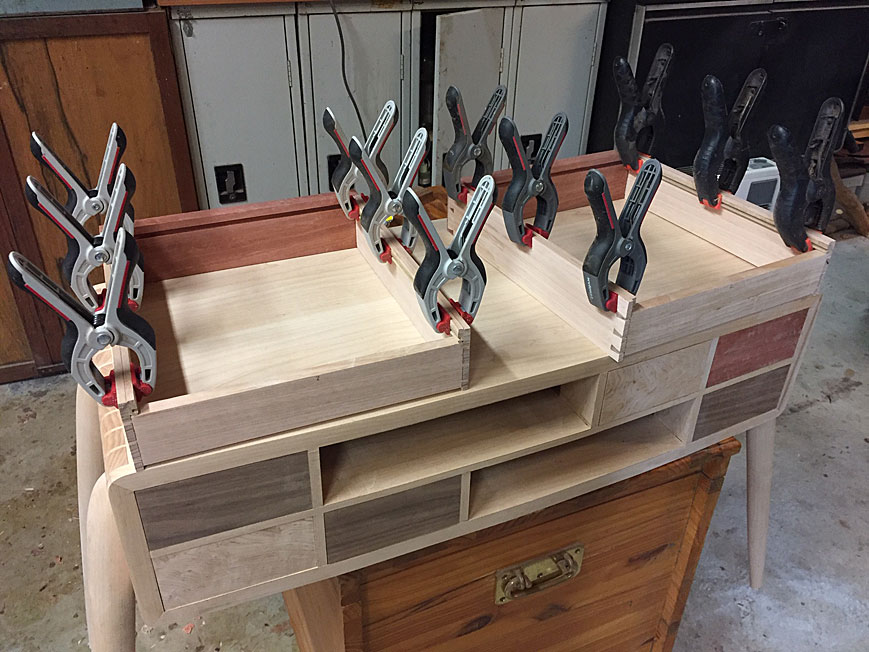
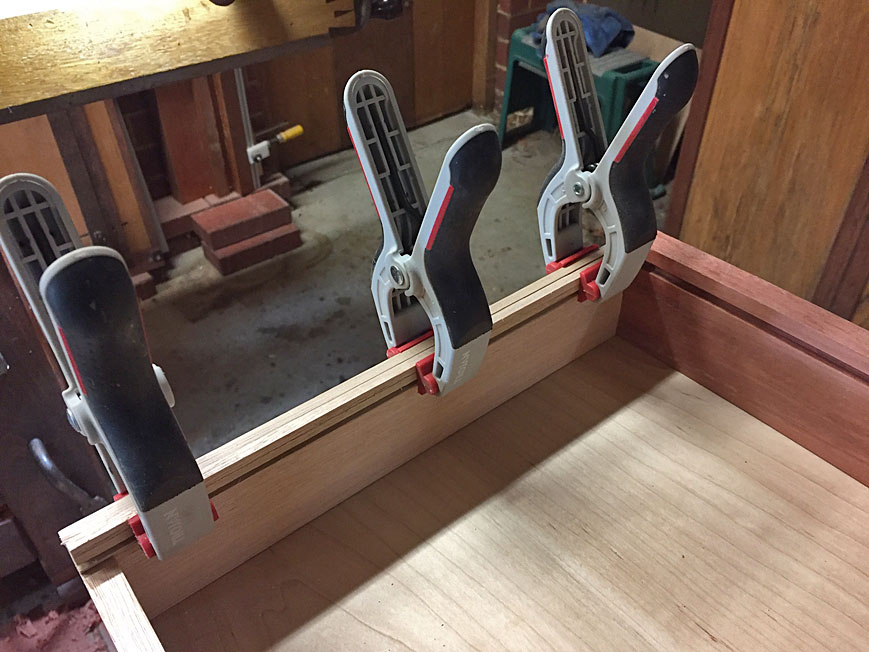
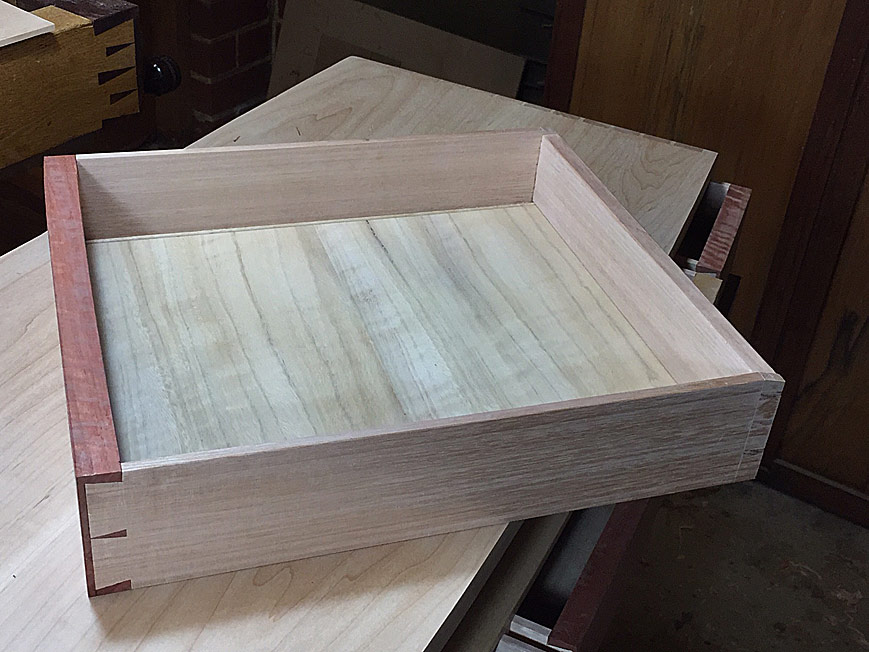
Here are the slips being glued in ...
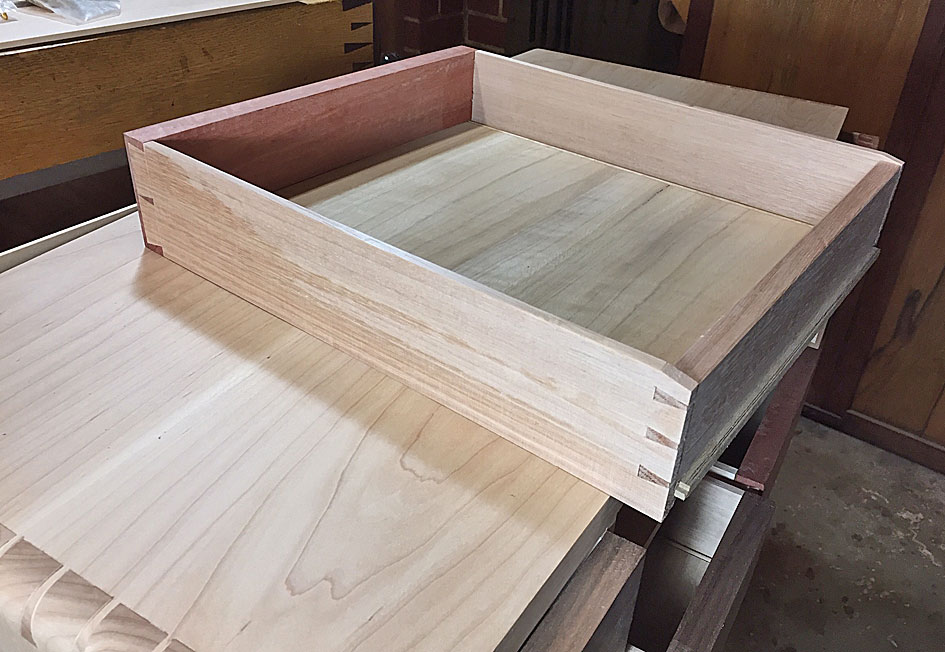
The drawer slips and bottoms are Tasmanian Blue Gum. The drawer sides are Tasmanian Oak. Both are 1/4" thick.
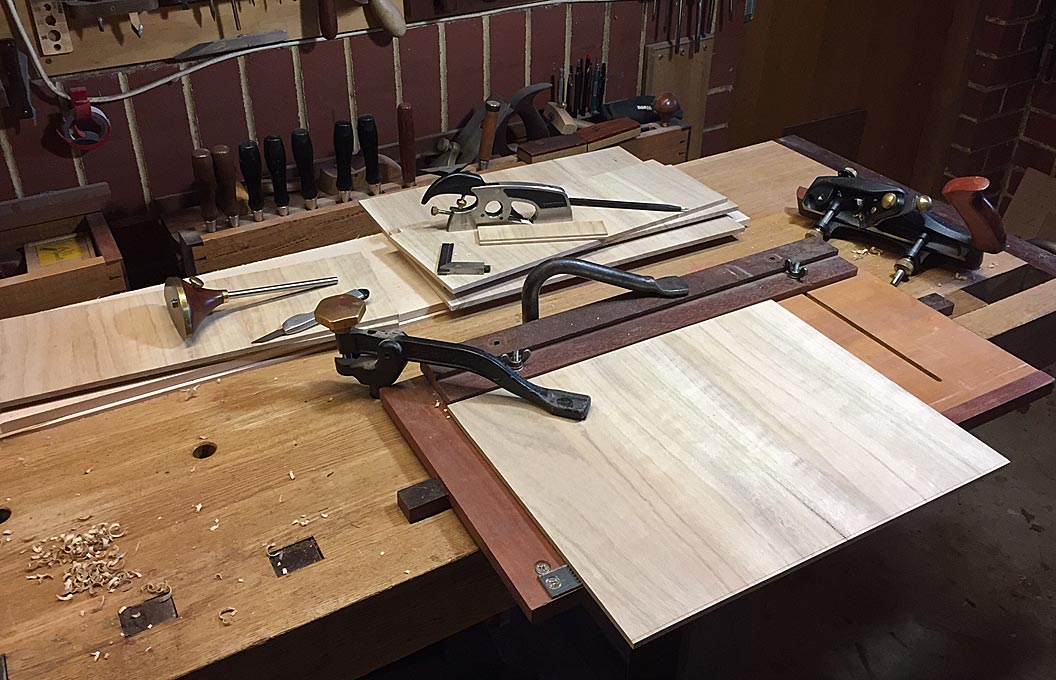
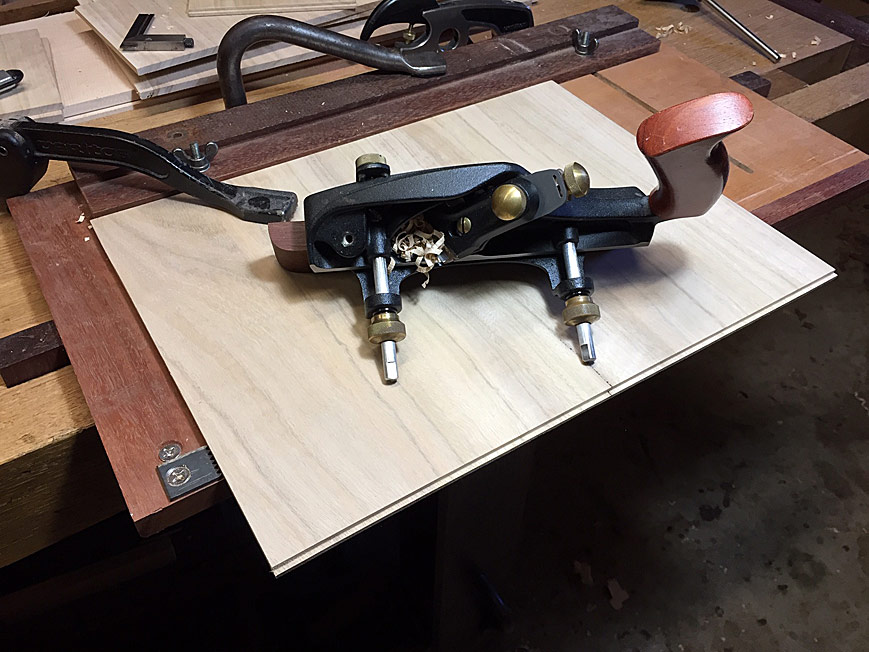
The groove in the slip is 1/8" (3mm). The slip requires a matching 1/8" rebate. This was planed with a skew rebate plane on a sticking board ...
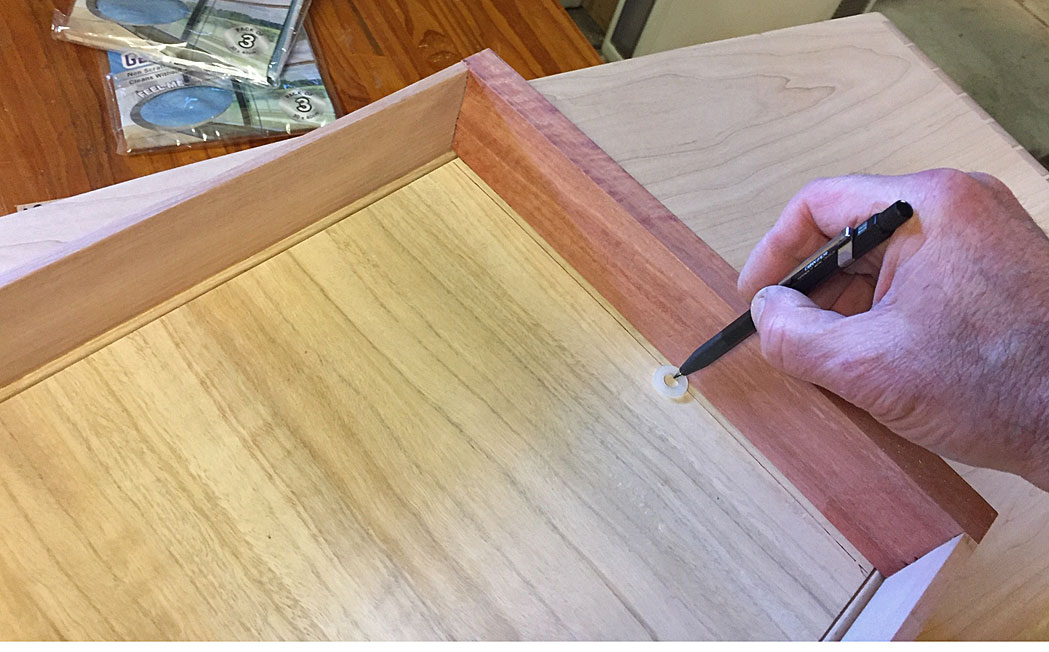
Although the plane has a nicker, I always scribe the line as well ...
It is worth the effort to set up the rebate plane for a precise cut ...
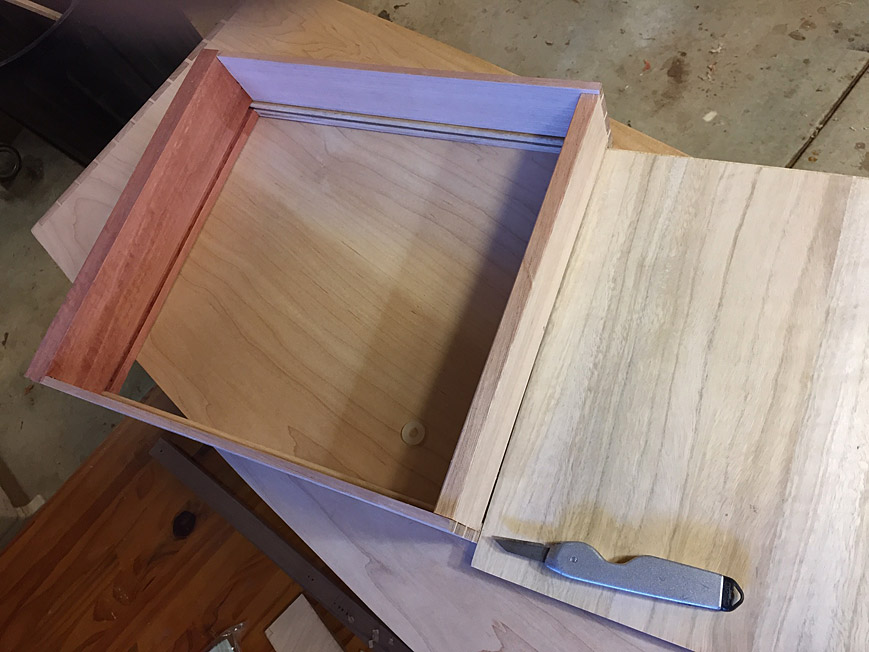
Once the one side is done, slide the tongue into the groove of the slip, and mark off the width of the drawer bottom ...
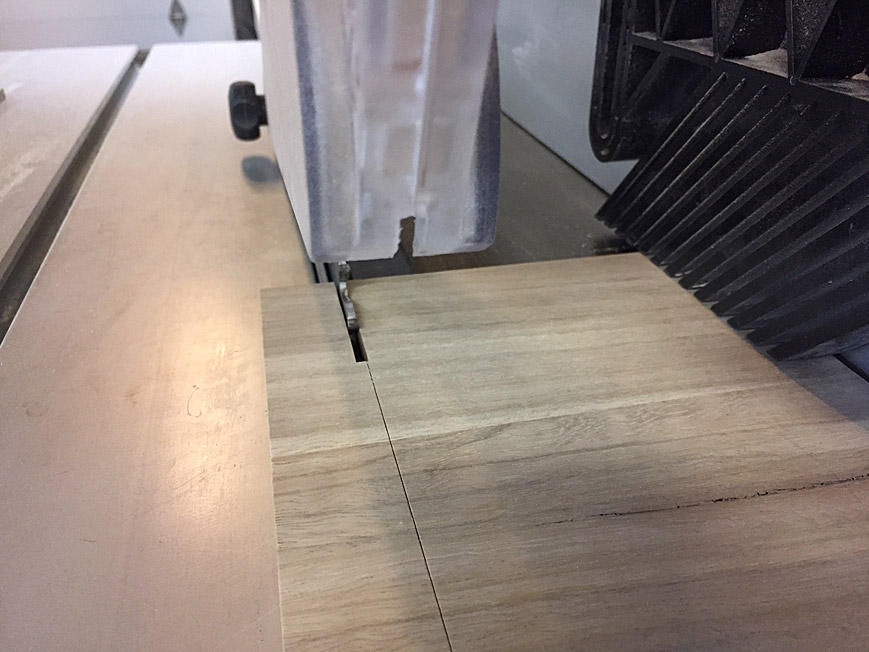
Then saw to width ...
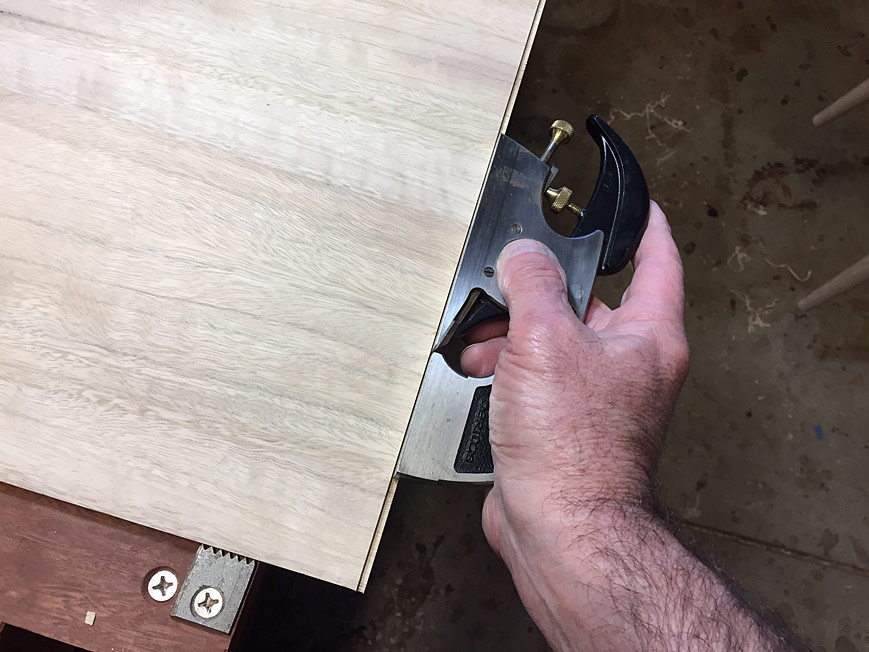
Any fine tuning is done with a shoulder plane ...
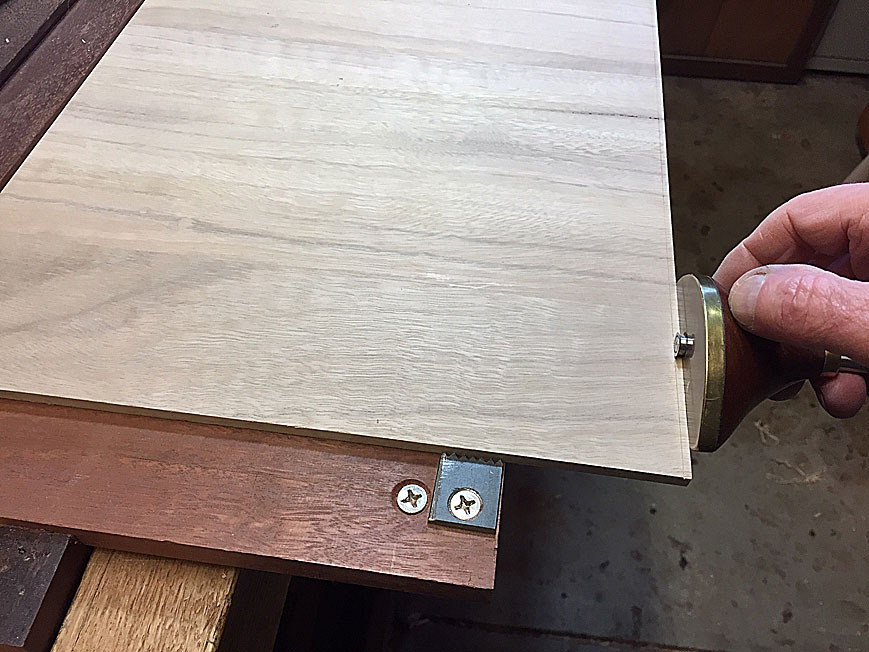
The drawer fronts are all curved, and the drawer bottom must be scribed to match this ...
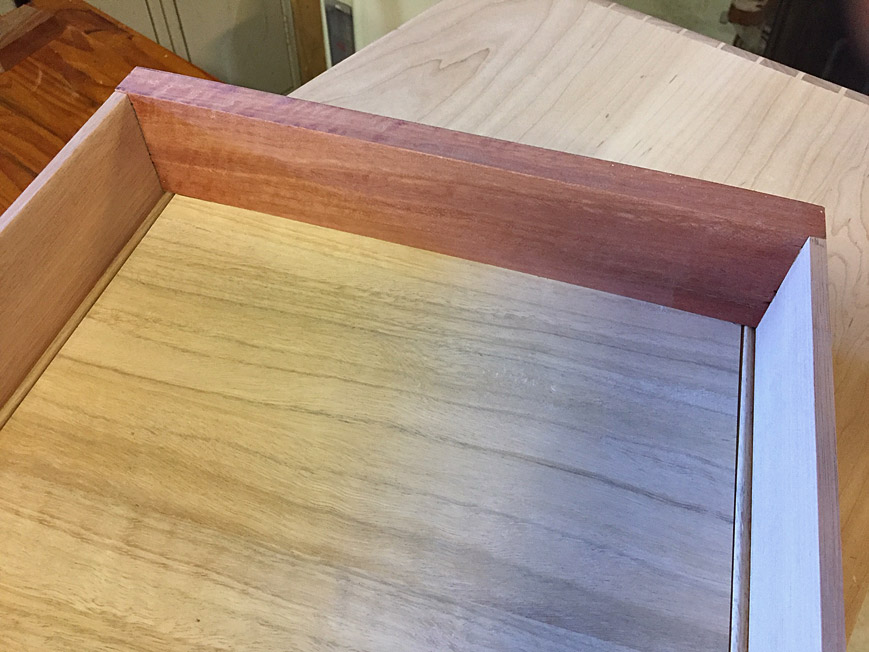
Here is the fit behind the front of the drawer, and the match with the beaded slips ...
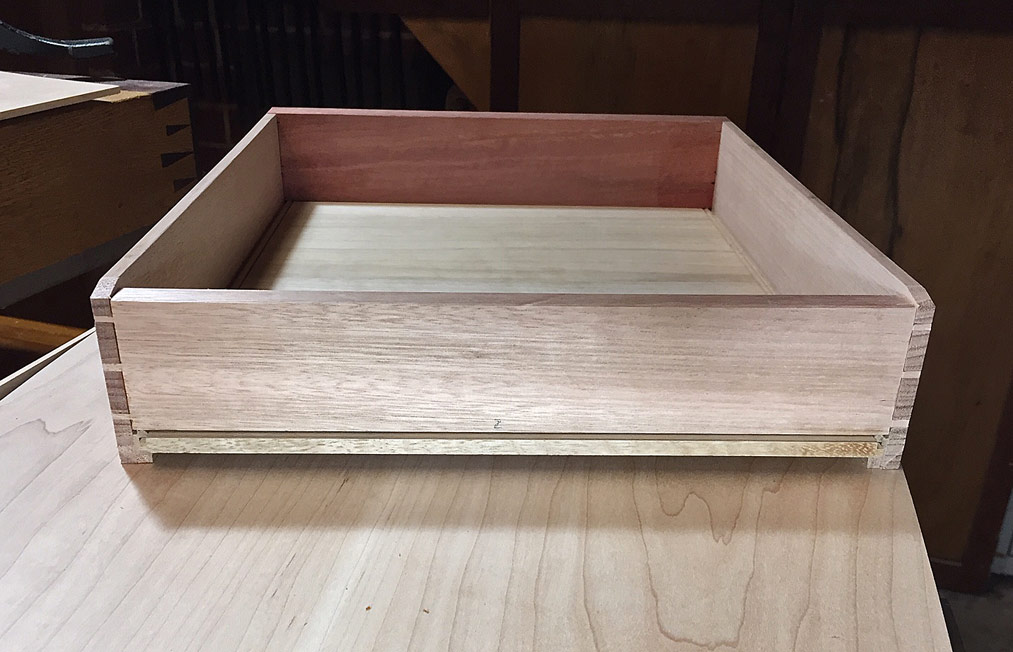
The rear of the drawer, with the added bearing surface from the slips ...
The profile of the drawer sides ...
Until the final pics ...
Regards from Perth
Derek

 Reply With Quote