


My wife requested a side table for the family room. This will be situated between two arm chairs, and replace the small table (which is too high and dominating) ...
Not just a side table, but it also needed to house her needlework thingies. In other words, shallow drawers for cotton reels and sewing kit. I played around with several ideas, and eventually came up with a design that borrows a little from a piece I recently made for a nephew.
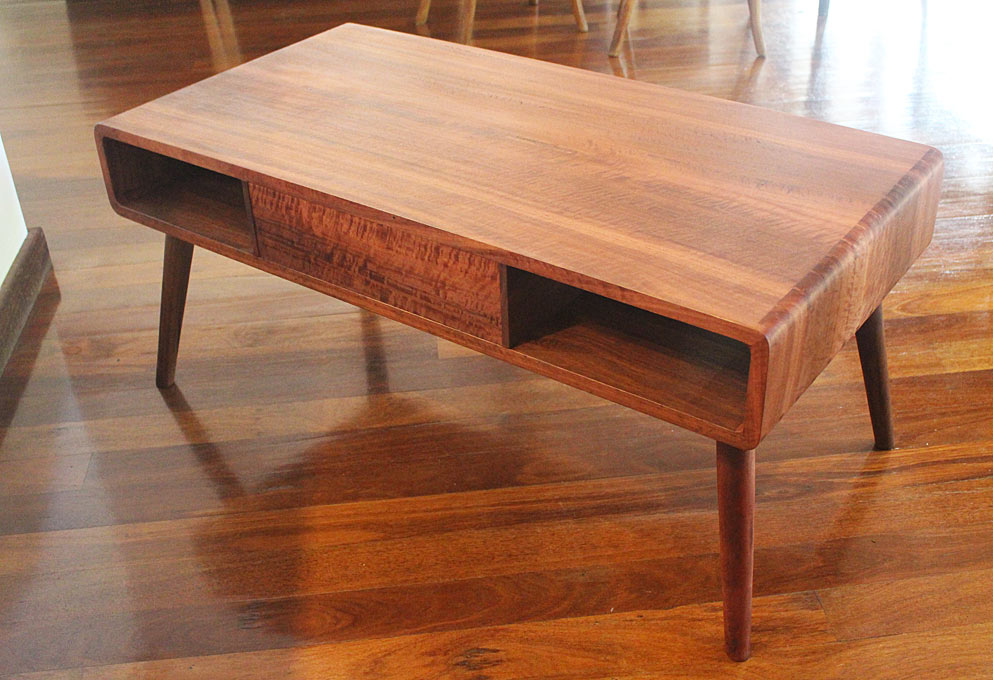
Lynndy liked the softness of the rounded dovetails and overall dimension of this coffee table I built some months back ...
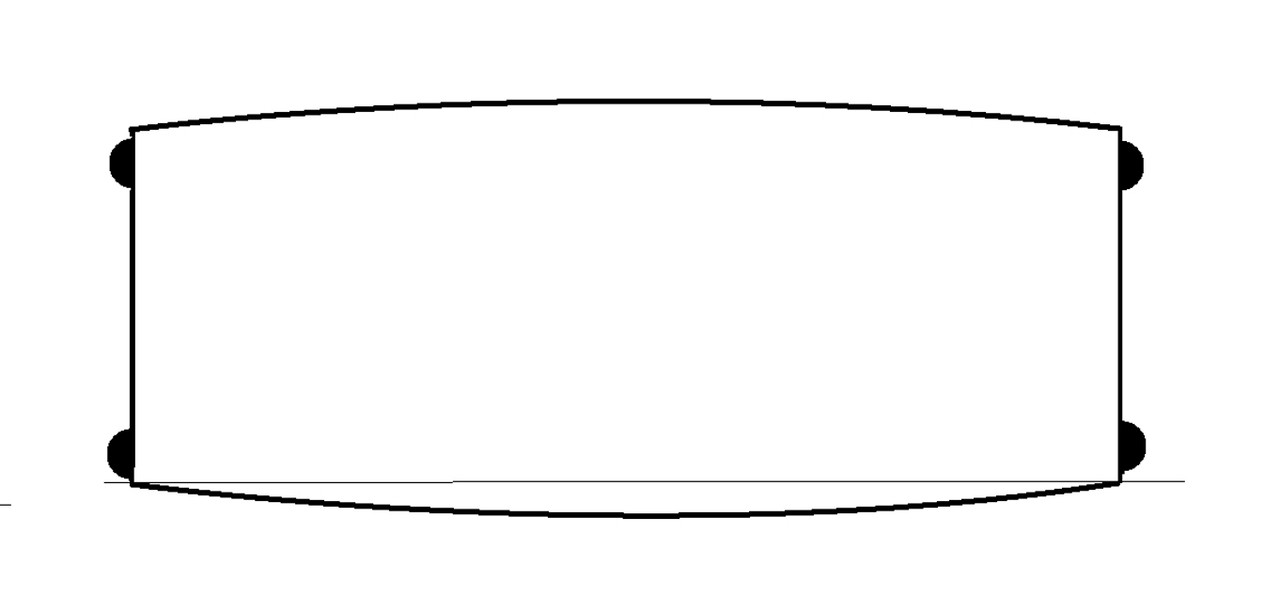
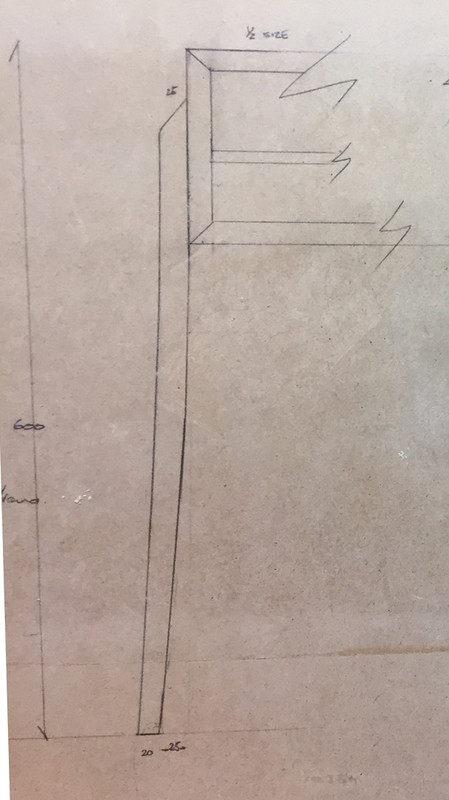
The plan (looking down) would be to create a curved front and back, with round, splayed legs to the outside (an alternative is a straight, tapered round leg) ...
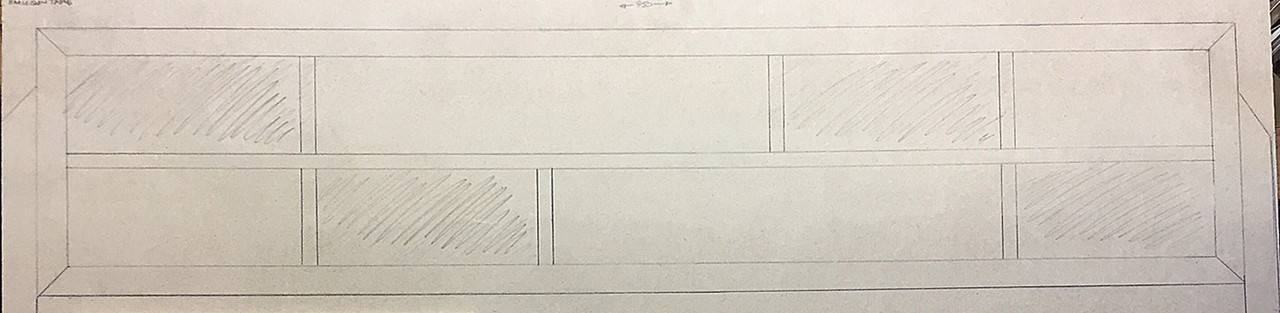
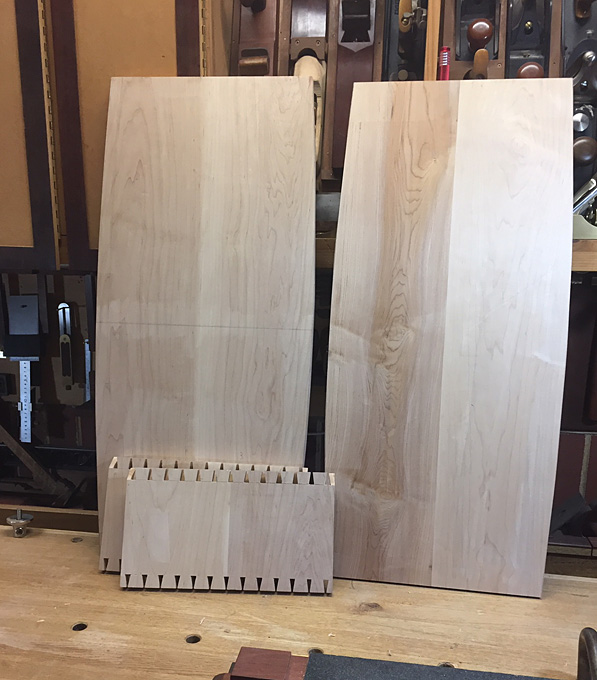
In contrast to the Jarrah in that piece, the carcase will be built in Hard Maple, dovetailed and mitred at each corner. It will feature 8 drawers. All drawer fronts will curve as well. The reason for "Harlequin" in the title is that the drawers will be a mix of woods, as depicted in the elevation of the drawer section ...
A harlequin design is often thought of as a diamond pattern, but does also include a rectangular checkerboard. Anyway, it's just a name, and I like giving my pieces a name
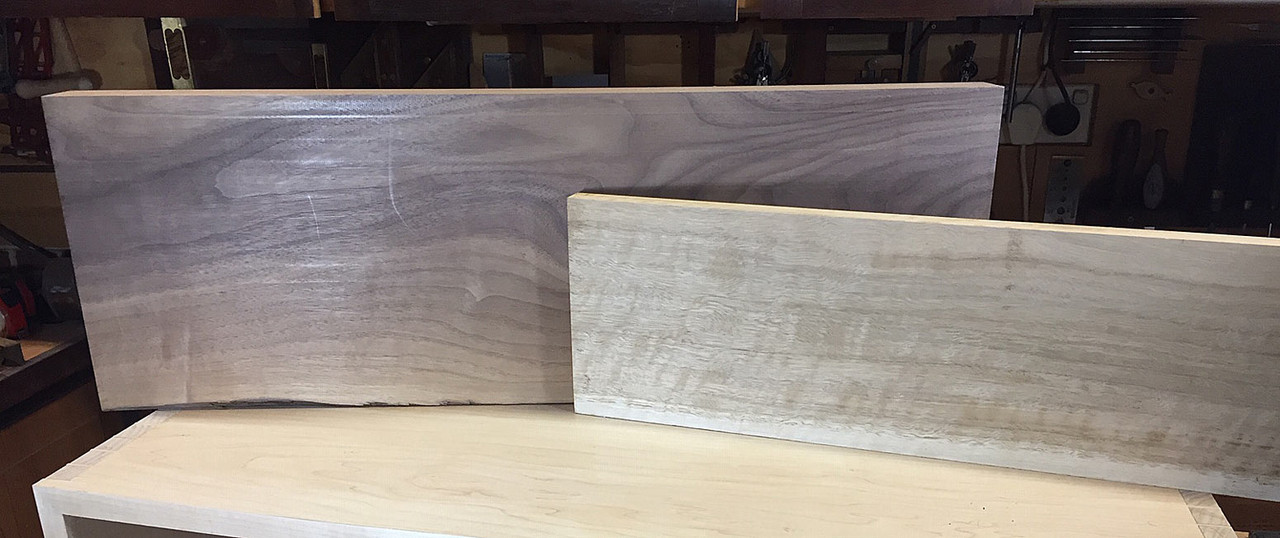
At this stage I have chosen for the drawer fronts Black Walnut and Blue Gum. I may also add in Hard Maple. Always interested in your thoughts here. The Blue Gum is lighter than the Black Walnut and is a good foil against the Hard Maple …
The legs will taper and curve from the carcase, attached with a loose mortice and tenon ...
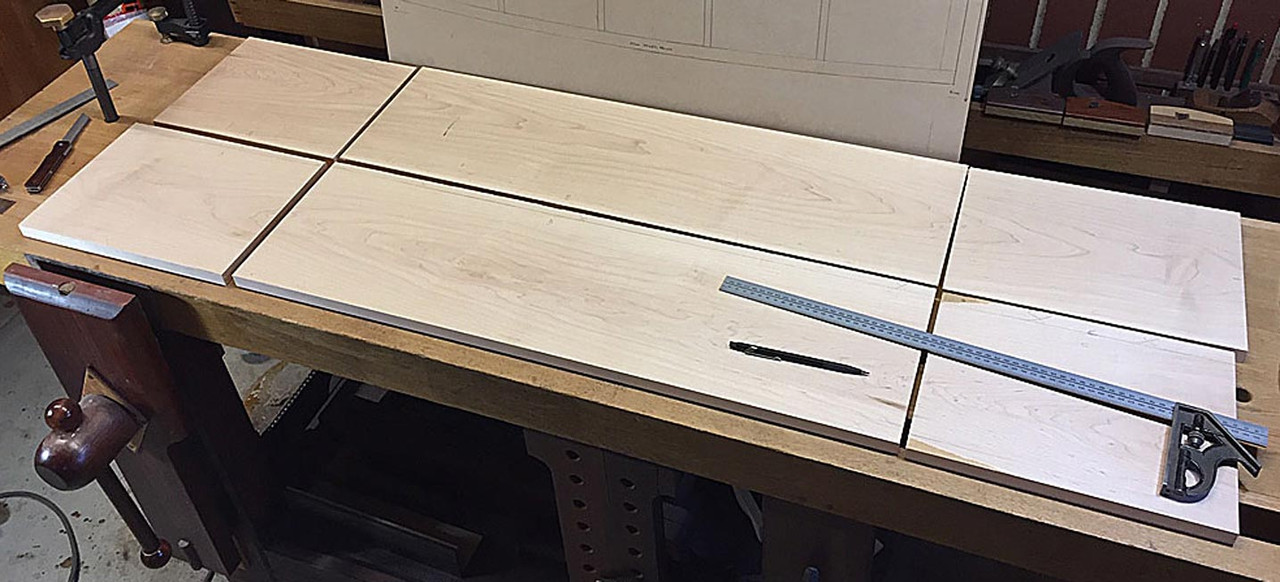
The sides and top were arranged so that the grain flowed continuously. The carcase is 20mm thick, 800mm long and 350 at the wide, centre point ..
The initial dovetail plan was to keep the boards parallel and saw the curves later. It became apparent when joining the first set that this would not work ...
.. there would be too much at the sides to mitre, and so I decided to shape the top and bottom panels at this stage rather than later.
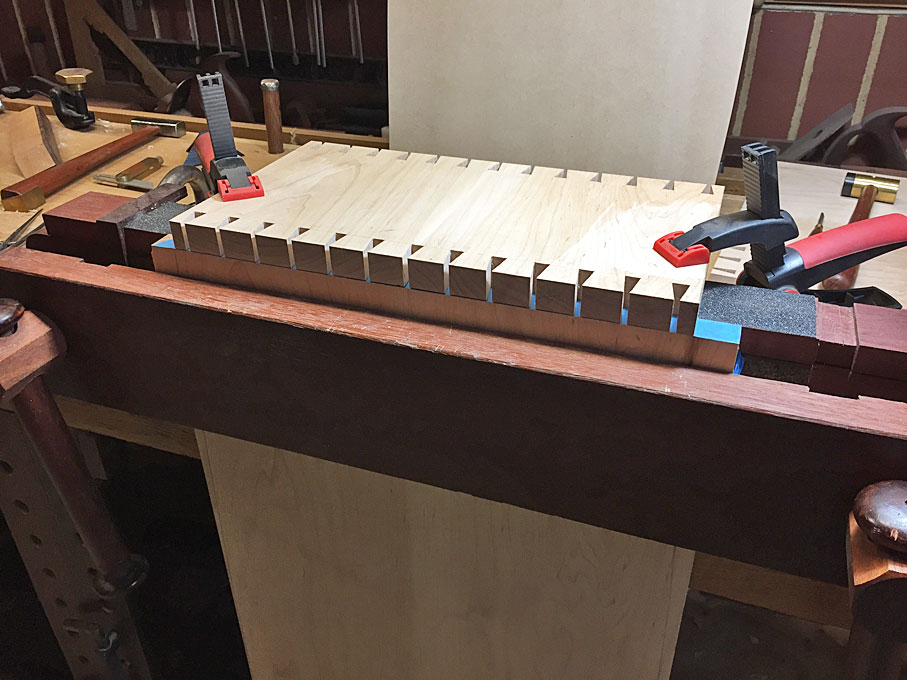
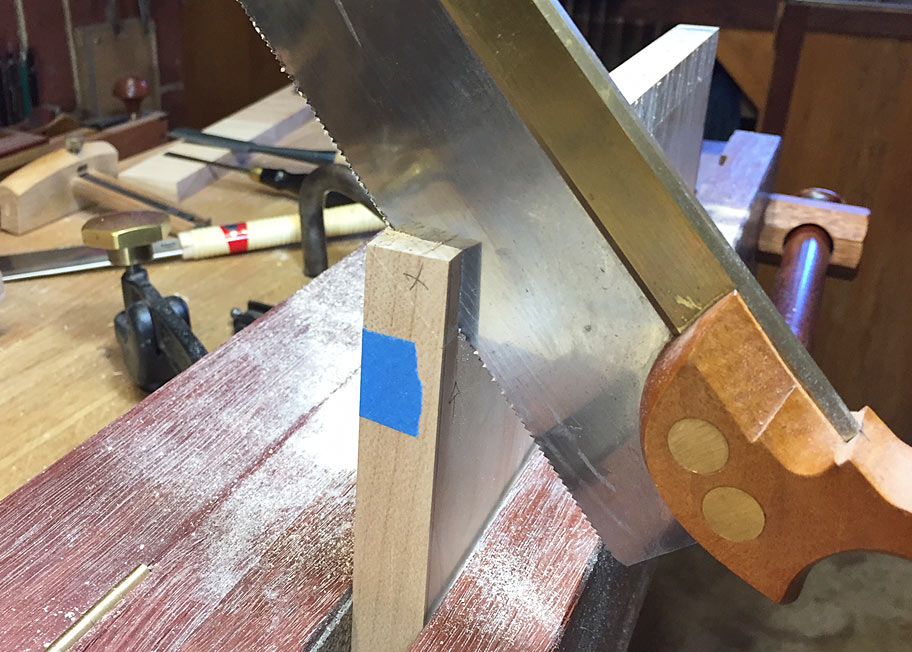
This was the first opportunity to use the modification I made to my Moxon vise (see article: http://www.inthewoodshop.com/ShopMad...MoxonMods.html). It now enables the pin- and tail boards to be clamped together to aid in marking out (see earlier photo).
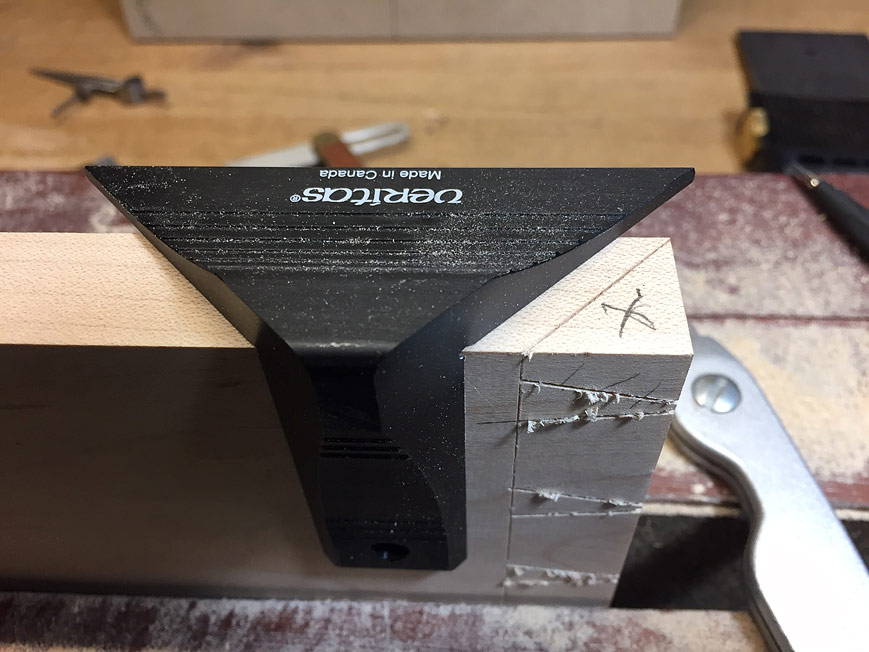
In marking out for mitred corners, the side tails are not sawn out from the front ...
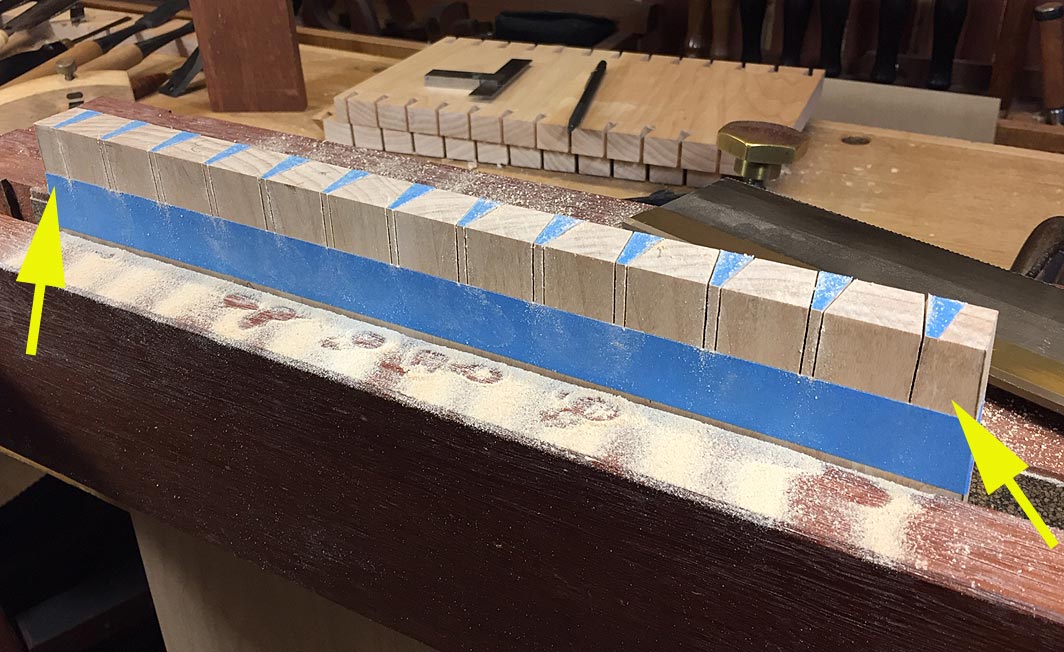
... the board is reversed, and the mitres are marked ...
... and sawn ...
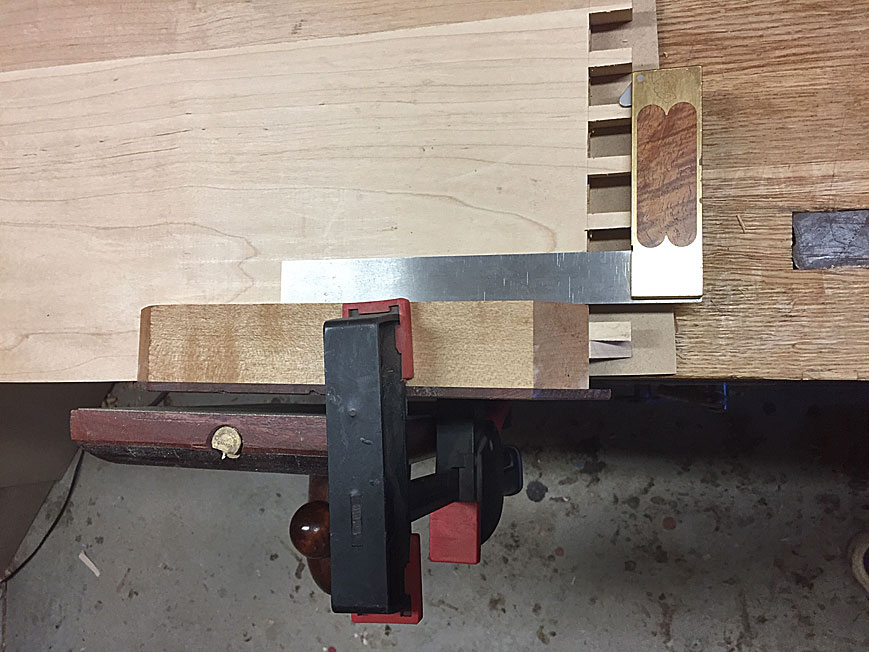
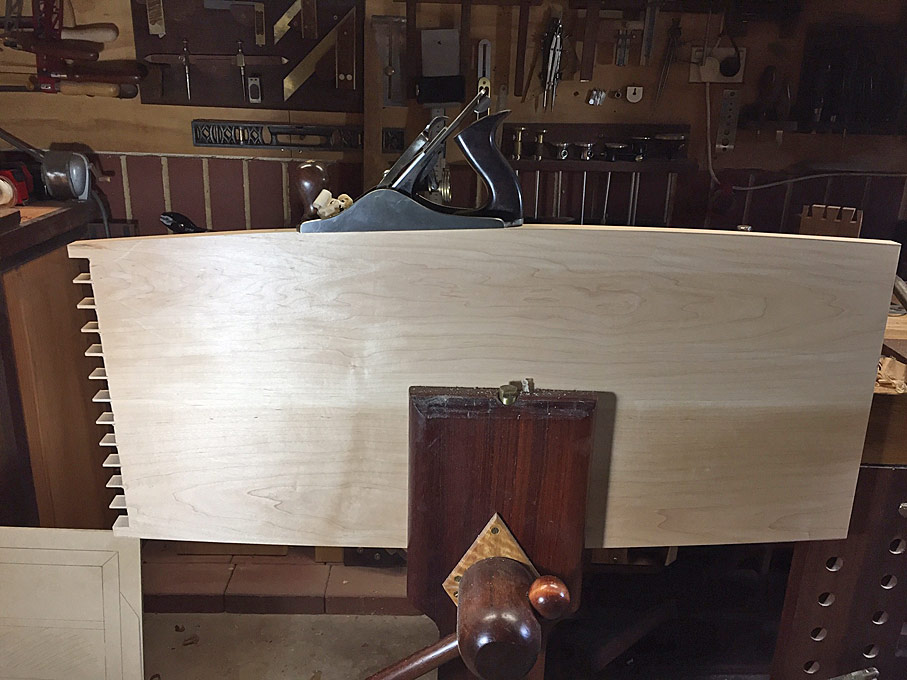
The reason I had wanted to retain square carcase sides was that it would make it easier to square the chisel guide for the mitres. I got around this by squaring them to the front of the carcase ...


 Reply With Quote