Page 1 of 2 12 LastLast
Results 1 to 15 of 17

Thread: Sheraton Table Build Part 2/Finished – Lots of Pics

  1. #1
    Join Date
    Feb 2011
    Location
    Carlsbad, CA
    Posts
    2,230
    Blog Entries
    2

    Sheraton Table Build Part 2/Finished – Lots of Pics

    This is the 2nd half of a build thread for a Sheraton style breakfast table with 2 fold up leaves. Rough dimensions are ~ 30” wide x 50” long x 29” tall. The design is a combination of 2 tables taken from Wallace Nutting’s “Furniture Treasury”).

    When I left off, I just finished the tabletop and legs. Next step is to build the apron.Table Legs have a horizontal bead carving elements I want to carry over to the adjacent apron. For the longest, straight apron sections, rather than carve the bead directly onto the apron, and then have to lower the entire apron surface below the level of the carving, it was easier for me to carve the beads on separate stock and then glue the carving to bottom edge of the apron.


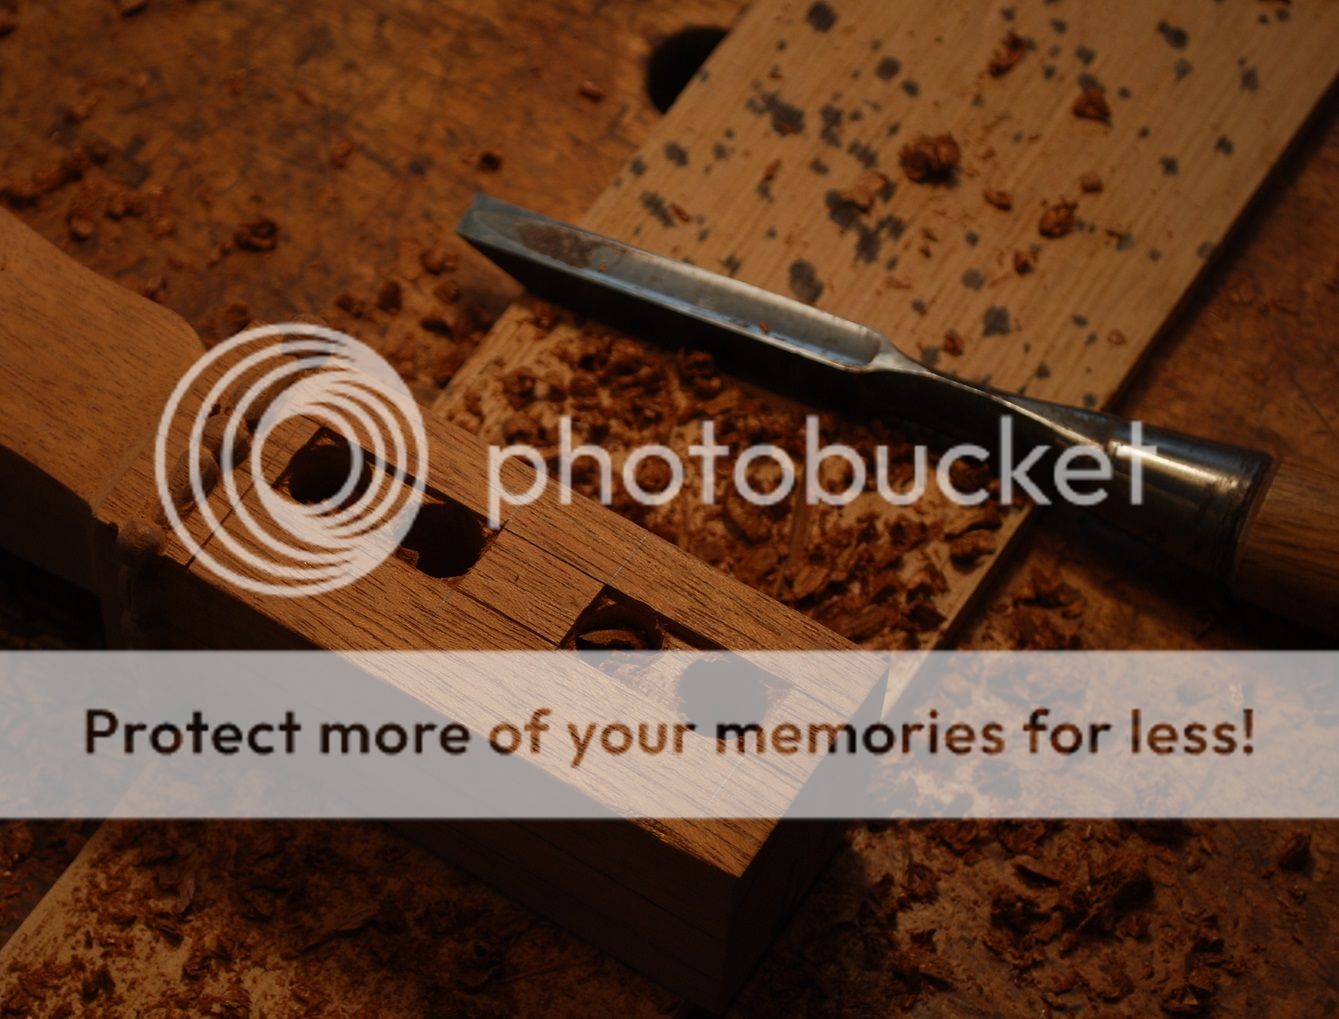
    Next was cutting the mortise and tenon’s to join the aprons to legs. Typically I remove most of the waste in the mortise on the drill press, but increasingly it seems a little simpler to just lay out and chop the mortises directly, particularly in this mahogany which is nice and soft.


  2. #2
    Join Date
    Feb 2011
    Location
    Carlsbad, CA
    Posts
    2,230
    Blog Entries
    2


    The 2 narrow ends of the table will have curved drawer fronts. The lower stretcher carries the carved beading detail. I used a fenced rabbit plane to lower background and carved the beading directly on the stretcher.


    Here’s dovetailing top stretcher to leg and dry fit.


    The rectangular tabletop has 2 leaves on the long dimension that fold down for storage. Because I’m terrible at geometry, over time I’ve created a set of curved templates out of thick “presentation paper” stock in a range of different radiuses– my go to tools when I need to layout a smooth curve.


    To support the leaves in the up position, I created hinged, finger joints support “wings” that fold out. I used a coping saw and spoke shave to fair the curves and fit the wings to the apron.


    Because the width of the wings significantly reduce the strength of the aprons, I glued/screwed additional stock on the inside of the aprons to bridge the gap for additional strength and hide the interior drawers. I use one of my favorite old tools, a skewed blade, unfenced dado plane to cut a shallow cross grained dado in the reinforcing stock to create space for the knuckles of the hinge supports to rotate smoothly.


    Table legs incorporate a fair amount of carving described in first post in this thread. I was looking for suggestions about what to do with the rather plain, flat, rectangular surfaces at the top of the legs and Pete Taran helpfully suggested oval marquetry fans. I certainly trust Pete’s eye for aesthetics more than my own so decided to give it a try.

    I don’t have a lot of experience with marquetry/inlay – I like the look but not my favorite task as time intensive with high screw up potential (at least for me). I found a book that provided the angles (no way in heck I could have figured them out otherwise), and made templates for each of the 5 different pieces. Use the template to layout the requisite number of pieces on Holly veneer (backed with stiff paper for strength) and cut them out with Ex-acto knife. Plastic hot sauce containers from my favorite hole in the wall taqueria are excellent for organizing small parts like this!

    I made 1/8” thick template of the oval fan and used it to layout paper guidelines for assembly. Here’s some pics of the shading, glue up and inlay process. Safety tip: blue painters tape super helpful for holding pieces in place while the glue dries.


  3. #3
    Join Date
    Feb 2011
    Location
    Carlsbad, CA
    Posts
    2,230
    Blog Entries
    2


    I used 2” thick basswood to make the curved drawer fronts, tracing the curve of the stretcher directly on the blank. The extra thickness allowed plenty of room for half blind dovetails for drawer sides and still allow additional space to accommodate cock beading around the drawer front, without interfering with the DT joinery.


    Drawer fronts were veneered with lace wood oval in Walnut Burl background. Once again, made a template of the oval shape I wanted, taped both field and inlay veneer together and use the template to cut the shape in both veneers with a knife.


    After veneer was glued to drawer fronts, I carefully cut shallow rabbits to apply ~ 1/8” thick Walnut cock beading. Careful is important because super easy to damage the thin veneer (I’m sure you can guess how I know that!). A marking gauge and sharp layout knife were used to establish a clear border before bulk of the waste was removed with rabbit plane.


  4. #4
    Join Date
    Feb 2011
    Location
    Carlsbad, CA
    Posts
    2,230
    Blog Entries
    2
    I always struggle with getting the cocked beading on drawer fronts the correct height above the drawer front proper, probably because I have no idea what that distance is supposed to be. Historically I’ve made beading both too high (looks oddly fragile) and too low (“is that a design element or did he somehow just screw up the edges of the drawer?”). This time I made the beading over size and used a spoke shave to get what I hope is a consistent reveal, and a scraper blade/sandpaper to establish the curved edge.


    Here’s the final fit and after first coat of Watco oil/varnish.


    Probably off-topic topic, but for those thinking about bench design, I have an LV twin screw face vice that is super helpful for a common task - jointing edges to glue up panels (like drawer bottoms). Really easy to clamp both pieces to simultaneously plane both pieces, with added benefit that even if jointed edge is not perfectly square, any error is cancel out and you get a nice tight joint and glue up.


    I attach some shallow wedges to the bottom of folding tabletop leaves corresponding with the foldout supports to get a nice flat tabletop surface.


    Finishing is my least favorite part of any project (can’t really improve on the raw material but certainly can screwed up). I’m always confused by the notion of “filling the pores” in open grain woods like this mahogany. My solution is to stick to what works for me, even though I have no idea how it works:

    •2 coats of Watco oil/varnish, wet sanded with 600 grit (I think this might have some poor filling effect).

    •I brush on the first coat of freshly made, blonde shellac (with high quality “shellac only” brush), and after drying lightly sand with 600 grit using cork backed sanding block.

    •Pad on 2nd coat of shellac using cotton wadding and cotton cloth rubber. I use salt shaker to apply small amount of rotten stone and use the rubber in a circular pattern to push the rotten stone/shellac/alcohol into the surface. I think this also helps “fill the pores”, but again don’t really know.

    •After 30 minutes, use new clean rubber, to work with the grain to remove any excess rotten stone, and follow with 3 – 4 more coats of padded on shellac (with appropriate drying time in between).

    •Because this is a work surface, after the shellac dries I sprayed on a couple coats of Mohawk pre-catalyzed lacquer.
    I’m not qualified to recommend this finishing regimen to anyone as I absolutely don’t want to be responsible for anything terrible happening to your project. I can only say this works for me, YMMV.


    Here’s some pics of the finished table.


    Thanks for looking. Sorry just realized my pics are giant- my bad! Don't know why this happened - I'm terrible with tech and apologize for any inconvenience this may cause!
    All the best, Mike

  5. #5
    Join Date
    Nov 2012
    Location
    Westborough, MA
    Posts
    43
    This is amazing. Great pictures, and thanks for sharing.

  6. #6
    Join Date
    Apr 2017
    Location
    Clarks Summit PA
    Posts
    1,744
    Mike, beautiful detailed hand work!

  7. #7
    Mike, your humility about your work is charming but totally unjustified. This is amazing woodworking with so many skills and good photography too. Congratulations on completing a magnificent piece.

  8. #8
    Join Date
    Aug 2012
    Location
    Missouri
    Posts
    2,152
    Mike, First class, well done build. Excellent build tutorial. Your "lessons learned" explainations are very helpful. Thank you for sharing.
    Jim

  9. #9
    Join Date
    Feb 2010
    Location
    Woodstock, VA
    Posts
    1,006
    Beautiful work Mike! And a great tutorial as well, thank you for sharing.

  10. #10
    Join Date
    Mar 2015
    Location
    SE Michigan
    Posts
    3,225
    Wow Mike, you keep raising the bar. Really beautiful work. Thanks for the tutorial on the fans...want to try that soon. I’ve also tried to inlay an oval and it has a high “screw up risk factor”...yours look fantastic. Thanks for taking the time to share this build.

  11. #11
    Join Date
    Jun 2007
    Location
    Peoria, IL
    Posts
    46
    Bravo! ..

  12. #12
    Join Date
    Sep 2008
    Location
    N. Idaho
    Posts
    1,621
    Mike,

    Beautifully done! The finish looks great as does the rest of the table. And many thanks for your detailed post showing your process. I always pick up something...for instance your trick for getting the cockbeading to the right height is one i'll tuck away.

    Thanks again will look forward to your next build

    Best,
    Chris
    "You can observe a lot just by watching."
    --Yogi Berra

  13. #13
    Join Date
    Jan 2007
    Location
    Michiana
    Posts
    3,071
    Damn. That is amazing.
    Sharp solves all manner of problems.

  14. #14
    Join Date
    May 2004
    Location
    N Illinois
    Posts
    4,602
    Nicely done...Thanks for pics and tutorial...Very well done!!
    Jerry

  15. #15
    Join Date
    Jul 2006
    Location
    Plainfield, NJ
    Posts
    55
    Nice work! Especially with the inlays and the carving. Question: what’s the title of the book you show with the pictures of the fans?

Posting Permissions

  • You may not post new threads
  • You may not post replies
  • You may not post attachments
  • You may not edit your posts
  •