Page 1 of 3 123 LastLast
Results 1 to 15 of 31

Thread: 3M PPS Spray Paint System

  1. #1
    Join Date
    Jul 2016
    Location
    Lebanon, TN
    Posts
    1,720

    3M PPS Spray Paint System

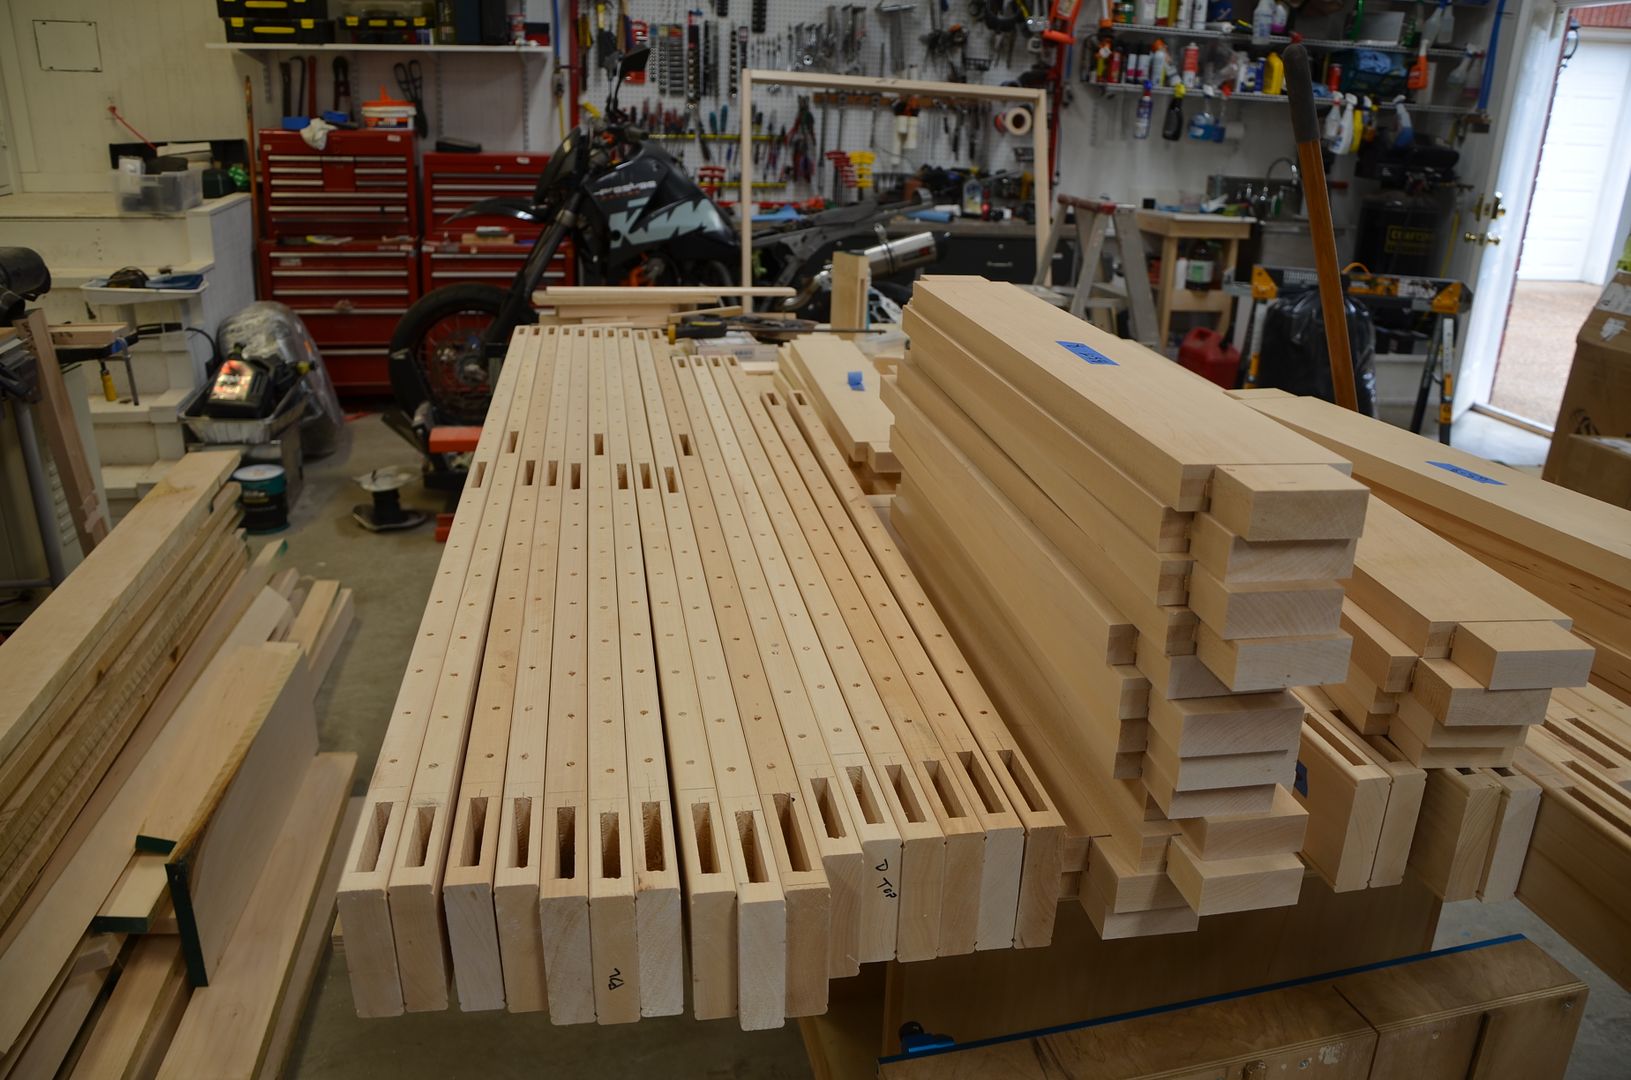
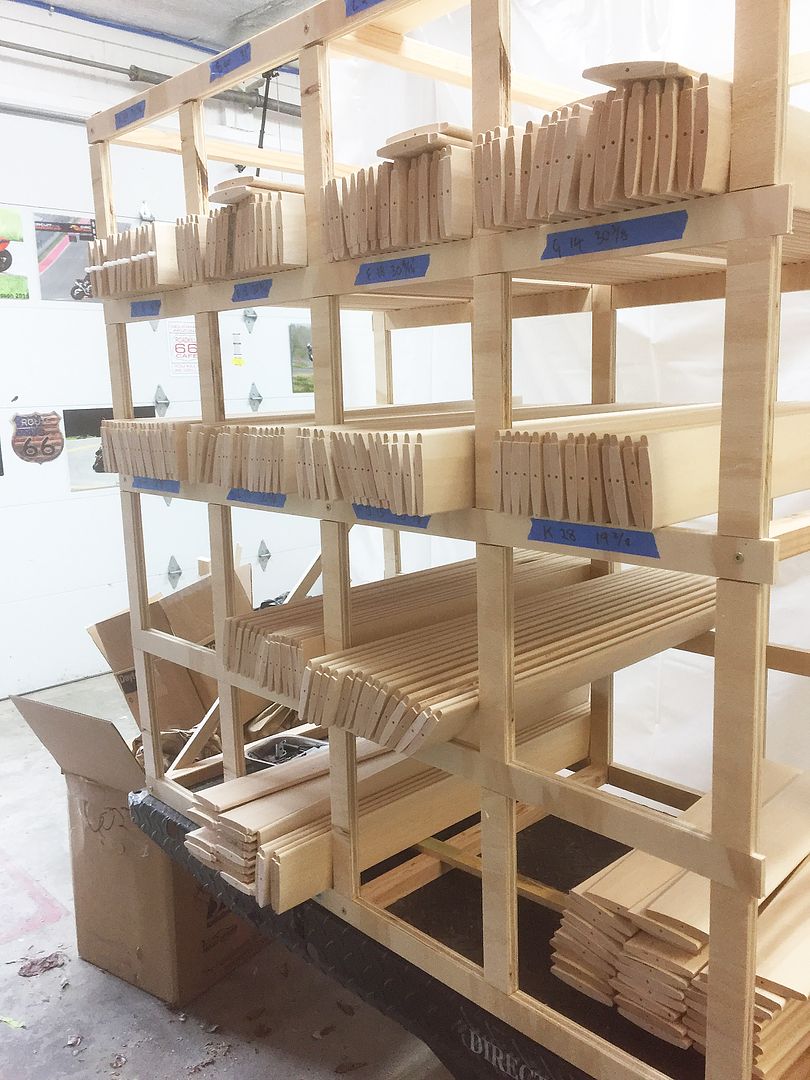
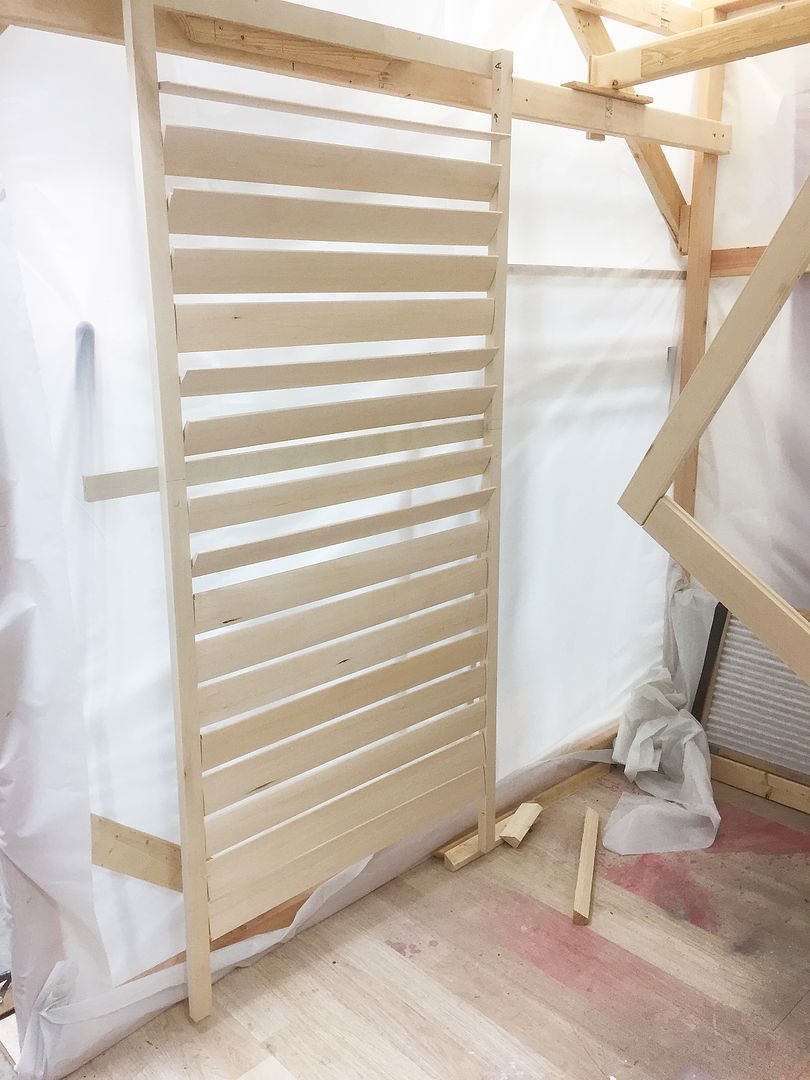
    I'm about to start spraying about 10 windows worth of Plantation Shutters, blinds and frame.

    I have an Apollo Power 5 HVLP sprayer.

    I'm going to tackle a window at a time, due to space limitation. So my plans are to prime in the morning and finish coats later in the day and keep repeating until I've painted everything.

    I was looking at the 3m PPS series 2.0 system as flip flopping between the primer and paint, it looks like this system will allow me to use just one spray gun with minimal cleaning between material changes.

    Just wonder if any Creekers have used this system or is there a better system out there.

    Thanks


    Last edited by ChrisA Edwards; 05-03-2019 at 11:21 PM.

  2. #2
    Join Date
    Mar 2003
    Location
    SE PA - Central Bucks County
    Posts
    65,850
    I recently bought the PPS system and used it for the first time this past week. I bought it after it was recommended multiple times by John T as he's proven his expertise when it comes to spraying finishes. Now my setup is slightly different than yours in that I'm not using a Turbine, but I just sprayed SW ProClassic straight out of the can with the 1.3 setup and got a reasonably good job from it for a first time use. I have more tweaking to do to refine my settings and for that particular finish I'd likely add a little extender too decrease the viscosity a hair, but wow...it's a great system. The flexible cups do make things easier for both moving material and cleanup. I was able to clean the cup with hot water and will be able to reuse it a few times for sure. So I'm sold on the system and can say that you'll likely enjoy it, too. Just be sure that you get the correct setup to use with your Apollo system.
    --

    The most expensive tool is the one you buy "cheaply" and often...

  3. #3
    Join Date
    Jul 2016
    Location
    Lebanon, TN
    Posts
    1,720
    I can't quite figure out what comes with the system and what I need to buy..

    I understand the liners, disposable lids and plugs, etc.. but do I also need to buy the pressure cup and lid separately.

    I know the adaptor for the original PPS system, for my spray gun, is #34, but I can't find specs on that to figure out the necessary Series 2 adaptor, Apollo were no help today on this, so I've got in request into 3M.

  4. #4
    I had the same issue. It was suggested to me to call Jeff Jewitt at Homestead Finishing. He helped me in the past.

    There are a couple things to remember:

    1) You need to buy a cup, lids and liners, and an adapter for your gun. The lids and liners are usually sold together and come with sealing plugs, if you need to take your gun off and want to save the finish.

    2) There are multiple sizes for the cups, so you have to size the lids/liners to them.

    3) If your current cup has a pressure tube, then you may need the H/O style hard cup. This is what confused me. This cup - while it doesn't say it anywhere - is compatible with the Version 1 adapter, lids, and liners. It may be compatible with V2, but I could not get confirmation regarding that. I know it is compatible with V1 because that's what I bought and it works. The 'normal' PPS 1.0 and 2.0 hard cups are open. But the H/O has an inlet to which your gun's air line connects. Because the air connects outside of the liner, it does not touch the material. I think this is why there is no need for a check valve in the pressure tube. The 3m H/O hard cup comes with a longer tube which you may need because the distance between the gun and the inlet may be different from the original cup.

    4) V2 makes some improvements over V1, but those appear to be convenience upgrades - not performance upgrades. I was unable to find a lot of complaints about V1 which led me to believe V2 solved problems that may not have been big issues for users. Last, some components of V2 were delayed in release - I could not figure out why. The 3M rep I chatted with had very little information about V2 and was not able to guide me any better than the brochure that 3m put out on the PPS 2.0 system. All of this made me stick with V1. YMMV.

    https://sawmillcreek.org/showthread....ons&highlight=
    Last edited by Prashun Patel; 05-04-2019 at 6:54 AM.

  5. #5
    Join Date
    Dec 2010
    Location
    WNY
    Posts
    9,715
    As Prashun said, if your gun has a tube that pressurizes the OE cup, which it likely does, then you need/want the H/O (High Output) PPS cup. I would get the large H/O cup and corresponding liners, lids, plugs, because you are going to be spraying a lot of material for those shutters. Those items, plus an adapter which you already have identified, are all you need.

    If you want to eliminate all possibility of buying the wrong stuff, call Jeff Jewitt. He'll set you up with exactly what's needed for your gun.

    John

  6. #6
    Join Date
    Jul 2016
    Location
    Lebanon, TN
    Posts
    1,720
    Thanks for all the replies, Apollo sells the PPS setup (H/O) for my spray gun, with the hose.

    They haven't migrated to the 2.0 setup yet and said they currently have no plans to do so.

    So I ordered from Apollo,

  7. #7
    Join Date
    Feb 2005
    Location
    Canton, MI
    Posts
    529
    Love the PPS system. Are you making the parts for one window at a time. If so, your finishing process makes sense. If not, I'd prime every part, then topcoat every part. Then assemble and install. The primed and finished parts don't take up any more room than the unfinished once dry. It also groups any between coat sanding so you can do one cleanup and allow the dust to settle out overnight before tackling the next operation.

  8. #8
    Join Date
    Jul 2016
    Location
    Lebanon, TN
    Posts
    1,720
    I have all the parts cut for 11 windows. Between the 11 windows, I have about 8 different sizes.

    I have a rack of 245 louvers, all sized and sorted by window.

    Although quite a bit more time consuming, I plan to paint one complete window at a time.

    While I paint the first window, I will dry fit the second one and adjust the louver length if necessary, While I paint window two and wait for it to dry, I will dry fit the next one and install the previously painted one.

    That's my plan, I really don't have enough storage space to group prime everything and then group paint.


    This was my prototype, I haven't installed the hidden control arm on this unit.

    Last edited by ChrisA Edwards; 05-04-2019 at 6:44 PM.

  9. #9
    Join Date
    Dec 2010
    Location
    WNY
    Posts
    9,715
    That's some impressive looking work there. How did you profile the louvers? Shaper or molding machine?

    John

  10. #10
    Join Date
    Feb 2014
    Location
    Lake Gaston, Henrico, NC
    Posts
    9,029
    I wouldn't want to do that job, like that, without the PPS system. Nice work, by the way, and good plan with limited space. The last time I sprayed a bunch of louvered shutters, I hung them on ropes outside, and sprayed them all at once, but they were exterior shutters, so not quite as demanding for a perfect finish.

  11. #11
    Join Date
    Jul 2016
    Location
    Lebanon, TN
    Posts
    1,720
    Quote Originally Posted by John TenEyck View Post
    That's some impressive looking work there. How did you profile the louvers? Shaper or molding machine?

    John
    Shopfox moulder.


    We had commercially made Plantation shutters installed in a few rooms in our house in Dallas. It averaged out about $1000 per window/door.

    Doing 11 windows in this batch, and I probably have a similar amount to do at some point, I cost justified buying a few machines to help me make these.

    Beyond the normal woodworking tools, tablesaw, bandsaw, planer, I bought 4 new tools to help.

    I did about 70% of the initial planing with a DeWalt 735. I sold that along with a 6" Jet jointer and replaced those with a Hammer A3-31. This trade was on the cards without the shutter project.

    The first real dedicated machine was a Shopfox W1812 Moulder ($1500). I cut around 650 linear feet of 3.5" x 0.5" Basswood for the louvers, making two passes to get the final shape.

    As most of my Shutters are quite large, I wanted to mortise and tenon the interior frames. For this I bought a Powermatc 718 mortise machine ($!600) as well as the Powermatic tablsaw Tenon jig ($300).

    For the painting, I decided to go with a HVLP and bought an Apollo Power 5 system ($1400).

    All of these machines with get further use on future projects, although the W1812 probably is the tool that may collect the most dust while being unused.

    I've spent about $1100 on 5/4 rough sawn Basswood.

    I did use the Rockler Planation Shutter jig and hardware ($300).

    It's been a great project, a little pricey, but I'm still quite a bit ahead of what I would have spent if I had had these made.
    Last edited by ChrisA Edwards; 05-04-2019 at 11:32 PM.

  12. #12
    Join Date
    Sep 2006
    Location
    Denver, CO Area
    Posts
    50
    Hi Chris,

    Nice job on all the shutter parts! What will be your finishing schedule?
    What primer are you using?
    I assume you will have some grain-raising issues to sand back?
    Will you be using paint or lacquer to add the color? White?
    Any topcoat for UV protection?

    thanks

  13. #13
    Join Date
    Dec 2010
    Location
    WNY
    Posts
    9,715
    Thanks for the feedback Chris. "Breaking even" with one project certainly justifies the new/upgraded machines, which will serve you well on many future ones, too. I have a W&H molding machine. It collects dust most of the time, but when I need it it's great to have.

    John

  14. #14
    Join Date
    Jul 2016
    Location
    Lebanon, TN
    Posts
    1,720
    Quote Originally Posted by Nate Secrist View Post
    Hi Chris,

    What primer are you using?
    I assume you will have some grain-raising issues to sand back?
    Will you be using paint or lacquer to add the color? White?
    Any topcoat for UV protection?

    thanks
    Shows what a rookie I am at this, I didn't even think about UV protection..

    I hope the primer doesn't raise the grain too much, otherwise I've got a lot of sanding to do.

    I've sanded the frames with 220, I think the louvers are smooth enough right out of the moulder I did sand one set of louvers with 220, and there wasn't a noticeable difference between the moulder finish and the sanded ones.

    I'm using the same paint as was used on all the interior trim of my house. The primer was recommended by the paint store.

    I plan thinning both primer and paint as necessary. I've already spray painted the paint on a cabinet door, on another small project, and that went on easy, although I used my automotive touch up spray gun and compressor for that.

    Just looking at the paint labels, I hope I'm not going to have an issue painting the oil based paint on an Acrylic primer,


  15. #15
    Join Date
    Mar 2003
    Location
    SE PA - Central Bucks County
    Posts
    65,850
    The water borne primer is just fine under oil based paint. That said, spraying oil based anything is a "thankless task" because of the slow, sticky dry time of any overspray. Be prepared and COVER everything! (and be careful of fumes...)
    --

    The most expensive tool is the one you buy "cheaply" and often...

Posting Permissions

  • You may not post new threads
  • You may not post replies
  • You may not post attachments
  • You may not edit your posts
  •