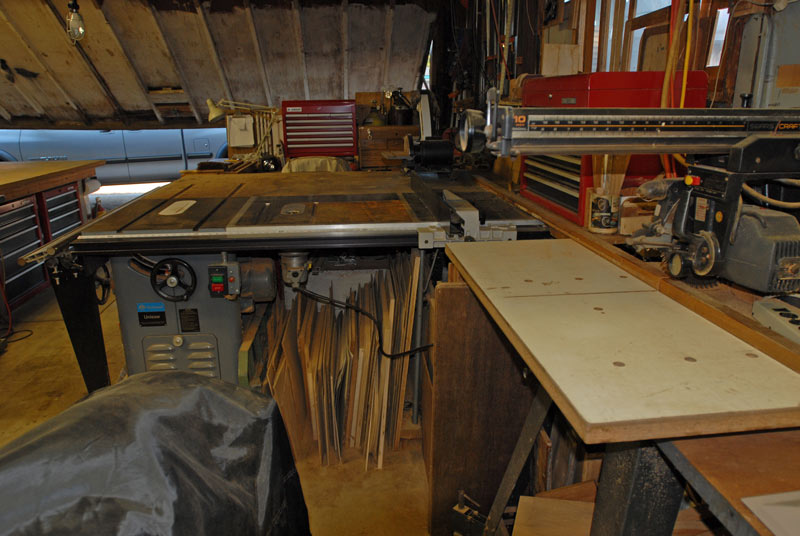
Hey guys ! Just finished installing my router to my table saw extension and connections to the dust collector. There is one thing that I need to address and it's the router table insert. Right now, the table is so thick that I'm losing cutting depth on the table so I need an insert but my budget is tight.
I'm hesitating between doing a cheapo diy plexiglass insert or buying something like the kreg phenoli one. There is one thing that I don't like about the installation process of the kreg insert, they make you drill the corners with a huge forstner bit to match the radius of the plate, doing this with a handheld drill seems a bit unprecise and could create some ugly gaps, anyone could chime in on that installation process ? I just wonder why they didn't made the radius of their insert the same as a small regular router bit..
The bad thing about the diy way is that I won't have the possibility to use reducer rings to decrease the opening around the bit, I just wonder if that's an issue or not regarding safety ? I also still don't know how I could match the square corners of a plexiglass to fit into the nice rounded corners left by the router cut out.
Thanks for your inputs, much appreciated !

 Reply With Quote